Pineapple Sunshine Cake Treat
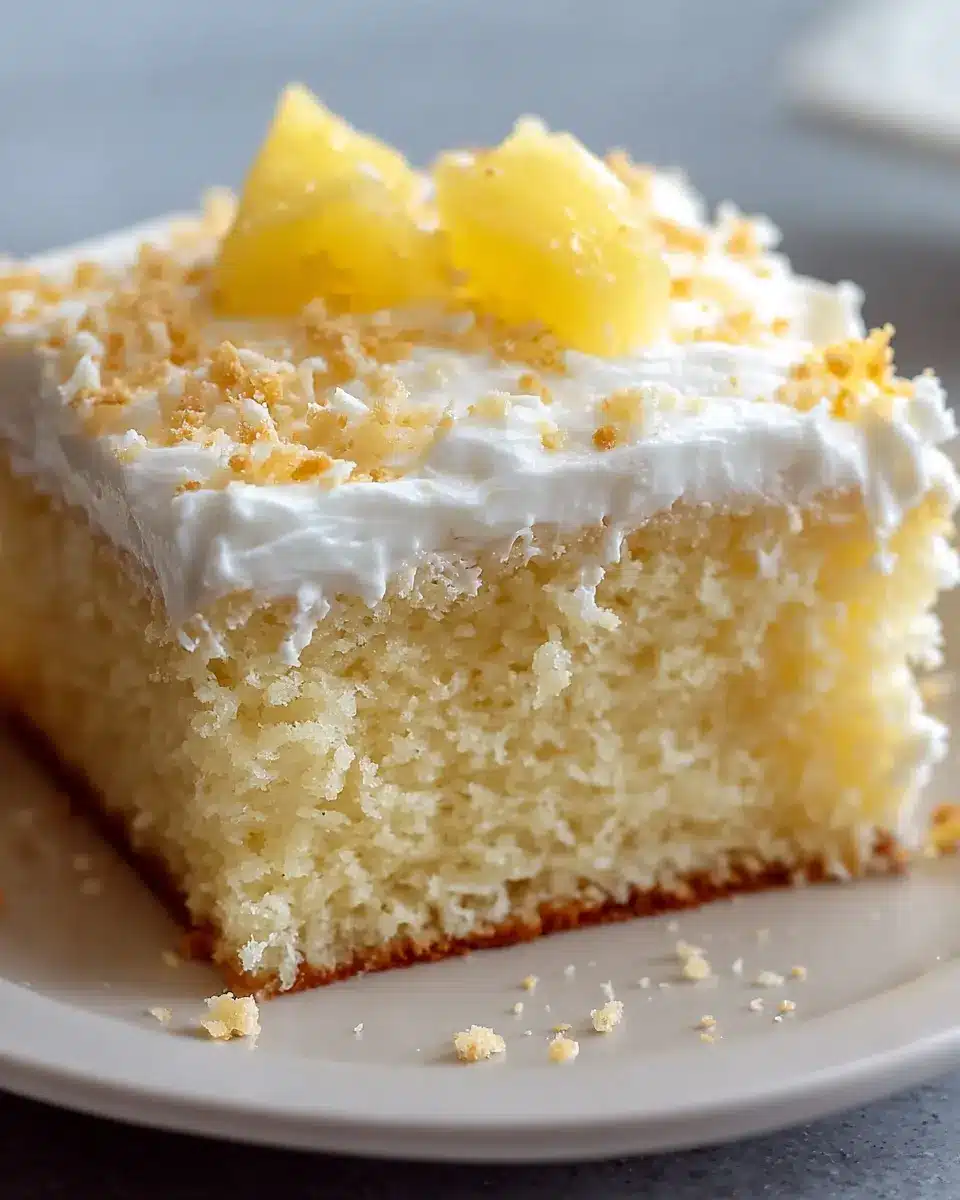
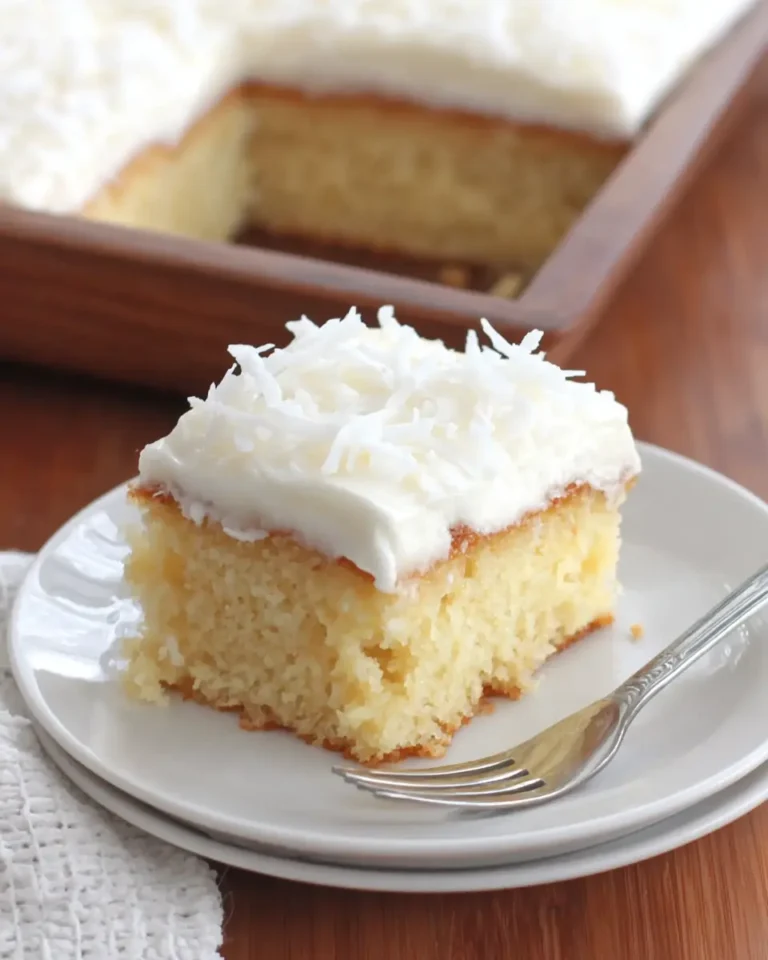
Creamy, chilled, and party-friendly, Pineapple Sunshine Cake brings together tender yellow cake, bright pineapple flavor, a smooth cream cheese layer, and a cloud-like topping for a make-ahead dessert that slices beautifully and serves with almost no last-minute work.
This is the kind of cake that fits right into birthdays, potlucks, spring gatherings, and casual family dinners. It starts with a simple cake mix base, but the pineapple juice gives it a softer texture and a light tropical note that makes it feel more special than a standard sheet cake.
Why You Will Love This Recipe
- Effortless Preparation: Utilizing a convenient cake mix as the foundation means less time measuring dry ingredients and more time enjoying the process, making it an ideal dessert for even novice bakers.
- Burst of Tropical Flavor: The generous use of pineapple in both the cake batter and the creamy frosting infuses every bite with a delightful, sunny fruitiness that is both refreshing and satisfying.
- Luxurious Creamy Layer: A luscious layer of cream cheese frosting, studded with crushed pineapple, provides a delightful tangy contrast to the sweet cake, elevating the dessert from simple to sublime.
- Light and Airy Finish: Topped with a cloud of fluffy whipped topping, the cake offers a cool, melt-in-your-mouth texture that perfectly complements the denser layers beneath, ensuring a delightful mouthfeel.
- Perfect Make-Ahead Dessert: This cake is designed for convenience, allowing you to prepare it entirely in advance, chill it to perfection, and have a stunning dessert ready to serve whenever guests arrive.
Ingredients You Need
The key to an exceptional Pineapple Sunshine Cake lies in selecting fresh, high-quality ingredients. Utilizing a good yellow cake mix provides a foolproof base, while the pineapple—both juice and crushed—delivers the signature bright, tropical essence that defines this dessert. Ensuring your cream cheese and butter are at the right temperature for the frosting will guarantee a smooth, lump-free texture that truly shines.
Pineapple Sunshine Cake

A light and flavorful sheet cake prepared with yellow cake mix and pineapple juice, then finished with a creamy pineapple-cream cheese layer and a soft whipped topping. This chilled dessert is especially well suited for gatherings and make-ahead serving.
- 1 cup pineapple liquid (taken from canned pineapple)
- 4 large eggs
- 1 package yellow cake mix (such as Duncan Hines Classic Yellow)
- 1/2 cup vegetable oil
- 1 teaspoon vanilla essence
- 1/4 cup butter (softened)
- 2 cups confectioners’ sugar
- 1 8-ounce package cream cheese, softened to room temperature
- 1/2 cup pineapple juice (from an 11-ounce can of crushed pineapple)
- 1 8-ounce can crushed pineapple, thoroughly drained, with juice reserved
- 1 8-ounce container whipped topping, such as Cool Whip
- 1Preheat the oven to 350°F (175°C). Grease and flour a 9×13-inch baking dish, or line it with parchment paper for easier removal.
- 2In a large bowl, combine the yellow cake mix, eggs, vegetable oil, and 1 cup of pineapple juice. Beat with an electric mixer on medium speed for about 2 minutes, or until the batter is smooth and fully blended.
- 3Transfer the batter to the prepared pan and smooth the surface with a spatula so it bakes evenly. Place the pan in the oven and bake for 25 to 30 minutes.
- 4Test the cake by inserting a toothpick into the center; it should come out clean when the cake is done. Remove from the oven and let the cake cool completely in the pan on a wire rack.
- 5While the cake cools, make the frosting. In a medium bowl, beat the softened cream cheese and butter until the mixture is smooth and creamy.
- 6Gradually add the powdered sugar, continuing to beat until fully incorporated and smooth. Stir in the vanilla essence and the reserved pineapple juice until well combined.
- 7Fold in the drained crushed pineapple, mixing just until evenly distributed throughout the frosting.
- 8Once the cake has cooled completely, spread the pineapple frosting evenly over the top surface.
- 9Gently spread the whipped topping over the pineapple frosting to finish the cake.
- 10Refrigerate the cake for at least 1 hour before serving so the flavors can meld and the topping can set slightly. Serve chilled.
Keywords: Pineapple Sunshine Cake, Sheet Cake, Cream Cheese Frosting, Make-Ahead Dessert, Chilled Cake
- yellow cake mix: a convenient and reliable foundation for a tender cake.
- eggs: essential for binding, structure, and richness in the cake batter.
- vegetable oil: ensures a moist and tender crumb that stays delicious even after chilling.
- pineapple liquid: imparts a subtle tropical flavor and contributes to the cake’s soft texture.
- cream cheese: provides a tangy and creamy counterpoint to the sweetness, forming a luscious middle layer.
- butter: adds richness and helps create a smooth, spreadable consistency for the cream cheese frosting.
- confectioners’ sugar: sweetens the frosting and gives it a light, airy body.
- vanilla essence: enhances the overall flavor profile, rounding out the sweetness and tanginess.
- crushed pineapple: adds bursts of fruity texture and intensified pineapple flavor to the creamy layer.
- whipped topping: creates a light, fluffy, and cool topping that makes the cake incredibly refreshing.
Please refer to the recipe card for the exact quantities of each ingredient to ensure perfect results.
Variations
Elevate your Pineapple Sunshine Cake with these creative twists that cater to different dietary needs and flavor preferences, ensuring everyone can enjoy this delightful dessert.
For a delightful vegan rendition, you can easily adapt this recipe. Start by using a vegan-friendly yellow cake mix, ensuring it contains no animal products. Instead of eggs, a common substitution is using a flax egg (1 tablespoon ground flaxseed mixed with 3 tablespoons water, let sit for 5 minutes) or applesauce for moisture and binding. For the cream cheese frosting, opt for a high-quality vegan cream cheese alternative and use a plant-based butter substitute. The whipped topping can be replaced with a chilled, full-fat coconut cream that has been whipped until fluffy, offering a wonderfully rich and dairy-free finish.
If you’re looking for a low-carb option, significant modifications are needed, but the delicious outcome is worth the effort. Begin with a low-carb yellow cake mix, or create your own using almond flour and coconut flour as the base. Sweeten the cake and frosting with erythritol or xylitol, ensuring they are used in appropriate quantities to avoid a cooling sensation. For the frosting, a sugar-free cream cheese and a sugar-free butter substitute will be your go-to. Drain the crushed pineapple extremely well to minimize its sugar content, or consider using a sugar-free pineapple extract for flavor. The whipped topping can be a sugar-free version or homemade with a low-carb sweetener.
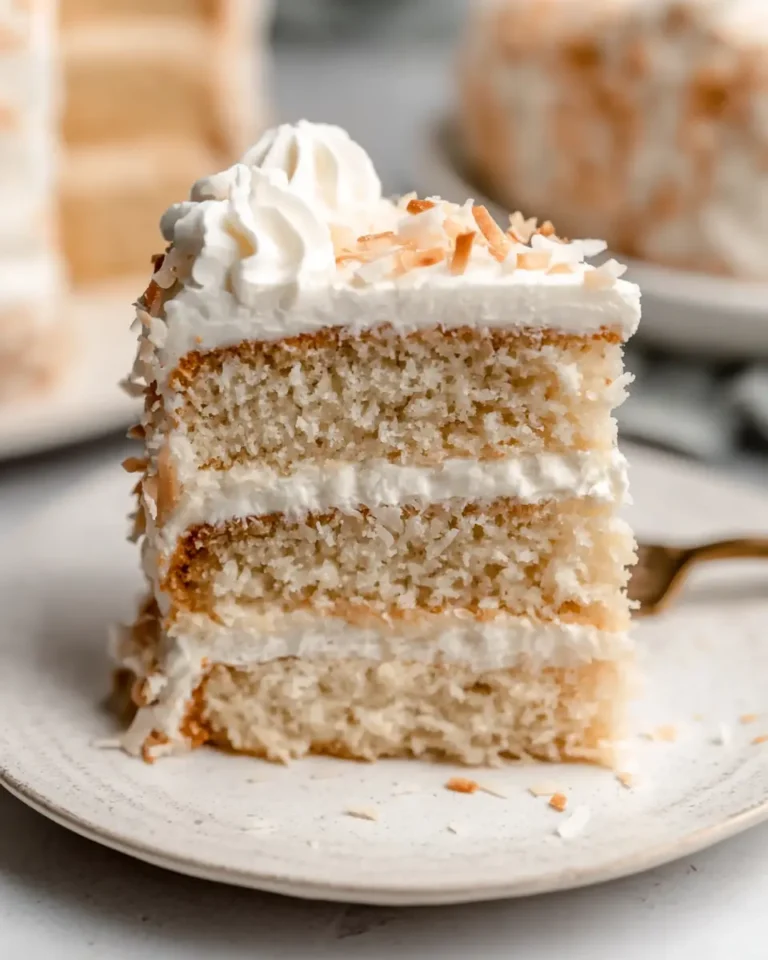
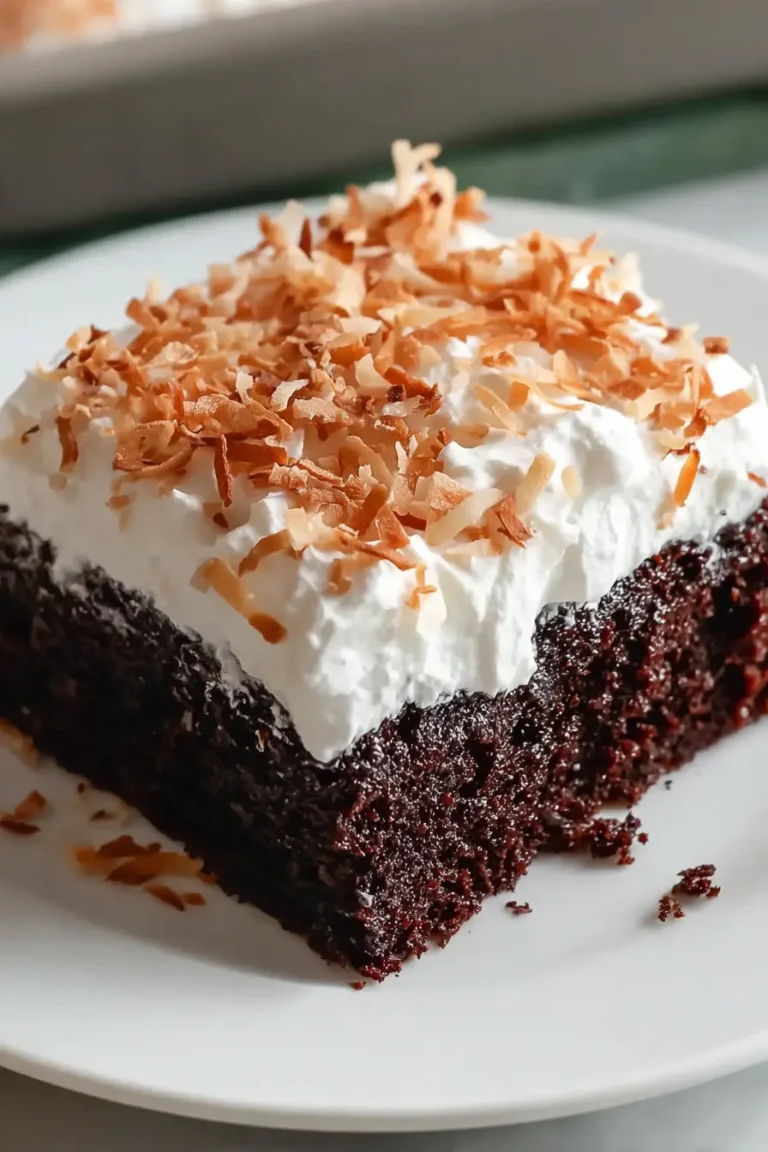
Another exciting variation involves infusing the cake with complementary tropical flavors, perfect for a festive occasion or a special gathering. Consider adding a teaspoon of coconut extract to the cake batter for an extra layer of island goodness. You could also introduce a hint of lime zest to the cream cheese frosting for a brighter, more complex flavor profile that cuts through the sweetness beautifully. For an added visual and textural element, a sprinkle of toasted shredded coconut over the whipped topping before chilling can provide a delightful crunch and enhance the tropical theme.
How to Prepare Pineapple Sunshine Cake
Step 1: Preparing the Baking Pan and Oven
Begin by preheating your oven to the recommended temperature of 350°F (175°C). This ensures that the oven is at the optimal, consistent heat for even baking, which is crucial for achieving a perfectly cooked cake. Simultaneously, prepare your 9×13-inch baking dish; a thorough greasing and flouring will prevent the cake from sticking and ensure a clean release after baking.
For an even easier removal process, especially if you plan to transport the cake or want to minimize any risk of breakage, consider lining the baking dish with parchment paper. You can cut a piece to fit the bottom and up the sides, leaving a slight overhang. This creates a natural sling, allowing you to lift the entire baked cake out of the pan in one piece once it has cooled sufficiently, which greatly simplifies the frosting and serving stages.
Ensuring your baking pan is correctly prepared is a foundational step that impacts the entire baking process. A well-prepared pan not only prevents sticking but also promotes even browning of the cake’s edges and bottom, contributing to the overall texture and appearance of your finished Pineapple Sunshine Cake. Take a moment to be thorough here; it truly makes a difference in the final outcome and eases subsequent steps.
Step 2: Mixing the Cake Batter
In a large mixing bowl, combine the yellow cake mix, eggs, vegetable oil, and the specified amount of pineapple liquid. This liquid, typically drained from canned pineapple, replaces some of the traditional liquid ingredients and infuses the cake with a subtle, delightful tropical essence from the very start. The combination of these ingredients will form the base of your tender, moist cake.
Using an electric mixer, beat these ingredients together on a medium speed for approximately two minutes. The goal here is to achieve a smooth and fully blended batter. You’re looking for a uniform consistency with no dry streaks of cake mix remaining. It’s important not to overmix; overworking the batter can develop the gluten in the flour too much, leading to a tougher cake texture. A well-mixed batter ensures an even crumb structure throughout the baked cake.
The batter should look luscious and well-emulsified, with the oil and eggs fully incorporated into the dry ingredients. This stage is straightforward but critical; a properly mixed batter sets the stage for a cake that is both light and moist. Once mixed, the batter is ready to be transferred to your prepared baking pan, ready for its transformation in the oven.
Step 3: Baking and Cooling the Cake
Carefully spread the prepared cake batter evenly into the greased and floured (or parchment-lined) 9×13-inch baking dish. Use a spatula to smooth the top surface of the batter. This step is important for ensuring that the cake bakes evenly across the entire pan, resulting in a level cake that is easier to frost and slice later on. An uneven top can lead to some parts being overbaked while others are undercooked.
Place the pan into the preheated oven and bake for the recommended duration, typically between 25 to 30 minutes. During this time, the cake will rise, turn a beautiful golden brown, and develop a tender crumb. The aroma of baking cake, especially with that hint of pineapple, will fill your kitchen, signaling that deliciousness is on its way.
To test for doneness, insert a toothpick into the center of the cake; it should come out clean, with no wet batter clinging to it. Once baked, remove the cake from the oven and allow it to cool completely in the pan on a wire rack. This cooling period is absolutely essential; attempting to frost a warm cake will cause the frosting to melt and slide off, ruining the texture and appearance. Patience here is key for a perfect finish.
Step 4: Creating the Cream Cheese Frosting
While the cake is cooling completely, you can prepare the delightful cream cheese frosting that forms the luscious middle layer of your Pineapple Sunshine Cake. In a medium-sized mixing bowl, beat together the softened cream cheese and the softened butter until the mixture is perfectly smooth and creamy. Using room-temperature ingredients is vital here, as it allows them to emulsify properly, preventing a lumpy or grainy texture in your final frosting.
Gradually add the confectioners’ sugar to the cream cheese and butter mixture, continuing to beat until it is fully incorporated and the frosting achieves a smooth, spreadable consistency. Adding the sugar slowly helps to prevent it from flying out of the bowl and ensures it is evenly distributed, creating a uniform sweetness and body. You’re aiming for a frosting that is neither too stiff nor too runny, but just right for spreading.
Finally, stir in the vanilla essence and the reserved pineapple juice until everything is well combined. The vanilla enhances the sweetness and balances the tang of the cream cheese, while the pineapple juice adds another subtle layer of fruity flavor. This step brings all the elements of the frosting together, creating a tangy, sweet, and wonderfully creamy topping for your cake.
Step 5: Incorporating the Crushed Pineapple
Once your cream cheese frosting base is smooth and well-mixed, it’s time to add the star ingredient that gives this layer its name: the crushed pineapple. Ensure that the crushed pineapple you are using has been thoroughly drained of excess juice. This is a critical step to prevent the frosting from becoming too watery, which could compromise the cake’s structure and overall texture. Excess moisture can make the frosting runny and less stable.
Gently fold the drained crushed pineapple into the cream cheese frosting. Use a spatula or a spoon and mix just until the pineapple pieces are evenly distributed throughout the frosting mixture. You want to see little bursts of pineapple throughout the creamy layer, adding both flavor and a pleasant textural contrast to the smooth frosting. Avoid overmixing at this stage, as it can break down the pineapple pieces too much or incorporate too much air.
This addition transforms the simple cream cheese frosting into a more complex and interesting element of the cake. The subtle tartness and sweetness of the pineapple, combined with its slight chewiness, create a delightful sensation that perfectly complements the tender cake base and the fluffy topping. The frosting is now ready to be applied to the cooled cake.
Step 6: Assembling and Chilling the Cake
With your cake completely cooled and your pineapple cream cheese frosting prepared, it’s time for assembly. Carefully and evenly spread the pineapple cream cheese frosting over the entire surface of the cooled cake. Use a spatula to ensure a smooth, uniform layer from edge to edge, covering the cake completely. This creates a decadent and flavorful middle stratum for your sunshine cake.
Next, gently spread the whipped topping over the pineapple frosting. Apply it with care to create a light and airy finish. The contrast between the dense cream cheese layer and the fluffy whipped topping is one of the signatures of this delightful dessert. Ensure the whipped topping covers the frosting layer entirely, creating a visually appealing and delicious final layer.
Finally, and this is a crucial step for the cake’s structure and flavor development, refrigerate the assembled cake for at least 1 hour. This chilling period allows the layers to firm up, the flavors to meld together beautifully, and the whipped topping to set slightly. Chilling ensures that when you slice into the cake, the layers will hold their shape cleanly, making for a much more enjoyable serving experience and a more aesthetically pleasing dessert.
Pro Tips for Pineapple Sunshine Cake
Cool Completely: It cannot be stressed enough: ensure the cake layer is entirely cool before applying any frosting. Applying frosting to a warm cake will cause it to melt and slide, creating a messy appearance and potentially a less stable dessert. Patience is indeed a virtue when it comes to baking.
Drain Pineapple Thoroughly: The key to a well-structured and delicious pineapple frosting is to drain the crushed pineapple extremely well. Excess moisture can lead to a runny frosting that compromises the integrity of your cake layers, especially during chilling and serving. Squeeze out as much liquid as possible to maintain a creamy, spreadable consistency.
Chill for Structure: Don’t rush the chilling process. The refrigeration time is essential for the cake’s layers to set properly. This allows the flavors to meld and ensures that the cake will slice cleanly, presenting beautifully when served. Aim for at least an hour, but longer is often better.
Room Temperature Ingredients for Frosting: For the smoothest cream cheese frosting, make sure your cream cheese and butter are at room temperature. This will allow them to cream together easily, creating a lump-free and luxuriously smooth frosting that is a joy to spread and eat.
Gentle Folding: When adding the crushed pineapple to the frosting, use a gentle folding motion. This preserves some of the texture of the pineapple pieces and prevents the frosting from becoming overly dense or watery. The goal is to distribute the fruit evenly without overworking the mixture.
Serving Suggestions for Pineapple Sunshine Cake
Decoration
For a simple yet elegant decoration, consider topping the whipped cream with a few maraschino cherries or a scattering of toasted shredded coconut. A drizzle of caramel sauce can also add a touch of decadence and visual appeal. For a more festive look, pipe small rosettes of the whipped topping around the edges of the cake.
Side Dishes
This cake is wonderful served on its own, but it also pairs beautifully with fresh fruit. A small bowl of mixed berries, like raspberries and blueberries, adds a fresh, tart counterpoint to the sweetness of the cake. Slices of fresh pineapple or kiwi can also enhance the tropical theme of the dessert.
Creative Serving Ideas
Consider serving individual portions in pretty glasses or small bowls for a more elegant presentation, especially for parties or showers. You could also present slices alongside a dollop of extra whipped cream or a scoop of vanilla bean ice cream for those who enjoy a richer dessert experience. For brunch gatherings, this cake is a fantastic addition, offering a sweet finish to a savory spread.
Preparation & Storage
Storing Leftovers
Store any leftover Pineapple Sunshine Cake covered tightly in the refrigerator. Due to the cream cheese and whipped topping, it must be kept chilled to maintain its freshness and prevent spoilage. A fitted lid or several layers of plastic wrap will help to keep the cake from drying out and also prevent it from absorbing odors from other foods in the refrigerator.
Proper storage will help keep the cake delicious for up to 5 days. When you’re ready to serve leftovers, it’s best enjoyed straight from the refrigerator, as the chilled texture is part of its appeal. If the cake has been in the fridge for a while, you can let it sit at room temperature for just a few minutes to take the chill off slightly, but avoid leaving it out for extended periods.
Freezing
While this cake is best enjoyed fresh, freezing is an option if you have significant leftovers or want to prepare it further in advance. It’s advisable to freeze individual slices rather than the whole cake to make thawing easier and to maintain better texture. Wrap each slice very tightly in plastic wrap, followed by a layer of aluminum foil, to protect it from freezer burn.
Thaw the frozen slices in the refrigerator overnight before serving. Be aware that the texture of the whipped topping may change slightly after freezing and thawing; it might become a bit softer or less fluffy. This is a trade-off for the convenience of having it readily available.
Reheating
Pineapple Sunshine Cake is a dessert that is specifically designed to be served chilled, so reheating is generally not recommended. The appeal of this cake lies in its cool, creamy, and refreshing texture, which is lost upon heating. The whipped topping will melt, and the cream cheese layer could become too soft and oily if subjected to heat.
Instead of reheating, if the cake is too cold for your preference, simply allow it to sit at room temperature for a short period, perhaps 15-20 minutes, before slicing and serving. This slight warming will take the hard chill off without compromising the cake’s integrity or its delightful texture, ensuring you experience the dessert as it was intended.
Frequently Asked Questions
-
Can I use fresh pineapple instead of canned crushed pineapple?
Yes, you can use fresh pineapple, but it requires extra preparation to achieve a similar texture and flavor. You would need to finely dice or mash fresh pineapple chunks and then cook them down slightly to reduce their moisture content before draining them thoroughly. This process helps to concentrate the flavor and prevents the frosting from becoming too watery, which is essential for maintaining a good consistency. Ensure that after cooking and draining, the amount of pineapple you use is comparable to the canned version. The natural sweetness might also vary, so a slight adjustment in confectioners’ sugar might be needed.
-
What is the best way to ensure the cake stays moist after being refrigerated?
The key to maintaining moisture in this Pineapple Sunshine Cake is proper storage and the inherent ingredients. The vegetable oil in the cake batter and the pineapple liquid contribute significantly to its moist texture, even after chilling. Once the cake is fully assembled, ensuring it is covered tightly with plastic wrap or an airtight container in the refrigerator is paramount. This prevents the cake from drying out due to exposure to air. Also, serving it chilled or at most, slightly tempered, helps preserve that desirable moist quality.
-
How do I achieve distinct layers when slicing the cake, especially if it’s made ahead?
Achieving distinct layers when slicing is primarily a result of proper chilling and using a sharp knife. After the cake has been refrigerated for at least the recommended hour (or ideally longer), the layers will have firmed up considerably. When slicing, use a long, sharp knife that has been wiped clean between each cut. Dipping the knife in hot water and drying it can also help create cleaner slices, especially through the whipped topping and cream cheese layer. This technique minimizes dragging and smearing, ensuring each slice showcases the beautiful strata of cake, frosting, and topping.