How to Make Banana Chips
Craving a deliciously sweet and satisfying snack that doesn’t derail your healthy eating goals? Look no further than these incredibly simple, oven-baked banana chips. They offer that delightful crunch you love, all while using just a couple of wholesome ingredients.
Forget the store-bought options loaded with added sugars and unhealthy fats; making these at home is remarkably easy and yields a snack that’s both guilt-free and incredibly tasty. You’ll be amazed at how a few simple steps can transform fresh bananas into a perfectly portable treat.
Why You Will Love This Recipe
- Effortless Preparation: With minimal ingredients and straightforward steps, these baked banana chips are incredibly simple to make, even for beginner cooks.
- Healthier Alternative: Unlike fried versions, this recipe uses the gentle heat of your oven, making them a much healthier snack option without sacrificing taste or texture.
- Customizable Flavor: While delicious on their own, these chips serve as a fantastic base for various seasonings, allowing you to tailor them to your specific taste preferences with spices or a touch of sweetness.
- Perfect for On-the-Go: Their portable nature makes them an ideal snack to pack for school lunches, work, or even hiking adventures, ensuring a satisfying bite wherever you are.
- Minimal Ingredients: You only need a few pantry staples to create these delightful chips, proving that wholesome snacks don’t require a lengthy shopping list.
Ingredients You Need
The beauty of these baked banana chips lies in their simplicity, requiring only the freshest ingredients to achieve a delightful outcome. Opting for ripe but firm bananas is key, as they provide the perfect balance of sweetness and structural integrity for slicing and baking. Freshly squeezed lemon juice is essential; it not only prevents browning but also adds a subtle brightness that complements the natural sweetness of the bananas.
Baked Banana Chips
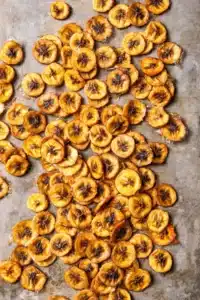
Deliciously sweet, guilt-free baked banana chips make a perfectly portable, light, and tasty snack to have on hand in case a craving strikes!
- 10 ripe but firm bananas, thinly sliced
- Freshly squeezed lemon juice (1 lemon is plenty)
- 1Preheat the oven to 200ºF. Cover a sheet pan with foil and lightly grease it with cooking spray.
- 2Toss the banana slices in lemon juice.
- 3Arrange the bananas in a single layer on the prepared baking sheet.
- 4Bake for 1 hour; check to see if the tops are firm and starting to turn color. If so, flip the slices with a metal spatula and continue to bake for 1 hour longer or until desired crispness.
- 5Remove from the oven and transfer the banana chips to a wire rack to cool completely. The longer they cool, the crunchier they will get.
- 6Store in an airtight container.
Keywords: banana chips, baked, snack, healthy, fruit chips, oven baked
Quantities for these core ingredients are detailed in the recipe card above, ensuring you have precisely what you need.
Variations
Elevating these simple baked banana chips into something truly extraordinary is wonderfully easy with a few creative twists. Consider a delightful vegan spin by ensuring no animal products are used and perhaps adding a hint of maple syrup during the baking process for an extra layer of sweetness that complements the banana’s natural sugars.
For those mindful of carbohydrate intake, a low-carb approach can be achieved by pairing the banana chips with other low-carb snacks or using them as a crunchy topping for savory dishes. This unexpected combination can add a surprising textural element to salads or protein-based meals, demonstrating the versatility of this humble snack.
Exploring global flavors offers another exciting avenue for variation. A sprinkle of cinnamon and a pinch of nutmeg can evoke the warmth of autumn, reminiscent of breakfast favorites. Alternatively, a dash of chili powder and cumin can introduce a touch of heat and smokiness, transforming them into a unique savory snack that deviates delightfully from the norm and might even surprise those who enjoy spicy foods.
How to Prepare baked banana chips
Step 1: Preparing Your Workspace and Bananas
Begin by preheating your oven to a gentle 200°F (95°C). This low temperature is crucial for drying out the banana slices gradually, ensuring they become crispy without burning. Simultaneously, prepare a baking sheet by lining it with aluminum foil or parchment paper for easy cleanup.
Lightly grease the lining with a bit of cooking spray or a thin layer of oil. This step helps prevent the banana chips from sticking to the sheet during the long baking process. Ensure the entire surface is covered for optimal results, making the removal of your finished chips a breeze.
Next, select your bananas: they should be ripe but still firm to the touch, avoiding any overly soft or bruised specimens. Gently peel the bananas and then, using a sharp knife, slice them into uniform rounds, aiming for a thickness of approximately ¼ inch. Even thickness is paramount for consistent baking, so take your time with this step.
Step 2: The Lemon Juice Bath
Once your bananas are sliced, it’s time to introduce them to their lemon juice bath. Transfer all the banana slices into a medium-sized bowl. This step is not just for flavor; the acidity in the lemon juice acts as an anti-browning agent, preventing the bananas from turning unappealingly brown as they bake.
Squeeze fresh lemon juice directly over the banana slices, ensuring each piece gets a light coating. You don’t need to drench them, but a generous amount should be sufficient to cover most surfaces. Gently toss the slices with your hands or a spatula to ensure even distribution of the lemon juice. Avoid over-mixing, which could cause the delicate slices to break apart.
Let the banana slices marinate in the lemon juice for a brief period, ideally no longer than 10 minutes. This short soak is enough to achieve the desired effect without making the bananas too soggy. While they are soaking, take this opportunity to ensure your baking sheet is perfectly prepared and ready to receive the fruit.
Step 3: Arranging the Banana Slices
After the brief lemon juice soak, it’s time to arrange the banana slices on your prepared baking sheet. Carefully remove each slice from the bowl, allowing any excess lemon juice to drip off before placing it onto the lined sheet. The goal is to have each slice lie flat and not overlap with any other slices.
Creating a single layer is absolutely critical for even drying and crisping. Overlapping slices will steam rather than dry, resulting in a chewier texture in those areas. Use a metal spatula or your fingers to gently spread out the slices, ensuring there’s a little space between each one. This air circulation is key to achieving that perfect crunch.
If you find you have more banana slices than can fit comfortably in a single layer on one baking sheet, it’s better to use a second baking sheet than to crowd the first one. Alternatively, you can bake in batches if you only have one baking sheet. Patience here will pay off immensely in the final texture of your chips.
Step 4: The Slow Baking Process
With the banana slices perfectly arranged, place the baking sheet into the preheated oven. Set a timer for 1 hour and resist the urge to open the oven door frequently, as this can disrupt the temperature and extend the baking time. The low and slow method is essential for achieving the ideal crispness without burning.
After the first hour, carefully check the banana slices. They should be starting to firm up and may show a slight golden hue on the edges. At this stage, it’s time to flip them. Use a thin metal spatula to gently lift each slice and turn it over. This ensures that both sides dry out evenly and develop a consistent crispness.
Continue baking for another hour, or until the chips reach your desired level of crispness. The exact baking time will vary depending on the thickness of your slices and your specific oven. Keep a close eye on them during this second hour, as they can go from perfectly crisp to burnt quite quickly. This is a stage where attention is truly rewarded.
Step 5: Checking for Doneness and Flipping
As the baking progresses, especially during the second hour, it’s vital to monitor the banana chips closely. Different ovens have unique temperature variations, and the moisture content in the bananas can also influence how quickly they dry. You might notice that some slices become perfectly crisp before others.
If you see some chips achieving the desired crispness while others are still a bit pliable, don’t hesitate to remove the done ones from the baking sheet using your spatula. You can place these on a wire rack to cool while the remaining slices continue to bake. This ensures you don’t end up with any burnt pieces.
If, after a significant baking period, the bananas still seem a bit too soft or are sticking stubbornly to the foil, it might indicate they need a little more time to dry out. In such cases, you can return them to the oven for an additional 15-20 minutes, checking frequently. The key is to achieve a texture that is firm and brittle when broken, not chewy.
Step 6: Cooling for Maximum Crunch
Once your banana chips have reached the perfect level of crispness, remove the baking sheet from the oven. Immediately transfer the hot chips from the baking sheet to a wire cooling rack. This is a crucial step in the process, as it allows air to circulate freely around each chip, promoting further drying and maximizing their crunch.
Allow the banana chips to cool completely on the wire rack. The longer they cool, the crispier they will become. Resist the temptation to taste them too early; they will continue to firm up and develop their ultimate texture as they reach room temperature. This cooling period is just as important as the baking itself for achieving that satisfying snap.
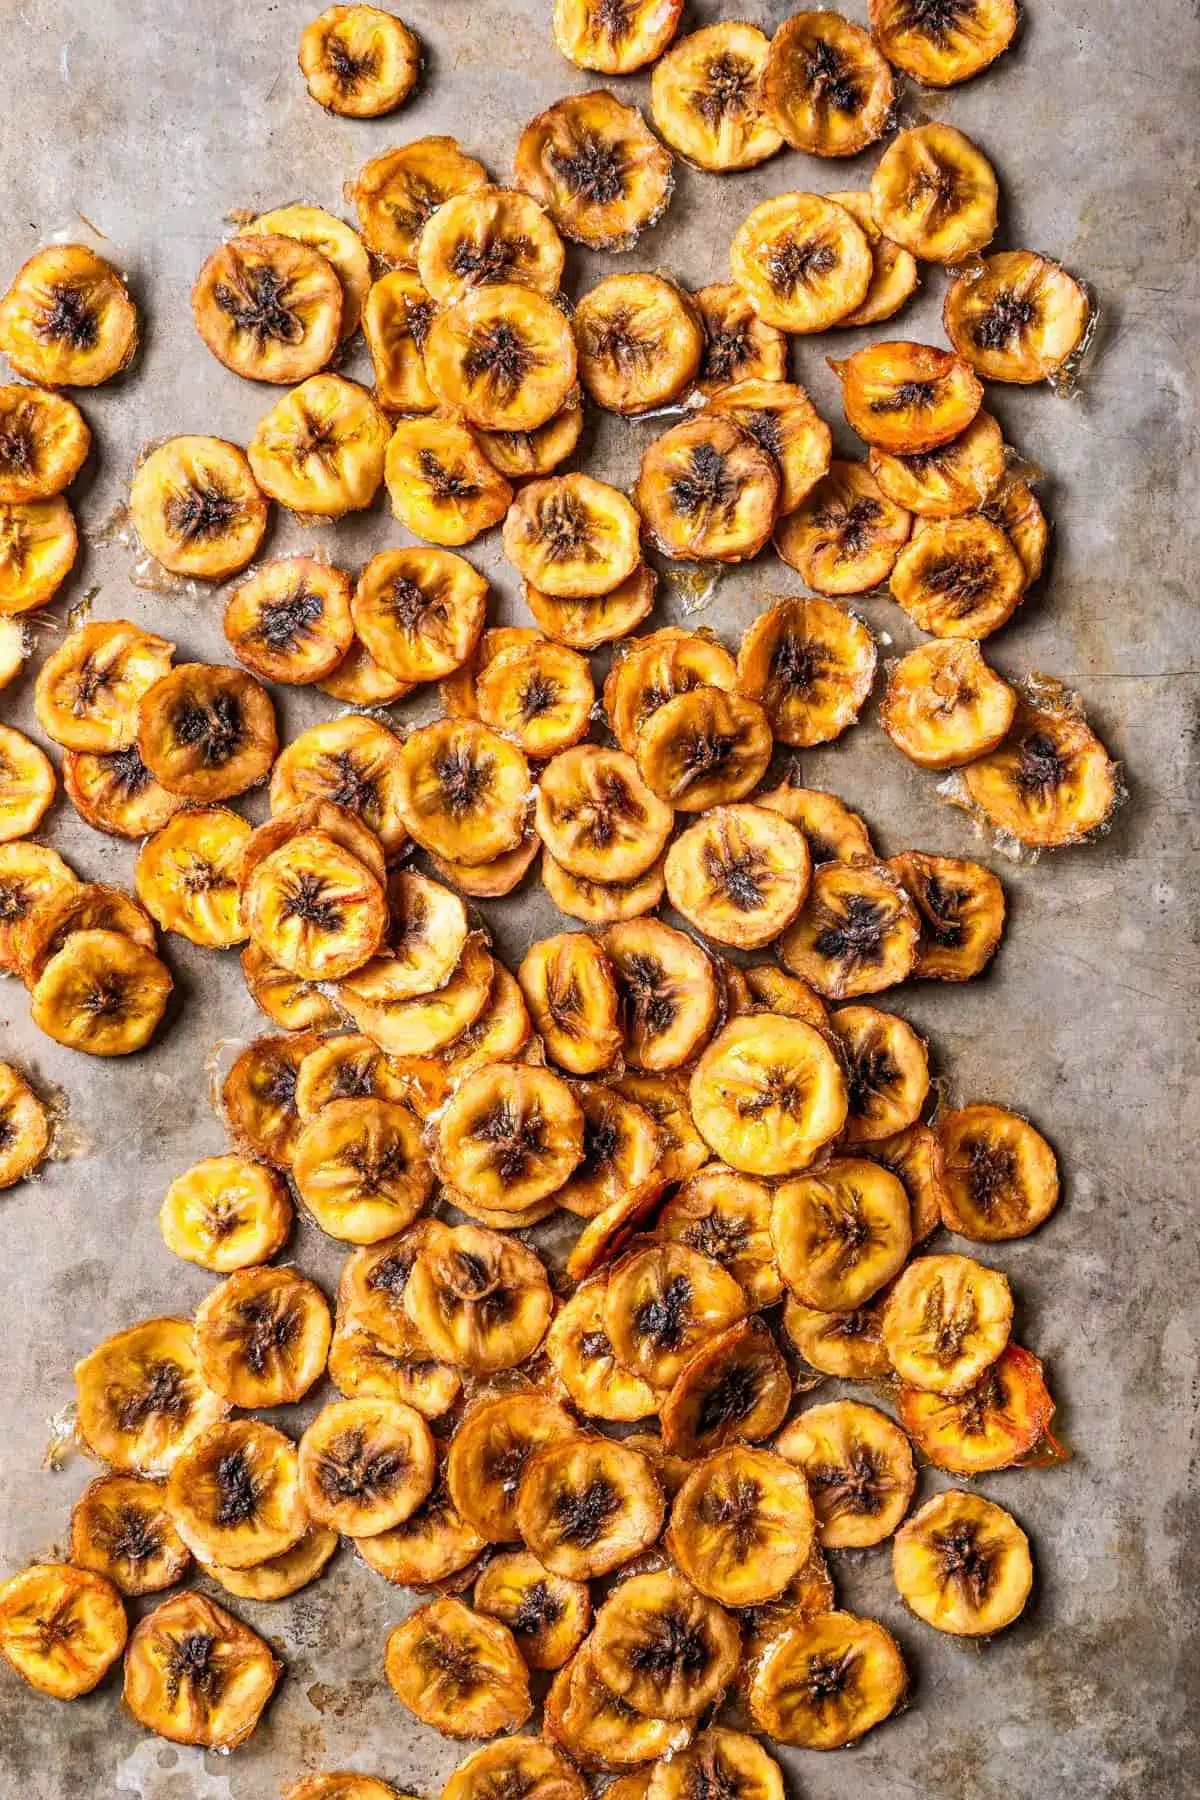
Once they are fully cooled and delightfully crisp, your homemade baked banana chips are ready to be enjoyed. The transformation from soft fruit to crunchy snack is truly remarkable, and the simple process makes it a rewarding culinary adventure. Store them properly to maintain their crispness for as long as possible.
Pro Tips for baked banana chips
Even Slicing is Paramount: The most critical factor for achieving uniformly crispy baked banana chips is to slice them to an equal thickness. Use a mandoline slicer or a very sharp knife, and strive for consistency; ¼ inch is a good target. This ensures that all pieces bake and dry at the same rate, preventing some from burning while others remain soft.
Patience is a Virtue: Low and slow baking is the secret here. Don’t be tempted to crank up the oven temperature to speed things up, as this will likely lead to burnt exteriors and undercooked interiors. The gentle heat allows the moisture to evaporate gradually, leading to a superior crisp texture. Trust the process, even if it takes longer than you anticipate.
Watch Like a Hawk Towards the End: While the initial baking time is relatively forgiving, the final stages require vigilance. Ovens vary, and banana slices can go from perfectly baked to burnt in a matter of minutes. Keep a close eye on them, especially during the last hour of baking, and remove individual chips as they reach desired crispness to avoid any waste.
Cooling is Key to Crunch: Do not skip the cooling step! Transferring the baked chips to a wire rack allows air circulation, which is vital for them to achieve their final, satisfying crunch. They will continue to crisp up as they cool, so even if they seem slightly pliable straight from the oven, they will firm up considerably as they reach room temperature. Proper cooling ensures that delightful snap you’re looking for.
Embrace Seasoning Adventures: While plain banana chips are delightful, don’t shy away from experimenting with flavors. A sprinkle of cinnamon and nutmeg before baking can create a warm, comforting taste. For a savory twist, try a pinch of chili powder, garlic powder, and salt. This adaptability makes them a versatile snack for any palate and occasion, opening up a world of taste possibilities.
Serving Suggestions for baked banana chips
Decoration
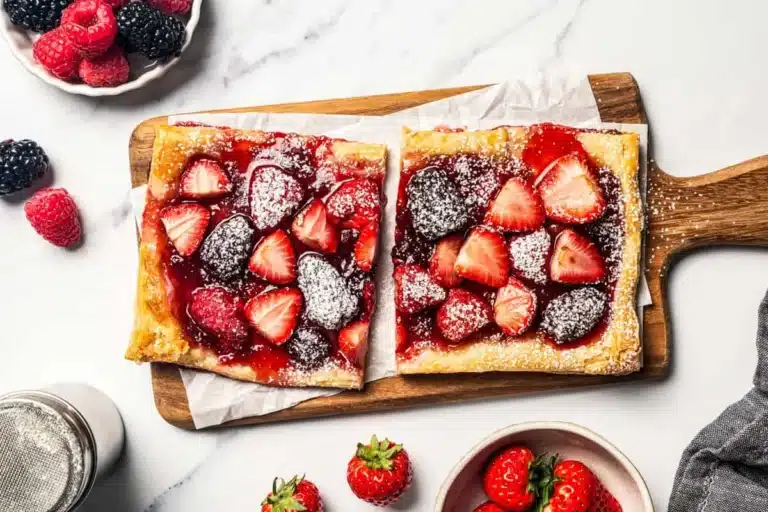
These golden, crisp banana chips offer a delightful visual and textural element when used as a garnish. Imagine them artfully arranged around the edge of a vibrant fruit tart, adding a rustic charm and an unexpected crunch. They can also be crumbled over the top of creamy yogurts or parfaits, providing a delightful contrast to softer textures.
For a more elaborate presentation, consider using them to create a playful “fencing” around cakes or cupcakes. Their natural curves and golden hue make them visually appealing and a healthier alternative to traditional sugary decorations. They can also be incorporated into edible arrangements, adding dimension and a unique flavor profile.
Side Dishes
Baked banana chips are an excellent accompaniment to a variety of lighter meals and snacks. They pair wonderfully with a fresh bowl of fruit salad, adding an extra layer of texture and sweetness that enhances the overall experience. Consider them a fantastic companion to a simple breakfast of overnight oats or a thick smoothie bowl, providing a satisfying crunch with every bite.
For a delightful brunch or light lunch, serve them alongside a mild cheese board. Their sweetness can cut through the richness of various cheeses, offering a balanced flavor profile. They also make a surprisingly good crunchy addition to soups, particularly creamy vegetable or coconut-based varieties, adding an interesting textural contrast.
Creative Serving Ideas
Think beyond just snacking! These banana chips can be an ingredient in their own right. Try crushing them and using them as a coating for chicken or fish before baking, offering a subtly sweet and crunchy crust similar to what you might find on some Southern-style dishes. This technique adds a unique twist to familiar recipes.
Another inventive idea is to incorporate them into homemade granola or trail mix. Their inherent sweetness means you can reduce the amount of added sweeteners in your mix, making it even healthier. They also add a delightful chewiness that develops over time when mixed with other ingredients, making for a more complex and satisfying snack. They even work as a delightful topping for ice cream or frozen yogurt, offering a healthier alternative to cookie crumbles.
Preparation & Storage
Storing Leftovers
Proper storage is key to maintaining the crispness of your homemade baked banana chips. Once they have completely cooled on the wire rack, transfer them to an airtight container. Ensure the container is truly sealed to prevent any moisture from entering, which is their enemy when it comes to crispiness.
At room temperature, properly stored banana chips can last for up to three weeks. Avoid storing them in humid environments or in places where they might be exposed to direct sunlight, as these conditions can compromise their texture and freshness. For longer-term storage, consider freezing them, but ensure they are well-sealed.
Freezing
If you’ve made a large batch and anticipate not being able to consume them within the three-week window, freezing is an excellent option. To freeze your baked banana chips, first ensure they are thoroughly cooled and completely dry. Then, place them in a single layer on a baking sheet and freeze until solid, a process that takes about 1-2 hours.
Once frozen, transfer the chips into freezer-safe bags or airtight containers. It’s often best to break them into smaller portions within the bags to prevent large clumps from forming and to make it easier to thaw only what you need. Properly frozen, they can retain their quality for several months.
Reheating
If your banana chips have lost some of their crispness due to humidity or being stored for an extended period, reheating them can often restore their texture. The best method is to place them back on a baking sheet in a low oven, around 200-250°F (95-120°C), for about 10-15 minutes.
Keep a close eye on them during this reheating process, as they can quickly go from slightly soft to perfectly crisp again. Alternatively, if you have an air fryer, you can reheat them at a similar low temperature for a shorter duration. This quick crisping method can revive their delightful snap, making them taste almost as good as when they were freshly made.
Frequently Asked Questions
-
What is the best type of banana to use for baking banana chips?
For the ideal baked banana chips, you’ll want to select bananas that are ripe but still firm to the touch. Overly ripe bananas will be too soft and mushy, making them difficult to slice thinly and prone to burning before they can crisp up. Conversely, underripe bananas might not offer enough natural sweetness. Look for bananas with a bright yellow peel, perhaps with a few small brown speckles, but without any significant bruising or soft spots. This firmness ensures they hold their shape during the baking process and develop a satisfying, not chewy, texture.
-
Why are my baked banana chips not getting crispy?
Several factors can contribute to baked banana chips not reaching optimal crispness. The most common reason is insufficient baking time or temperature; the low and slow method is crucial for evaporating moisture. If the slices are too thick, they will retain too much moisture. Ensure they are sliced thinly and evenly. Overcrowding the baking sheet also prevents proper air circulation, leading to steaming rather than drying. Finally, make sure they are completely cooled on a wire rack after baking, as they continue to crisp up during this stage. If they seem only slightly chewy, returning them to a low oven for another 15-20 minutes can often help.
-
Can I add other flavors or spices to my baked banana chips?
Absolutely! Baked banana chips are a fantastic canvas for a variety of flavors. Before baking, after tossing the banana slices in lemon juice, you can sprinkle them with cinnamon, nutmeg, or a blend of pumpkin pie spices for a warm, autumnal taste. For a sweet and spicy kick, try a pinch of chili powder and a dash of salt. You can also drizzle them with a tiny bit of honey or maple syrup before baking, though be mindful that these can increase the risk of caramelization and burning. Experimenting with different spice combinations can lead to delightfully unique snack creations, transforming a simple recipe into something truly special.