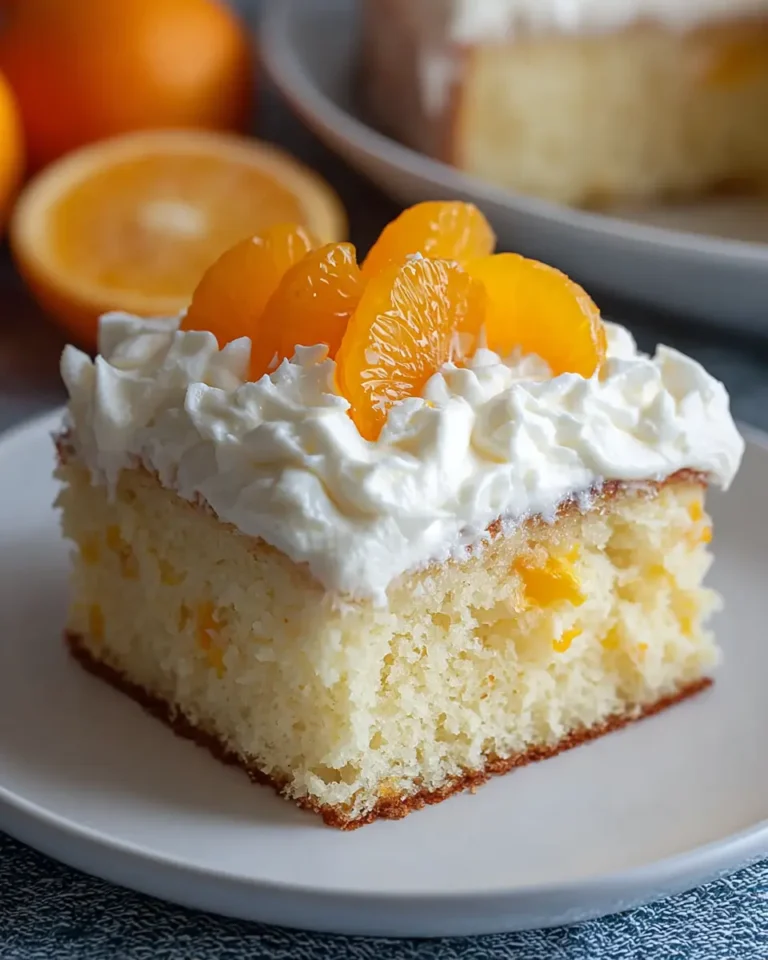
Sour Cream Coconut Cake
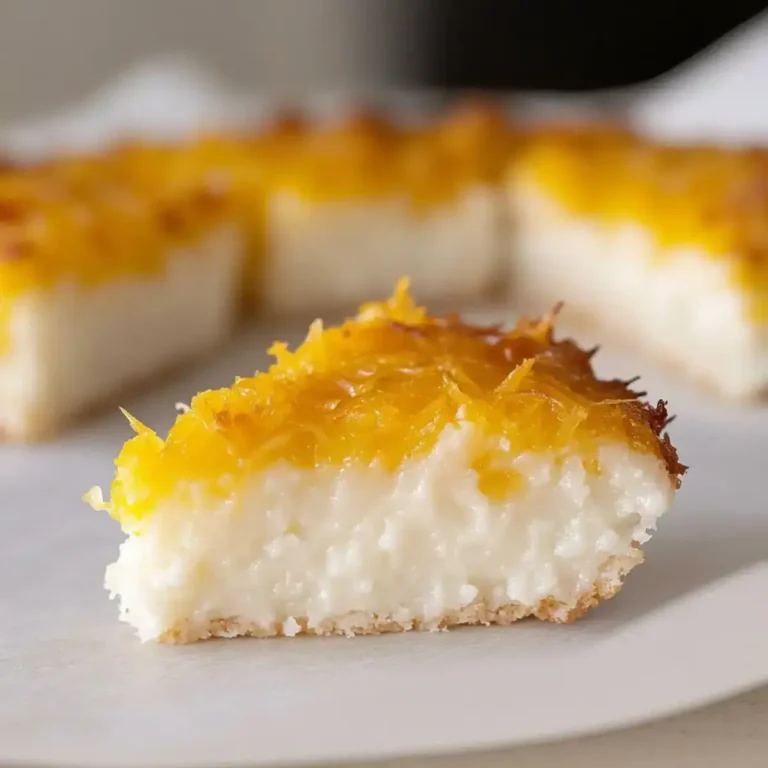
Creamy and make-ahead, Sour Cream Coconut Cake offers a delightful experience with its soft butter cake base, a rich coconut layer, and a light whipped finish, all best enjoyed chilled. This dessert is remarkably simple to prepare, making it an excellent choice for gatherings, and its flavors deepen beautifully after a period of resting in the refrigerator.
This is precisely the kind of cake that shines when you crave something sweet without the complexity of a multi-layered confection. It involves baking a straightforward cake, layering it with a luscious coconut mixture, and topping it all with a fluffy finish that keeps the entire dessert light enough for seconds.
Why You Will Love This Recipe
- Effortless Assembly: Forget complicated steps; this cake comes together with simple mixing and layering, perfect for busy bakers.
- Irresistible Texture Contrast: Experience the delightful interplay between the tender cake base, the creamy, coconut-rich middle layer, and the cool, airy topping.
- Make-Ahead Magic: Prepare this cake hours or even a day in advance, freeing you up to enjoy your guests or relax.
- Crowd-Pleasing Flavor: The classic combination of coconut, sour cream tang, and sweet cake base is a universally loved profile that appeals to a wide range of palates.
- No-Fuss Presentation: This dessert looks beautiful straight from the pan, requiring minimal decoration to impress.
Ingredients You Need
Selecting high-quality ingredients is paramount to achieving the best possible flavor and texture in your Sour Cream Coconut Cake. The foundation of this delightful dessert relies on a good cake mix, fresh dairy products, and well-shredded coconut. Ensuring your butter is at the correct temperature and your sour cream is full-fat will make a noticeable difference in the final outcome.
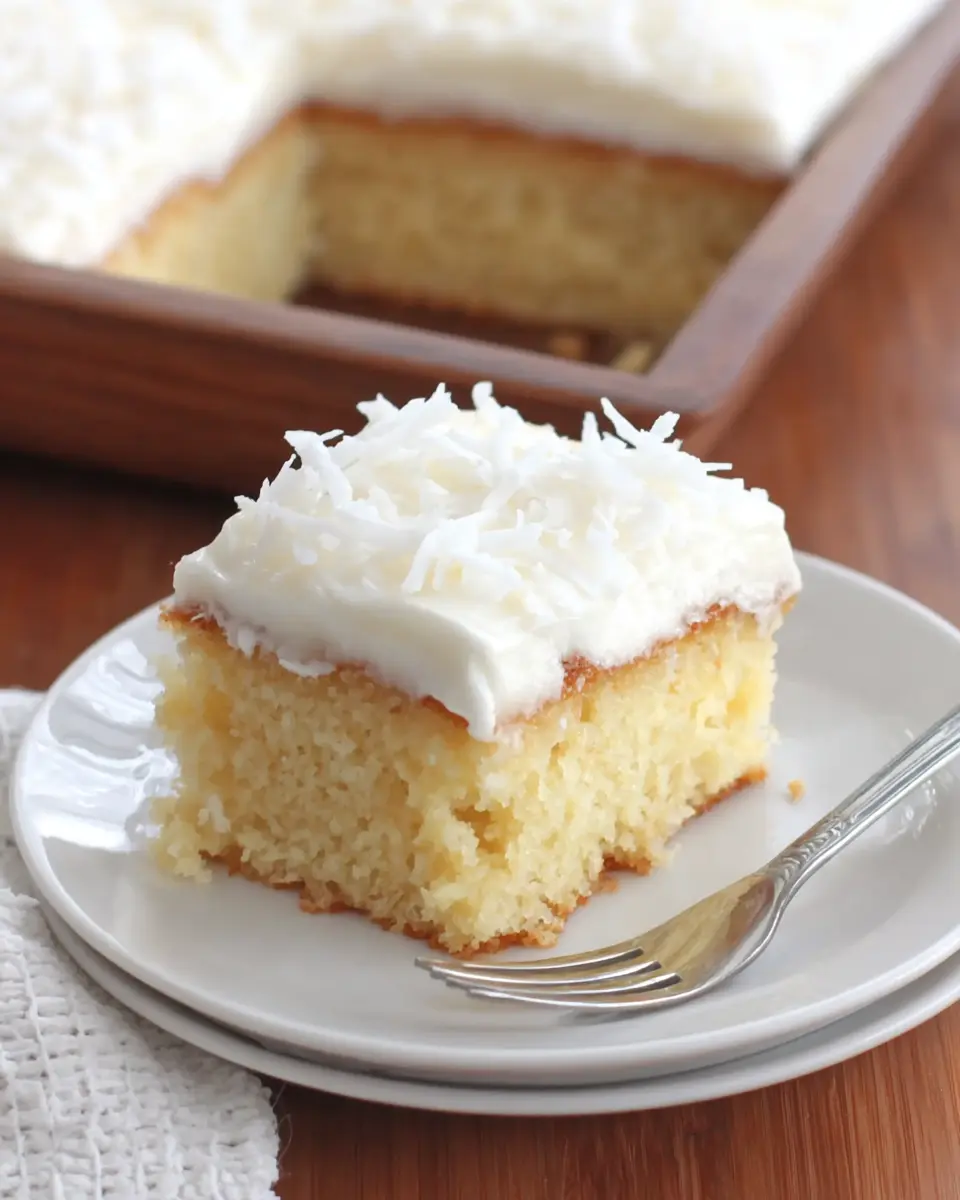
Sour Cream Coconut Cake
A chilled dessert cake featuring a soft butter cake base, a rich coconut-and-sour-cream layer, and a light whipped topping finish. Its creamy texture and sweet coconut flavor make it especially suitable for preparing ahead of time.
- 1 package butter cake mix
- 3 large eggs
- 7 tablespoons unsalted butter, softened to room temperature
- 3/4 cup water
- 12 ounces sweetened shredded coconut, thawed
- 8 ounces full-fat sour cream
- 2 cups granulated sugar
- 8 ounces whipped topping, thawed
- 1Prepare the butter cake mix by following the package instructions, using the softened butter, eggs, and water. Pour the batter into a 9 x 13-inch baking pan.
- 2Bake as directed on the cake mix box. When the cake is done, remove it from the oven and let it cool completely in the pan.
- 3In a mixing bowl, combine the granulated sugar, sour cream, and thawed shredded coconut. Stir thoroughly until the mixture is evenly blended. Transfer the bowl to the refrigerator and chill the mixture well.
- 4Once the coconut mixture is fully chilled, set aside 1 cup for the topping. Spread the remaining coconut mixture evenly over the surface of the cooled cake.
- 5In a separate bowl, combine the reserved 1 cup of coconut mixture with the thawed whipped topping. Mix until smooth and fully incorporated.
- 6Spread the whipped topping mixture over the coconut layer, creating an even final layer across the cake.
- 7Refrigerate the finished cake for at least 4 hours before serving. For improved flavor and texture, it may be chilled for up to 24 hours. Slice and serve cold.
Keywords: Sour Cream Coconut Cake, Cake, Dessert, Make-ahead, Chilled, Coconut, Sour Cream, Butter Cake
- butter cake mix: a convenient and reliable base for a tender cake.
- eggs: crucial for structure, richness, and binding the cake batter together.
- unsalted butter: contributes to a richer flavor profile and a more homemade taste compared to using oil.
- water: helps to achieve the correct batter consistency as directed by the cake mix.
- sweetened shredded coconut: the star ingredient for the signature flavor and delightful texture of the middle layer.
- full-fat sour cream: provides essential tanginess and a creamy body, balancing the sweetness and enriching the coconut layer.
- granulated sugar: sweetens the coconut mixture, enhancing the classic dessert taste and contributing to its texture.
- whipped topping: transforms the reserved coconut mixture into a light, fluffy, and spreadable final layer.
Specific quantities for each ingredient can be found within the recipe card for your convenience.
Variations
For those seeking a different dietary approach or a creative twist, this Sour Cream Coconut Cake offers remarkable versatility. Adapting it for various needs can be achieved with simple ingredient swaps or additions.
Vegan Adaptation: To transform this into a delightful vegan treat, begin by selecting a vegan-friendly butter cake mix; many such options are readily available and perform excellently. Next, substitute the eggs with a flax egg mixture (one tablespoon of ground flaxseed mixed with three tablespoons of water, allowed to sit for five minutes) or a commercial egg replacer, ensuring you use the correct quantity as per the replacer’s instructions. For the sour cream layer, utilize a rich, full-fat coconut yogurt or a cashew-based sour cream alternative; these provide the necessary creaminess and tang. The whipped topping can be replaced with a chilled, solidified coconut cream that has been whipped until fluffy, or a commercially available vegan whipped topping. Ensure that the shredded coconut is also unsweetened if you are reducing overall sugar content.
Low-Carbohydrate Version: Crafting a low-carb version requires careful ingredient selection. Opt for a sugar-free or low-carb cake mix designed for baking, often made with almond flour or coconut flour. Instead of granulated sugar, use a granulated sugar substitute like erythritol or xylitol (use xylitol with caution if you have pets, as it is toxic to dogs) for the coconut layer. Full-fat sour cream remains a suitable choice, as it is naturally low in carbohydrates. For the whipped topping, use a sugar-free whipped topping or whip heavy whipping cream with a sugar substitute until stiff peaks form. If using sweetened shredded coconut, consider opting for unsweetened shredded coconut and adjust the sweetness with your chosen low-carb sweetener to taste. This adaptation requires more attention to ingredient ratios to maintain the desired texture and sweetness.
Citrus Zest Infusion: Elevate the cake’s flavor profile by incorporating the zest of one to two lemons or limes into the coconut layer mixture. This bright citrus note cuts through the richness of the coconut and sour cream, adding a refreshing complexity that is particularly appealing. The zest should be finely grated and thoroughly mixed into the sour cream and coconut combination before chilling. This subtle addition creates a more nuanced and sophisticated dessert, perfect for warmer weather or when you desire a lighter, more vibrant flavor. The key is to ensure the zest is evenly distributed for a consistent taste in every bite.
How to Prepare Sour Cream Coconut Cake
Step 1: Preparing the Butter Cake Base
The journey to creating this delightful cake begins with the base, a simple butter cake that provides a tender and sturdy foundation. Following the directions on your chosen butter cake mix is the most straightforward approach, ensuring consistency and ease. These mixes are formulated to deliver a predictable and pleasing texture, saving you time and effort while guaranteeing a delicious result.
You will typically need to combine the cake mix with eggs, softened unsalted butter, and water. The softened butter is essential; it should be pliable enough to incorporate smoothly into the dry ingredients without leaving lumps, contributing richness and a superior crumb. Water is added to achieve the correct batter consistency, ensuring it is pourable but not too thin, which is crucial for an even bake.
Once the batter is smooth and well-combined, it’s time to pour it into your prepared baking pan. A 9×13-inch pan is standard for this recipe, and it should be generously greased and floured, or lined with parchment paper, to prevent sticking. Spread the batter evenly to ensure consistent thickness across the entire surface. Bake the cake according to the package instructions, typically until a toothpick inserted into the center comes out clean, and the top is lightly golden brown and springs back when lightly touched.
Step 2: Cooling the Cake Completely
This step is not merely a suggestion but a critical component for the successful layering of your Sour Cream Coconut Cake. Allowing the cake to cool completely in the pan is paramount because the subsequent coconut layer is spread over a warm surface, it has a much higher chance of melting, sliding, or becoming a messy affair. A cool cake provides a stable platform that prevents any unwanted interaction between the warm cake and the cooler filling.
Patience here truly pays off. Resist the urge to rush this process, as a fully cooled cake ensures that the coconut mixture will spread evenly and smoothly, creating that signature middle layer with crisp, defined edges. The temperature difference between a warm cake and the chilled coconut mixture can cause the latter to liquefy prematurely, compromising the cake’s structure and visual appeal. This cooling period allows the cake’s internal structure to set properly, making it more robust for the addition of toppings.
Once the cake has reached room temperature, you can proceed to the next steps with confidence. If you are short on time, you can carefully invert the cooled cake onto a wire rack to speed up the cooling process, but it must be completely cool before the coconut mixture is added. This attention to detail ensures each slice will showcase distinct, appealing layers.
Step 3: Crafting the Creamy Coconut Mixture
While the cake base is diligently cooling, you can turn your attention to the star of the show: the rich and creamy coconut layer. This part of the recipe is where the distinctive flavor and delightful texture of your cake truly begin to take shape. The combination of ingredients here is designed to create a luscious filling that perfectly complements the tender cake beneath it.
In a medium-sized mixing bowl, combine the sweetened shredded coconut, full-fat sour cream, and granulated sugar. Stir these ingredients together thoroughly until they are well incorporated and the mixture has a uniform appearance. The sweetened shredded coconut provides that unmistakable tropical flavor and a pleasant chewiness, while the full-fat sour cream lends a rich tanginess and a creamy, smooth consistency that prevents the filling from being overly sweet or dry. The granulated sugar balances the tang of the sour cream and enhances the sweetness of the coconut.
Once everything is mixed, it is crucial to chill this coconut mixture well. Placing the bowl in the refrigerator for at least an hour, or until it has firmed up slightly, makes it significantly easier to spread over the cooled cake. A well-chilled mixture will be thicker and less likely to run or spread unevenly, ensuring a neat and even layer across the entire cake surface. This chilling step is essential for achieving that perfect, cohesive middle layer that defines this cake.
Step 4: Layering the Coconut Filling
With your cake base completely cooled and the coconut mixture nicely chilled and slightly firmed, it’s time to assemble the heart of this dessert. This step requires a gentle touch to ensure that the delicate cake layers are not disturbed, maintaining their integrity. The goal is to create an even, consistent layer of the creamy coconut mixture that will be a delight in every bite.
Before you begin spreading the main portion, scoop out approximately 1 cup of the chilled coconut mixture and set it aside. This reserved portion is not destined for the main filling but will be incorporated into the final topping layer, adding subtle coconut notes and enhancing its texture. This small step ensures that the topping is not just plain whipped cream but a beautiful fusion of flavors.
Now, take the remaining larger portion of the chilled coconut mixture and carefully spread it evenly over the surface of the cooled cake. Use an offset spatula or the back of a spoon to gently coax the mixture to the edges of the pan. Ensure you cover the entire surface, reaching all the way to the corners. This even distribution guarantees that every single slice of cake will receive that wonderfully creamy and flavorful coconut center, making each mouthful a balanced delight.
Step 5: Creating the Whipped Topping
The final layer of this delectable cake is a light, airy whipped topping that provides a beautiful contrast to the richer coconut filling below. This topping is incredibly simple to make, transforming the reserved coconut mixture into a cloud-like finish that spreads effortlessly and chills to perfection.
In a separate bowl, combine the 1 cup of reserved coconut mixture with the thawed whipped topping. Ensure your whipped topping is fully thawed but still cold; this will help it maintain its structure and loft. Gently fold the reserved coconut mixture into the whipped topping. The key here is to fold rather than vigorously beat, preserving the airiness of the whipped topping. Continue folding until the mixture is smooth and uniformly fluffy, with no streaks of either component visible.
Once your topping is beautifully blended and airy, carefully spread it over the coconut layer that you applied in the previous step. Again, use an offset spatula or a spoon to create an even surface. Aim for a smooth finish, as this will result in neat, clean slices when it’s time to serve. This topping not only adds a delightful texture but also seals in the flavors, creating a visually appealing final product that is as pleasing to the eye as it is to the palate.
Step 6: Chilling for Optimal Flavor and Texture
The final and perhaps most crucial step in preparing this Sour Cream Coconut Cake is allowing it ample time to chill. This period of refrigeration is not merely to cool the cake down; it is essential for allowing the layers to meld together, the flavors to deepen, and the textures to achieve their full potential. Patience during this stage will be richly rewarded with a superior dessert experience.
The cake should be refrigerated for a minimum of 4 hours before serving. During this time, the sour cream and coconut mixture will firm up beautifully, becoming perfectly spreadable and holding its shape when sliced. The whipped topping will also set, providing a stable and elegant finish. This chilling process allows the moisture to distribute evenly throughout the cake, softening the crumb slightly and integrating the distinct flavors into a cohesive whole.
For an even more profound flavor development and a superior texture, an overnight chill is highly recommended. When left to rest for 24 hours, the flavors have more time to meld, creating a richer, more complex taste profile. The cake itself becomes moister and more tender, and the layers achieve a delightful cohesion that makes for exceptionally clean and satisfying slices. This extended chilling time transforms a good cake into an exceptional one, making it a true showstopper for any occasion.
Pro Tips for Sour Cream Coconut Cake
To elevate your Sour Cream Coconut Cake from simply delicious to truly spectacular, consider incorporating a few expert tips into your preparation. These small adjustments can make a significant difference in both the ease of making the cake and the ultimate quality of the finished product.
Chill Everything: Ensure all your dairy components, especially the sour cream and whipped topping, are thoroughly chilled before you begin. Cold ingredients are crucial for achieving the correct consistency in both the coconut layer and the final topping, preventing them from becoming too runny.
Even Layering is Key: When spreading both the coconut mixture and the whipped topping, take your time to create as even a layer as possible. This not only makes the cake look more appealing but also ensures that each bite contains a balanced proportion of cake, filling, and topping.
Use a Sharp Knife for Slicing: For the cleanest and most attractive slices, use a sharp knife. Wiping the knife clean with a damp cloth between each cut will prevent crumbs from smearing and will help maintain the distinct lines between the cake layers.
Room Temperature Butter for Cake Mix: While the recipe calls for softened butter for the cake mix, ensure it’s truly softened and not melted. Softened butter incorporates more easily and contributes to a lighter, more tender cake crumb compared to melted butter.
Don’t Overmix the Whipped Topping: When combining the reserved coconut mixture with the whipped topping, fold gently. Overmixing can deflate the whipped topping, resulting in a denser, less airy finish.
Serving Suggestions for Sour Cream Coconut Cake
Decoration
This cake is naturally beautiful, but a few decorative touches can enhance its appeal without overwhelming its simple charm. Consider a light dusting of extra sweetened shredded coconut over the top just before serving for an immediate visual cue to the cake’s flavors. Alternatively, a sprinkle of toasted coconut flakes can add a lovely crunch and a slightly more sophisticated look, along with a deeper toasted coconut aroma.
For a touch of elegance, a few fresh mint leaves or edible flowers can be artfully arranged on top. If you are serving it for a special occasion, a simple drizzle of melted white chocolate or a light glaze made from powdered sugar and milk can add an extra layer of sweetness and visual interest. The key is to keep the decoration complementary to the cake’s creamy and coconut-forward profile.
Another delightful option is to arrange a few strategically placed maraschino cherries or fresh berries around the edge of the cake. These add pops of color and a hint of tartness that can beautifully balance the sweetness of the cake. Whatever you choose, the goal is to enhance, not detract from, the cake’s inherent appeal and delicious flavors.
Side Dishes
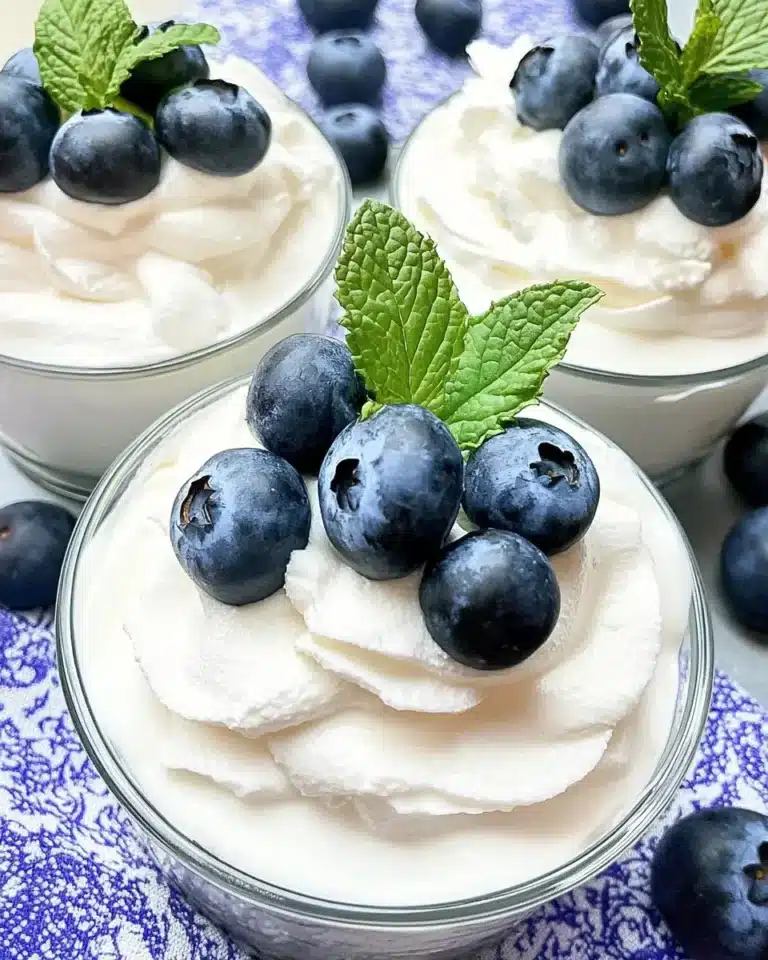
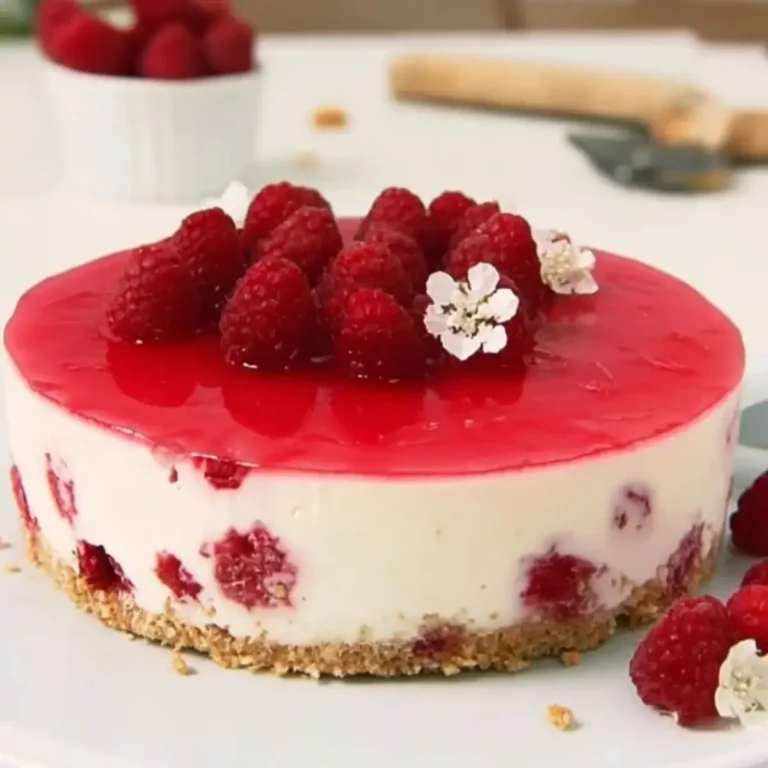
The creamy and sweet nature of this Sour Cream Coconut Cake pairs wonderfully with lighter, brighter accompaniments that offer a contrast in flavor and texture. Fresh berries, such as strawberries, raspberries, or blueberries, are an excellent choice. Their natural tartness and juicy freshness cut through the richness of the cake, providing a refreshing counterpoint.
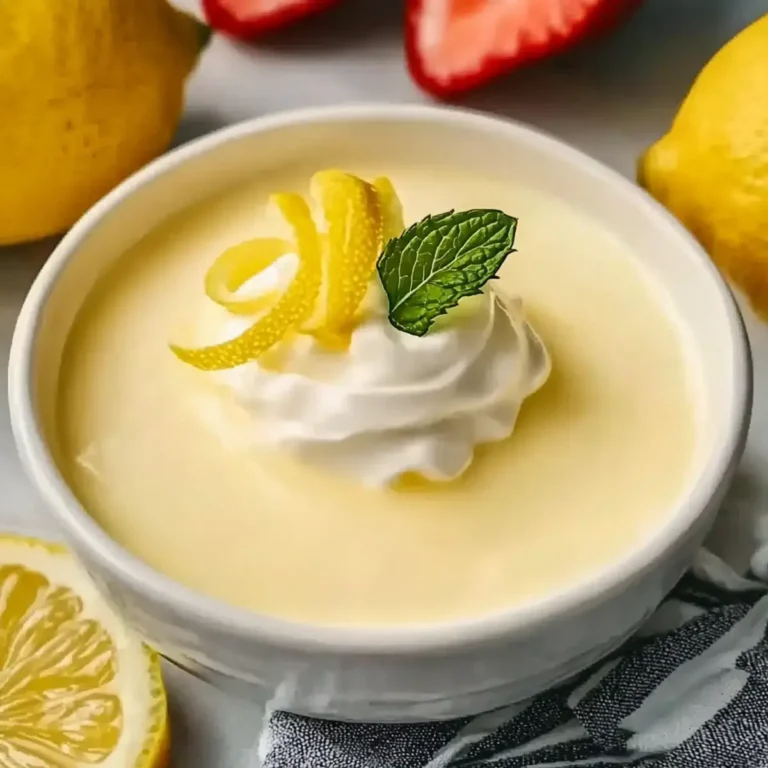
Consider serving a simple fruit salad alongside the cake, featuring fruits that complement the coconut flavor, like pineapple, mango, or kiwi. A dollop of unsweetened whipped cream or a small scoop of vanilla bean ice cream can also be a delightful addition, offering a cool, creamy contrast without adding excessive sweetness. For a more substantial side, a light lemon sorbet can provide a wonderfully palate-cleansing experience.
Another excellent pairing is a simple green salad with a light, citrus-based vinaigrette, especially if this cake is part of a larger meal. The slight tang of the dressing mirrors the sour cream in the cake and refreshes the palate. The idea is to offer something that balances the cake’s sweetness and richness, enhancing the overall dining experience.
Creative Serving Ideas
Beyond traditional slices, this Sour Cream Coconut Cake lends itself to several creative serving ideas that can make any occasion feel special. For a more casual gathering or a potluck, consider cutting the cake into small, bite-sized cubes and serving them in individual mini dessert cups or shot glasses. This makes them easy to handle and offers a more refined presentation.
Another fun idea is to create “cake parfaits” by layering crumbled pieces of the cake with additional whipped topping and fresh berries in tall glasses. This deconstructed approach allows guests to see the beautiful layers and customize their own dessert experience. A sprinkle of toasted coconut or a drizzle of caramel sauce can add an extra touch of indulgence to these parfaits.
For a brunch setting or a tea party, individual servings can be made by baking the cake in a muffin tin, then topping each with a dollop of whipped cream and a fresh berry. This transforms the classic cake into elegant, single-serving treats that are both charming and convenient. No matter the occasion, these creative serving ideas will ensure your Sour Cream Coconut Cake is remembered.
Preparation & Storage
Storing Leftovers
This Sour Cream Coconut Cake is designed to be enjoyed chilled, making storage straightforward and ensuring it remains delicious for several days. Because the cake contains dairy products like sour cream and whipped topping, it must be kept refrigerated at all times to maintain its quality and safety. Proper storage is key to preserving its texture and preventing spoilage.
To store leftovers, cover the pan tightly with plastic wrap or aluminum foil. If you have already sliced the cake, transferring the remaining portion to an airtight container is an even better option. An airtight container will help prevent the cake from drying out or absorbing odors from other foods in the refrigerator. When stored correctly, this cake can typically be kept fresh for up to 3 to 4 days.
Ensure that the cake is fully chilled before covering and refrigerating it. Allowing it to sit at room temperature for too long can compromise its texture, especially the whipped topping. Always return the cake to the refrigerator promptly after serving to maintain its optimal condition.
Freezing
Freezing Sour Cream Coconut Cake is a viable option for long-term storage, allowing you to enjoy this delightful dessert even further down the line. While the texture of the whipped topping might slightly change upon thawing, the cake itself will remain wonderfully moist and flavorful. Freezing is best done with individual slices to ensure ease of serving and to minimize the impact on the entire cake.
To freeze, place individual slices of the cake on a baking sheet lined with parchment paper and freeze until they are firm to the touch. This pre-freezing step prevents the slices from sticking together. Once the slices are solid, wrap each one tightly in plastic wrap, then place them inside a freezer-safe airtight container or a heavy-duty freezer bag. This double layer of protection will help prevent freezer burn and maintain quality.
Properly wrapped and stored, the frozen cake slices can be kept for about 1 month. When you are ready to enjoy a slice, it is best to thaw it slowly in the refrigerator overnight. This gradual thawing process helps the whipped topping maintain its structure better than thawing at room temperature, ensuring a more pleasant texture upon serving.
Reheating
Due to the nature of its ingredients and the fact that it is meant to be served chilled, there is no reheating process required for this Sour Cream Coconut Cake. The beauty of this dessert lies in its cool, refreshing qualities. Reheating would likely alter the texture of the whipped topping and the sour cream layer detrimentally, making it mushy and unappealing.
Instead of reheating, if you find the cake is too cold straight from the refrigerator and you prefer a slightly softer texture, you can let a slice sit at room temperature for about 10 to 15 minutes. This brief resting period will allow it to warm up just enough to soften the crumb slightly and release its flavors more readily, without compromising the integrity of the chilled layers.
The cake is designed to be served cold, and this is precisely how its flavors and textures are best experienced. Enjoying it chilled provides a delightful contrast, especially on warmer days, and highlights the creamy, cool aspects that make this dessert so appealing. Embrace its chilled state for the ultimate enjoyment.
Frequently Asked Questions
-
Can I make this cake a day in advance?
Absolutely, yes! This is one of the primary advantages of this Sour Cream Coconut Cake, making it an ideal choice for entertaining. Preparing it a full day ahead allows the flavors to meld beautifully and the layers to settle, resulting in an even more cohesive and delicious dessert. The chilling time overnight also helps the cake absorb moisture, making it delightfully creamy and easier to slice neatly, ensuring a perfect presentation for your guests.
-
Does this cake have to be refrigerated?
Yes, refrigeration is essential for this cake. The inclusion of full-fat sour cream in the filling and the use of whipped topping for the final layer both necessitate keeping the cake cold. These ingredients can spoil at room temperature, and the structure of the cake, particularly the topping, is designed to hold its shape best when chilled. It can sit out briefly while you are serving dessert, but it should be returned to the refrigerator immediately afterward to maintain its quality and safety.
-
Can I use unsweetened coconut instead of sweetened shredded coconut?
You certainly can use unsweetened coconut, but it will noticeably alter the overall flavor profile and sweetness of the cake. The filling will be less sweet and may taste a bit more traditional or less like the classic dessert many expect. If you opt for unsweetened coconut, it is highly recommended that you adjust the amount of granulated sugar in the coconut mixture. You may need to add more sugar, or a sugar substitute, to achieve a balance that still feels pleasant and complements the other components of the cake effectively. Taste the mixture before chilling and adjust as needed.