Homemade Vanilla Bean Frappucino – Easy Starbucks Copycat Recipe!
There’s something undeniably magical about a perfectly crafted vanilla bean frappuccino. It’s the quintessential treat that transports you to a cozy coffee shop, even when you’re in the comfort of your own home. This recipe aims to capture that same enchantment, offering a delightful blend of creamy textures and sweet vanilla notes that will surely become a favorite.
Whether you’re a dedicated fan of the original or simply seeking a delicious homemade beverage, this vanilla bean frappuccino recipe is designed to impress. It’s straightforward, adaptable, and delivers that satisfying coffeehouse experience without the hassle of a trip out. Get ready to discover your new go-to drink for any time of day.
Why You Will Love This Recipe
- Effortless Creation: This recipe simplifies the process, making a sophisticated drink achievable for everyone, even novice home baristas.
- Authentic Vanilla Flavor: Utilizing real vanilla bean powder or ice cream ensures a deep, nuanced vanilla taste that artificial flavorings simply can’t replicate.
- Customizable Experience: Enjoy it as is for a caffeine-free indulgence, or easily add a shot of espresso to transform it into a caffeinated delight.
- Luxurious Texture: The combination of ingredients yields a wonderfully thick and creamy consistency, akin to a rich milkshake rather than an icy slush.
- Perfect for Any Occasion: This frappuccino is an ideal treat for a hot summer day, a sweet pick-me-up, or a delightful dessert after a meal.
Ingredients You Need
The quality of your ingredients plays a significant role in the final taste and texture of your vanilla bean frappuccino. Opting for the freshest, highest-quality components will elevate this simple drink into something truly special. Using whole milk provides a richer mouthfeel, while good quality vanilla bean powder or ice cream offers a more complex and authentic flavor profile.
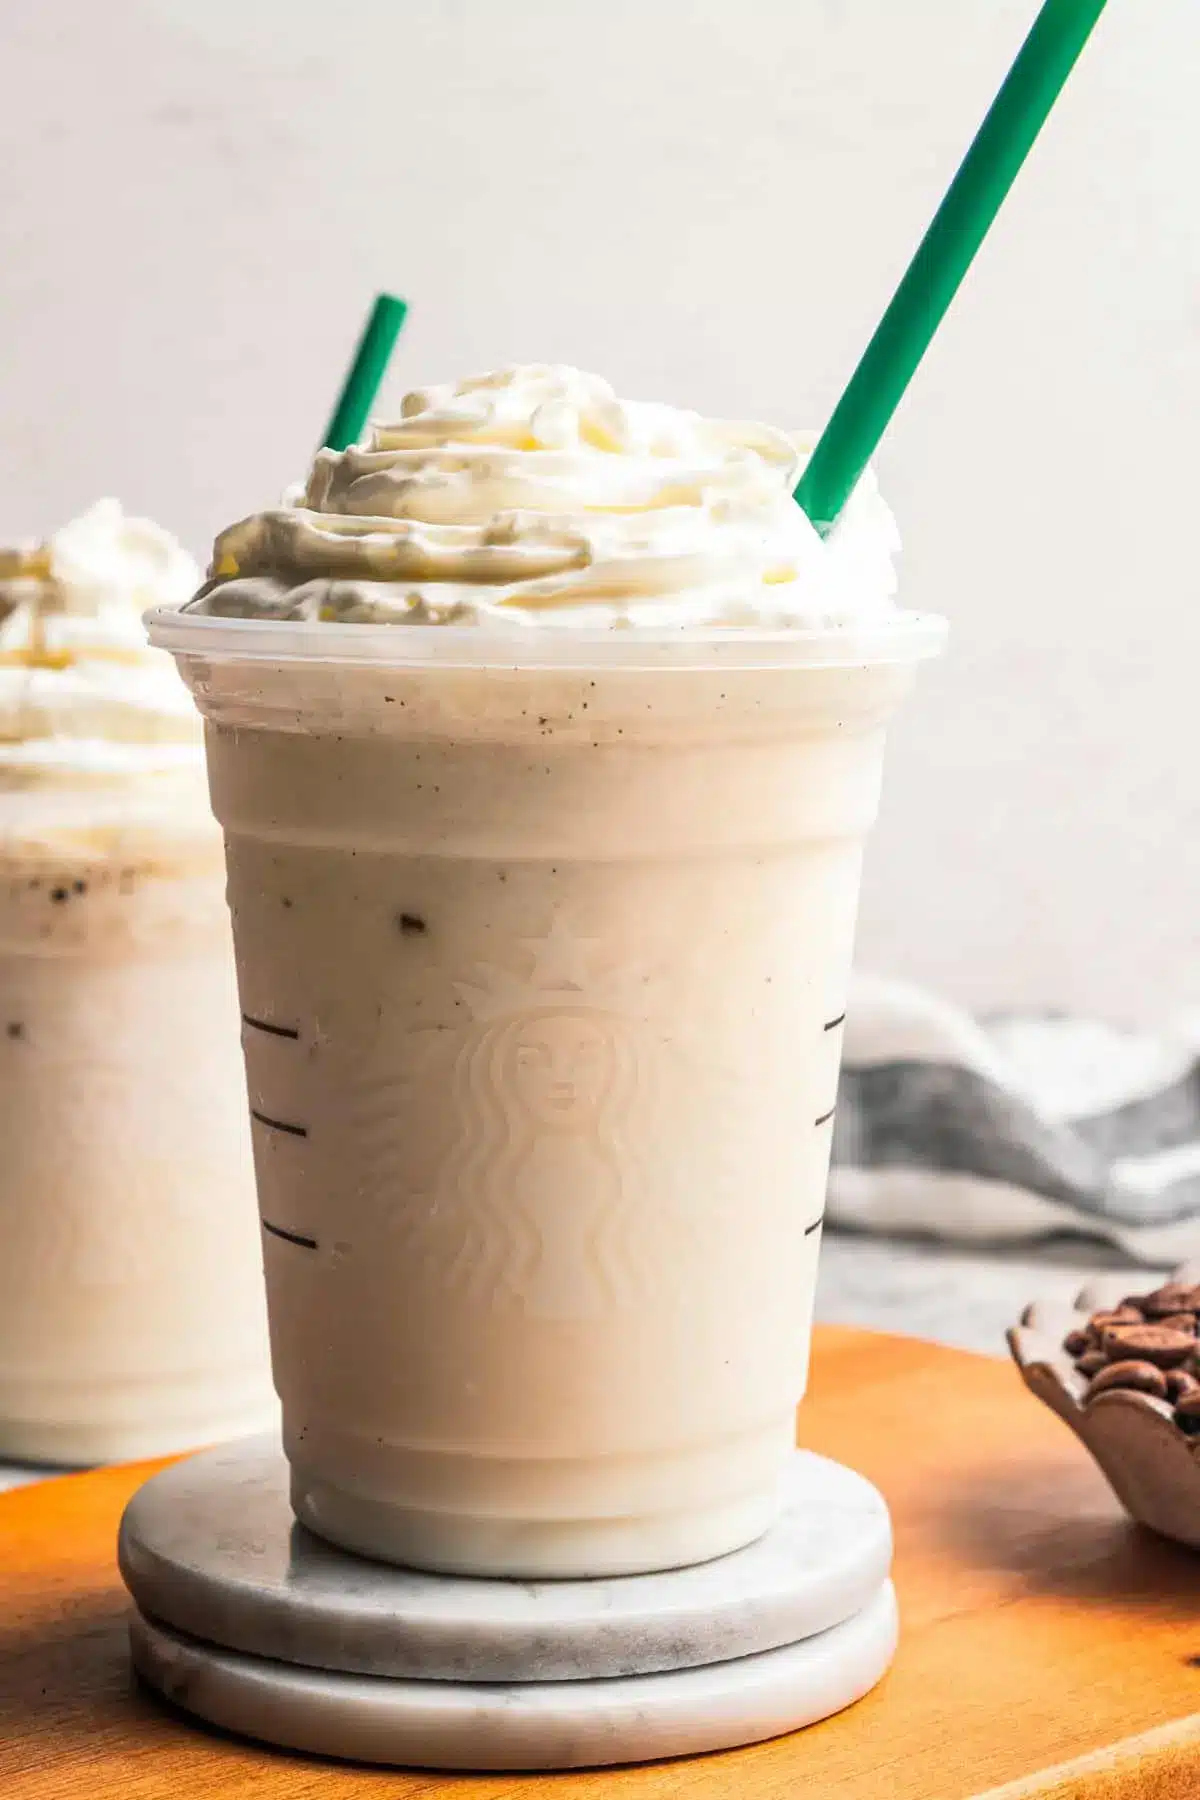
Vanilla Bean Frappuccino

A Starbucks-inspired vanilla bean frappuccino made at home with simple ingredients. This recipe features creamy vanilla bean ice cream for a rich texture, or an option to make it Starbucks-style without ice cream using a homemade Frappuccino base.
- 1 cup whole milk, or 2% milk
- 2 tablespoons vanilla bean powder, or vanilla powder
- 1 scoop (about ⅓ cup) vanilla bean ice cream
- 1 cup ice
- whipped cream, for topping
- 1Combine the milk, vanilla bean powder, ice cream, and ice in a blender.
- 2Blend until smooth and creamy.
- 3Pour into a glass and top with whipped cream. Serve immediately.
Keywords: vanilla bean frappuccino, copycat recipe, starbucks recipe, homemade drink, iced coffee, coffeehouse drink, dessert drink
The precise quantities for each ingredient are detailed within the recipe card, ensuring you can easily replicate this delightful beverage.
Variations
One of the beauties of this vanilla bean frappuccino is its inherent versatility, allowing for delightful customizations to suit various dietary preferences and taste sensations. For those seeking a vegan option, simply substitute the dairy milk with your favorite plant-based alternative like almond, oat, or soy milk, and use a dairy-free vanilla ice cream or a generous swirl of coconut cream instead of the traditional ice cream component.
To create a low-carb or keto-friendly version, swap out the regular milk for unsweetened almond milk and use a sugar-free vanilla syrup or a few drops of liquid stevia to achieve the sweetness. Ensure your vanilla bean ice cream, if using, is also a low-carb variety or omit it and rely on a sugar-free vanilla extract and a touch of a keto-friendly sweetener.
For an added layer of indulgence, consider infusing your frappuccino with complementary flavors. A small amount of finely chopped dark chocolate or a swirl of caramel sauce blended in can create a decadent mocha or caramel vanilla bean variation. You might also experiment with a pinch of cinnamon or nutmeg for a warming spice note, especially delightful during cooler months.
How to Prepare vanilla bean frappuccino recipe
Step 1: Gathering Your Ingredients and Equipment
Before you begin the magical process of transforming simple ingredients into a creamy vanilla bean frappuccino, it’s essential to have everything prepared and within easy reach. This includes measuring out your milk, vanilla bean powder, and ensuring your vanilla bean ice cream is ready to be scooped. Having your ice cubes measured and a high-powered blender set up on your counter will streamline the entire operation, preventing any last-minute dashes.
The choice of blender is crucial for achieving that signature smooth, icy texture without any grittiness. A powerful motor will efficiently break down the ice, creating a luxurious consistency that rivals any coffee shop offering. Consider having a tall, chilled glass ready to receive your finished creation, perhaps even chilling it in the freezer for a few minutes beforehand to keep your frappuccino colder for longer.
This initial step is not just about practicality; it’s about setting the stage for a successful and enjoyable beverage-making experience. A well-organized preparation phase ensures that the blending itself is quick and seamless, leading to the perfect pour and immediate enjoyment of your homemade treat. It’s the foundational element that guarantees the rest of the process flows effortlessly towards deliciousness.
Step 2: The Art of Blending
Once all your measured ingredients are in the blender carafe, it’s time for the transformative stage: the blending. Begin by securing the lid tightly, ensuring no precious liquid escapes during the vigorous process. Start the blender on a low setting to begin incorporating the ingredients, then gradually increase the speed to high.
This gradual increase in power is key to breaking down the ice effectively without over-agitating the mixture, which can lead to a watery consistency. You’re aiming for a smooth, homogenous blend where the ice crystals are fully pulverized, and the vanilla bean ice cream has been fully incorporated, creating a rich, creamy base.
Observe the mixture as it blends; you’ll notice it thickens and takes on a lusciously smooth texture. Continue blending until you can no longer hear the distinct crunch of ice, indicating that everything has been thoroughly pulverized. This stage typically takes about 30-60 seconds, depending on the power of your blender, but always err on the side of caution and ensure complete smoothness.
Step 3: Achieving the Perfect Consistency
The consistency of your vanilla bean frappuccino is paramount to its enjoyment. You are looking for a thick, spoonable texture, similar to a soft-serve ice cream or a decadent milkshake. If your mixture appears too thin after the initial blend, don’t despair; there are simple adjustments you can make.
Add a few more ice cubes to the blender and blend again briefly until incorporated. Alternatively, if you used less ice cream than recommended or a lighter milk, you might need to add a touch more ice cream or even a tablespoon of a thickening agent like a tiny pinch of xanthan gum (use sparingly, as too much can make it gummy) for extra creaminess.
Conversely, if your frappuccino is too thick to blend or pour easily, you can carefully add a small splash of milk, about a tablespoon at a time, and blend again. The goal is a luxurious, thick, but still pourable consistency that coats the inside of your glass beautifully. Achieving this perfect balance ensures every sip is a delight.
Step 4: The Presentation Matters
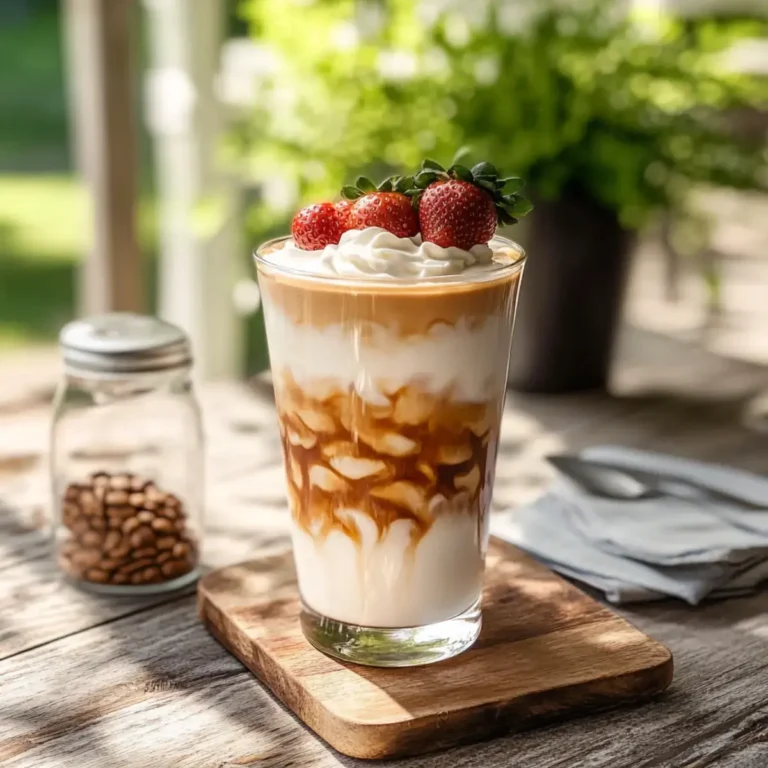
Once your vanilla bean frappuccino has reached its ideal thick and creamy state, it’s time to pour it into your chosen serving vessel. Select a tall, clear glass to best showcase the beautiful pale color and smooth texture of your creation. Carefully pour the blended mixture into the glass, taking care not to spill it down the sides.
The final flourish that truly elevates a homemade frappuccino is the addition of whipped cream. Generously dollop a cloud of whipped cream on top of the blended beverage. This not only adds a delightful visual appeal but also contributes a light, airy contrast to the rich thickness of the drink itself. For an extra touch of elegance, you can use a piping bag with a star tip to create a decorative swirl.
Consider a final garnish to make your vanilla bean frappuccino truly Instagram-worthy. A sprinkle of extra vanilla bean powder, a dusting of cinnamon, a few chocolate shavings, or even a drizzle of caramel sauce can transform your drink into a showstopper. These small details not only enhance the visual experience but also add subtle layers of flavor and aroma, making your homemade treat feel truly special.
Step 5: Enjoying Your Masterpiece
With your vanilla bean frappuccino perfectly blended and beautifully garnished, the most important step remains: savoring every last drop. Grab a wide straw – one that can easily accommodate the thick consistency – and take your first sip. Allow the creamy texture and the sweet, authentic vanilla flavor to wash over your palate.
This is the moment of truth, where all your efforts culminate in a delicious, refreshing, and satisfying beverage. Enjoy it immediately after preparation for the best texture and temperature, as frappuccinos are best when freshly made and haven’t had time to melt significantly.
Take your time to appreciate the nuances of the vanilla bean flavor, the coolness of the ice, and the luxurious creaminess. Whether you’re enjoying it as a midday treat, a dessert, or simply because you deserve something delightful, this homemade vanilla bean frappuccino is sure to bring a smile to your face and a moment of pure bliss.
Step 6: Optional Enhancements and Additions
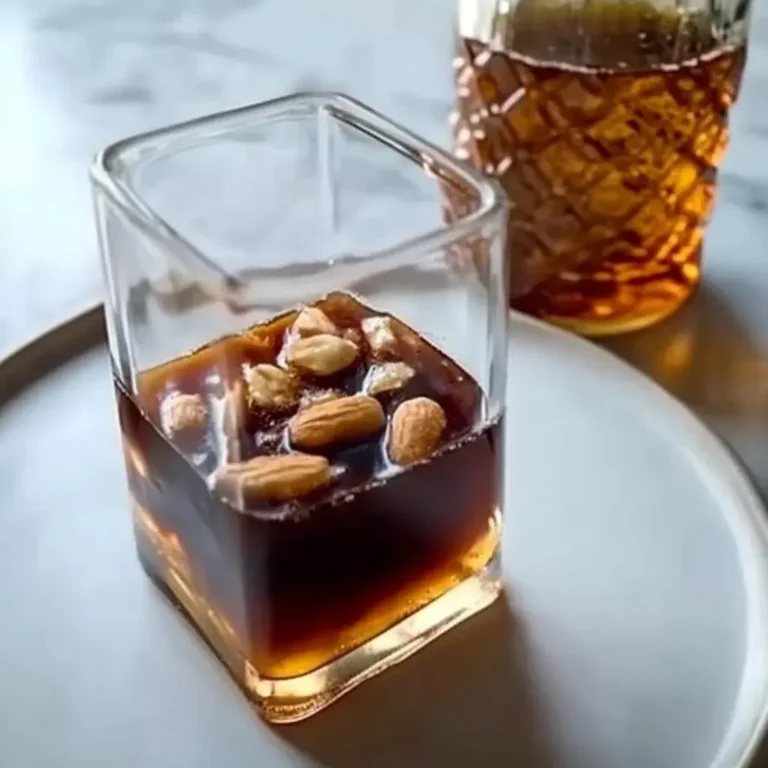
While the base vanilla bean frappuccino recipe is already a triumph, there’s always room for a touch of personalization to tailor it even further to your preferences. For those who crave a bit of a kick, consider adding a shot of espresso. You can blend it directly into the mixture for a fully integrated coffee flavor, or pour it carefully over the top of the whipped cream for an affogato-style experience, allowing the rich coffee to mingle with the creamy vanilla.
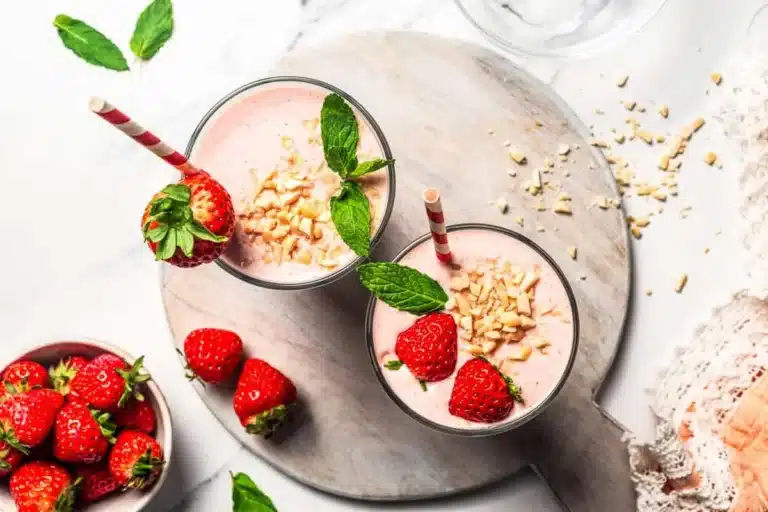
Experiment with different flavor extracts or syrups. A hint of almond extract can add a nutty depth, while a drizzle of peppermint syrup can transform it into a festive holiday treat. You could also blend in a tablespoon of smooth peanut butter for a decadent peanut butter vanilla frappuccino, or a few fresh berries for a fruity twist.
For an extra layer of texture, consider topping your whipped cream with crushed cookies, sprinkles, or even a few toasted nuts. These additions not only enhance the visual appeal but also provide delightful textural contrasts with every sip, making your homemade creation uniquely yours and endlessly enjoyable. The possibilities are truly limited only by your imagination.
Pro Tips for vanilla bean frappuccino recipe
Use high-quality vanilla: The “vanilla bean” in this frappuccino is the star, so using good quality vanilla bean powder or pure vanilla bean paste will make a significant difference in flavor depth. Avoid imitation vanilla extract if possible, as it won’t offer the same complex, aromatic notes.
Chill your glass: For the ultimate frosty experience, place your serving glass in the freezer for at least 10-15 minutes before you begin blending. This helps keep your frappuccino colder for longer and prevents it from becoming watery too quickly.
Don’t over-blend: While you want a smooth consistency, over-blending can generate too much heat from the blender blades, which can melt the ice and result in a thinner, icier drink. Blend just until the mixture is smooth and combined.
Adjust sweetness to taste: The sweetness will depend on your vanilla bean ice cream and personal preference. Taste a small amount before pouring and add a touch more sweetener (like a simple syrup or a sugar-free alternative) if needed, blending briefly to incorporate.
For a creamier texture without ice cream: If you’re making the Starbucks-style version without ice cream, the key is the homemade Frappuccino base. Ensure you use xanthan gum, as it’s crucial for emulsifying and thickening the mixture to mimic that signature smooth, creamy texture.
Serving Suggestions for vanilla bean frappuccino recipe
Decoration
To elevate your vanilla bean frappuccino from a simple drink to a delightful indulgence, consider a few decorative touches. A generous swirl of freshly whipped cream is the classic choice, providing a light, airy contrast to the thick, blended beverage. For an extra burst of vanilla aroma and visual appeal, dust the top of the whipped cream with a bit more vanilla bean powder or finely grated vanilla bean.
You can also add a playful drizzle of caramel or chocolate sauce over the whipped cream, creating appealing patterns that beckon the drinker. For a more festive look, consider a sprinkle of edible glitter, colorful nonpareils, or even a few crushed freeze-dried berries. Even a simple garnish like a mint sprig or a thin wafer cookie can add a charming finishing touch.
Side Dishes
This creamy vanilla bean frappuccino pairs wonderfully with a variety of light and sweet accompaniments. Consider serving it alongside a warm, flaky pastry like a croissant or a pain au chocolat, which offers a lovely textural contrast. A slice of moist lemon pound cake or a tender blueberry muffin also complements the sweet vanilla notes beautifully.
For a lighter option, fresh fruit skewers featuring berries, melon, and grapes can provide a refreshing counterpoint to the richness of the frappuccino. Delicate shortbread cookies or crisp sugar cookies are also excellent choices, offering a satisfying crunch that enhances the overall tasting experience. These pairings are perfect for a weekend brunch or a delightful afternoon tea.
Creative Serving Ideas
Beyond the traditional tall glass, get creative with how you serve your vanilla bean frappuccino. For a fun, party-ready option, serve mini frappuccinos in shot glasses or small espresso cups for a delightful tasting flight. This is perfect for entertaining and allows guests to sample different flavor variations.
Consider serving your frappuccino in mason jars with striped paper straws for a rustic-chic vibe, or in stylish martini glasses for an elegant dessert presentation. You could even create a “build-your-own” frappuccino bar with various toppings and syrups, letting guests customize their own creations. For a truly unique experience, try layering the frappuccino with a bit of whipped cream and a few cookie crumbles in a parfait glass.
Preparation & Storage
Storing Leftovers
A freshly made vanilla bean frappuccino is undoubtedly best enjoyed immediately. The delightful combination of ice and blended ingredients is designed for optimal texture and temperature when consumed promptly. However, if you find yourself with a small amount remaining, it’s important to know that it doesn’t store particularly well.
If you anticipate having leftovers, it’s advisable to halve the recipe from the start to avoid this issue. Attempting to store a frappuccino in the refrigerator will likely result in a melted, watery liquid with separated ice crystals, losing its characteristic thick and creamy consistency. Freezing is also not recommended for the same reasons.
Freezing
Unfortunately, freezing a prepared vanilla bean frappuccino is generally not recommended. The delicate balance of ice and liquid that creates its signature texture is highly susceptible to changes when frozen and thawed. When frozen, the ice crystals will enlarge, and upon thawing, the drink will become watery and lose its appealing smoothness, transforming into an unappetizing slush.
Instead of freezing leftovers, the best approach is to always make only what you plan to consume immediately. If you are concerned about having too much, consider making a smaller batch. This ensures that you get to enjoy the frappuccino at its intended delightful consistency and flavor profile, without the disappointment of a compromised texture after storage.
Reheating
Reheating a vanilla bean frappuccino is not a feasible or recommended process. As the drink is designed to be cold and refreshing, its components—primarily ice and dairy or non-dairy liquids—will not respond well to heat. Any attempt to reheat would simply melt the ice, resulting in a warm, diluted, and unappealing beverage that bears no resemblance to the original blended treat.
The very nature of a frappuccino is its chilled, blended state. Therefore, if you have leftovers, the most sensible course of action is to discard them rather than attempting to reheat or revive them. It’s always best to prepare the exact amount you intend to drink to ensure you experience this delicious beverage at its absolute best.
Frequently Asked Questions
-
Can I make this vanilla bean frappuccino dairy-free and vegan?
Absolutely! To make this recipe vegan and dairy-free, simply substitute the whole milk with your preferred plant-based milk, such as almond, oat, soy, or coconut milk. For the vanilla bean ice cream, you can use a high-quality vegan vanilla ice cream or, if you are making the Starbucks-style version without ice cream, ensure your sugar and any other binders are vegan-friendly. This adaptation will yield a similarly creamy and delicious result without any animal products.
-
What is the difference between vanilla bean powder and vanilla extract?
Vanilla bean powder is made from finely ground, dried vanilla beans. It provides a more intense, authentic, and slightly floral vanilla flavor compared to vanilla extract, and it also contributes tiny specks that give a visual cue of real vanilla bean. Vanilla extract, on the other hand, is a liquid solution made by steeping vanilla beans in alcohol and water. While it offers a good vanilla flavor, it can sometimes be less complex or more one-dimensional than using actual vanilla bean powder or paste, and it doesn’t impart the visual flecks.
-
How can I make my vanilla bean frappuccino thicker if it’s too watery?
If your frappuccino is too watery, the most effective solution is to add more ice. Start with a few additional ice cubes and blend again until you achieve your desired thickness. Another option, especially if you’re not using ice cream, is to add a small amount of a thickening agent. A pinch of xanthan gum (use very sparingly, as too much can make it gummy) or a tablespoon of cornstarch slurry (cornstarch mixed with a little cold water, then blended in) can help create a thicker consistency. Ensure your blender is powerful enough to properly break down the extra ice.