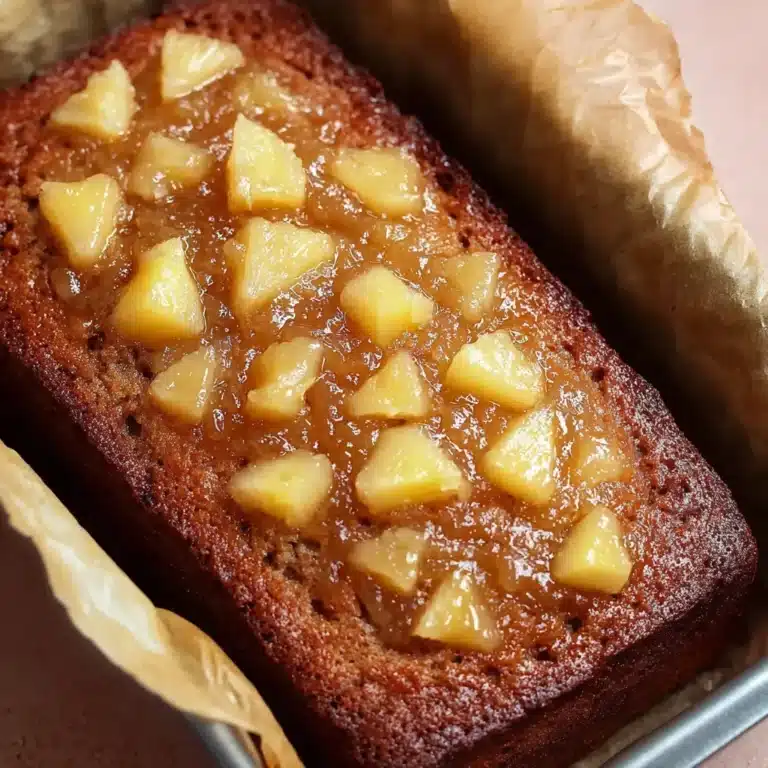
Pineapple Icing for Cake

Quick and beginner-friendly, Pineapple Icing for Cake gives any simple bake a sweet tropical finish with just three main ingredients. It spreads smoothly, sets gently, and adds bright flavor without turning heavy or overly rich.
This is the kind of icing that works beautifully when you want something softer and lighter than a classic buttercream. It brings a clean pineapple note, a glossy texture, and just enough sweetness to make an everyday cake feel a little more special.
Why You Will Love This Recipe
- Effortless Preparation: This icing comes together in mere minutes with minimal fuss, making it perfect for last-minute baking needs.
- Tropical Flavor Burst: Experience a delightful hint of pineapple that transports you to a sunny paradise with every bite.
- Silky Smooth Texture: Achieve a beautifully glossy and smooth finish that elevates the appearance and taste of any cake.
- Versatile Application: Ideal for cakes, cupcakes, or even as a delightful dip for certain fruits, offering flexibility in your baking projects.
- Simple Ingredient List: Crafted from common pantry staples, you likely have everything you need to make this delicious topping right now.
Ingredients You Need
The beauty of this pineapple icing lies in its simplicity and the quality of its few, key components. Choosing fresh, vibrant pineapple juice and good quality unsalted butter will make a noticeable difference in the final flavor profile, ensuring a delightful tropical essence that isn’t overpowering. Ensure your confectioners’ sugar is finely sifted for the smoothest, most luxurious texture possible, as this is the base for a truly elegant finish.
Pineapple Icing for Cake
A simple pineapple-flavored icing with a smooth texture and a lightly tropical finish, ideal for spreading over a cooled cake.
- 2 tablespoons melted unsalted butter
- 1 1/2 cups confectioners’ sugar, sifted for a velvety consistency
- 2 tablespoons pineapple juice
- 1Sift the confectioners’ sugar into a medium mixing bowl. This helps eliminate any lumps and creates a smoother icing.
- 2Add the melted butter and pineapple juice to the bowl. Whisk thoroughly until the mixture is thick, smooth, and fully blended, with no pockets of dry sugar remaining.
- 3Spread the finished icing evenly over a completely cooled cake using a spatula. For a tropical touch, top with shredded coconut, if desired.
- 4Let the icing stand for about 30 minutes before serving so it can set properly and cling well to the cake.
- confectioners’ sugar: essential for that classic sweet, smooth icing consistency, sifted for lump-free results.
- melted unsalted butter: adds a subtle richness and tender mouthfeel to the icing.
- pineapple juice: the star ingredient that infuses a bright, tropical flavor and helps create the perfect spreadable texture.
Quantities for these wonderful ingredients can be found within the integrated recipe card above for your convenience.
Variations
For a delightful vegan twist on this tropical delight, simply substitute the unsalted butter with a good quality vegan butter alternative or a neutral-flavored oil like melted coconut oil. The coconut oil will enhance the tropical theme beautifully, adding another layer of complementary flavor without altering the fundamental texture of the icing. You can still use fresh pineapple juice to achieve that signature bright taste and smooth consistency.
To make this icing lower in carbohydrates, consider using a sugar substitute specifically designed for baking, such as erythritol or a blend of erythritol and monk fruit. Ensure your chosen substitute has a fine grain similar to confectioners’ sugar for the best texture. Adjust the liquid content slightly, as some sugar substitutes can absorb moisture differently, and always taste as you go to achieve your desired sweetness level and consistency.
If you wish to add an extra layer of complexity and visual appeal, a hint of finely grated lime zest can be incorporated into the icing. The bright, zesty notes of lime cut through the sweetness of the pineapple beautifully, creating a more sophisticated flavor profile that is incredibly refreshing. This addition works exceptionally well when paired with a vanilla or coconut cake base.
How to Prepare Pineapple Icing for Cake
Step 1: Prepare the Dry Ingredients
The journey to a perfect pineapple icing begins with meticulously preparing the confectioners’ sugar. Sifting this powdery sweet substance is not merely a suggestion; it’s a critical step that guarantees a luxuriously smooth outcome. Even sugar that appears fine straight from the bag can harbor tiny, stubborn lumps that can mar the elegance of your final glaze. Taking a few extra moments to sift ensures that you are working with the lightest, airiest sugar possible, which will integrate seamlessly with the wet ingredients.
Use a fine-mesh sieve positioned over a medium-sized mixing bowl. Gently tap the side of the sieve as you spoon the confectioners’ sugar into it. This action encourages the sugar to fall through the mesh in a fine, consistent stream. If you encounter any larger clumps, use the back of a spoon to press them through the sieve. This initial step sets the foundation for an incredibly smooth and professional-looking icing that will impress anyone who tastes it.
Step 2: Incorporate the Wet Ingredients
Once your confectioners’ sugar is beautifully sifted and ready in its bowl, it’s time to introduce the elements that will transform it into a luscious icing. The order in which you add the melted unsalted butter and the pineapple juice can subtly influence the blending process, helping to avoid dry pockets of sugar. Begin by pouring the melted, slightly cooled unsalted butter directly into the bowl with the sifted sugar. The warmth of the butter will help begin the dissolving process for the sugar crystals.
Following the butter, carefully pour in the pineapple juice. Aim to pour it into the center of the sugar and butter mixture. This technique encourages the liquids to begin interacting with the sugar immediately, creating a paste-like consistency that makes whisking more effective. Avoid adding all the liquid at once if you’re concerned about consistency; you can always add more, but it’s harder to fix an overly thin icing. The combination of butter and juice creates the perfect base for a flavorful, spreadable topping.
Step 3: Achieve the Perfect Icing Consistency
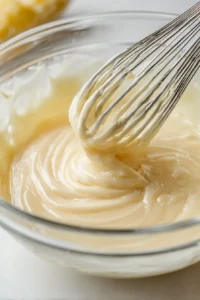
Now comes the active part of creating your pineapple icing: whisking. Arm yourself with a sturdy whisk and begin to mix the ingredients together with consistent, circular motions. Start slowly, as the mixture will initially be quite thick and may resist easy movement. As you continue to whisk, you’ll notice the sugar beginning to dissolve into the liquids, forming a cohesive mass. Keep whisking steadily, gradually increasing your speed and the vigour of your strokes as the mixture becomes more fluid.
Your goal is to achieve a texture that is both thick enough to cling to the cake without running off immediately, yet smooth enough to spread with ease. The icing should have a glossy sheen, indicating that the sugar has fully incorporated and emulsified with the butter and juice. It should fall from the whisk in a slow, steady ribbon, rather than a watery stream or a stiff dollop. This stage is crucial for ensuring the icing spreads beautifully and sets with a desirable finish.
Step 4: Adjust Texture as Needed
It’s not uncommon for homemade icings to require a minor tweak in consistency, and this pineapple glaze is no exception. After your initial whisking, assess the texture of the icing. If it feels too thick, stiff, or difficult to spread without tearing the surface of your cake, it’s time to loosen it up. Do this by adding just a few drops of additional pineapple juice at a time. Whisk thoroughly after each small addition, allowing the juice to fully incorporate and observe the change in consistency.
Conversely, if your icing appears too thin, watery, or is running off the sides of the cake far too quickly, it needs to be thickened. The best way to rectify this is by gradually adding more sifted confectioners’ sugar. Again, start with a tablespoon at a time, whisking diligently until it’s well combined. Continue this process slowly, tasting and testing the texture between additions, until you reach that perfect creamy, spreadable consistency that holds its shape but flows smoothly.
Step 5: Apply the Icing to Your Cake
This delightful pineapple icing is best applied to a cake that has cooled completely. Even a slight residual warmth can cause the icing to become too fluid and slide off, so patience is key. Once your cake is at room temperature, take your prepared icing and a spatula or the back of a spoon. Begin by spooning a generous amount of icing onto the center of the cake. This prevents the icing from pooling too much on the edges too soon.
Gently guide the icing outwards from the center towards the edges of the cake. Use smooth, sweeping motions with your spatula or spoon to encourage an even layer. You can allow it to drip naturally over the sides for a more rustic look, or carefully spread it right to the very edge for a polished finish. Don’t overwork the surface, as this can lead to a less smooth appearance once set. The goal is a beautiful, even coating that enhances the cake.
Step 6: Allow the Icing to Set
The final stage in achieving a perfect pineapple icing finish is giving it adequate time to set. This is a crucial step that allows the icing to firm up slightly, creating a more stable and visually appealing coating on your cake. It also helps to prevent smudging when slicing and serving, ensuring each piece looks as lovely as the whole cake. Aim for a minimum resting period of about 30 minutes, though longer is also perfectly acceptable if time permits.
During this setting time, the moisture from the pineapple juice will evaporate slightly, and the sugar and butter will firm up at room temperature. This process gives the icing a soft, glaze-like texture that is delicate yet adheres well. Avoid the temptation to slice into the cake too soon; a little patience here will be rewarded with cleaner cuts and a more professional presentation. The slight tackiness that develops makes it ideal for adding garnishes if desired.
Pro Tips for Pineapple Icing for Cake
Sift Fresh: For the absolute best texture, sift your confectioners’ sugar right before you start mixing the icing. This ensures it remains light and airy, making it much easier to achieve a completely lump-free and smooth consistency with your whisk.
Cake Temperature is Key: Ensure your cake is entirely cool to the touch before you begin icing. Even a hint of warmth can cause the icing to melt and slide off, leading to a messy application and an uneven finish. Let it cool completely on a wire rack.
Tropical Garnishes: Enhance the tropical theme by scattering a light layer of unsweetened shredded coconut over the top of the icing while it’s still wet. The coconut will adhere beautifully and add a lovely texture and visual appeal.
Flavor Boost: For an even more intense pineapple flavor, consider using a reduction of pineapple juice. Simmer fresh pineapple juice gently until it has reduced by about half, then let it cool completely before using it in the icing recipe. This concentrates the flavor wonderfully.
Citrus Zest Addition: A small amount of finely grated lime or lemon zest added to the icing just before spreading can provide a delightful bright counterpoint to the sweetness of the pineapple. This addition adds a sophisticated tang that complements the tropical notes.
Serving Suggestions for Pineapple Icing for Cake
Decoration
This pineapple icing provides a lovely canvas for creative decoration. A simple dusting of shredded coconut, toasted for a nutty aroma and texture, adds a classic tropical flair. Alternatively, thin slices of fresh pineapple, or candied pineapple pieces, can be artfully arranged on top to highlight the icing’s flavor. For a more elegant presentation, consider piping simple swirls or borders around the edges using a star tip, perhaps infused with a touch more pineapple essence or a hint of vanilla.
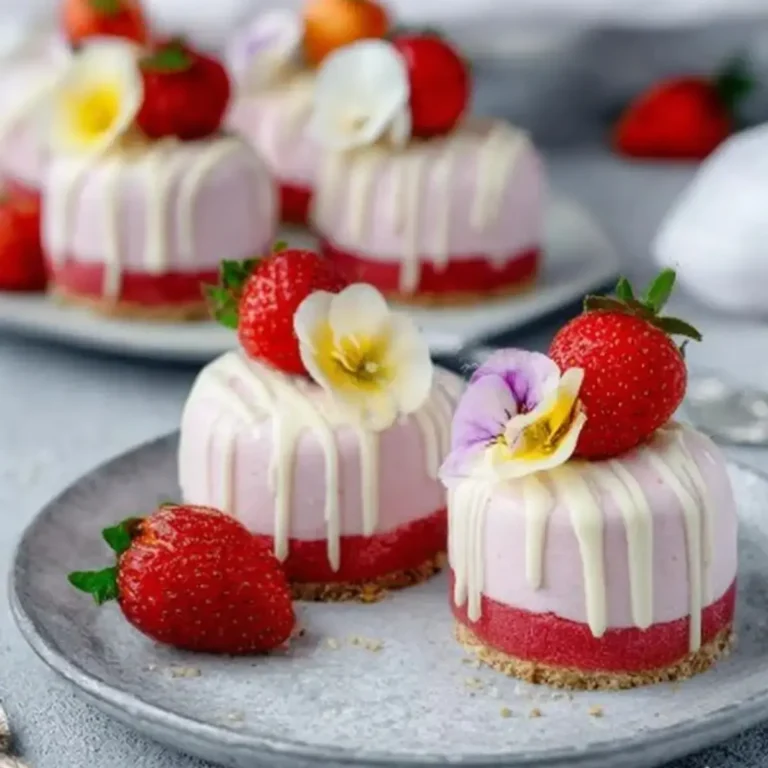
Edible flowers, such as violas or pansies, can offer a beautiful pop of color and a delicate contrast to the sweet icing. A light sprinkle of edible gold or silver glitter can transform a simple cake into something truly festive for special occasions. For a more rustic look, a few fresh mint leaves tucked around the cake can provide a refreshing visual and aromatic element that complements the fruitiness.
Side Dishes
While this icing is typically an adornment for a cake, it can also complement other sweet treats. Imagine it as a delightful dipping sauce for fresh fruit skewers, particularly those featuring tropical fruits like mango, kiwi, and papaya. It also works wonderfully dolloped alongside a light, airy angel food cake or a simple vanilla pound cake, where its vibrant flavor can shine without competition. For an unexpected pairing, a small amount could even enhance a scoop of vanilla bean ice cream.
Consider serving slices of your pineapple-iced cake alongside a refreshing beverage, such as a chilled sparkling water infused with lime, or a light, fruity iced tea. The clean flavors of these drinks will cut through the sweetness of the icing and cake, providing a palate-cleansing effect. A small serving of fresh berries, like raspberries or blueberries, can also offer a tart contrast that balances the overall sweetness of the dessert.
Creative Serving Ideas
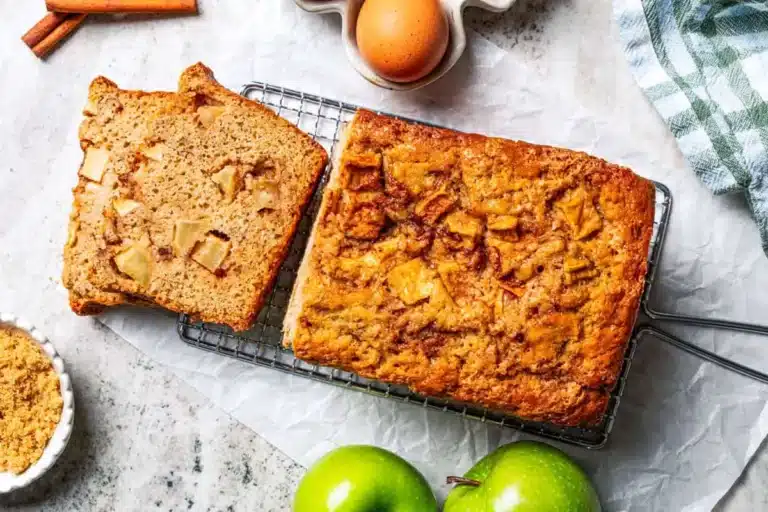
Transform individual cupcakes into tropical delights by topping each one with a generous swirl of pineapple icing. For a party setting, consider a tiered cake adorned with this luscious glaze, perhaps interspersed with fresh pineapple wedges or maraschino cherries for added color. A loaf cake, whether vanilla or coconut flavored, becomes instantly more special with a drizzle of this sunny topping. It’s also a fantastic accompaniment to a simple snack cake, elevating a humble bake into something more festive.
For a brunch spread, a pineapple-iced coffee cake offers a delightful sweet element that pairs beautifully with morning coffee or tea. You could also use the icing as a filling between layers of a simple vanilla cake, creating a hidden tropical surprise within each slice. If you’re feeling adventurous, try using it as a glaze over baked goods like scones or even as a sweet, fruity spread for toasted brioche or croissants.
Preparation & Storage
Storing Leftovers
If you happen to have any leftover pineapple icing that hasn’t yet graced a cake, store it in an airtight container in the refrigerator. It can be kept this way for up to 3 to 4 days. The chilling process will naturally cause the icing to firm up slightly. Before you plan to use it again, simply remove it from the refrigerator and let it sit at room temperature for about 15 to 20 minutes.
Once it has reached a more workable temperature, give it a thorough whisk. This will help to break up any solidified butter and restore its smooth, spreadable consistency. If, after whisking, it still seems a bit too firm for your liking, you can stir in a few extra drops of pineapple juice until it achieves the desired texture for spreading.
Freezing
Yes, this pineapple icing can indeed be frozen, offering a convenient way to have this delightful topping on hand for future baking projects. Transfer the icing to a freezer-safe airtight container or a heavy-duty freezer bag, ensuring that it is well-sealed to prevent freezer burn. It can be stored in the freezer for up to 1 month. When freezing, it’s best to do so before it’s been spread on a cake.
To thaw, plan ahead and transfer the frozen icing from the freezer to the refrigerator overnight. This slow thawing process helps maintain the best texture. Once fully thawed and back to refrigerator temperature, it will likely need a good whisking, much like when reheating leftovers, to restore its smooth, creamy consistency. Add a tiny splash of pineapple juice if needed to reach the perfect spreadable texture.
Reheating
Reheating this pineapple icing is generally not necessary in the traditional sense, as it is not a cooked frosting. The primary goal is to bring it back to a pliable, spreadable consistency if it has been refrigerated or frozen. If the icing has been chilled, simply let it sit at room temperature for about 15-20 minutes to soften. Then, whisk it vigorously to recombine the ingredients and smooth out the texture.
If it remains too stiff after coming to room temperature, a very small addition of pineapple juice, stirred in gradually, will help loosen it. Avoid applying direct heat, such as a microwave, as this can cause the butter to separate and ruin the texture. The gentle warming effect of room temperature is usually sufficient to revive the icing to its intended state, making it ready to grace your baked goods.
Frequently Asked Questions
-
Can I use fresh pineapple juice instead of canned?
Absolutely. Using fresh pineapple juice can often impart a more vibrant and nuanced flavor to the icing. If you’re using fresh pineapple, be sure to strain the juice thoroughly through a fine-mesh sieve to remove any pulp or seeds. This step is crucial to ensure the smooth, silky texture that is characteristic of this pineapple icing. The natural sweetness and acidity of fresh juice will work beautifully.
-
What happens if my icing is too runny, and how can I fix it?
If your pineapple icing turns out too runny, it likely means there is too much liquid relative to the sugar. The easiest way to fix this is by gradually adding more sifted confectioners’ sugar, one tablespoon at a time. Whisk thoroughly after each addition, allowing the sugar to incorporate fully and thicken the mixture. Continue this process until the icing reaches a consistency that is thick enough to spread without dripping excessively, but still pliable and smooth.
-
Can this icing be used on baked goods other than cakes, such as cookies or muffins?
Yes, this pineapple icing is wonderfully versatile and can be used on a variety of baked goods. It makes a delightful glaze for muffins, scones, or even certain types of cookies, offering a bright burst of tropical flavor. For muffins or scones, you can simply drizzle it over the top while they are still slightly warm or fully cooled, allowing it to set into a lovely sheen. Its lighter texture compared to a heavy buttercream makes it an excellent choice for enhancing simpler baked items without weighing them down.