Classic Vinaigrette Dressing: The Perfect Easy Recipe
Welcome to the world of effortless elegance and vibrant flavors! This Classic Vinaigrette Dressing is your new culinary best friend, proving that the most delicious things in life are often the simplest. Forget store-bought, often overly processed dressings, and embrace the fresh, bright taste of homemade goodness.
Crafted with just a handful of common pantry staples, this vinaigrette comes together in mere minutes, making it an absolute lifesaver for busy weeknights or spontaneous salad creations. Its versatility is truly astounding, capable of transforming humble greens into a gourmet experience or adding a zesty kick to your favorite grilled dishes.
Why You Will Love This Recipe
- Effortless Preparation: In under five minutes, you can have a beautifully balanced dressing ready to go, requiring no special equipment or culinary degrees.
- Pure, Fresh Flavors: Experience the bright, clean taste of high-quality olive oil and tangy vinegar, unmarred by artificial additives or excessive preservatives.
- Incredibly Versatile: This isn’t just for salads; it’s a fantastic marinade for meats, a glaze for roasted vegetables, and a delightful drizzle for countless other dishes.
- Customizable to Perfection: Easily adjust the sweetness, add your favorite herbs, or experiment with different vinegars to create a dressing that’s uniquely yours.
- Pantry-Friendly Ingredients: You likely have everything you need in your kitchen right now, meaning spontaneous vinaigrette creation is always an option.
Ingredients You Need
The magic of this classic vinaigrette lies in the quality of its components. Opt for a good extra virgin olive oil and your preferred vinegar for the best flavor profile, as these are the stars of the show. Even with simple ingredients, attention to detail ensures a dressing that sings.
Classic Vinaigrette Dressing

A quick, easy, and versatile Classic Vinaigrette Dressing that requires no blender. Perfect for salads, marinades, and drizzling over vegetables. Made with pantry staples in just 5 minutes.
- 3/4 cup olive oil
- 1/3 cup white vinegar (or apple cider vinegar)
- 2 tsp honey (or granulated sugar)
- 1 tsp paprika
- 1 tsp salt
- 1/2 tsp onion powder
- 1/2 tsp pepper
- 1Add all ingredients to a mason jar or sealed container.
- 2Secure the lid tightly and shake vigorously for about 15-20 seconds until well combined.
- 3Store in the fridge for up to 2 weeks, shaking before each use.
Keywords: vinaigrette, salad dressing, homemade dressing, classic dressing, quick recipe, easy recipe, pantry staples, no blender
Quantities for each ingredient are detailed within the accompanying recipe card, ensuring perfect balance every time.
Variations
The beauty of a classic vinaigrette lies in its inherent adaptability, allowing for endless personalization to suit any palate or dish. Consider infusing it with a whisper of garlic, finely minced, for a pungent depth that complements grilled meats beautifully. A touch of Dijon mustard can also be whisked in to create a creamy emulsification and add a delightful tang.
For those seeking a herbaceous twist, a generous handful of finely chopped fresh herbs like parsley, chives, dill, or tarragon can completely transform the dressing’s character. These additions bring a vibrant freshness that is particularly wonderful on spring salads or light fish dishes.
To cater to specific dietary needs or preferences, explore exciting modifications. A vegan version can easily be achieved by substituting honey with maple syrup or agave nectar, maintaining that essential touch of sweetness. For a lower-carbohydrate option, stevia or erythritol can be used sparingly, though it’s crucial to taste and adjust carefully to avoid an overly sweet or artificial flavor.
An even more sophisticated variation involves incorporating a splash of a more complex vinegar, such as balsamic or red wine vinegar, especially when dressing heartier salads or roasted root vegetables. This adds layers of nuanced flavor that elevate the entire dish, demonstrating the dressing’s incredible chameleon-like qualities.
How to Prepare Classic Vinaigrette Dressing
Step 1: Gathering Your Treasures
Begin by assembling all your ingredients, ensuring they are measured precisely. The foundation of any great vinaigrette is the harmonious ratio of oil to acid, so accuracy here is paramount for achieving that perfect balance. Having everything ready before you start makes the entire process flow smoothly and efficiently.
For this classic rendition, you will need a good quality olive oil, which provides a rich, fruity base, and a bright, tangy vinegar. White vinegar offers a clean sharpness, while apple cider vinegar lends a slightly fruitier, more complex note. Both are excellent choices, and the decision often comes down to personal preference or the specific salad you are dressing.
Don’t forget the supporting cast: a touch of sweetness to round out the acidity, and seasonings to provide depth and character. A small amount of honey or granulated sugar acts as a crucial counterpoint to the vinegar’s tartness, preventing the dressing from being overwhelmingly sour. Paprika, salt, onion powder, and pepper are the unsung heroes that tie all the flavors together, creating a symphony on your palate.
Step 2: The Emulsification Ritual
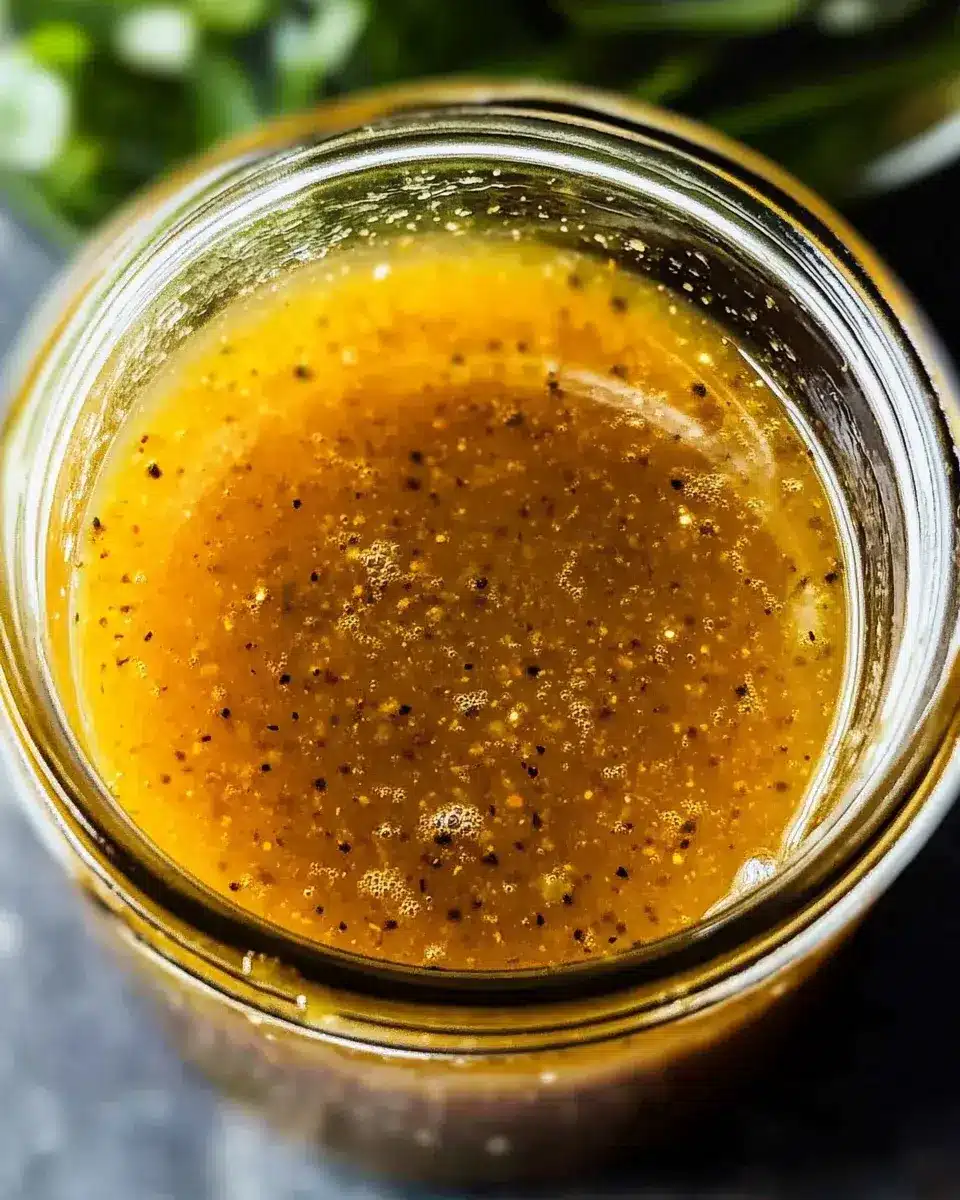
The most straightforward method for creating this vinaigrette involves the simple act of shaking. Find a clean, dry mason jar or a container with a very secure lid. This is where the magic will happen, transforming separate liquids into a cohesive, flavorful dressing.
Carefully pour your measured olive oil into the jar. Follow this with the vinegar, ensuring you have the correct amount. The ratio of oil to vinegar is typically around 3:1 or 2:1, but for a classic, balanced flavor, the proportions in the recipe card are ideal. This precise measurement is key to avoiding a dressing that is too oily or too sharp.
Next, add the sweeteners and spices. Sprinkle in the paprika, salt, onion powder, and pepper. If you are using honey, ensure it is not solidified; if it is, a gentle warming can help it incorporate more easily. The inclusion of these dry ingredients is vital for building complexity and ensuring the dressing isn’t just oil and vinegar.
Step 3: The Energetic Shake
Seal the jar tightly, ensuring absolutely no liquid can escape during the vigorous shaking process. This is the most active part of the preparation, and it’s surprisingly effective at creating a temporary emulsion. Hold the jar firmly with both hands, one on the lid and one on the base.
Now, shake with enthusiasm! You want to move the jar up and down, and perhaps in a circular motion as well, for at least 15 to 20 seconds. The goal is to break down the oil into tiny droplets and disperse them throughout the vinegar. You will notice the mixture become cloudy and slightly thicker as the ingredients begin to combine.
Continue shaking until you can no longer see distinct layers of oil and vinegar. The dressing should appear uniformly opaque. While this emulsion is temporary and will separate over time, the shaking process ensures an even distribution of flavors and textures when you first serve it. This method is wonderfully hands-on and incredibly satisfying.
Step 4: The Taste Test and Adjustment
Once you have achieved a well-combined mixture, it’s time for the crucial tasting. Open the jar carefully and dip a clean spoon or a piece of lettuce into the dressing. This step is non-negotiable; it’s where you ensure the dressing is perfectly balanced for your palate.
Consider the acidity of the vinegar and the sweetness of your chosen sweetener. If the dressing tastes too sharp or tangy, a tiny bit more honey or sugar can be added. Conversely, if it seems too sweet or dull, a splash more vinegar will brighten it up. Remember that the flavors will meld further as it sits, but a good starting point is essential.
Also, assess the seasoning. Does it need a pinch more salt to enhance the other flavors? Perhaps a grind of fresh black pepper for a subtle kick? This is your opportunity to fine-tune. Don’t be afraid to experiment with a tiny bit of Dijon mustard at this stage if you desire a more complex, savory note.
Step 5: Storage and Enjoyment
After tasting and making any necessary adjustments, seal the jar again. The classic vinaigrette is now ready to be stored and enjoyed. For optimal freshness and flavor preservation, transfer the dressing to an airtight container and store it in the refrigerator. A clean mason jar is ideal for this purpose, allowing you to see the contents at a glance.
The vinaigrette will keep well for up to two weeks when stored properly. As it chills, the oil may solidify slightly, and the ingredients might begin to separate. This is completely normal and a testament to its natural, unadulterated state. Before each use, simply give the jar a good shake to re-emulsify the dressing, bringing it back to its smooth, pourable consistency.
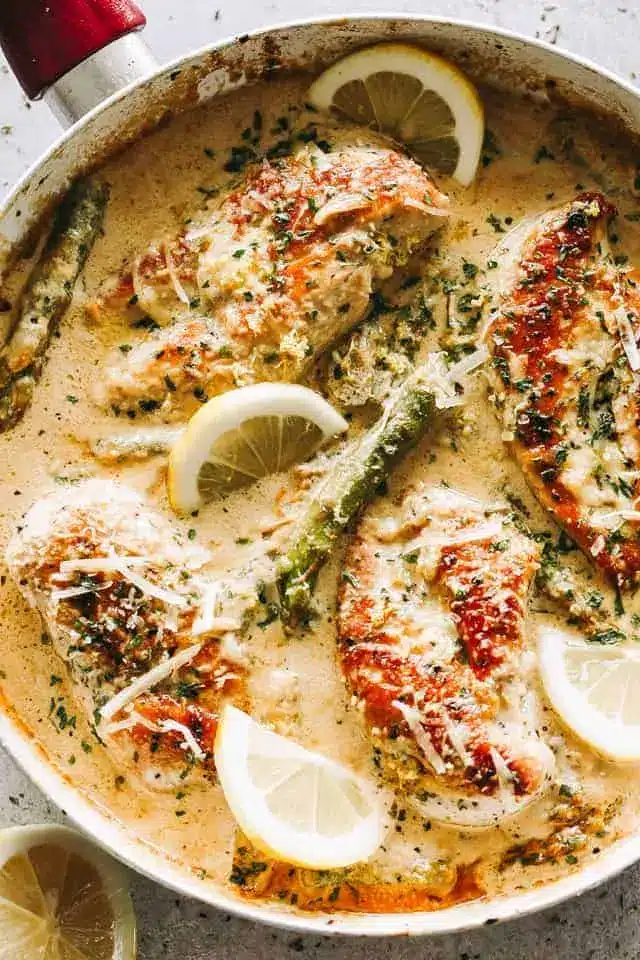
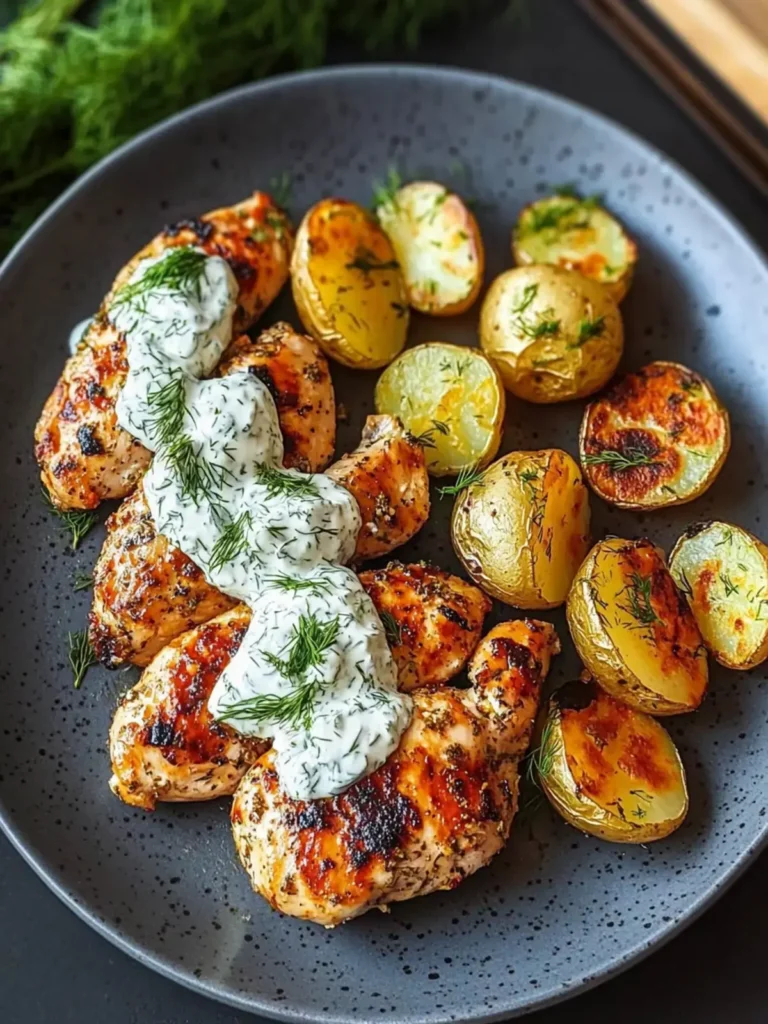
Serve generously over your favorite salads, use it as a vibrant marinade for chicken, fish, or tofu, or drizzle it over steamed or roasted vegetables. The possibilities are truly endless, and the simple act of making your own dressing will undoubtedly elevate your everyday meals.
Pro Tips for Classic Vinaigrette Dressing
Quality Matters: Always begin with the best ingredients you can find. A superior extra virgin olive oil with a fruity or peppery profile will make a significant difference. Similarly, the type of vinegar you choose, whether it’s a crisp white wine vinegar or a robust red wine vinegar, will impart distinct characteristics.
Emulsification Aid: If you find your vinaigrette consistently separates too quickly, consider adding a small amount of Dijon mustard. This acts as an emulsifier, helping to bind the oil and vinegar together for a longer-lasting, smoother dressing. Start with just half a teaspoon and see how it affects the texture.
The Power of Herbs: Don’t hesitate to infuse your vinaigrette with fresh, finely chopped herbs. Parsley, chives, basil, dill, and tarragon are all excellent choices. Add them just before serving to preserve their vibrant color and fresh aroma. Dried herbs can also be used, but use them sparingly and allow them to steep in the dressing for at least 30 minutes to rehydrate.
Sweetness is Key: The balance of sweet and sour is fundamental to a great vinaigrette. Taste and adjust the sweetener – whether it’s honey, maple syrup, or sugar – until it perfectly complements the tanginess of the vinegar. A small amount can smooth out the harsh edges of the acid, making the dressing more palatable.
Temperature Play: While this vinaigrette is best served chilled or at room temperature, sometimes a warm dressing can be a delightful surprise, especially for heartier winter salads or roasted vegetables. Gently warm it over low heat on the stovetop, being careful not to cook it, or simply let it sit out for a few minutes before serving if you prefer it slightly less cold.
Serving Suggestions for Classic Vinaigrette Dressing
Decoration
Elevate the visual appeal of your dishes with a beautifully dressed salad. A final drizzle of the vinaigrette, applied artistically in a zig-zag pattern or around the rim of the plate, adds a professional touch. Consider garnishing with a sprinkle of toasted sesame seeds, a few edible flowers, or a light dusting of sumac for an extra burst of color and flavor.
Side Dishes
This classic vinaigrette is the perfect accompaniment to a wide array of side dishes. Imagine it drizzled over a simple mound of steamed green beans, tossed with grilled corn off the cob, or lightly coating a refreshing cucumber and tomato salad. It also makes a fantastic dressing for grain-based salads like quinoa or farro, adding brightness and depth to each bite.
Creative Serving Ideas
Beyond salads, its versatility shines. Use it as a marinade for chicken or pork before grilling, imparting a zesty flavor that tenderizes the meat. It can also be brushed over roasted vegetables like Brussels sprouts or bell peppers during the last few minutes of cooking to caramelize and add a delightful tang. For a light appetizer, serve it with crusty bread for dipping, or drizzle it over fresh mozzarella and cherry tomatoes.
Preparation & Storage
Storing Leftovers
Once prepared, store your classic vinaigrette dressing in an airtight container in the refrigerator. A clean mason jar is ideal for this purpose, allowing you to easily see the contents and shake it before use. Properly stored, it will maintain its optimal flavor and quality for up to two weeks. Always ensure the lid is tightly sealed to prevent any contaminants from entering.
Freezing
While freezing is generally not recommended for vinaigrette dressings, as it can alter the texture and separation of the oil and vinegar, it is possible. If you must freeze it, use a freezer-safe container and leave some headspace for expansion. For best results, shake very vigorously to re-emulsify once thawed. It may not achieve the same smooth consistency as fresh dressing.
Reheating
Classic vinaigrette dressing is best served cold or at room temperature. If you prefer it slightly warmed, particularly for use on heartier dishes in colder weather, gently heat it on the stovetop over very low heat. Avoid overheating, as this can cause the emulsion to break or alter the fresh flavors. A short burst in the microwave on low power can also be used, but monitor it closely.
Frequently Asked Questions
-
How do I make classic vinaigrette dressing without a blender?
Creating a classic vinaigrette without a blender is incredibly simple and requires only basic kitchen tools. The most effective method involves using a mason jar or any container with a secure lid. Simply add all your measured ingredients – the olive oil, vinegar, sweetener, and seasonings – directly into the jar. Then, seal the lid tightly and shake vigorously for about 15 to 20 seconds. This action effectively breaks down the ingredients and temporarily emulsifies them, creating a beautifully combined dressing. This method is quick, easy, and yields fantastic results every time.
-
Can I customize my classic vinaigrette dressing?
Absolutely! The beauty of this classic vinaigrette recipe lies in its inherent adaptability. Feel free to experiment with different flavor additions to suit your taste preferences and the dishes you are preparing. Consider whisking in a teaspoon of Dijon mustard for added tang and emulsification, or incorporating finely minced garlic for a pungent kick. Fresh herbs like parsley, chives, basil, or dill can bring vibrant freshness, while a pinch of red pepper flakes can add a subtle warmth. Adjusting the type of vinegar, such as using balsamic or red wine vinegar, will also introduce new layers of flavor.
-
What is the best oil for classic vinaigrette dressing?
Extra virgin olive oil is the quintessential choice for classic vinaigrette dressing due to its robust flavor and beneficial properties. A good quality extra virgin olive oil imparts a fruity, sometimes peppery, undertone that complements the acidity of the vinegar beautifully. However, you can certainly explore other oil options for variation. Avocado oil offers a neutral flavor and healthy fats, while sunflower or grapeseed oil provide a very mild taste, allowing other ingredients to shine. The key is to select an oil that aligns with the overall flavor profile you wish to achieve for your salad or dish.