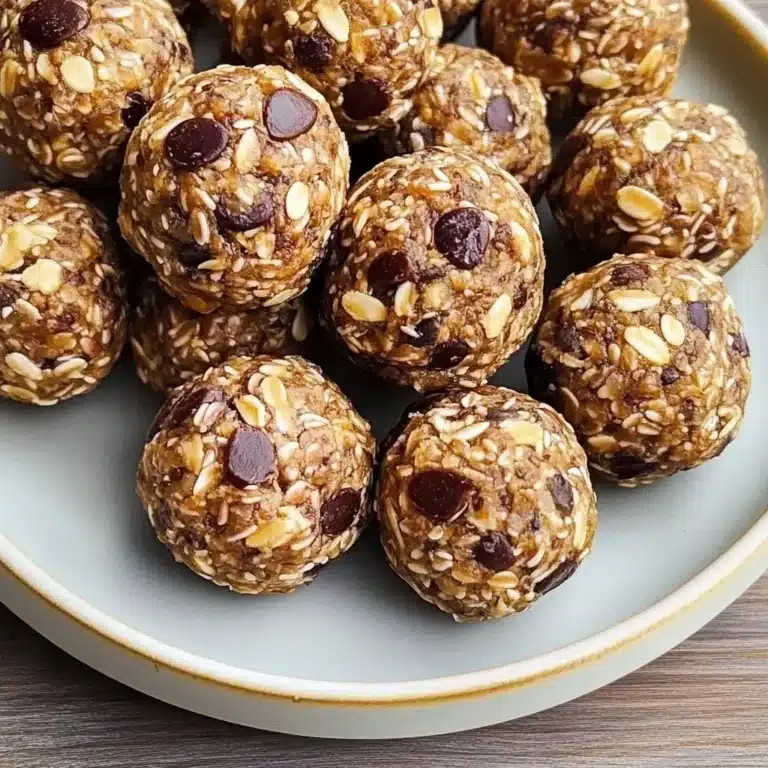
Oat Breakfast Bars Vegan Gluten Free: 5 Irresistible Tips
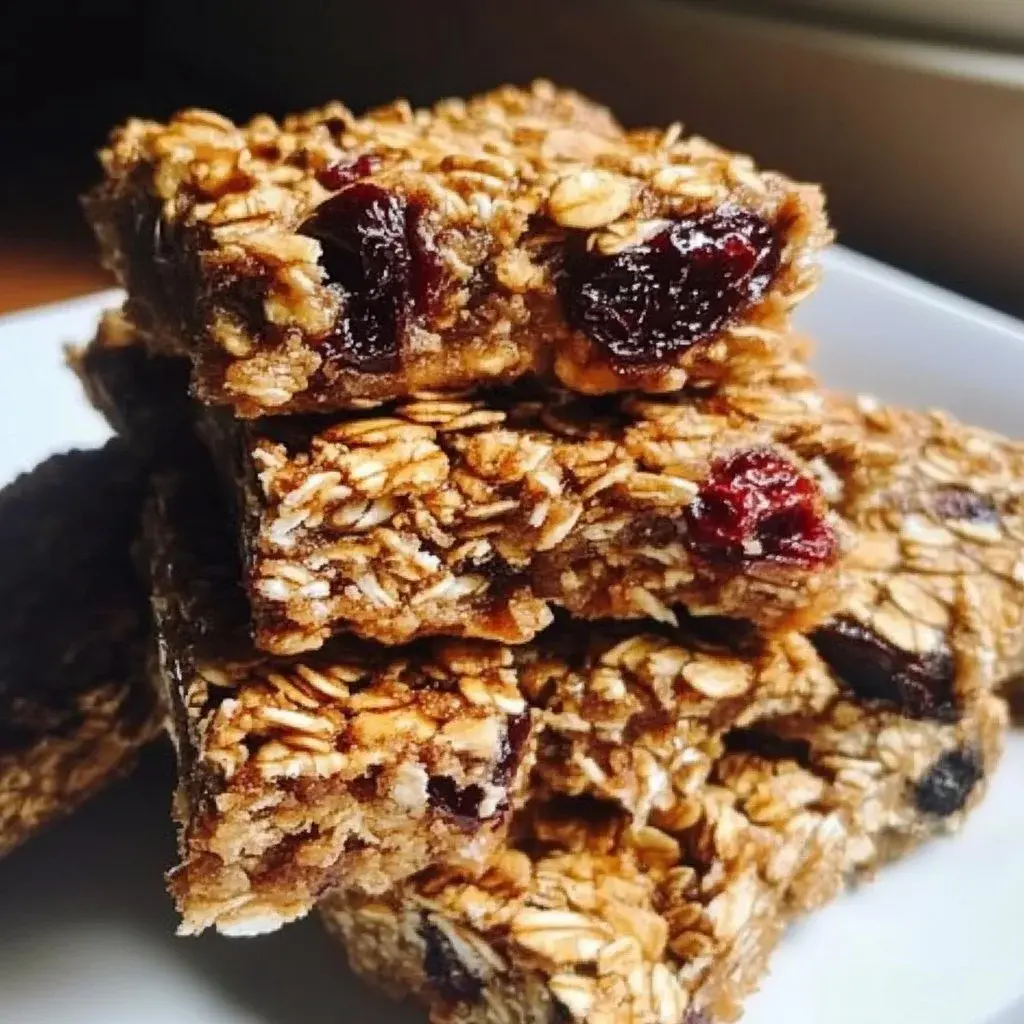
Imagine waking up to the delightful, golden aroma of freshly baked oat breakfast bars wafting through your home. These wholesome squares are more than just a quick bite; they represent a perfect harmony of comfort, essential nutrients, and convenience for your busy lifestyle.
Whether you are rushing to work or planning a healthy weekend, these treats offer a satisfying chewiness that keeps you energized. By mastering this simple recipe, you ensure that your morning routine remains delicious without relying on processed store-bought alternatives that often contain hidden additives.
Why You Will Love This Recipe
- Quick Preparation: You can assemble the mixture in under ten minutes, making it an ideal task for even the busiest mornings.
- Wholesome Ingredients: Every bite is packed with fiber-rich oats, healthy fats from nuts, and natural sweetness that fuels your body correctly.
- Dietary Flexibility: This recipe is naturally vegan and gluten-free, ensuring that it remains accessible for everyone at your table regardless of dietary restrictions.
- Meal Prep Friendly: You can bake a large batch on Sunday evening and enjoy perfectly portioned breakfasts for the entire work week ahead.
- Total Customization: The base recipe acts as a blank canvas where you can swap out nuts, seeds, or dried fruits based on your personal pantry stock.
Ingredients You Need
Selecting high-quality, fresh ingredients will significantly elevate the final texture and flavor profile of your homemade bars. Using organic rolled oats and pure, additive-free nut butter ensures the best consistency for your finished breakfast treat.
Oat Breakfast Bars Vegan Gluten Free

Delicious and nutritious oat breakfast bars that are vegan, gluten-free, and customizable to suit your taste. Perfect for a quick breakfast or snack!
- 2 cups rolled oats
- 1 cup almond butter
- 1/2 cup maple syrup
- 1/2 cup chia seeds
- 1/2 cup dried fruit (raisins or cranberries)
- 1/2 cup nuts (walnuts or almonds)
- 1 tsp vanilla extract
- 1/2 tsp salt
- 1Gather all your ingredients to streamline the process.
- 2Preheat the oven to 350°F (175°C).
- 3In a large bowl, combine the rolled oats, chia seeds, salt, and chopped nuts.
- 4In a separate bowl, mix the almond butter, maple syrup, and vanilla extract together until smooth.
- 5Merge the wet mixture into the dry mixture and stir until fully combined. Fold in your choice of dried fruit.
- 6Grease an 8x8 inch baking dish or line it with parchment paper.
- 7Pour the mixture into the prepared baking dish and press down evenly.
- 8Bake for 25-30 minutes until golden brown.
- 9Allow to cool completely before cutting into bars.
Keywords: Easy Breakfast, Gluten-Free Snacks, Healthy Snack, Oat Breakfast Bars, Vegan Bars
- rolled oats: the fundamental base that provides hearty texture and essential dietary fiber.
- almond butter: a creamy, nutrient-dense binder that holds all your dry ingredients together perfectly.
- maple syrup: a natural liquid sweetener that adds moisture and a deep, caramel-like undertone.
- chia seeds: tiny powerhouses that absorb moisture to help set the bars firmly while adding omega-3 fatty acids.
- dried fruit: raisins or chopped cranberries offer bursts of sweetness and a pleasant chewy contrast to the oats.
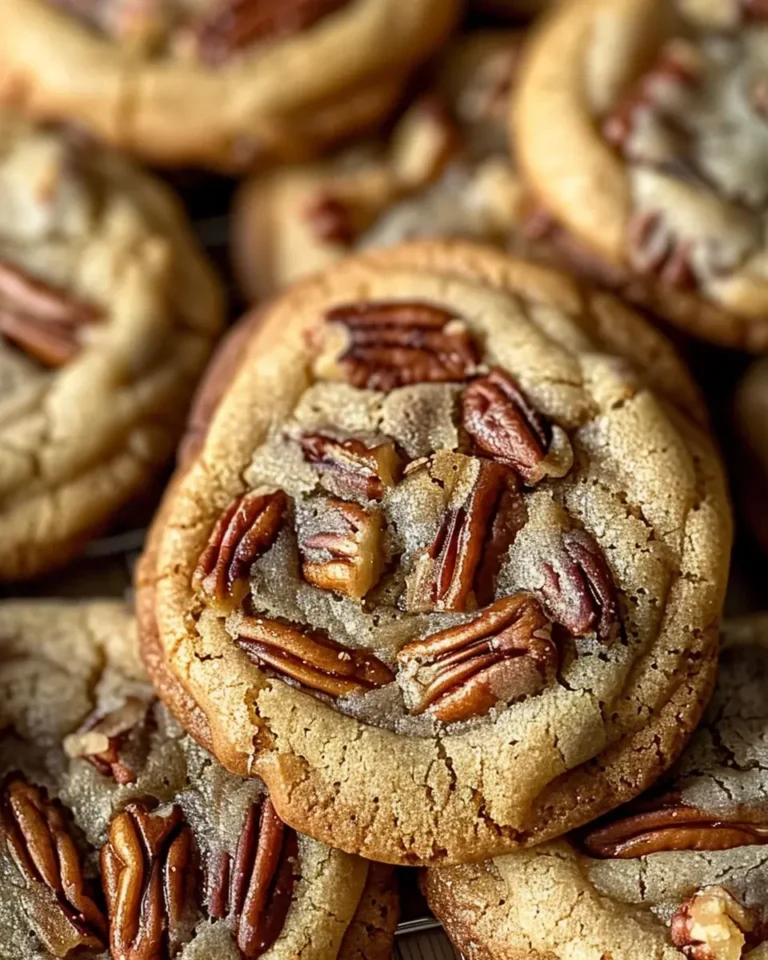
- nuts: chopped walnuts or almonds provide that essential crunch and a boost of plant-based protein.
- vanilla extract: just a teaspoon elevates the entire aroma and rounds out the earthy flavors of the oats.
- salt: a tiny pinch is necessary to balance the sweetness and pop the individual flavors of the nuts.
Please note that specific quantities and precise measurements can be found in the linked recipe card above for your convenience.
Variations
The Chocolate Lover’s Twist: You can easily transform these breakfast bars into a decadent morning treat by folding in a handful of dairy-free dark chocolate chips. Ensure the bars have cooled slightly before adding the chips to prevent them from melting into the batter entirely.
Low Carb Adjustments: If you are following a lower-carb lifestyle, you can reduce the oats by half and substitute them with extra chopped almonds or hemp seeds. This modification increases the healthy fat content while keeping the structure of the bars intact for easy snacking.
Tropical Energy Boost: For those who love vibrant flavors, consider swapping your standard dried fruit for diced dried mango or papaya. Adding a tablespoon of shredded unsweetened coconut to the dry mixture creates a refreshing tropical profile that pairs perfectly with your favorite breakfast smoothie.
How to Prepare Oat Breakfast Bars
Step 1: Gathering and Organizing
Efficiency starts with preparation. Before you touch any mixing bowls, gather all your measured ingredients on your kitchen counter to ensure a smooth workflow. Having everything ready allows you to maintain focus throughout the assembly process without searching for items.
The mise en place technique is highly recommended for baking success. Read through the entire process once more to ensure you understand the flow of mixing and pressing. When your station is organized, the actual creation of these bars becomes a relaxing, meditative activity.
Step 2: Thermal Preparation
Preheat your oven early. Setting your oven to 350°F (175°C) at least fifteen minutes before you plan to bake ensures an even, consistent temperature throughout the cooking process. A stable oven environment is critical for achieving that perfect golden-brown crust on your bars.
Check your oven calibration. Many home ovens run slightly hotter or cooler than the dial suggests, so using an internal oven thermometer is a pro move. A correctly heated oven ensures the almond butter and maple syrup melt and bind with the oats exactly as intended.
Step 3: Combining the Dry Elements
Start with a large mixing bowl. Combine your rolled oats, chia seeds, and salt first to distribute them evenly across the base. If you are using chopped nuts, add them now so they get coated slightly by the dry mixture.
Ensure an even distribution. Stir the dry ingredients thoroughly with a sturdy spatula or whisk. This step prevents any clumps of salt or seeds from forming in the final baked product, ensuring every bar has the same consistent flavor profile.
Step 4: Creating the Binder
The wet mixture is the heart of the bar’s structural integrity. In a separate, smaller bowl, vigorously whisk together your almond butter, maple syrup, and high-quality vanilla extract until the mixture becomes uniform and smooth.
Consistency matters here. If your almond butter is particularly stiff, you can warm it in the microwave for ten seconds to soften it. A smooth liquid base ensures that every single oat grain is coated, which is the secret to a bar that doesn’t crumble upon the first bite.
Step 5: Bringing It All Together
Merge the two bowls. Pour the wet almond butter mixture over your bowl of dry ingredients and begin folding them together. Be patient and use a firm hand, as the mixture will start to feel quite thick and sticky as the oats absorb the moisture.
Add your accents. Once the mixture is combined, gently fold in your dried fruit. By doing this last, you ensure the fruit remains evenly spread throughout the batter rather than getting crushed during the intense stirring phase.
Step 6: The Final Press and Bake
Prepare your baking vessel. Grease an 8×8 inch square baking dish lightly, or better yet, line it with parchment paper for easy removal. Pour the mixture into the pan and press it down with the back of a large spoon or a flat-bottomed measuring cup.
Pressure is vital. You must press the mixture very firmly into the corners of the pan to ensure the bars hold their shape after baking. If the mixture is loose, the bars may crumble, so take your time to create a dense, compact layer.
Bake until golden. Place the dish in your preheated oven and let it bake for 25 to 30 minutes. You are looking for a beautiful golden-brown color on top and a feeling of firmness when you gently press the center. Allow them to cool completely in the pan to set before slicing into them for lunch or a snack.
Pro Tips for Oat Breakfast Bars
Tip: Always use parchment paper to line your pan, as it allows you to lift the entire block out once cooled. This makes for much cleaner, more professional-looking slices compared to trying to cut them directly inside the baking dish.
Tip: If you want to elevate the flavor, lightly toast your rolled oats in a dry pan for three minutes before starting the recipe. This adds a deeper, nuttier aroma that really transforms a standard breakfast into something special, similar to the techniques used in a German pancake recipe.
Tip: If you find your bars are crumbling, consider increasing the amount of nut butter by a single tablespoon next time. The extra fat acts as a stronger adhesive, ensuring the bars stay together perfectly even when packed for travel or gym bags.
Tip: For an extra texture boost, sprinkle a few extra chia seeds or chopped nuts on top of the mixture before baking. This gives the surface a professional aesthetic and adds a nice visual contrast to the golden surface of the oats.
Serving Suggestions for Oat Breakfast Bars
Decoration
You can lightly drizzle some warmed nut butter over the cooled bars for an elegant look. A sprinkle of sea salt flakes or a dusting of cinnamon can further enhance the presentation if you are serving these to guests.
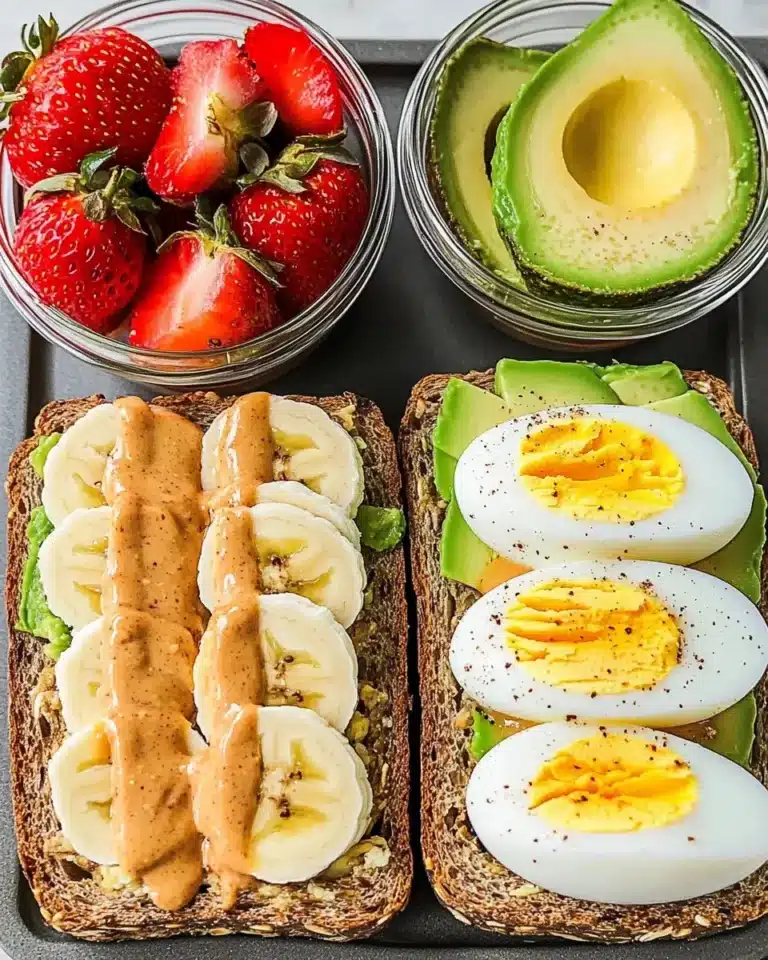
Side Dishes
Serve these bars alongside a bowl of fresh seasonal berries or Greek yogurt for a complete meal. They also pair wonderfully with a warm cup of coffee or a cold glass of plant-based milk for a refreshing contrast in temperature.
Creative Serving Ideas
If you have extra bars, crumble them over a bowl of porridge or chia pudding for added crunch. You can also view more dessert-like presentations on our dessert page for further inspiration on how to plate these treats.
Preparation & Storage
Storing Leftovers
Keep your bars in an airtight container to prevent them from drying out. They will maintain their chewy texture for up to seven days when stored in a cool, dry place or inside your refrigerator.
Freezing
These bars are excellent for long-term storage and can be frozen for up to three months. Wrap each bar individually in plastic wrap before placing them in a freezer-safe bag to prevent freezer burn and ensure they stay fresh.
Reheating
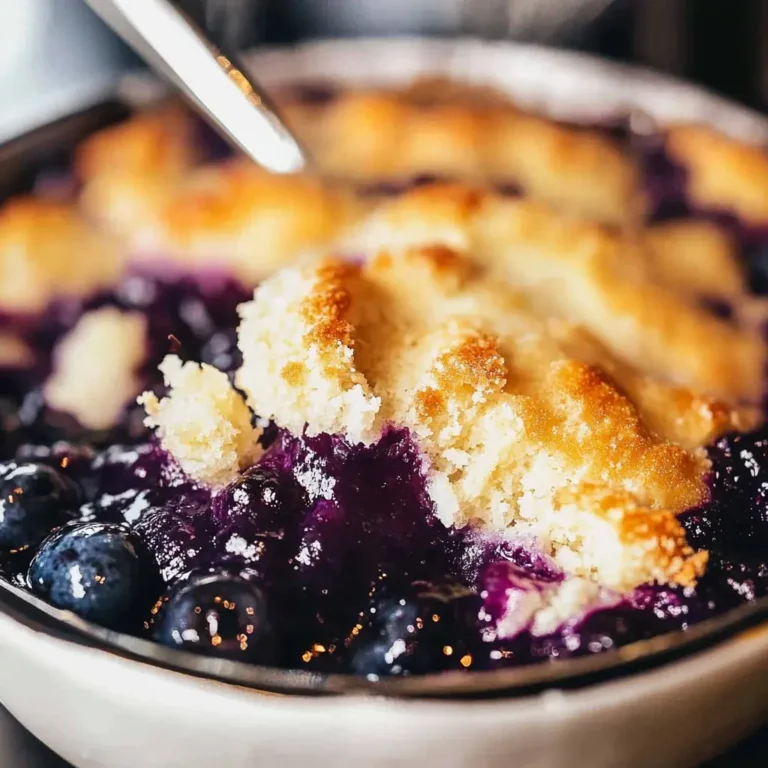
For a warm, comforting experience, place a bar in the microwave for just ten to fifteen seconds. This softens the nut butter slightly and makes the dried fruit taste freshly picked, similar to enjoying a warm easy berry tart.
Frequently Asked Questions
- Can I use a different type of liquid sweetener instead of maple syrup? Yes, you can successfully swap maple syrup for agave nectar or even brown rice syrup if preferred. Note that the final flavor profile and stickiness might vary slightly, but the structural integrity will remain consistent as long as the ratio of liquid to dry ingredients is maintained.
- How do I ensure these bars are strictly gluten-free? Always verify that your rolled oats are labeled “certified gluten-free” on the packaging, as standard oats are often processed in facilities that handle wheat. This ensures there is no risk of cross-contamination, making them safe for those with celiac disease or gluten sensitivities.
- Is it possible to add protein powder to this recipe? You can definitely add a scoop of your favorite vegan protein powder to the dry mix for an extra nutritional boost. However, because protein powders absorb moisture, you may need to add an extra tablespoon of almond butter or a splash of non-dairy milk to keep the mixture from becoming too dry during the baking process.
For more inspiration on quick and healthy meals, check out our guide on baked lemon chicken or visit our Pinterest page for visual recipe guides. Remember, your culinary journey is all about experimentation, so don’t be afraid to try new mix-ins and techniques to make these bars your own.