Delicious and Easy Basbousa recipe

Have you ever craved a dessert that is not only delicious but also easy to make? Look no further than Easy Basbousa, a delightful Middle Eastern dessert that will sweep you off your feet. With its rich, moist texture and a hint of almond flavor, this semolina cake is a timeless classic that has been enjoyed for generations. It’s perfect for any occasion, whether you’re hosting a family gathering or simply indulging yourself on a quiet evening at home.
One of the things that makes Easy Basbousa truly special is its simplicity. With just a handful of ingredients, you can create a dessert that looks and tastes like it came straight from a bakery. The beauty of this recipe lies in its versatility, allowing you to elevate your Easy Basbousa by adding different flavors or garnishes. Imagine serving a slice adorned with fresh fruit or a drizzle of chocolate sauce, making it uniquely yours.
Why You Will Love This Recipe
- Quick Preparation: Dinner is on the table in less than 30 minutes, with a straightforward process that minimizes active cooking time. This makes it an ideal choice for weeknight treats when time is a precious commodity.
- Deliciously Moist Texture: The magical combination of plain yogurt and melted butter works wonders to create an incredibly tender and moist cake. Each bite is a delightful experience that melts in your mouth.
- Customizable Flavors: Beyond the classic almond and rose syrup, this recipe is a fantastic canvas for your culinary creativity. Feel free to experiment with different nuts, syrups, or even a hint of citrus zest to tailor it to your preferences.
- Visually Appealing Presentation: The traditional scoring into diamond shapes and the addition of a single almond on each piece transform this humble cake into a work of art. It’s a dessert that looks as good as it tastes, impressing guests with its elegant appearance.
- Perfect for Sharing: Whether it’s a festive holiday, a family reunion, or a casual get-together, Easy Basbousa is a crowd-pleaser. Its comforting flavors and satisfying texture make it a wonderful centerpiece for any celebration.
Ingredients You Need
The secret to an exceptional Easy Basbousa lies in the quality and freshness of its ingredients. Opting for fine semolina will ensure a smoother, more delicate crumb, while good quality yogurt contributes essential moisture and a subtle tang. Using real butter adds a richness that cannot be replicated by alternatives, and fragrant rose syrup provides that signature Middle Eastern aromatic touch that truly elevates the dessert. Every component plays a vital role in creating the perfectly balanced flavor and texture that makes this cake so beloved and cherished by all who try it.
Easy Basbousa
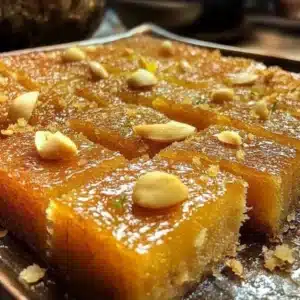
Easy Basbousa is a delightful Middle Eastern semolina cake that’s moist, sweet, and simple to make, perfect for any occasion. Its rich, moist texture and light sweetness make it a perfect choice for any occasion, while its simplicity keeps it accessible for even novice bakers. With a handful of ingredients and straightforward directions, anyone can create this indulgent treat.
- 1 cup semolina
- 1 cup plain yogurt
- 1 cup sugar
- 1/2 cup melted butter
- 1 tsp baking powder
- 1/4 cup almonds (for garnish)
- 1/2 cup rose syrup
- 1 cup water
- 1Gather and measure all the ingredients. Preheat your oven to 350°F (175°C).
- 2In a mixing bowl, combine semolina, yogurt, sugar, melted butter, and baking powder. Mix until smooth.
- 3Grease a baking dish and pour the batter into it. Score the top into diamond shapes and place an almond on each piece. Bake for 30-35 minutes, until golden brown.
- 4In a saucepan, boil water and sugar until dissolved, then stir in rose syrup and let it cool.
- 5Once the basbousa is out of the oven, pour the cooled syrup evenly over the top. Let it sit for a few hours or overnight to soak up the syrup.
Keywords: Basbousa, Easy Dessert, Middle Eastern Dessert, Semolina Cake, Syrup Cake
- semolina: the base of this delightful cake, providing its characteristic slightly grainy yet tender texture.
- plain yogurt: contributes moisture and a slight tang, ensuring a wonderfully moist and tender crumb.
- sugar: sweetens the cake and helps in creating a beautiful golden-brown crust.
- melted butter: adds richness and a luscious mouthfeel to the semolina base.
- baking powder: acts as a leavening agent, helping the cake to rise and achieve a lighter texture.
- almonds: traditionally used for garnishing, they add a delightful crunch and nutty flavor when baked on top.
- rose syrup: infuses the cake with an exquisite floral aroma and sweetness.
- water: used in conjunction with sugar to create the simple syrup that moistens the finished cake.
The precise quantities for these ingredients are detailed within the recipe card provided for your convenience. You’ll find everything you need to bring this Easy Basbousa to life.
Variations
For those seeking a dairy-free alternative, substituting the plain yogurt with a rich, unsweetened coconut yogurt offers a delightful tropical twist. Coconut oil can also replace melted butter, further enhancing the exotic flavor profile. This simple swap transforms the classic into a vegan-friendly treat without sacrificing moisture or taste.
A low-carb rendition can be achieved by using a sugar substitute like erythritol or stevia, and replacing semolina with finely ground almond flour. The texture will be slightly different, perhaps a bit denser, but it still offers a wonderfully sweet and satisfying dessert experience for those watching their carbohydrate intake.
Another exciting variation involves infusing the syrup with different flavors. Consider adding a splash of orange blossom water for a different floral note, or even a bit of lemon zest to the syrup mixture for a bright, citrusy contrast to the sweet semolina cake. These small additions can create entirely new flavor dimensions.
You can also introduce textural elements by folding in finely chopped nuts like pistachios or walnuts directly into the semolina batter before baking. This adds an extra layer of crunch and nutty depth, making each bite even more interesting and enjoyable. It’s a simple way to add complexity and appeal to the finished dessert.
For a decadent twist, consider swirling a tablespoon or two of melted dark chocolate into the batter just before pouring it into the pan. This creates beautiful marbling and a rich chocolate undertone that pairs wonderfully with the semolina. It transforms the traditional dessert into something more indulgent.
How to Prepare Easy Basbousa
Step 1: Gathering and Preparation
Begin by meticulously gathering all the necessary ingredients. Precise measurement is key to achieving the perfect texture and flavor balance in your Easy Basbousa. Take a moment to read through the entire recipe to familiarize yourself with each step. This initial preparation ensures a smooth and stress-free baking process, allowing you to focus on the delightful task of creating this beloved dessert.
Next, preheat your oven to the specified temperature of 350°F (175°C). A properly preheated oven is crucial for ensuring that the Easy Basbousa bakes evenly from the moment it enters the heat. This foundational step guarantees a beautiful golden-brown exterior and a perfectly cooked interior, setting the stage for the delicious syrup to soak in.
While the oven heats up, prepare your baking dish by greasing it thoroughly. A light coating of butter or oil on the bottom and sides of the dish will prevent the basbousa from sticking, ensuring that each slice can be removed cleanly. This simple yet vital step preserves the integrity and presentation of your finished dessert.
Step 2: Creating the Basbousa Batter
In a spacious mixing bowl, combine the semolina, plain yogurt, sugar, melted butter, and baking powder. These core ingredients form the foundation of your Easy Basbousa, contributing to its unique texture and rich flavor profile. Ensure all ingredients are at room temperature for optimal emulsification and a smoother batter.
Using a whisk or a sturdy spoon, mix these ingredients together thoroughly until a smooth, homogenous batter is formed. It should be thick, yet still pourable, with no dry pockets of semolina remaining. The consistency is important for achieving an even bake; if it seems too thick, a tablespoon of milk or yogurt can be added cautiously.
Avoid overmixing the batter at this stage, as excessive agitation can develop the gluten in the semolina too much, potentially leading to a tougher cake. Mix just until everything is well combined, aiming for a cohesive mixture that signifies readiness for the next stage of preparation. The batter should look creamy and inviting.
Step 3: Assembling for Baking
Carefully pour the prepared basbousa batter into the greased baking dish. Use a spatula or the back of a spoon to spread the batter evenly across the surface. Ensuring an even layer is essential for consistent baking and to create a level canvas for the decorative scoring that follows.
Once the batter is smoothed, it’s time for the traditional decorative scoring. With a sharp knife, gently score the top of the batter into diamond shapes. This not only serves as a beautiful visual cue for cutting the cake later but also allows the syrup to penetrate more deeply into the cake after baking, ensuring maximum moisture and flavor distribution.
Now, place a single almond into the center of each scored diamond. These almonds will toast to a golden perfection in the oven, adding a delightful crunch and a visually appealing garnish to your Easy Basbousa. Select whole, blanched almonds for the most aesthetically pleasing result and consistent toasting.
Step 4: Baking to Golden Perfection
Place the prepared baking dish into the preheated oven. Bake for approximately 30 to 35 minutes. During this time, the basbousa will puff up and transform into a beautiful golden-brown hue, indicating it’s nearing completion.
It’s important to keep a close eye on the cake, as oven temperatures can vary, and baking times may need slight adjustments. A toothpick inserted into the center of the cake should come out clean when it’s perfectly baked. This test ensures the cake is cooked through without being dry.
The aroma that fills your kitchen as the Easy Basbousa bakes is truly intoxicating, a sweet promise of the delightful treat to come. Once baked, carefully remove the dish from the oven, allowing the cake to rest for just a moment before proceeding to the syrup stage.
Step 5: Crafting the Aromatic Syrup
While the basbousa is in the oven, turn your attention to preparing the essential rose syrup. In a medium saucepan, combine one cup of water and one cup of sugar. This simple mixture forms the sweet liquid that will transform the baked cake into a moist, flavorful delight.
Heat the sugar and water mixture over medium heat, stirring occasionally until the sugar has completely dissolved. Continue to simmer this syrup gently until it begins to thicken slightly, reaching a syrupy consistency. Avoid boiling it too vigorously, as this can lead to an overly thick or crystallized syrup.
Once the syrup has reached the desired consistency, remove the saucepan from the heat. Stir in half a cup of rose syrup, ensuring it is well incorporated. Allow this fragrant syrup to cool down to a warm, not hot, temperature before pouring it over the basbousa. This temperature difference is crucial for optimal absorption.
Step 6: The Syrupy Finale
As soon as the Easy Basbousa emerges from the oven and while it is still warm, it’s time for the magical syrup infusion. Carefully and evenly pour the prepared, slightly cooled rose syrup all over the surface of the hot cake. You should hear a gentle sizzle as the syrup meets the warm cake.
Ensure the syrup covers the entire surface, reaching into the scored lines. This even distribution is vital for ensuring that every piece of the basbousa is equally moist and infused with that delightful rose flavor. The warm cake will eagerly soak up the sweet liquid, transforming its texture.
Allow the Easy Basbousa to cool and rest for at least a few hours, or preferably overnight, at room temperature. This crucial resting period allows the cake to fully absorb the syrup, enhancing the flavors and achieving the perfect, melt-in-your-mouth consistency. The longer it sits, the more delicious it becomes.
Pro Tips for Easy Basbousa
Texture is Key: For the signature texture of basbousa, use fine semolina. Coarser grains can lead to a less tender cake, so seek out the finest grind available for the best results. This small detail makes a significant difference in the final outcome.
Syrup Consistency Matters: When making the syrup, aim for a consistency that coats the back of a spoon but isn’t overly thick or sticky. If it’s too thin, it won’t penetrate adequately; if it’s too thick, it can make the cake overly sweet or gummy. A gentle simmer is usually sufficient.
The Almond’s Role: While optional, placing an almond on each piece before baking is a traditional and beautiful touch. It adds a lovely crunch and visual appeal. Ensure the almonds are fresh to avoid any rancid flavors developing during baking.
Patience for Flavor: The resting period after pouring the syrup is non-negotiable for optimal flavor and texture. This allows the cake to fully hydrate and the flavors to meld beautifully. Resist the urge to cut into it too soon; the wait is well worth it.
Temperature Contrast: Pouring a warm syrup onto a hot cake is a critical technique. This temperature differential encourages the cake to absorb the syrup effectively, leading to that signature moistness. Using a cooled syrup on a cooled cake simply won’t yield the same result.
Serving Suggestions for Easy Basbousa
Decoration
The classic decoration for Easy Basbousa involves scoring the top into diamonds and placing a single blanched almond in the center of each piece before baking. This creates an elegant, traditional look that is both simple and striking. The toasted almond adds a wonderful textural contrast and a hint of nutty flavor.
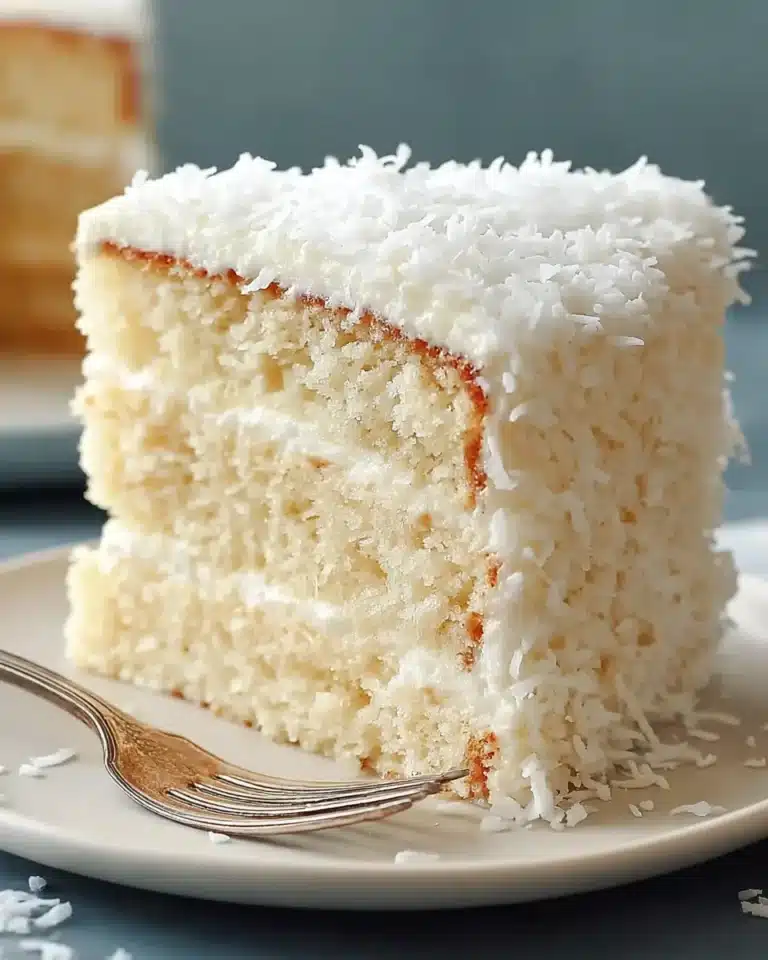
Beyond the traditional almond, consider a sprinkle of finely chopped pistachios for a vibrant green accent and added crunch. A dusting of desiccated coconut can also offer a tropical flair and a slightly different texture. For a more elaborate presentation, a light drizzle of melted dark chocolate or a few edible flowers can elevate the visual appeal significantly.
The syrup itself can also be used for decoration. If you have any leftover syrup, a light additional drizzle just before serving can add an extra sheen and boost the sweetness. Ensure any added drizzles are done sparingly to maintain balance.
Side Dishes
Easy Basbousa pairs wonderfully with a dollop of thick, unsweetened whipped cream or a scoop of vanilla bean ice cream. The creamy, cool contrast complements the warm, sweet cake beautifully, creating a delightful interplay of temperatures and textures. This is a classic pairing that never disappoints.
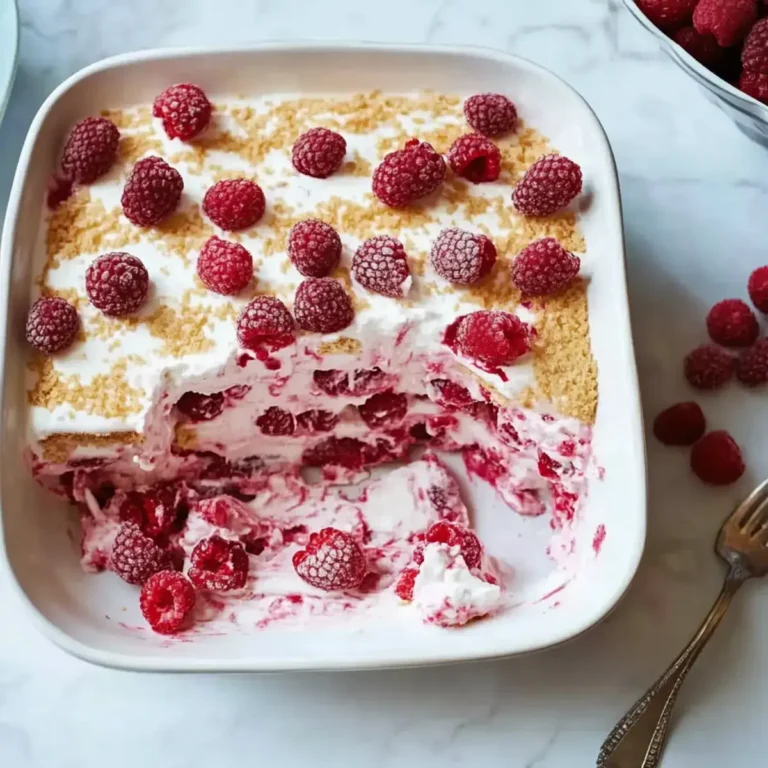
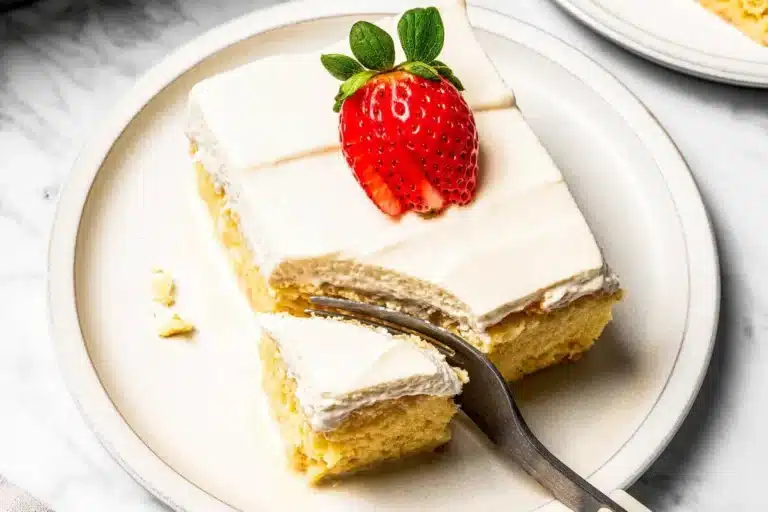
Fresh fruits offer a refreshing counterpoint to the richness of the basbousa. Consider serving slices of ripe mango, juicy strawberries, or tart raspberries alongside. The natural sweetness and acidity of the fruit cut through the dessert’s richness, providing a balanced and palate-cleansing experience.
Beverages play a key role too. A strong cup of Arabic coffee, with its characteristic cardamom aroma, is a traditional and perfect accompaniment. Alternatively, a soothing cup of mint tea or a floral herbal infusion can provide a refreshing and aromatic balance to the sweet dessert, enhancing the overall sensory experience.
Creative Serving Ideas
For a truly unique presentation, serve individual portions of Easy Basbousa in small ramekins or glasses. You can layer it with a bit of whipped cream or a fruit compote for a deconstructed dessert. This makes for an elegant dessert option for more formal occasions.
Consider incorporating Easy Basbousa into other desserts. Crumble cooled pieces and use them as a base for parfaits, layering with yogurt, fruit, and nuts. It can also be incorporated into trifle layers, adding a distinct Middle Eastern flavor profile to a familiar favorite.
Transforming the cake into bite-sized treats is another excellent idea, perfect for parties or dessert buffets. Cut the cooled cake into small squares or cubes, perhaps rolling them in chopped nuts or shredded coconut for an extra touch. These miniature delights are incredibly appealing and easy to enjoy.
Preparation & Storage
Storing Leftovers
To keep your Easy Basbousa fresh and delicious for later enjoyment, proper storage is key. Once cooled completely, place the cake in an airtight container. This prevents it from drying out and protects it from absorbing unwanted odors from other foods in your refrigerator or pantry.
At room temperature, properly stored Easy Basbousa can retain its delightful quality for up to three days. This makes it an excellent choice for a make-ahead dessert. If your kitchen is particularly warm, or if you prefer it slightly firmer, refrigerating it is also a good option.
When refrigerated, Easy Basbousa can last even longer, typically up to a week. The cool environment helps to preserve its moisture and flavor. Ensure the container is truly airtight to prevent any condensation from affecting the cake’s texture.
Freezing
Easy Basbousa freezes remarkably well, allowing you to enjoy this treat even further into the future. For the best results, it’s advisable to cut the cake into individual portions before freezing. This makes thawing and serving much more convenient, as you can take out only what you need.
Wrap each portion tightly in plastic wrap, ensuring there are no air pockets. Then, place the wrapped portions into a heavy-duty freezer bag or an airtight freezer-safe container. This double layer of protection is crucial to prevent freezer burn and maintain the cake’s quality.
When properly frozen, Easy Basbousa can be stored for up to two to three months. Label the container with the date of freezing to keep track of its freshness. The texture and flavor will remain surprisingly close to that of freshly made cake when thawed correctly.
Reheating
To reheat leftover Easy Basbousa, especially if it has been refrigerated or frozen, a gentle warming is usually all that is needed. The microwave is often the quickest and easiest method for this purpose. Place a slice on a microwave-safe plate.
Microwave on medium power for short intervals, perhaps 20 to 30 seconds at a time. Check the cake after each interval to ensure it warms through without becoming overheated or rubbery. You want it just warm enough to release its lovely aromas and melt-in-your-mouth texture again.
Alternatively, you can gently reheat the cake in a low oven, around 300°F (150°C), for about 5-10 minutes. This method provides a more even warming and can help revive any slight crispness on the edges. If reheating a whole cake that has been frozen, allow it to thaw in the refrigerator overnight first before attempting to reheat it.
Frequently Asked Questions
-
How long does Easy Basbousa stay fresh?
Easy Basbousa maintains its deliciousness for approximately three days when stored at room temperature in an airtight container. For extended freshness, refrigerating it can prolong its quality for up to a week. The key to longevity is proper airtight storage to prevent it from drying out or absorbing unwanted flavors from the environment.
-
Can I make Easy Basbousa ahead of time?
Absolutely, making Easy Basbousa ahead of time is not only possible but often recommended. The flavors and textures meld and deepen beautifully when the cake is allowed to rest for several hours, or ideally overnight, after the syrup has been added. This resting period allows the semolina to fully absorb the syrup, resulting in a more moist and flavorful dessert. Simply store it at room temperature or refrigerate it as needed until ready to serve.
-
What can I substitute for semolina if I don’t have any?
If semolina is unavailable, finely ground almond flour can serve as a substitute, though it will alter the characteristic texture of the basbousa, making it more dense and cake-like rather than slightly granular. Another option is to use fine cornmeal, but this will impart a distinct corn flavor. Some recipes might also suggest a blend of all-purpose flour and a small amount of cream of wheat for a similar, albeit not identical, texture. Experimentation may be needed to achieve your desired outcome.