Old-Fashioned Coconut Bundt Cake
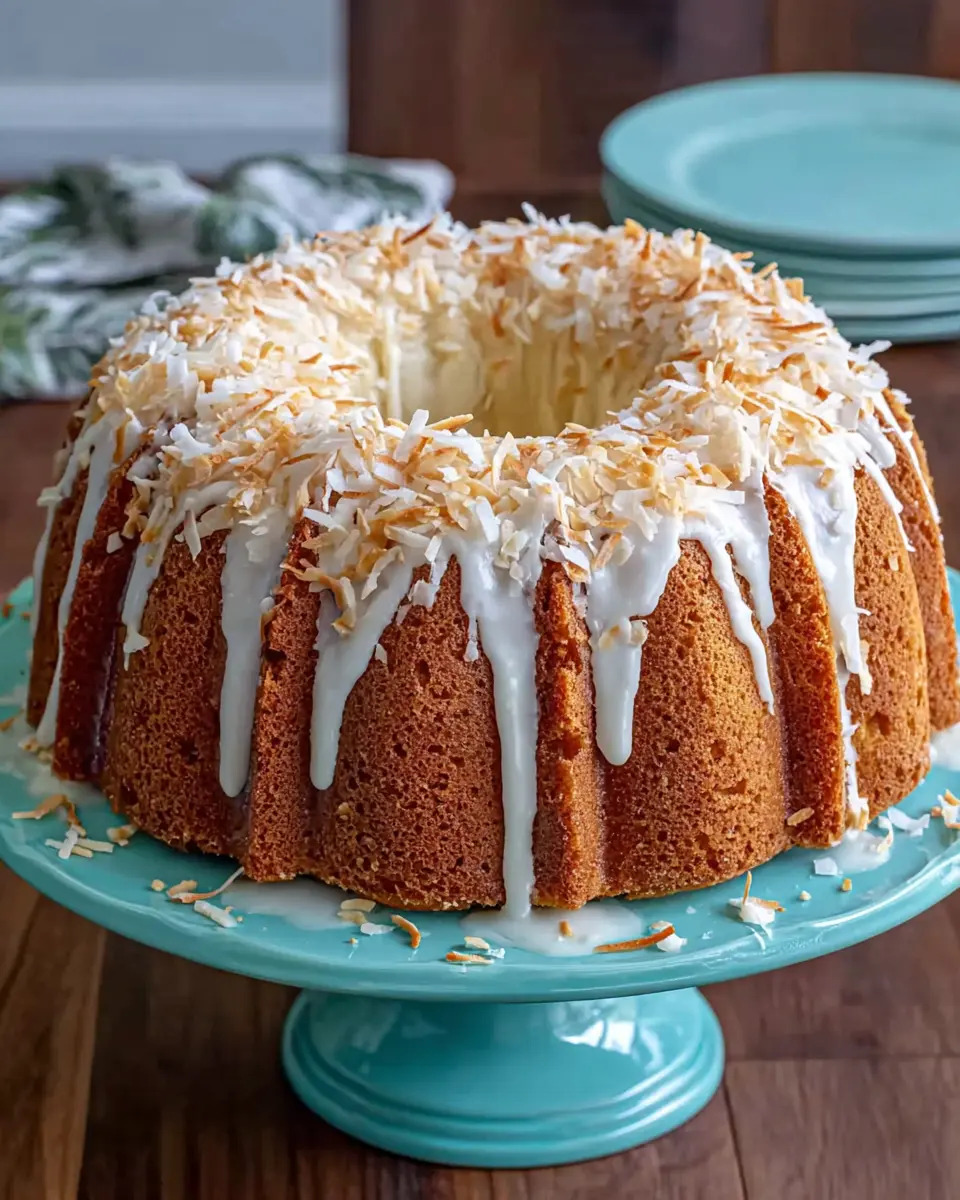
The allure of a perfectly baked Bundt cake is undeniable, and this Rich Old Fashioned Coconut Bundt Cake truly embodies that classic charm. It’s a dessert designed to impress without requiring complex techniques, making it a reliable choice for both novice bakers and seasoned pros. Its comforting aroma and delightful texture promise a truly satisfying treat.
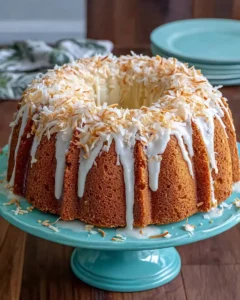
Imagine a cake that’s as beautiful as it is delicious, boasting a tender crumb infused with the warm, tropical essence of coconut, all enveloped in a delicate glaze. This cake is versatile enough to grace any occasion, from festive holiday tables and leisurely brunches to thoughtful gifts and everyday indulgence. Its ability to be prepared ahead of time further cements its status as a go-to dessert when you need something special without last-minute fuss.
Why You Will Love This Recipe
- Effortless Elegance: This cake presents beautifully with its intricate Bundt shape and smooth glaze, yet it’s remarkably simple to make, proving that sophisticated desserts don’t require advanced skills.
- Rich, Classic Flavor: A perfect marriage of buttery goodness and authentic coconut notes, this cake delivers a deeply satisfying taste that appeals to a wide range of palates and evokes nostalgic comfort.
- Moist & Tender Crumb: Achieved through careful mixing and quality ingredients like softened butter and whole milk, the cake’s texture is consistently soft and delightfully moist in every bite.
- Versatile & Adaptable: Whether served as a simple afternoon treat or dressed up for a special event, this cake’s classic profile makes it a fantastic base for various serving styles and accompaniments.
- Make-Ahead Convenience: Baked and glazed ahead of time, this Bundt cake is a baker’s best friend, allowing you to reduce stress on the day of your event and ensure a delicious dessert is always ready.
Ingredients You Need
Crafting this Rich Old Fashioned Coconut Bundt Cake hinges on using high-quality ingredients that work in harmony to create its signature flavor and texture. Selecting fresh, good-quality staples ensures that the subtle nuances of coconut and butter shine through without any off-notes. The combination of essential dry goods and carefully chosen fats and liquids forms the foundation for a cake that is both rich and delightfully tender, making each slice a memorable experience.
Rich Old Fashioned Coconut Bundt Cake
A buttery, dependable dessert with a tender crumb, true coconut flavor, and a smooth glaze that makes it ideal for holidays, brunches, gifting, or any time you want a make-ahead cake that still feels special. This is the kind of cake that looks elegant on the table without asking much from you in the kitchen.
- 2 1/4 cups all-purpose flour
- 1 cup unsalted butter, softened to room temperature
- 1 teaspoon vanilla extract
- 1/2 teaspoon salt
- 4 large eggs, at room temperature
- 1 cup sweetened shredded coconut
- 2 teaspoons coconut extract
- 1 teaspoon baking powder
- 1/2 cup whole milk
- 2 1/2 cups granulated sugar
- 2 tablespoons unsalted butter, melted
- 1 teaspoon coconut extract
- 2 tablespoons whole milk, with more as needed for consistency
- 1 1/2 cups confectioners’ sugar, sifted
- 2/3 cup sweetened shredded coconut, toasted
- 1Preheat the oven to 325°F and place a rack in the center position. Grease and lightly flour two 6-cup Bundt pans thoroughly so the cakes release cleanly after baking.
- 2In a medium bowl, whisk the flour, baking powder, and salt together until evenly blended. Set the dry mixture aside.
- 3In a large mixing bowl, beat the softened butter and granulated sugar on medium speed until pale and fluffy. Add the eggs, vanilla extract, and coconut extract, then continue beating until the mixture is smooth and well incorporated.
- 4Reduce the mixer speed to low and pour in the milk, mixing only until combined. Add the flour mixture and beat just until no dry streaks remain, then gently fold in the shredded coconut.
- 5Divide the batter evenly between the prepared Bundt pans. Bake for 50 to 55 minutes, or until the tops are golden, the edges are lightly browned, and a toothpick inserted into the center comes out with a few moist crumbs attached.
- 6Place the pans on a wire rack and allow the cakes to cool for about 15 minutes. Set a cooling rack over each pan, carefully invert, and release the cakes. If needed, tap the pans lightly with a wooden spoon to help loosen them.
- 7Leave the cakes on the racks until they are completely cool before glazing. This helps the topping set properly rather than melting into the surface.
- 8To prepare the glaze, combine the melted butter, sifted confectioners’ sugar, whole milk, and coconut extract in a small bowl. Whisk until smooth and pourable. The finished glaze should fall from a spoon in a steady white ribbon. Add a little more milk to thin it, or additional confectioners’ sugar to thicken it as needed.
- 9Spoon or drizzle the glaze over the cooled cakes, allowing it to run naturally down the sides. Finish by scattering the toasted coconut over the top.
Keywords: coconut bundt cake, old fashioned cake, rich cake, buttery cake, coconut glaze, make ahead cake, holiday dessert, brunch cake
The precise measurements for these ingredients are detailed within the accompanying recipe card, ensuring you have all the necessary components for a successful bake.
Variations
While this Rich Old Fashioned Coconut Bundt Cake is a classic for a reason, its fundamental structure lends itself beautifully to creative twists that can cater to different dietary needs or flavor preferences. Experimentation is key to unlocking new dimensions of deliciousness.
For a delightful vegan adaptation, you can effortlessly swap out the butter for a good quality vegan butter or coconut oil, and replace the whole milk with a plant-based alternative like almond or soy milk. The eggs can be substituted using a flax egg or commercial egg replacer. Ensure your shredded coconut is also vegan-friendly, and the resulting cake will be just as moist and flavorful, offering a plant-based indulgence that is sure to please everyone.
If you’re aiming for a low-carb or keto-friendly version, the approach involves replacing the granulated sugar and confectioners’ sugar with your preferred sugar substitutes, such as erythritol or a monk fruit blend. The all-purpose flour can be substituted with almond flour and a touch of coconut flour, which are naturally low in carbohydrates. You might need to adjust the liquid content slightly, but the rich coconut flavor will remain a star, creating a guilt-free dessert that aligns with your dietary goals. It’s amazing how adaptable this recipe is to modern dietary trends.
Consider a tropical fruit fusion by incorporating finely diced, well-drained pineapple or mango into the batter along with the shredded coconut. This addition will lend a subtle tang and a burst of fresh, fruity sweetness that complements the coconut beautifully. Alternatively, you could infuse the glaze with a hint of lime zest or a splash of passionfruit juice for a vibrant, zesty finish. This variation transforms the cake into a celebration of tropical flavors, perfect for a summer gathering or a taste of paradise any time of year. Each new combination offers a fresh perspective on this beloved classic dessert.
How to Prepare Rich Old Fashioned Coconut Bundt Cake
Step 1: Preparing the Pans and Oven
The journey to a perfect Rich Old Fashioned Coconut Bundt Cake begins with meticulous preparation of your baking equipment and preheating the oven. This foundational step ensures that your cake bakes evenly and releases cleanly from the intricate details of the Bundt pan, preserving its beautiful shape.
Set your oven to 325°F (160°C) and place a rack in the center position. This moderate temperature is crucial for allowing the cake to cook through without scorching the exterior, ensuring a tender crumb throughout. It’s the ideal environment for developing that classic, old-fashioned texture we’re aiming for.
Generously grease and then lightly flour two 6-cup Bundt pans. Don’t skimp on this step; use a pastry brush or paper towel to ensure every nook and cranny of the pan is coated with butter or baking spray, followed by a light dusting of all-purpose flour. Tap out any excess flour to prevent white streaks on the finished cake. This thorough greasing and flouring process is your insurance policy against a cake sticking, which is especially important with the detailed surfaces of Bundt pans, guaranteeing that those decorative ridges will appear flawlessly on your final product.
Step 2: Combining the Dry Ingredients
Before you even think about creaming butter and sugar, it’s essential to properly combine all the dry ingredients. This seemingly small step plays a significant role in the cake’s final structure and texture, ensuring an even rise and consistent flavor distribution.
In a medium-sized bowl, whisk together the all-purpose flour, baking powder, and salt. Whisking these ingredients thoroughly ensures that the leavening agent (baking powder) and the salt are evenly distributed throughout the flour. This prevents pockets of unincorporated baking powder, which could lead to uneven rising or a bitter taste, and ensures the salt enhances the sweetness and coconut flavor uniformly across the cake.
Setting this whisked dry mixture aside allows you to focus on the wet ingredients without interruption. When it’s time to incorporate it into the batter, it will be ready to be added in stages, contributing to a smooth and well-emulsified batter. This organized approach is part of what makes the process feel less daunting and more controlled, leading to a superior result.
Step 3: Creaming Butter and Sugar
This step is the heart of creating that desirable rich, yet tender, crumb characteristic of an old-fashioned Bundt cake. Proper creaming incorporates air into the batter, which acts as a leavening agent and contributes significantly to the cake’s light texture.
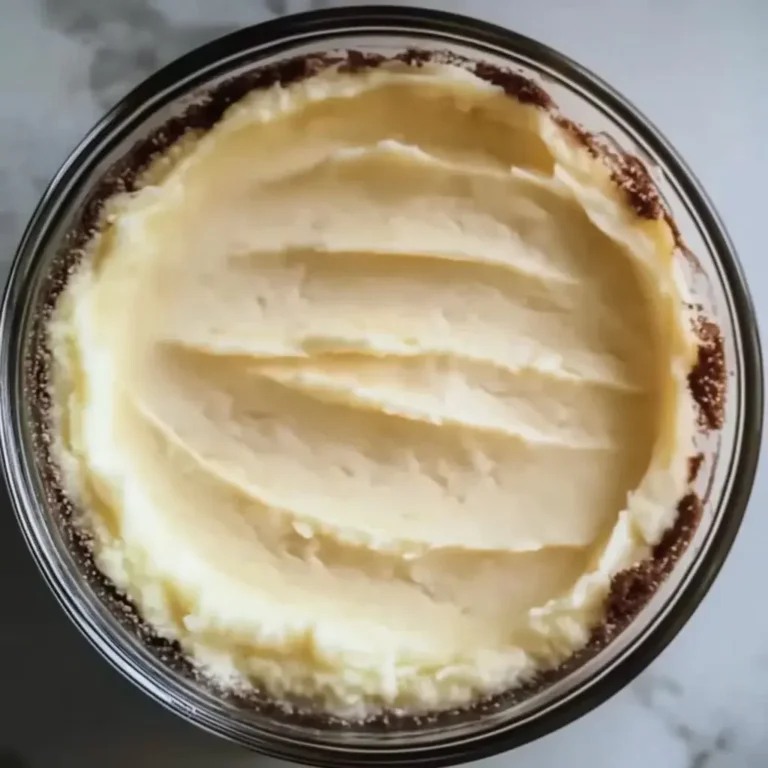
In a large mixing bowl, beat the softened unsalted butter and granulated sugar together on medium speed. You want to continue beating until the mixture becomes noticeably lighter in color, appearing pale yellow, and develops a fluffy, aerated texture. This process can take several minutes, and it’s worth the time; the air bubbles created here are essential for a tender cake.
This pale, fluffy mixture is the foundation of the cake’s structure. It ensures that the cake will not be dense or heavy, but rather possess a delicate crumb that melts in your mouth. It’s a classic baking technique that truly elevates a simple cake to something extraordinary, giving it that sought-after old-fashioned quality and buttery richness.
Step 4: Incorporating Wet Ingredients
Once you have achieved the perfect creamy base, it’s time to gradually introduce the remaining wet ingredients, ensuring each component is fully incorporated for a smooth, cohesive batter. This stage builds upon the aerated butter-sugar mixture, adding moisture, richness, and the signature flavors.
Add the room-temperature eggs, vanilla extract, and coconut extract to the creamed butter and sugar mixture. Continue beating until everything is smoothly combined and looks uniformly blended. The eggs add richness and help bind the ingredients, while the extracts provide the aromatic foundation of the cake’s flavor profile.
Next, reduce the mixer speed to low and gradually pour in the whole milk, mixing only until it is just combined. Overmixing at this stage can develop the gluten in the flour too much, leading to a tougher cake. Once the milk is incorporated, it’s time to add the dry ingredients; again, keep the mixer on low and stop mixing as soon as you no longer see dry streaks of flour, preserving the delicate texture.
Step 5: Folding in Coconut and Final Mixing
The final incorporation of ingredients involves gently folding in the shredded coconut, a step that adds delightful texture and an extra layer of coconut flavor without compromising the cake’s delicate crumb. This manual step is crucial for maintaining the airy structure you’ve worked hard to build.
Add the whisked dry ingredients (from Step 2) to the wet ingredients in the mixing bowl. Mix on low speed just until you no longer see any dry streaks of flour. It is crucial here to avoid overmixing; stop as soon as the flour is incorporated. Overdeveloping the gluten at this point would result in a tougher cake, so it’s better to err on the side of slightly under-mixing.
Once the flour is just incorporated, switch to a spatula or wooden spoon and gently fold in the sweetened shredded coconut. This manual folding ensures the coconut is evenly distributed throughout the batter without deflating the air pockets created during creaming. The coconut adds wonderful pockets of chewiness and intensifies the overall coconut flavor. This careful combination of precise mixing and gentle folding is key to achieving that perfect, tender texture.
Step 6: Baking and Glazing
With the batter perfectly prepared, the final steps involve dividing it into the prepared pans, baking to golden perfection, and then finishing it with a luscious glaze and toasted coconut topping.
Divide the batter evenly between the two prepared 6-cup Bundt pans. Smooth the tops slightly with your spatula. Place the pans on a wire rack in the center of the preheated oven. Bake for approximately 50 to 55 minutes, or until the tops are golden brown and a toothpick inserted into the center of the cake comes out with a few moist crumbs attached; this indicates it is cooked through but still delightfully moist. Avoid over-baking, as this can lead to a dry cake.
Once baked, remove the cakes from the oven and let them rest in their pans on a wire rack for about 15 minutes. This brief resting period allows the cakes to firm up slightly, making them easier to unmold. Then, carefully invert each pan onto a clean wire rack, tapping gently if needed, and let the cakes cool completely before proceeding to glaze. Once fully cooled, prepare the glaze by whisking together melted butter, sifted confectioners’ sugar, whole milk, and coconut extract until smooth and pourable. Spoon or drizzle this glaze over the cooled cakes, allowing it to cascade down the sides. Finally, scatter the toasted coconut over the top for a beautiful, bakery-quality finish.
Pro Tips for Rich Old Fashioned Coconut Bundt Cake
Toast the coconut topping with care: When toasting the shredded coconut for the topping, keep a close eye on it. You want it to be a lovely light golden brown, which imparts a nutty aroma and enhanced flavor. If it turns too dark, it can taste bitter and detract from the cake’s sweetness, so a watchful eye and occasional stirring are essential for perfect results.
Room temperature is key: Ensure your butter and eggs are at room temperature before you begin. This is not just a suggestion; it’s vital for achieving a smooth, well-emulsified batter. Room temperature ingredients blend together much more effectively, creating a finer, more uniform crumb and preventing the possibility of a greasy or curdled batter.
Gentle handling of flour: Once the flour is added, treat the batter gently. Overmixing after adding the flour can develop the gluten in the flour too much, leading to a tough, dense cake. Mix only until the flour streaks disappear, and then fold in any additions like coconut by hand to maintain the batter’s airy quality and ensure a tender cake.
Pan preparation is paramount: Never underestimate the importance of thoroughly greasing and flouring your Bundt pans. These pans have intricate designs that can easily cause cake to stick. A proper coating of grease and flour, or even using a baking spray with flour, will ensure that your beautiful cake releases cleanly, preserving every detail of its decorative shape and making the unmolding process stress-free.
Cool completely before glazing: Patience is a virtue, especially when it comes to glazing. Always allow the Bundt cakes to cool completely on a wire rack before applying the glaze. Glazing a warm cake will cause the glaze to melt and run off too quickly, resulting in a messy finish. A fully cooled cake provides the perfect surface for the glaze to set beautifully, creating those appealing drips down the sides.
Serving Suggestions for Rich Old Fashioned Coconut Bundt Cake
Decoration
The toasted coconut topping provides a wonderful textural and visual element that elevates the cake’s appearance instantly. For an extra touch of elegance, consider a simple dusting of confectioners’ sugar over the glaze, mimicking a light snowfall, or adding a few edible flowers for a pop of color. A drizzle of contrasting chocolate ganache can also add a sophisticated touch, playing on the classic pairing of coconut and chocolate.
Side Dishes
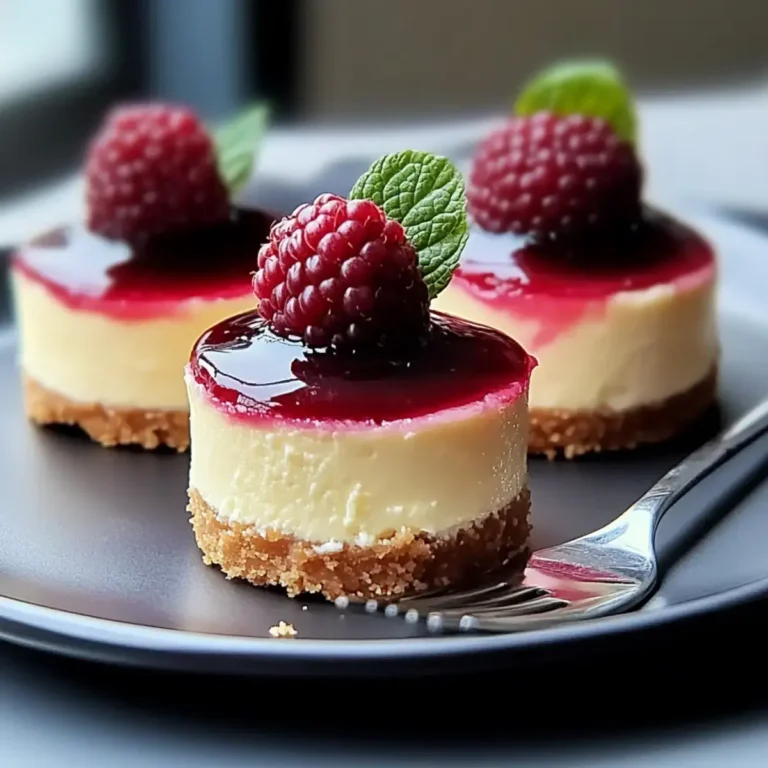
While this cake is a star on its own, it pairs beautifully with a variety of complementary accompaniments. A simple dollop of freshly whipped cream, lightly sweetened, offers a cloud-like contrast to the cake’s density. A small scoop of high-quality vanilla bean ice cream or even a scoop of coconut ice cream would enhance the tropical theme. For a lighter option, a side of fresh berries, such as raspberries or sliced strawberries, provides a refreshing tartness that balances the cake’s sweetness.
Creative Serving Ideas
Elevate your dessert presentation by serving individual slices with a delicate sprig of mint or a thin curl of dark chocolate. Consider a tropical fruit salsa, made with finely diced mango, pineapple, and a squeeze of lime, served alongside each slice for a burst of freshness. For a more decadent experience, create mini Bundt cakes or cupcakes from the same batter, topping them with a swirl of coconut buttercream and a sprinkle of toasted coconut for individual delights that are perfect for parties or as charming gifts.
Preparation & Storage
Storing Leftovers
This Rich Old Fashioned Coconut Bundt Cake is wonderfully stable and keeps well, making it ideal for preparing in advance. At room temperature, store the cake loosely covered to allow for some air circulation, which helps maintain its moistness without trapping excessive moisture against the glaze. This method is perfect for keeping the cake fresh for 3 to 4 days. If your kitchen is particularly warm, you can refrigerate the cake for up to 5 days, but remember to bring slices back to room temperature before serving to enjoy the best texture and flavor.
Freezing
For longer-term storage, this cake freezes exceptionally well. Once completely cooled, wrap the whole cake or individual slices tightly in plastic wrap, followed by a layer of aluminum foil or a freezer-safe bag to prevent freezer burn. It can be stored in the freezer for up to 2 months. Freezing the cake before glazing often yields the neatest results when thawing, allowing you to apply a fresh glaze for serving.
Reheating
This cake is best enjoyed at cool room temperature, as reheating can negatively impact its texture and the glaze. Warming the cake can cause the buttery crumb to become overly soft and potentially melt the glaze, diminishing its visual appeal and creating a slightly soggy consistency. Instead, allow frozen cakes to thaw overnight in the refrigerator or on the counter until fully softened. Serve it at room temperature to best appreciate its tender crumb and the nuanced coconut flavors.
Frequently Asked Questions
-
Can I bake this Rich Old Fashioned Coconut Bundt Cake in one larger Bundt pan or as cupcakes?
Absolutely! If you have a larger Bundt pan (e.g., a 10-cup capacity), you can certainly bake the entire batter in it. However, be aware that a larger pan will require a different baking time. Start checking for doneness a bit earlier than the specified time, typically around 40-45 minutes, and continue to bake until a toothpick inserted into the center comes out with a few moist crumbs. If you wish to make cupcakes, fill standard muffin liners about two-thirds full and bake at the same temperature, but they will cook much faster, likely in 18-22 minutes. Keep a close eye on them to prevent over-baking. The classic Bundt shape is ideal for showcasing the glaze and toasted coconut, but these alternative formats are equally delicious and offer more serving flexibility for smaller gatherings or individual portions.
-
Why does the cake need to cool completely before glazing, and what happens if I glaze it while warm?
Allowing the cake to cool completely before glazing is a critical step for achieving a smooth and appealing finish. When a cake is warm, its surface is still somewhat soft and porous. Applying a glaze to a warm cake will cause the glaze to melt too rapidly and soak into the cake’s structure, rather than setting on top. This can result in a glaze that is too thin, runs off the cake excessively, or doesn’t set properly, leading to a sticky mess rather than an elegant coating. A fully cooled cake provides a firm and stable surface for the glaze to adhere to, allowing it to set beautifully and create those signature drips down the sides that make a Bundt cake so attractive. Patience here ensures a professional-looking final product.
-
What is the best way to store this Bundt cake to maintain its freshness and moistness, and can it be refrigerated?
To maintain the optimal freshness and moistness of your Rich Old Fashioned Coconut Bundt Cake, storing it at room temperature is generally recommended for up to 3-4 days. Keep the cake loosely covered with plastic wrap or an airtight cake dome. This allows some air circulation while protecting it from drying out. If your climate is very warm or humid, or if you need to store it for a slightly longer period (up to 5 days), refrigerating the cake is an option. However, it’s important to note that refrigeration can sometimes dry out cakes. If you do refrigerate it, always bring individual slices back to room temperature for at least 30 minutes before serving to allow the butter in the cake to soften and the flavors to become more pronounced. Serving it chilled can result in a firmer texture that doesn’t showcase the cake’s delicate crumb and buttery notes as well.