Homemade Vanilla Bean Frappucino – Easy Starbucks Copycat Recipe!
Embarking on a culinary journey to recreate beloved cafe beverages at home can be incredibly rewarding, offering both a delightful sensory experience and significant cost savings. The allure of a perfectly blended, creamy vanilla bean frappuccino, especially one inspired by popular coffeehouse chains, lies in its comforting sweetness and refreshing coolness, making it a go-to choice for many.
This particular rendition focuses on simplicity and accessible ingredients, ensuring that anyone can achieve that luscious, coffee-shop quality in their own kitchen. By understanding a few key elements and employing straightforward techniques, you’ll soon be enjoying this delightful drink anytime the craving strikes, without the need for a trip to the cafe.
Why You Will Love This Recipe
- Effortless Preparation: This recipe comes together in a matter of minutes, making it perfect for a quick treat or a delightful breakfast beverage.
- Customizable Sweetness: While the recipe provides a balanced sweetness, you have complete control to adjust the vanilla bean powder or even add a touch of sweetener to suit your personal preference.
- Creamy, Not Icy Texture: Utilizing vanilla bean ice cream ensures an incredibly smooth and rich texture, differentiating it from overly icy blended drinks.
- Caffeine-Free Option: As prepared, this frappuccino is a delightful caffeine-free indulgence, suitable for any time of day for all family members.
- Starbucks-Inspired Flavor: It captures the essence of the popular vanilla bean crème frappuccino, offering a satisfying homemade alternative that rivals its commercial counterpart.
Ingredients You Need
The secret to an outstanding vanilla bean frappuccino lies in selecting quality ingredients that harmonize beautifully. Opting for good vanilla bean ice cream and a potent vanilla bean powder will elevate the flavor profile significantly, ensuring each sip is rich and aromatic. Remember that the freshness and quality of your milk also play a role in the final creamy texture and overall taste sensation.
Vanilla Bean Frappuccino

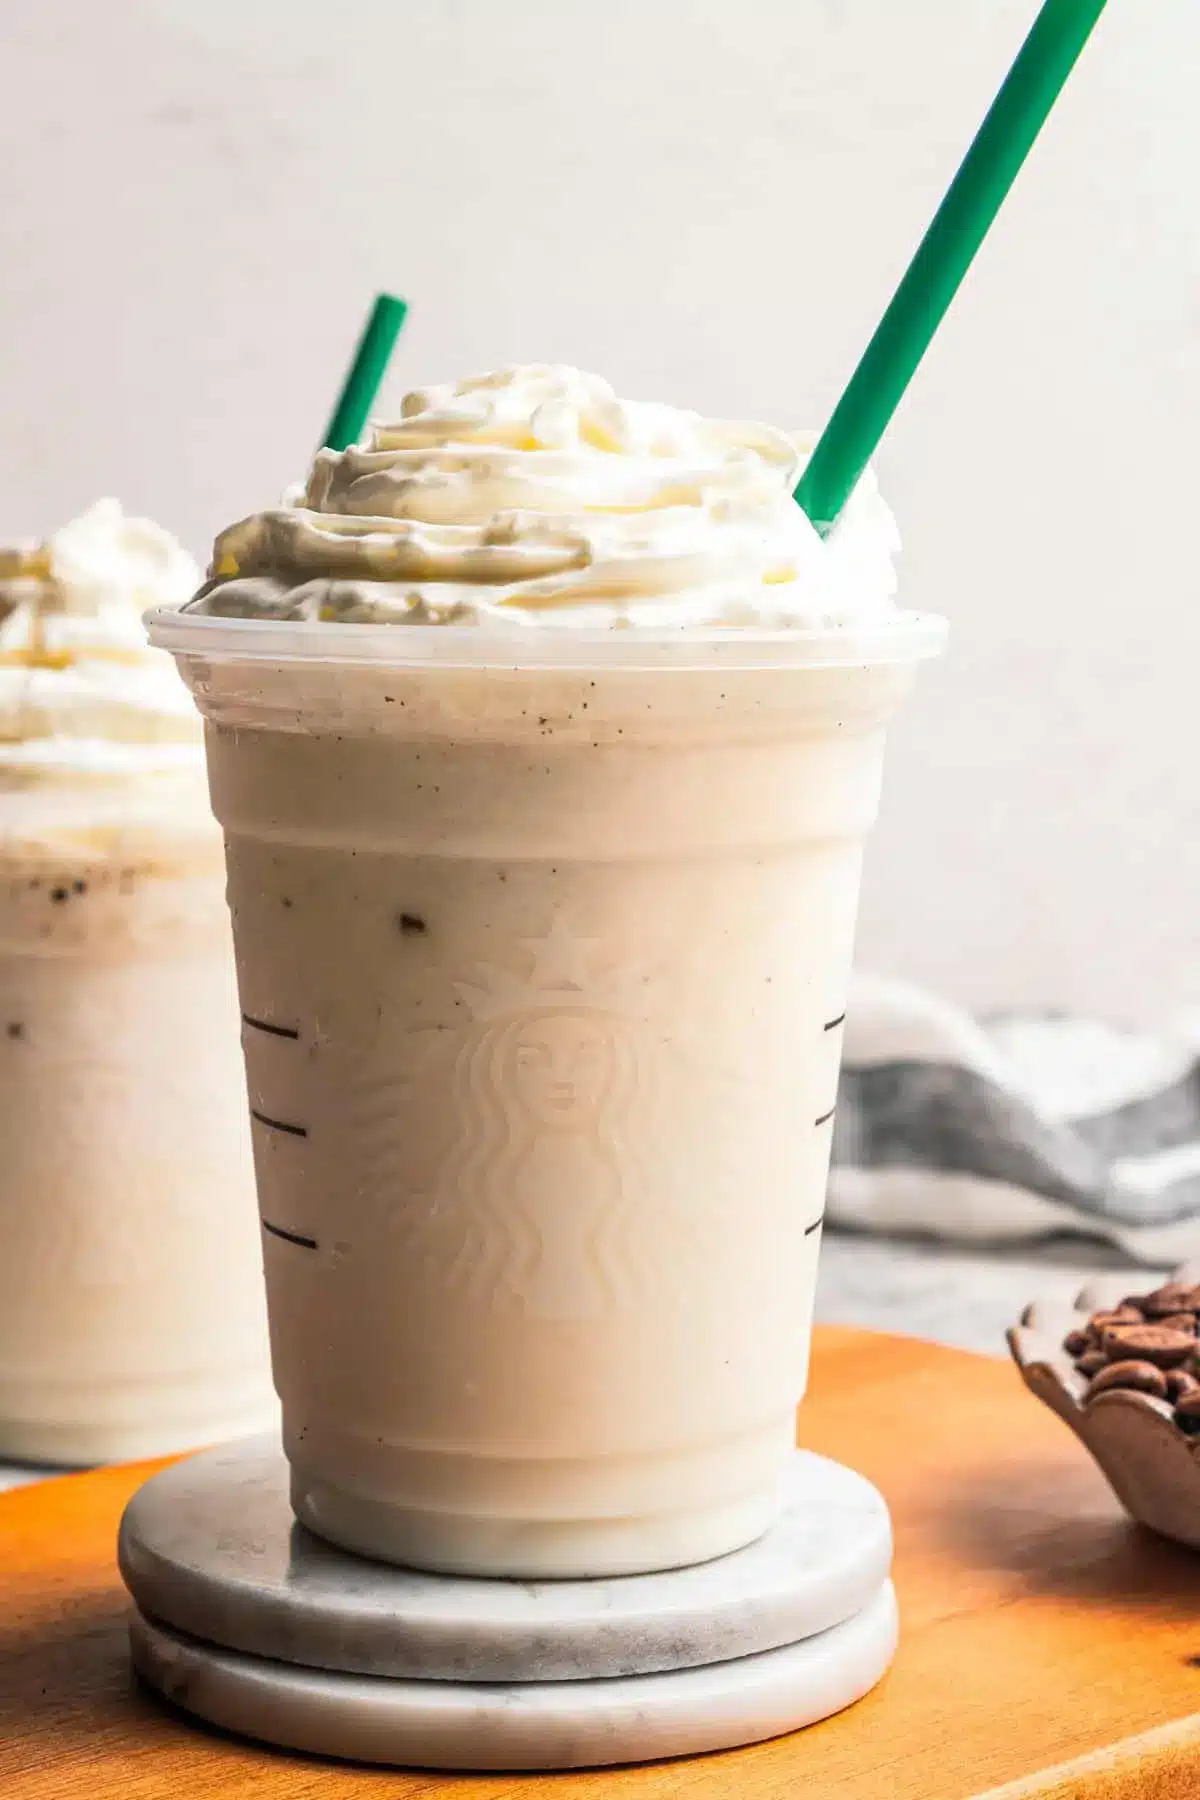
A Starbucks-inspired vanilla bean frappuccino made at home with simple ingredients, including creamy vanilla bean ice cream. Option to make it Starbucks-style without ice cream using a homemade Frappuccino base.
- 1 cup whole milk, or 2% milk
- 2 tablespoons vanilla bean powder, or vanilla powder
- 1 scoop (about ⅓ cup) vanilla bean ice cream
- 1 cup ice
- whipped cream, for topping
- 1Combine the ingredients: Add the milk, vanilla bean powder, ice cream, and ice to a blender.
- 2Blend: Blend until smooth and creamy.
- 3Serve: Pour into a glass and top with whipped cream. Serve immediately.
Keywords: vanilla, frappuccino, coffee, drink, dessert, starbucks, copycat, ice cream, milkshake
The precise quantities for each ingredient are detailed within the recipe card, ensuring you have the perfect balance for a single serving of this delightful drink. Experimenting with different types of milk, such as whole milk for ultimate richness or a dairy-free alternative for a lighter version, can also offer unique flavor nuances.
Variations
For those seeking a dairy-free delight, substituting whole milk with a creamy almond, oat, or soy milk will yield a wonderfully rich vegan frappuccino. Using a plant-based vanilla bean ice cream will further enhance the vegan profile, ensuring a decadent treat without any animal products. The resulting texture remains wonderfully smooth and satisfying, proving that vegan options can be just as indulgent.
To transform this into a low-carb indulgence, consider omitting the ice cream altogether and using a sugar-free vanilla syrup or a few drops of liquid stevia for sweetness. A splash of heavy cream or coconut cream can help achieve that desirable thick and creamy consistency. Be mindful of the xanthan gum if opting for a homemade Frappuccino base, as it can contribute to carb count in larger quantities.
Adding a shot of espresso is a classic way to infuse caffeine and a bolder coffee flavor into your vanilla bean frappuccino. This transforms it into a more traditional coffeehouse beverage, perfect for those needing an energy boost. You can blend the espresso shot directly into the mixture or pour it over the top for an affogato-style presentation, adding a visual and flavor layer.
For a touch of elegance and an extra flavor dimension, consider infusing your whipped cream topping with a hint of lavender or rosewater. This subtle aromatic addition can elevate the overall sensory experience of the drink, making it feel even more sophisticated and special. It’s a small adjustment that can make a significant difference in the perceived complexity of the beverage.
Another exciting variation involves incorporating fruit. A handful of fresh or frozen strawberries can be blended in for a vibrant strawberry vanilla bean frappuccino, offering a delightful fruity twist on the classic. Alternatively, a swirl of raspberry puree or a few blueberries can add a beautiful color and a burst of tartness that beautifully contrasts with the sweet vanilla undertones.
How to Prepare vanilla bean frappuccino recipe
Step 1: Gather Your Ingredients
Before you begin the blending process, ensure all your ingredients are readily accessible. This includes measuring out your milk, vanilla bean powder, and having your scoop of vanilla bean ice cream prepared. Having the ice cubes measured and nearby will also streamline the next steps considerably. This preparatory phase is crucial for ensuring a smooth and uninterrupted blending process.
Having your high-powered blender ready and plugged in is also an essential part of this initial step. Make sure the blender jar is clean and dry. The efficiency of your blender will directly impact the smoothness and consistency of the final frappuccino, so ensuring it’s in good working order is paramount. A powerful blender is key to achieving that perfectly smooth, non-icy texture.
Consider pre-chilling your serving glass. Placing your favorite tall glass in the freezer for about 10-15 minutes beforehand can help keep your frappuccino colder for longer once it’s poured. This extra touch adds a professional finish and enhances the overall enjoyment of the beverage, ensuring it stays refreshingly cold.
Step 2: Combine Ingredients in the Blender
Begin by pouring the measured milk into the blender jar. This liquid base helps the blades move freely and aids in incorporating the other ingredients smoothly. Using whole milk will contribute to the richest and creamiest texture, but other milk varieties work well too.
Next, add the vanilla bean powder directly into the blender jar. This is where the signature flavor comes from, so using a good quality powder is highly recommended for the best taste experience. If you are using vanilla powder as a substitute, ensure it’s a good quality one to still achieve a robust vanilla flavor.
Now, add the scoop of vanilla bean ice cream. This is what gives the frappuccino its luscious, milkshake-like consistency. If you’re opting for the Starbucks-style version without ice cream, you would add your prepared Frappuccino base syrup at this stage. Finally, add the cup of ice cubes to the blender.
Step 3: Blend Until Smooth and Creamy
Secure the lid firmly on the blender. Start blending on a low speed to begin breaking down the ice and incorporating the ingredients. Gradually increase the speed to high, allowing the blender to work its magic. You’ll want to blend until the mixture is completely smooth and no ice chunks remain visible.
The duration of blending can vary depending on the power of your blender. It might take anywhere from 30 seconds to over a minute. Listen to the sound of the blender; when it becomes consistent and smooth, it’s usually a good indicator that everything is well incorporated. Avoid over-blending, as this can lead to a thinner consistency if the ice melts too much.
Periodically, you might need to stop the blender and scrape down the sides with a spatula to ensure all ingredients are evenly mixed. This step is particularly helpful if you notice some ingredients sticking to the walls of the blender jar. This ensures every part of your drink is perfectly blended and consistently smooth.
Step 4: Taste and Adjust (Optional)
Once the mixture appears smooth and creamy, you can cautiously open the blender lid and take a small taste. This is your opportunity to fine-tune the flavor to your exact liking. If you find it’s not sweet enough, you can add a touch more vanilla bean powder or a sweetener of your choice.
If the consistency is too thick for your preference, a tiny splash more milk can be added and blended briefly to thin it out. Conversely, if it’s too thin, you can add a few more ice cubes and blend again until it reaches your desired thickness. Small adjustments can make a significant difference in achieving your perfect frappuccino.
This step is entirely optional, as the recipe is designed to provide a balanced flavor profile. However, personal taste preferences vary, so don’t hesitate to make minor adjustments. The goal is to create a drink that you absolutely love, so tasting and tweaking is encouraged.
Step 5: Pour and Serve
Carefully pour the thick, creamy vanilla bean frappuccino from the blender into your prepared serving glass. If you’ve pre-chilled your glass, you’ll notice the drink stays beautifully cold. Fill the glass as much as possible, leaving a little room at the top for the whipped cream.
The final touch is the whipped cream topping. Generously swirl a dollop of whipped cream onto the surface of the frappuccino. This not only adds a beautiful visual appeal but also enhances the rich, indulgent experience of the drink. For an extra flourish, you could dust the whipped cream with a tiny pinch of cinnamon or a sprinkle of vanilla bean powder.
Serve your homemade vanilla bean frappuccino immediately with a wide straw, which is ideal for sipping through the thick, blended mixture. Enjoy the fruits of your labor with this delightful and refreshing homemade beverage. It’s a treat that’s sure to satisfy any sweet craving.
Step 6: Add Coffee for a Caffeinated Kick (Optional)
For those who enjoy a caffeinated version of this delightful drink, this step offers a way to incorporate that signature coffeehouse energy. You have two primary methods for adding coffee to your vanilla bean frappuccino, each offering a slightly different experience.
The first method is to blend a shot of hot espresso directly into the frappuccino mixture during Step 3. Ensure the espresso is freshly brewed and still warm for the best incorporation. This will distribute the coffee flavor evenly throughout the entire drink, creating a uniform coffee-vanilla blend that is deeply satisfying.
Alternatively, for an “affogato-style” presentation, you can prepare your frappuccino as usual and then pour a shot of hot espresso directly over the top of the whipped cream. This creates a visually appealing contrast and allows the coffee to slowly melt down into the drink, providing a gradual infusion of flavor with each sip. This method offers a more nuanced coffee experience.
Pro Tips for vanilla bean frappuccino recipe
Use High-Quality Vanilla: The star of this drink is vanilla, so invest in good quality vanilla bean powder or vanilla bean paste for the most authentic and aromatic flavor. Standard vanilla extract can be used but won’t provide the same depth of flavor. Consider exploring specialty stores or online retailers for premium vanilla products that can truly elevate your frappuccino.
Chill Your Blender Jar: For an extra icy cold and thick frappuccino, chill your blender jar in the freezer for at least 15-20 minutes before you start. This helps the ice crystals stay frozen longer during the blending process, ensuring a perfectly cold and creamy consistency from the first sip to the last. It’s a simple step that makes a noticeable difference in texture and temperature.
Adjust Ice Gradually: When adding ice, start with the recommended amount and blend. If the mixture is too thin, add a few more ice cubes at a time and blend again until you achieve your desired consistency. Adding too much ice at once can make the drink too icy and dilute the flavor, so a gradual approach is best. This prevents over-dilution and maintains flavor intensity.
Don’t Over-Blend: While you want the frappuccino to be smooth, over-blending can cause the ice to melt too much, resulting in a thinner, more watery consistency. Blend just until the mixture is smooth and creamy, and then stop. Pay attention to the sound and visual cues of the blender to avoid this common pitfall. The goal is a thick, milkshake-like texture.
Experiment with Milk Alternatives: If you’re not using dairy, experiment with different non-dairy milks like almond, oat, cashew, or coconut milk. Each will impart a slightly different flavor and texture. For instance, oat milk often yields a creamier result compared to almond milk. Finding your favorite alternative is part of the fun of homemade beverages.
Sweeten to Taste: The recipe includes vanilla bean ice cream for sweetness, but your personal preference might differ. Taste the frappuccino after blending and add a little extra sweetener if needed. This could be a touch more vanilla bean powder, a drizzle of honey, maple syrup, or your preferred sugar substitute. This customization ensures it’s perfect for you.
Consider a Xanthan Gum Boost: If you’re making the Starbucks-style version without ice cream or find your frappuccino isn’t thick enough, a tiny pinch of xanthan gum (about 1/8 to 1/4 teaspoon) can act as a powerful emulsifier and thickener. Add it with the other ingredients and blend thoroughly. Be cautious, as too much can make the texture gummy.
Serving Suggestions for vanilla bean frappuccino recipe
Decoration
The classic topping for a vanilla bean frappuccino is a generous swirl of whipped cream. For an extra touch of indulgence and visual appeal, consider dusting the whipped cream with a sprinkle of finely ground vanilla bean powder or a pinch of cinnamon. A drizzle of caramel sauce or chocolate syrup can also add a decadent flourish, transforming the simple topping into a work of art.
Edible glitter or a few shaved white chocolate curls can add a touch of sparkle and sophistication, making your homemade frappuccino look like it came straight from a high-end cafe. These small decorative elements not only enhance the presentation but also add subtle layers of flavor and texture that complement the creamy drink beneath. They elevate the entire experience.
For a truly artisanal look, consider creating a dripcake effect inside the glass before pouring the frappuccino. Use melted chocolate or caramel sauce to coat the inside walls of your serving glass, allowing it to slightly drip down. This adds a beautiful visual element and a burst of flavor with every sip that reaches the drizzles.
Side Dishes
This delightful vanilla bean frappuccino pairs wonderfully with a variety of sweet and baked treats. A slice of soft lemon bread offers a bright, citrusy contrast to the creamy sweetness of the drink, creating a balanced flavor profile. The tanginess of the lemon cuts through the richness of the frappuccino beautifully.
Homemade marble cake, with its swirls of chocolate and vanilla, complements the vanilla notes in the frappuccino while adding a comforting, baked element. The moist crumb of the cake is perfect for enjoying alongside the smooth beverage, making for a delightful afternoon tea or dessert pairing. It’s a classic combination that’s always a hit.
For a more portable option, consider serving it with a batch of chewy funfetti cookies. The colorful sprinkles and sweet cookie flavor provide a playful counterpoint to the creamy vanilla, making it a fun and festive pairing. These cookies are a crowd-pleaser and pair exceptionally well with cold, sweet drinks like this frappuccino.
Creative Serving Ideas
Present your vanilla bean frappuccino in a clear, tall glass to showcase its creamy texture and any decorative drizzles. Garnishing the rim with a thin slice of vanilla bean or a curl of white chocolate can add an elegant touch. Consider using vintage-style glasses or mason jars for a rustic charm, enhancing the overall aesthetic.
For a themed party or a special occasion, serve mini versions of the frappuccino in shot glasses or small dessert cups. This allows guests to sample the delightful flavor without overindulging, making it a perfect addition to a dessert buffet or a sophisticated brunch spread. They also serve as beautiful, bite-sized treats.
To make it an even more substantial treat, consider a coffee-bar setup where guests can customize their own frappuccinos with various toppings like caramel sauce, chocolate shavings, cookie crumbles, or even a dusting of cocoa powder. This interactive approach adds an element of fun and personalization, ensuring everyone creates their perfect drink. It turns a simple beverage into an engaging activity.
Preparation & Storage
Storing Leftovers
Frappuccinos, due to their blended ice and dairy components, are best enjoyed immediately after preparation. Storing leftovers can lead to a significant change in texture; the ice will melt, resulting in a thin, watery consistency rather than the desired creamy, slushy texture. If you anticipate not finishing the entire drink, it is highly recommended to halve the recipe to avoid waste and ensure optimal enjoyment.
If you absolutely must store a small amount, transfer it to an airtight container and place it in the freezer. However, be aware that when you attempt to consume it later, it will likely have a very different consistency. You might be able to re-blend it with a few fresh ice cubes, but it will rarely recapture its original perfection. It’s a temporary solution at best.
For the best possible outcome, plan to consume your homemade vanilla bean frappuccino within minutes of making it. This ensures you experience the intended rich, creamy, and refreshingly cold texture that makes this drink so delightful. Freshly made is truly the only way to experience it at its absolute best.
Freezing
Freezing a prepared frappuccino is generally not recommended if you intend to consume it later as a blended drink. As mentioned, the ice crystals break down, and the liquid base will separate and become watery upon thawing. Freezing changes the structure of the ingredients, making it very difficult to restore the original smooth, blended consistency.
However, if you are interested in making something similar for later, you could consider freezing the base mixture *before* adding the ice. You could then blend this frozen base with fresh ice when you’re ready to serve. This is a more complex approach but could potentially yield a better result than freezing the final product.
Another alternative for a make-ahead option is to create a concentrated syrup or base that can be stored in the refrigerator and then blended with ice when needed. This requires adjusting the recipe to achieve a syrupy consistency that holds up well over time without becoming icy. It’s a good strategy for frequent frappuccino drinkers.
Reheating
Reheating a frappuccino is not a practical or recommended method for enjoying this beverage. Frappuccinos are designed to be served cold and are made with ice, which is inherently incompatible with reheating. Attempting to heat a frappuccino would simply melt the ice and likely result in a lukewarm, separated liquid that bears little resemblance to the original drink.
If you find yourself with a frappuccino that has melted significantly, the best course of action is to add more ice and re-blend it. This will help to restore some of its original texture and chill. It’s a better alternative than trying to warm it up, which would fundamentally alter its intended character. This process can revive a slightly melted drink.
For those who prefer warm coffee drinks, it would be more advisable to make a different beverage, such as a latte or a cappuccino. These drinks are designed to be served hot and can be reheated or made to order with warm milk and espresso. The vanilla bean frappuccino’s charm lies in its frozen, refreshing nature, which is lost upon heating.
Frequently Asked Questions
-
Can I make this vanilla bean frappuccino recipe vegan?
Yes, you absolutely can make this vanilla bean frappuccino recipe vegan with a few simple substitutions. Replace the whole milk with your favorite plant-based milk, such as almond, oat, soy, or coconut milk, for a creamy dairy-free base. For the vanilla bean ice cream, opt for a high-quality vegan vanilla bean ice cream made from ingredients like coconut cream, cashew cream, or oat milk. Ensure your whipped cream topping is also vegan, with many excellent plant-based whipped cream options available in stores or easy to make at home.
-
How do I achieve a thicker consistency for my frappuccino?
To achieve a thicker consistency for your vanilla bean frappuccino, several factors can be adjusted. Ensure you are using a high-powered blender that can effectively crush ice without melting it too much. Using less milk or more ice than the recipe calls for can also thicken the drink, but be careful not to add too much ice, which can dilute the flavor. For an extra creamy texture without adding more liquid, a small scoop of vanilla bean ice cream or a tablespoon of heavy cream (or coconut cream for a dairy-free option) can work wonders. If you’re aiming for a Starbucks-style thickness without ice cream, consider the homemade Frappuccino base syrup mentioned in the notes, which includes xanthan gum, a natural thickener.
-
Is it possible to make this frappuccino caffeine-free, and if so, how?
The recipe as written is naturally caffeine-free, making it a perfect choice for anyone sensitive to caffeine or looking for a delightful drink at any time of day. This is primarily because it does not include any coffee or espresso in its base ingredients, focusing solely on the creamy vanilla flavor. If you wish to add caffeine, you can easily do so by blending in a shot of hot espresso or by pouring it over the top as an affogato, but it is not a necessary component for the vanilla bean frappuccino experience.