Texas Roadhouse Rolls – Easy Copycat Recipe!
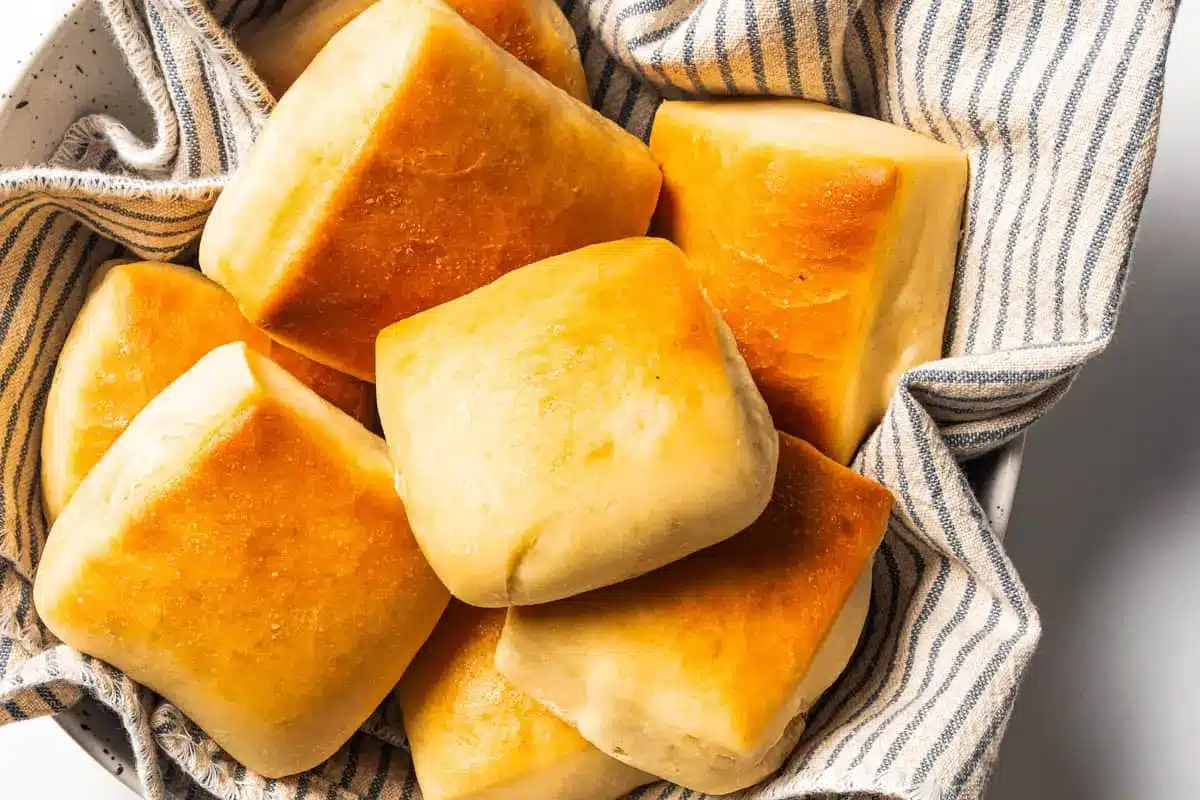
There’s a certain magic that happens when a basket of warm, impossibly soft rolls lands on your table. For many, the iconic Texas Roadhouse rolls evoke a wave of comforting nostalgia and pure culinary delight. Their slightly sweet, buttery flavor and pillowy texture are simply irresistible, making them a sought-after accompaniment to any meal.
Creating that same bakery-quality experience in your own kitchen might seem daunting, but the truth is, these beloved rolls are surprisingly achievable. With a few key ingredients and a little patience, you can replicate the taste and texture that diners rave about, bringing a touch of that popular steakhouse charm right into your home.
Why You Will Love This Recipe
- Effortless Preparation: Despite their incredible taste and texture, these rolls require minimal active time, making them perfect for busy weeknights or when you simply want a treat without a fuss.
- Superior Freshness: Baking them yourself ensures you’re enjoying them at their absolute peak, warm from the oven, a level of freshness that store-bought or frozen options can never match.
- Versatile Enjoyment: Whether slathered with their signature cinnamon-honey butter or served alongside a savory dish, these rolls adapt beautifully to various flavors and meal types.
- Crowd-Pleasing Appeal: Their universally loved taste and soft, yielding texture make them a guaranteed hit with family and friends, transforming any meal into a special occasion.
- Customizable Delight: From adjusting the sweetness to experimenting with different toppings, you have complete control to tailor these rolls to your exact preferences.
Ingredients You Need
Crafting these delightful rolls hinges on using simple, high-quality ingredients that work harmoniously. The beauty of this recipe lies in its straightforward approach, proving that exceptional results don’t always require complex components. Ensuring your ingredients are fresh, especially your yeast, is paramount for achieving that perfect rise and tender crumb.
Texas Roadhouse Rolls

Soft, fluffy, and delicious homemade copycat Texas Roadhouse rolls, perfect served warm with homemade cinnamon butter. A simple recipe that's better than store-bought!
- 2 teaspoons active dry yeast
- ½ teaspoon granulated sugar
- ¼ cup warm water (between 100ºF and 110ºF)
- 1 cup milk (lukewarm, about 105ºF)
- 2 tablespoons unsalted butter, melted and cooled
- 1 large egg
- 1 teaspoon salt
- 3¾ cup all purpose flour
- Additional: 1½ tablespoons unsalted butter, melted and cooled
- To serve with: cinnamon butter
- 1Bloom the yeast: In a bowl, combine active dry yeast, sugar, and warm water. Stir and let sit for 5-10 minutes until foamy.
- 2Add the wet ingredients: To the bowl of a stand mixer, add the lukewarm milk, melted butter, and the foamy yeast mixture. Add the egg and salt, and mix until well combined.
- 3Add flour: Attach the dough hooks and gradually add the all-purpose flour to the milk mixture while mixing. The dough should start to pull away from the sides of the bowl. Add more flour if needed, a tablespoon at a time, until the dough is no longer sticky.
- 4Rise the dough: Transfer the dough to a lightly oiled bowl, cover with a clean kitchen towel, and let it rise in a warm place for 1½ hours, or until doubled in size.
- 5Roll out the dough: Punch down the dough and roll it into a ½-inch thick rectangle on a lightly floured surface.
- 6Cut out the dough: Cut the dough into 15 squares or rectangles. Transfer the pieces to a baking sheet lined with parchment paper.
- 7Second rise: Cover the cut dough with a clean kitchen towel and let them rise until doubled in size, about 30 to 45 minutes.
- 8Baking time: Preheat your oven to 350ºF. Bake the rolls for 20 minutes, or until golden brown.
- 9Serve: Remove the rolls from the oven and immediately brush them with melted butter. Let them cool for 5 to 10 minutes before serving with cinnamon butter.
Keywords: Rolls, Bread, Dinner Rolls, Texas Roadhouse, Copycat, Homemade, Baking, Side Dish, Sweet, Savory
You’ll find the precise quantities for each ingredient detailed within the accompanying recipe card, ensuring accuracy for your baking success.
Variations
While the classic Texas Roadhouse roll is a triumph in itself, there’s always room for culinary creativity. Exploring different flavor profiles can elevate these rolls from a beloved side to a star player in your meal.
For a delightful vegan twist, simply swap out the milk for a creamy, unsweetened plant-based alternative like almond or oat milk. The butter can be replaced with a good quality vegan butter or coconut oil, ensuring a dairy-free yet equally delicious outcome. You might find that a touch more sugar is needed to achieve the same level of sweetness, but the fundamental dough structure remains robust and forgiving, allowing for easy adaptation.
If you’re mindful of carbohydrates, consider a low-carb adaptation. This would involve using a blend of almond flour and coconut flour, along with a sugar substitute like erythritol or stevia. The texture will be different from the original, likely denser and less airy, but it can satisfy a craving for that homemade bread experience while adhering to dietary goals. Experimenting with binding agents like psyllium husk might be necessary to achieve a good dough consistency in this low-carb version.
Another exciting variation involves infusing the dough itself with subtle flavors. Imagine adding a whisper of cinnamon directly into the dough for a warmer, spiced note, perfect for autumn meals. Alternatively, a hint of finely chopped fresh rosemary or chives could transform these rolls into a savory complement for stews and roasts. These additions, while small, can impart a sophisticated depth to the familiar flavor.
How to Prepare texas roadhouse rolls
Step 1: Bloom the Yeast
The foundation of any good yeast bread lies in awakening the yeast, and for these rolls, it’s a simple yet crucial first step. In a small bowl, combine the active dry yeast with a pinch of granulated sugar, which acts as a food source for the yeast. Gently stir in the warm water, ensuring the temperature is between 100°F and 110°F; too hot and you’ll kill the yeast, too cold and it won’t activate properly.
Cover this mixture with a clean kitchen towel or plastic wrap and let it rest for about 5 to 10 minutes. During this time, you should see the yeast come alive, forming a frothy, foamy layer on top. This foamy cap is your visual confirmation that the yeast is active and ready to work its magic, promising a beautifully risen dough.
If, after 10 minutes, you don’t see any foam, it’s a sign that your yeast might be expired or the water temperature was incorrect. Don’t despair; simply discard the mixture and start again with fresh yeast and correctly tempered water. This initial step is vital for ensuring a successful rise and a light, airy texture in your final rolls.
Step 2: Combine the Wet Ingredients
Once your yeast has confidently bloomed, it’s time to bring together the other liquid components that will form the base of your dough. In the bowl of a stand mixer fitted with the dough hook attachment, pour in the lukewarm milk. The milk should be around 105°F, just warm enough to the touch, similar to the water used for the yeast. This gentle warmth helps the dough come together smoothly.
Next, add the melted and slightly cooled unsalted butter. It’s important that the butter isn’t hot, as this could also negatively impact the yeast’s activity. Following the butter, carefully pour in the activated yeast mixture. Finally, crack in the large egg and add the teaspoon of salt. The salt not only enhances the flavor but also helps to control the yeast’s fermentation.
Whisk these ingredients together gently until they are well combined and the egg and salt are fully incorporated into the milky, buttery yeast mixture. This creates a rich, flavorful liquid base that will be the starting point for your dough’s structure and texture.
Step 3: Incorporate the Flour and Knead
Now, it’s time to introduce the flour, the backbone of your bread dough, into the wet ingredients. With the stand mixer running on a low speed using the dough hook, gradually add the all-purpose flour. It’s best to add it in stages, allowing each addition to be partially incorporated before adding more.
As you add the flour, the mixture will begin to transform from a liquid batter into a shaggy dough. Continue mixing until the dough starts to pull away from the sides of the bowl. This indicates that the gluten is developing and the dough is beginning to form a cohesive mass. If the dough still seems overly sticky and is clinging excessively to the sides, you can add a little more flour, one tablespoon at a time, until it reaches the desired consistency.
Once the dough has gathered itself into a ball, increase the mixer speed slightly to medium-low and let it knead for about 5 to 7 minutes. This kneading process is essential for developing the gluten network, which gives the bread its structure, elasticity, and characteristic chew. You’re looking for a smooth, elastic dough that springs back when gently poked.
Step 4: First Rise (Bulk Fermentation)
After the dough has been thoroughly kneaded and has achieved that lovely smooth, elastic texture, it’s time to let it rest and rise. Lightly grease a large, clean bowl with a touch of oil or cooking spray. Carefully transfer the kneaded dough into the greased bowl, turning it once to ensure the entire surface is lightly coated with oil.
This oil coating helps to prevent the dough from drying out as it rises. Cover the bowl tightly with plastic wrap or a clean, damp kitchen towel. Find a warm, draft-free spot in your kitchen to place the covered bowl; the top of a refrigerator or a slightly warm (turned off) oven are ideal locations.
Allow the dough to rise for approximately 1.5 hours, or until it has visibly doubled in size. The exact time can vary depending on the ambient temperature of your kitchen. A warm environment will speed up the process, while a cooler one will require more time. You’ll know it’s ready when it looks significantly puffy and airy.
Step 5: Shape the Rolls
Once your dough has completed its first glorious rise, it’s time to gently deflate it and prepare it for shaping. Lightly punch down the center of the risen dough to release the built-up gases. Turn the dough out onto a lightly floured surface to prevent sticking.
Now, you’ll want to roll the dough into a rectangle. Aim for a thickness of about half an inch. This uniform thickness is key to ensuring all your rolls bake evenly and have a similar texture and size. Use a bench scraper or a sharp knife to cut this rectangle into your desired roll shapes. Traditionally, these are cut into squares or rectangles, creating about 15 individual rolls.
Prepare a large baking sheet by lining it with parchment paper. Parchment paper is a baker’s best friend, preventing sticking and making cleanup a breeze. Carefully transfer the cut dough pieces to the prepared baking sheet, leaving a little space between each one to allow for their second rise and baking expansion. They should be close but not touching.
Step 6: Second Rise and Baking
After shaping and placing the rolls on the baking sheet, they need a second period of rest and rising. Cover the baking sheet loosely with a clean kitchen towel or lightly oiled plastic wrap to protect the dough from drying out. Let them sit in a warm spot for another 30 to 45 minutes, or until they have visibly puffed up and doubled in size again.
While the rolls are undergoing their second rise, preheat your oven to 350°F (175°C). Once the rolls have completed their final proof and are beautifully plump, it’s time for them to bake. Place the baking sheet into the preheated oven.
Bake for approximately 20 minutes, or until the rolls are a beautiful golden brown on top and sound hollow when tapped on the bottom. As soon as they come out of the oven, and while they are still hot, brush the tops generously with the additional melted butter. This not only adds a wonderful sheen but also imparts extra flavor and moisture. Let them cool on the baking sheet for about 5 to 10 minutes before serving to allow them to set slightly.
Pro Tips for texas roadhouse rolls
Temperature Control is Key: Always pay close attention to the temperature of your liquids when activating the yeast and mixing the dough. Water and milk that are too hot can kill the yeast, preventing your rolls from rising, while water that is too cool will result in a slow or failed activation. Using a kitchen thermometer for accuracy is highly recommended for consistent results.
Don’t Rush the Rise: While the recipe provides estimated rising times, always judge readiness by the dough’s appearance – doubled in size – rather than the clock. Patience during the rising stages is crucial for developing the light, airy texture that makes these rolls so delightful. A warm environment is your ally in achieving a good rise in a timely manner.
Proper Flour Measurement: Using too much flour can result in dry, dense rolls, while too little can make them sticky and difficult to handle. The most accurate method is to weigh your flour using a kitchen scale. If you’re using measuring cups, be sure to spoon the flour into the cup and level it off with a straight edge, rather than scooping directly from the bag, which compacts the flour.
The Magic of Butter: Don’t skip the step of brushing the rolls with melted butter immediately after they come out of the oven. This extra touch of butter not only adds a wonderful glossy finish but also contributes significantly to the rolls’ signature rich flavor and tender crust. It’s a simple step that yields a big reward in taste.
Gentle Handling is Best: When punching down the dough and shaping the rolls, treat them gently. Overworking or being too rough can deflate the air pockets that have developed during rising, leading to a denser final product. Think of it as coaxing the dough into its final form rather than forcing it.
Serving Suggestions for texas roadhouse rolls
Decoration
For an extra touch of visual appeal and flavor, consider a light dusting of finely chopped fresh parsley or chives over the melted butter brushed on top of the warm rolls. This adds a pop of color and a subtle herbaceous note that complements the buttery richness. You could also sprinkle a few toasted sesame seeds over some of the rolls for a slightly nutty crunch and a different visual texture.
Side Dishes
These rolls are the quintessential partner for hearty soups and stews. Imagine dunking them into a steaming bowl of creamy lobster bisque or a rich, slow-cooked chili. They are also perfect for soaking up savory sauces from dishes like pot roast, gravy-smothered chicken, or a flavorful bolognese.
For a delightful dinner, these rolls pair wonderfully with lighter fare too. Consider serving them alongside a roasted chicken, grilled steak, or even a flavorful salmon dish. Their subtle sweetness and soft texture provide a perfect balance to more robust flavors, making them a versatile addition to any meal.
Creative Serving Ideas
Beyond the classic cinnamon butter, experiment with other flavored butters. A garlic-herb butter, infused with minced garlic, rosemary, and thyme, offers a savory twist that’s fantastic with Italian-inspired meals. For a touch of heat, a spicy chili-lime butter could be an exciting option for those who enjoy a bit of a kick.
You could also transform these rolls into mini sandwiches. Slice them horizontally and fill them with your favorite deli meats and cheeses, or create small sliders with pulled pork or seasoned ground beef. For a breakfast or brunch occasion, they can be enjoyed with a smear of jam or a dollop of whipped cream alongside dishes like pancakes or waffles.
Preparation & Storage
Storing Leftovers
Once completely cooled, leftover Texas Roadhouse rolls can be stored at room temperature in an airtight container or resealable plastic bag for up to 3 to 4 days. Ensure they are fully cooled before storing to prevent condensation, which can lead to sogginess. You can also wrap them tightly in plastic wrap individually or in small batches for easier reheating.
Freezing
To freeze these delightful rolls, allow them to cool completely. Then, wrap each roll tightly in plastic wrap, followed by a layer of aluminum foil or a freezer-safe bag. This double-layer protection helps prevent freezer burn. Properly wrapped, the rolls can be stored in the freezer for up to 2 to 3 months.
Reheating
To reheat frozen rolls, unwrap them and place them on a baking sheet. Reheat in a preheated oven at around 300°F (150°C) for about 10-15 minutes, or until warmed through. For fresh rolls that have been stored at room temperature and have become slightly stale, a brief stint in a warm oven (around 350°F or 175°C) for 5-7 minutes will revive their softness and warmth, making them taste almost as good as freshly baked.
Frequently Asked Questions
- Why aren’t my rolls rising properly?
Several factors can contribute to rolls not rising correctly. The most common culprits are inactive yeast, incorrect water/milk temperatures, or an environment that is too cold for rising. Ensure your yeast is fresh by checking the expiration date and performing the bloom test before adding it to the dough. Use a thermometer to verify your liquid temperatures are within the optimal range of 100-110°F for yeast activation and lukewarm for mixing the dough. Additionally, rising dough needs a warm, draft-free environment; a slightly warmed (and then turned off) oven or placing the covered bowl in a sunny spot can help. If you’ve used old flour or too much salt, it can also inhibit yeast activity.
- Can I make these rolls ahead of time, and if so, how should I store them?
Yes, you can certainly make these rolls ahead of time! Once baked and completely cooled, they can be stored at room temperature in an airtight container for up to 3-4 days. For longer storage, freezing is an excellent option. Wrap them individually in plastic wrap and then place them in a freezer-safe bag or container for up to 2-3 months. When you want to serve them, you can reheat them in a warm oven (around 300-350°F or 150-175°C) for about 10-15 minutes, or until they are heated through and soft. This method helps restore their freshness and warmth, making them enjoyable even days after baking.
- What is the best way to achieve that soft, fluffy texture characteristic of Texas Roadhouse rolls?
The key to achieving that signature soft and fluffy texture lies in a few crucial aspects of the recipe and preparation. First, using the correct ratio of ingredients, particularly flour and liquids, is vital; too much flour will lead to density. Proper kneading is essential for developing gluten, which provides the structure for those airy pockets. The two-stage rising process is also critical, allowing the yeast to produce carbon dioxide and create lightness. Finally, the ingredients themselves play a role; using whole milk and unsalted butter contributes to richness and tenderness. Brushing the rolls with melted butter immediately after baking adds a final layer of moisture and softness to the crust.