Ultimate Thanksgiving food desserts
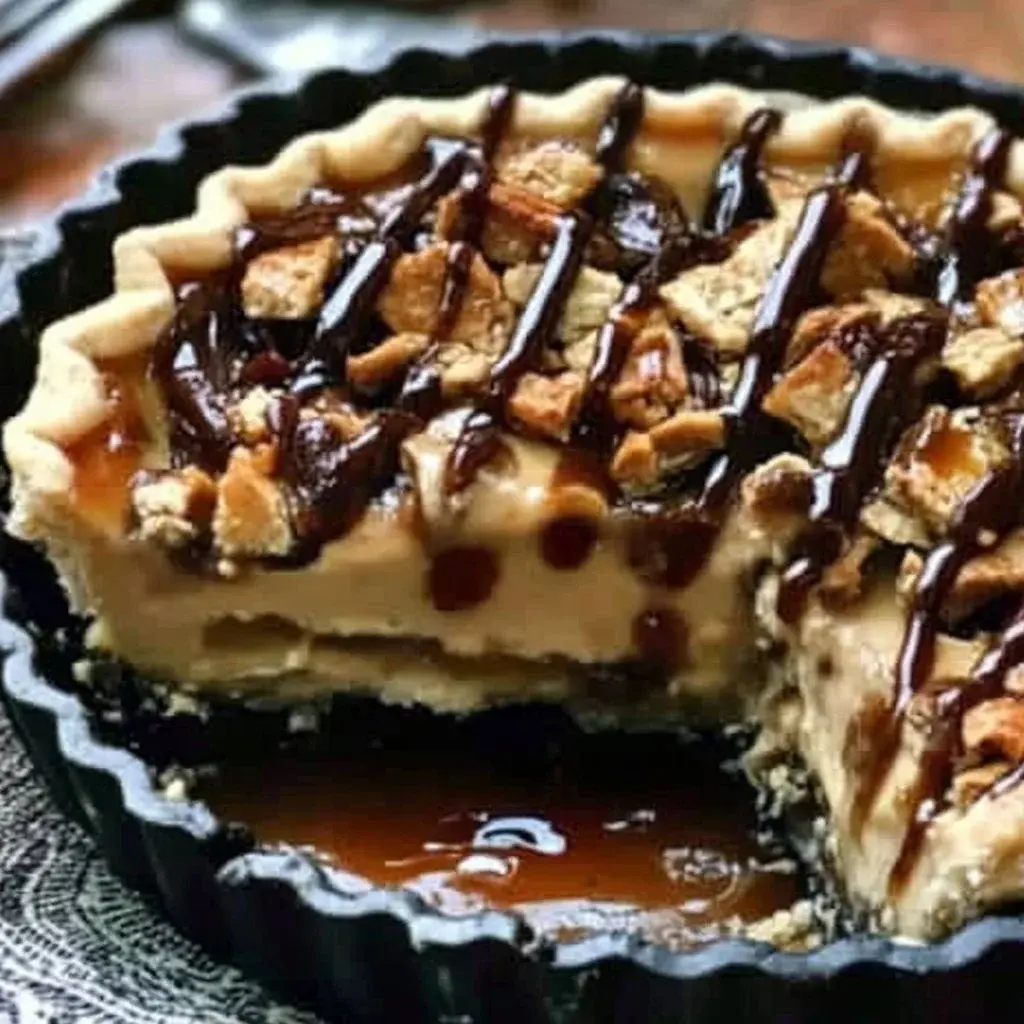
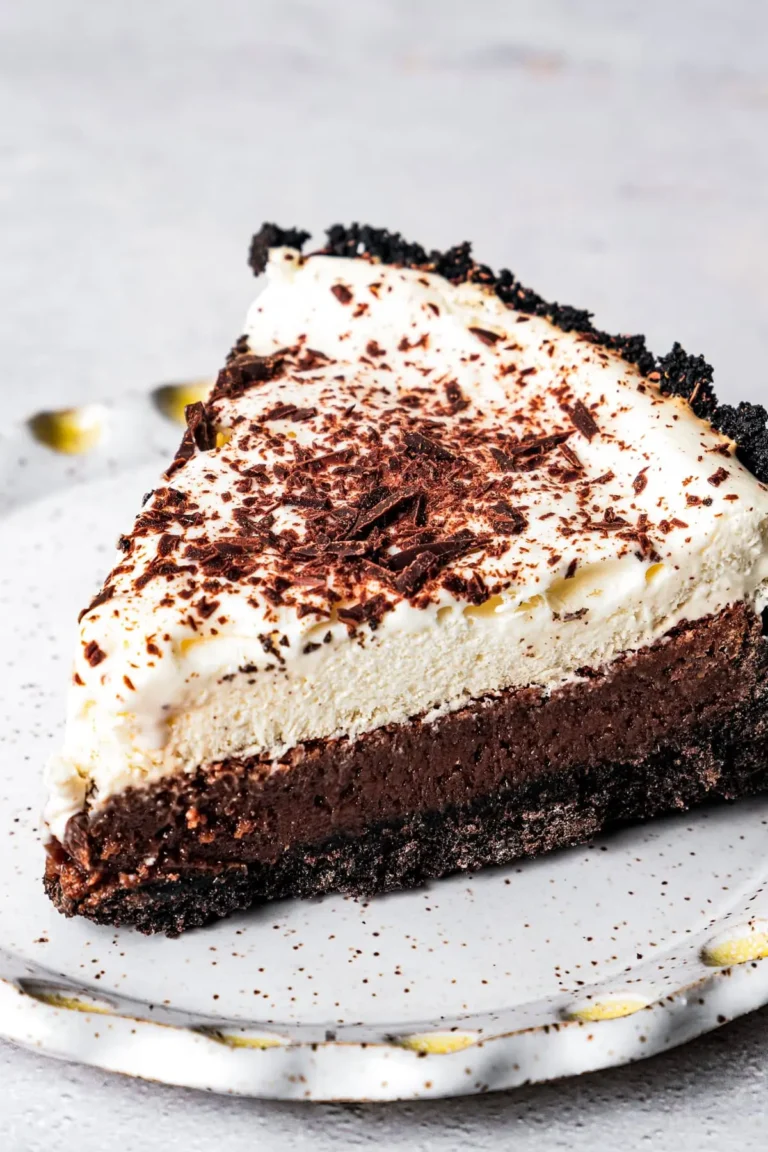
Thanksgiving is a time for gathering, sharing, and indulging in the festivities of delicious food. Among the highlight of the feast is undoubtedly the pie, often carrying rich flavors and nostalgic memories.
With this recipe, you can create a dessert that not only satisfies your sweet tooth but also becomes a cherished tradition in your home. This pie is perfectly balanced, not overly sweet, and showcases seasonal ingredients like pumpkins and spices that evoke warmth and comfort. Have you ever taken a bite of a pie that just made you feel at home? This recipe promises exactly that; it’s simple, easy to navigate, and with just a few ingredients, you can whip it up in no time, packed with flavor.
Why You Will Love This Recipe
- Delicious Flavor: The pie perfectly balances sweet and savory elements, making every bite a delight with warm spices.
- Simplicity: With easy-to-follow instructions, even beginner cooks can join in on the fun and achieve a professional-looking dessert.
- Versatile: This recipe not only allows for various fillings but can be tailored to suit your family’s preferences with simple ingredient swaps.
- Homemade Goodness: There’s nothing quite like a homemade pie, and this recipe delivers that heartfelt, comforting touch that store-bought just can’t replicate.
- Great for Any Event: While perfect for Thanksgiving, this pie is also wonderful for holiday parties, family gatherings, and potlucks throughout the year, always a crowd-pleaser.
Ingredients You Need
The quality of your ingredients plays a significant role in the final taste of your pie. Opting for fresh, high-quality spices and good butter for your crust will elevate the overall experience. Don’t underestimate the impact of fresh pumpkin puree if you choose to go that route over canned. Every component contributes to the symphony of flavors in this quintessential dessert.
Ultimate Thanksgiving Pie
A perfectly balanced Thanksgiving pie that combines sweet and savory flavors, showcasing seasonal ingredients like pumpkin and spices. Simple to make and a cherished family tradition.
- 1 pre-made or homemade pie crust (for a buttery, flaky texture)
- 15 oz pumpkin puree (or 2 cups of fresh pumpkin puree)
- 3/4 cup brown sugar (adds depth of flavor)
- 1/2 cup granulated sugar (for sweetness)
- 1 tsp ground cinnamon (warmth and spice)
- 1/2 tsp ground nutmeg (a hint of holiday essence)
- 1/2 tsp ground ginger (for a zing)
- 1/2 tsp salt (enhances the flavors)
- 3/4 cup heavy cream (for a smooth filling)
- 2 eggs (binds the filling and adds richness)
- 1 tsp vanilla extract (for aroma and flavor)
- 1Start by gathering all your ingredients.
- 2Preheat your oven to 425°F (220°C).
- 3In a large mixing bowl, combine pumpkin puree, brown sugar, granulated sugar, cinnamon, nutmeg, ginger, and salt.
- 4Stir in the heavy cream, eggs, and vanilla extract until everything is well blended.
- 5Prepare your pie crust according to package instructions or roll out your homemade dough into a 9-inch pie plate.
- 6Pour the pumpkin filling into the prepared pie crust, filling it about three-quarters full to allow for expansion.
- 7Bake in your preheated oven for 15 minutes, then lower the temperature to 350°F (175°C) and bake for an additional 45 minutes.
- 8The filling should be set but still slightly wobbly in the center.
- 9Remove the pie from the oven and let it cool on a wire rack for at least two hours before serving.
- 10Top with whipped cream or a sprinkle of cinnamon before serving.
- 11Slice into generous pieces and enjoy!
- 12Store any leftovers covered in the fridge for up to four days.
Keywords: Dessert Recipe, Fall Recipes, Holiday Dessert, Pumpkin Pie, Thanksgiving Pie
- pie crust: for a buttery, flaky texture
- pumpkin puree: 15 oz can or 2 cups fresh for the base
- brown sugar: 3/4 cup for a deep, caramel-like sweetness
- granulated sugar: 1/2 cup for balanced sweetness
- ground cinnamon: 1 tsp for that classic warm spice note
- ground nutmeg: 1/2 tsp for a hint of holiday essence
- ground ginger: 1/2 tsp for a gentle spicy kick
- salt: 1/2 tsp to enhance and balance all the flavors
- heavy cream: 3/4 cup for a rich, smooth, and creamy filling
- eggs: 2 large, to bind the filling and add essential richness
- vanilla extract: 1 tsp for aroma and a subtle flavor depth
The specific quantities for each ingredient are detailed within the accompanying recipe card.
Variations
Embrace creativity with this versatile pie recipe. One delightful variation is a Maple Pecan twist. Instead of just pumpkin, you can incorporate toasted pecans and a touch of maple syrup into the filling for a richer, more complex flavor profile. This adds a satisfying crunch and a deeper sweetness that complements the warm spices beautifully.
For those seeking a low-carb option, consider a crust made from almond flour or finely ground nuts. The filling can be adapted using a sugar substitute like erythritol or stevia, and replacing heavy cream with unsweetened almond milk or coconut cream. This modification allows you to enjoy the comforting flavors of pie without the sugar spike, making it a guilt-free indulgence.
Another exciting variation is a spiced apple and pumpkin swirl. You can layer a cooked, spiced apple filling with the pumpkin filling before baking. This creates a beautiful marbled effect and a delightful combination of fruity and spiced flavors. A sprinkle of streusel topping before baking adds an extra layer of texture and flavor, making this a truly unique holiday treat.
How to Prepare Thanksgiving pie recipe
Step 1: Prepare Your Pie Crust
Begin by ensuring your pie crust is ready for the filling. If you are using a store-bought crust, follow the package directions carefully, which often involve gently pressing it into a 9-inch pie plate. For homemade crusts, ensure it’s been properly chilled and rolled out to the correct thickness, then carefully placed into the pie dish and crimped along the edges.
A well-prepared crust is the foundation of a great pie. Some recipes recommend blind-baking the crust before adding the filling, especially for very wet fillings, to prevent a soggy bottom. This involves lining the crust with parchment paper, filling it with pie weights or dried beans, and baking it until lightly golden. This step is crucial for achieving that perfect crispness.
Consider whether you want a decorative edge. Techniques like fluting with your fingers or using a fork can add a professional and attractive finish to your pie. This visual appeal is part of the joy of serving a homemade pie for special occasions like Thanksgiving. Ensure the crust is evenly distributed within the pie plate to avoid thin spots.
Step 2: Preheat the Oven and Gather Ingredients
Before you begin mixing your filling, it’s essential to preheat your oven to the specified temperature, typically 425°F (220°C) for the initial baking phase. Allowing the oven to reach its set temperature ensures even cooking and proper browning of the crust and filling. Having the oven ready minimizes the time the pie spends sitting out, which can affect its texture.
Simultaneously, gather all your ingredients and have them measured and ready. This practice, known as “mise en place,” is a hallmark of efficient cooking and prevents any last-minute scrambling. Having everything at hand makes the process of combining ingredients smoother and more enjoyable, reducing the chance of errors or forgotten components. This preparation is key to a stress-free baking experience.
Double-check that you have the correct amounts of all the listed ingredients. For instance, ensure you have the right size can of pumpkin puree or the equivalent amount of fresh puree. Confirm that your eggs are at room temperature, as this helps them incorporate more evenly into the filling, creating a smoother texture. Properly measured ingredients are the building blocks of a successful recipe.
Step 3: Mix the Pie Filling Ingredients
In a large mixing bowl, combine the pumpkin puree, brown sugar, granulated sugar, ground cinnamon, ground nutmeg, ground ginger, and salt. Whisk these dry and wet ingredients together until they form a relatively uniform mixture. This initial combination ensures the sugars and spices are evenly distributed throughout the pumpkin base, laying the groundwork for a flavorful filling.
Next, incorporate the heavy cream, eggs, and vanilla extract. Whisk these wet ingredients into the pumpkin mixture until everything is thoroughly combined and smooth. Be careful not to overmix, as this can sometimes lead to a slightly rubbery texture in the final pie. The goal is a homogenous, velvety filling that will set beautifully during baking.
The aroma at this stage is already quite delightful, hinting at the deliciousness to come. Ensure there are no pockets of unincorporated egg or cream. A smooth consistency is crucial for an even bake and a pleasant mouthfeel. If you’re using fresh pumpkin puree, ensure it has been cooked and drained sufficiently to remove excess moisture, which is vital for the filling to set correctly.
Step 4: Assemble and Fill the Pie
Carefully pour the prepared pumpkin filling into your pie crust. Ensure you fill the crust about three-quarters of the way full. This is important because the filling will puff up slightly as it bakes, and overfilling can lead to spills in the oven, creating a mess and potentially burning. Leave a little space at the top to accommodate this expansion.
If your crust has decorative edges, ensure they remain intact during the filling process. Gently tap the bottom of the pie plate on your counter a few times to help the filling settle and release any trapped air bubbles. This also helps to create a flatter surface for even baking.
Once filled, the pie is ready for its initial baking phase. The careful assembly ensures that the filling distributes evenly and bakes consistently, leading to a perfect slice every time. This stage is critical for the pie’s final presentation and texture.
Step 5: Bake the Pie
Place the filled pie into the preheated oven. Bake it at 425°F (220°C) for the initial 15 minutes. This higher temperature helps to set the crust quickly and begin the cooking process of the filling. It’s a crucial step for achieving a well-baked pie.
After 15 minutes, reduce the oven temperature to 350°F (175°C). Continue baking for an additional 40-50 minutes. The total baking time will depend on your oven and the thickness of your filling. You’ll know the pie is done when the edges of the filling are set and slightly puffed, but the center still has a slight wobble when you gently nudge the pie plate. A knife inserted near the center should come out clean, but avoid inserting it directly into the very middle, as this can cause the filling to crack.
To prevent the crust edges from browning too quickly, you can cover them with aluminum foil or a pie crust shield during the latter part of the baking process. This ensures the crust is golden and cooked through without becoming burnt. Once baked, carefully remove the pie from the oven. The filling will continue to set as it cools.
Step 6: Cool and Serve
Once the pie is out of the oven, place it on a wire rack to cool completely. This cooling process is crucial and typically takes at least two to three hours. During this time, the filling will firm up further, achieving its final, sliceable consistency. Rushing this step can result in a runny pie that’s difficult to serve cleanly.
While the pie is cooling, you can prepare any accompanying toppings, such as homemade whipped cream or a dusting of cinnamon. These garnishes add an extra layer of flavor and visual appeal to your Thanksgiving masterpiece. Patience during the cooling stage is a virtue that rewards you with a perfectly set and beautifully presented pie.
When it’s time to serve, slice the pie into generous portions using a sharp knife. For the best presentation and a clean cut, ensure the pie is fully cooled. Serve with a dollop of whipped cream, a scoop of vanilla ice cream, or simply as is. Enjoy the culmination of your efforts with friends and family!
Pro Tips for Thanksgiving pie recipe
Don’t Overbake: A common mistake is baking the pie for too long. The center should still have a slight wobble when gently nudged. The residual heat will continue to cook it as it cools, preventing overcooking and potential cracking.
Room Temperature Ingredients: Using room temperature eggs and heavy cream will help them emulsify into the pumpkin base more smoothly, leading to a more uniform and velvety filling. This simple step makes a noticeable difference in texture.
Spice it Up: For an intensified spice flavor, consider toasting your whole spices before grinding them, or use freshly ground spices. This releases their aromatic oils and adds a more vibrant and complex taste to your pie.
Prevent Cracking: Cracking can occur due to overbaking or rapid temperature changes. Ensure the oven temperature is accurate and avoid opening the oven door too frequently. Cooling the pie gradually on a wire rack also helps minimize stress on the filling.
Blind Baking is Your Friend: If you’re particularly concerned about a soggy bottom, blind baking your pie crust is a highly recommended step. It pre-cooks the crust, ensuring it stays firm and flaky beneath the rich filling, a technique often used in professional baking.
Serving Suggestions for Thanksgiving pie recipe
Decoration
Elevate the visual appeal of your pie with simple yet elegant decorations. A generous dollop of freshly whipped cream is a classic choice that adds both visual contrast and a light, airy texture. You can also dust the top with a sprinkle of cinnamon, nutmeg, or even a touch of edible gold glitter for a festive shimmer. For a more elaborate touch, consider crafting decorative pastry leaves from leftover pie dough to arrange around the edges or in the center.
Creating a lattice top is another beautiful decorative technique. Thin strips of pie dough can be woven over the filling before baking, creating an attractive criss-cross pattern. If you have cookie cutters, you can also cut out small festive shapes like leaves or pumpkins from dough to place on top. These small details can transform your pie into a stunning centerpiece.
Consider garnishing individual slices as well. A small swirl of whipped cream and a sprig of fresh mint or a tiny sugar cookie can make each serving extra special. The goal is to make the pie look as inviting and delicious as it tastes. Remember that presentation is a key part of the holiday dining experience.
Side Dishes
This pie serves as a perfect finale to a traditional Thanksgiving feast. Complement its rich, spiced flavor with lighter, refreshing side dishes earlier in the meal. Think about a crisp Thanksgiving salad with cranberries, pecans, and a light vinaigrette, or a vibrant sweet potato casserole that offers a different kind of sweetness. Roasted Brussels sprouts with balsamic glaze or green bean casserole also pair wonderfully.
The robust flavors of the pie can stand up to hearty main courses like roast turkey or ham. Consider serving it alongside a creamy mashed potato dish or a savory stuffing to complete the comforting experience. The contrast between savory and sweet is what makes a Thanksgiving meal so satisfying.
When it comes to beverages, a warm apple cider, mulled wine, or even a simple cup of coffee or tea makes an excellent pairing. These drinks can either echo the spiced notes of the pie or provide a palate-cleansing contrast. The right accompaniments enhance the overall enjoyment of the meal and the dessert.
Creative Serving Ideas
Beyond the traditional slice, consider serving your pie in mini tart pans for individual portions. This is perfect for a buffet-style gathering, allowing guests to easily serve themselves without cutting. Another fun idea is to create pie parfaits by layering crumbled pie crust with the filling and whipped cream in glasses or jars. This offers a deconstructed yet equally delicious way to enjoy the flavors.
For a more decadent treat, serve warm slices of pie with a scoop of salted caramel ice cream or a drizzle of chocolate sauce. This combination takes the classic dessert to a whole new level of indulgence. You could also offer a selection of toppings on the side, allowing guests to customize their own slice with nuts, chocolate chips, or caramel sauce.
Think about themed serving presentations. For example, use small, rustic wooden boards to serve slices, perhaps with a sprig of rosemary or a cinnamon stick as a garnish. This rustic presentation adds to the cozy, autumnal feel of Thanksgiving. Ultimately, the goal is to present this delicious pie in a way that delights both the eyes and the palate.
Preparation & Storage
Storing Leftovers
Proper storage is key to maintaining the freshness and flavor of your leftover pie. Once the pie has cooled completely, cover it tightly with plastic wrap or aluminum foil. Alternatively, you can transfer any remaining slices into an airtight container. Store the covered pie in the refrigerator. It’s important to refrigerate it promptly to prevent spoilage.
In the refrigerator, this Thanksgiving pie will typically stay fresh and delicious for about 3 to 4 days. Beyond this timeframe, the texture and flavor may begin to degrade. Always check for any signs of spoilage, such as mold or an off odor, before consuming leftovers. Proper storage helps to preserve the delightful texture of the crust and the rich flavor of the filling.
It’s advisable to keep the pie away from strong-smelling foods in the refrigerator, as it can absorb odors. A well-sealed container or tightly wrapped pie will mitigate this risk. Enjoying the leftover pie within the recommended timeframe ensures you get the best possible taste experience.
Freezing
If you find yourself with an abundance of pie or want to prepare it well in advance, freezing is an excellent option. First, ensure the pie is completely cooled. Then, wrap the entire pie, or individual slices, very tightly in several layers of plastic wrap. Follow this with a final layer of heavy-duty aluminum foil to protect it from freezer burn. Proper wrapping is crucial for maintaining quality.
A whole frozen pie can last for up to 2 months, while frozen slices will maintain their quality for about 1 to 2 months. Label the wrapped pie or slices with the date they were frozen to keep track of their freshness. Store the frozen pie in a consistent -18°C (0°F) freezer environment for best results.
When you’re ready to enjoy your frozen pie, it’s best to thaw it gradually in the refrigerator overnight. This allows the filling to thaw evenly without compromising the crust’s texture. Avoid thawing at room temperature, as this can lead to a soggy crust and potential bacterial growth. Once thawed, it can be served cold, or gently reheated.
Reheating
Reheating leftover pie can bring back that fresh-baked warmth and aroma. The best method depends on how you prefer your pie. For a quick reheat, place a slice in the microwave for about 20-30 seconds, or until just warmed through. Be cautious not to overheat, as this can make the crust tough or the filling rubbery. A short burst of microwave time is usually sufficient.
For a more evenly heated and crisper crust, the oven is the preferred method. Preheat your oven to 350°F (175°C). Place individual slices on a baking sheet or directly on the oven rack. Heat for about 10-15 minutes, or until the pie is warmed through. This gentle reheating process helps to revive the crust’s texture.
If reheating a whole pie, you might need to cover the edges with foil to prevent over-browning while the center warms up. The goal is to achieve a pleasant warmth without compromising the pie’s integrity. Serving reheated pie with a fresh dollop of whipped cream can make it taste almost as good as when it was first baked.
Frequently Asked Questions
- Can I prepare this Thanksgiving pie recipe ahead of time?
Absolutely! This pie can be baked a day or two in advance and stored properly in the refrigerator. Allowing it to cool completely before refrigerating is essential. This advance preparation can significantly reduce stress on the day of your Thanksgiving gathering, allowing you more time to focus on other aspects of the meal or spend time with your guests. It’s a great make-ahead dessert that still tastes fantastic when served. - How long can I store the pie, and can it be frozen?
When stored correctly in an airtight container in the refrigerator, leftover pie will typically maintain its best quality for 3 to 4 days. For longer storage, freezing is an excellent option. Wrap individual slices or the whole pie tightly in plastic wrap and then in aluminum foil. Frozen pie can be kept for up to 2 months, and it’s best thawed overnight in the refrigerator before serving. - What are the best substitutions for dietary needs, and is the recipe beginner-friendly?
For gluten-free options, use a pre-made gluten-free crust or prepare one using almond flour. Dairy-free versions can be made by substituting heavy cream with coconut cream or a rich nut milk. For vegans, flax eggs (1 tablespoon ground flaxseed mixed with 2.5 tablespoons water) can replace regular eggs, and coconut cream can be used for richness. This recipe is indeed beginner-friendly due to its straightforward steps and common ingredients, making it accessible for novice bakers aiming for a delicious holiday treat.