Sour Cream Coconut Cake
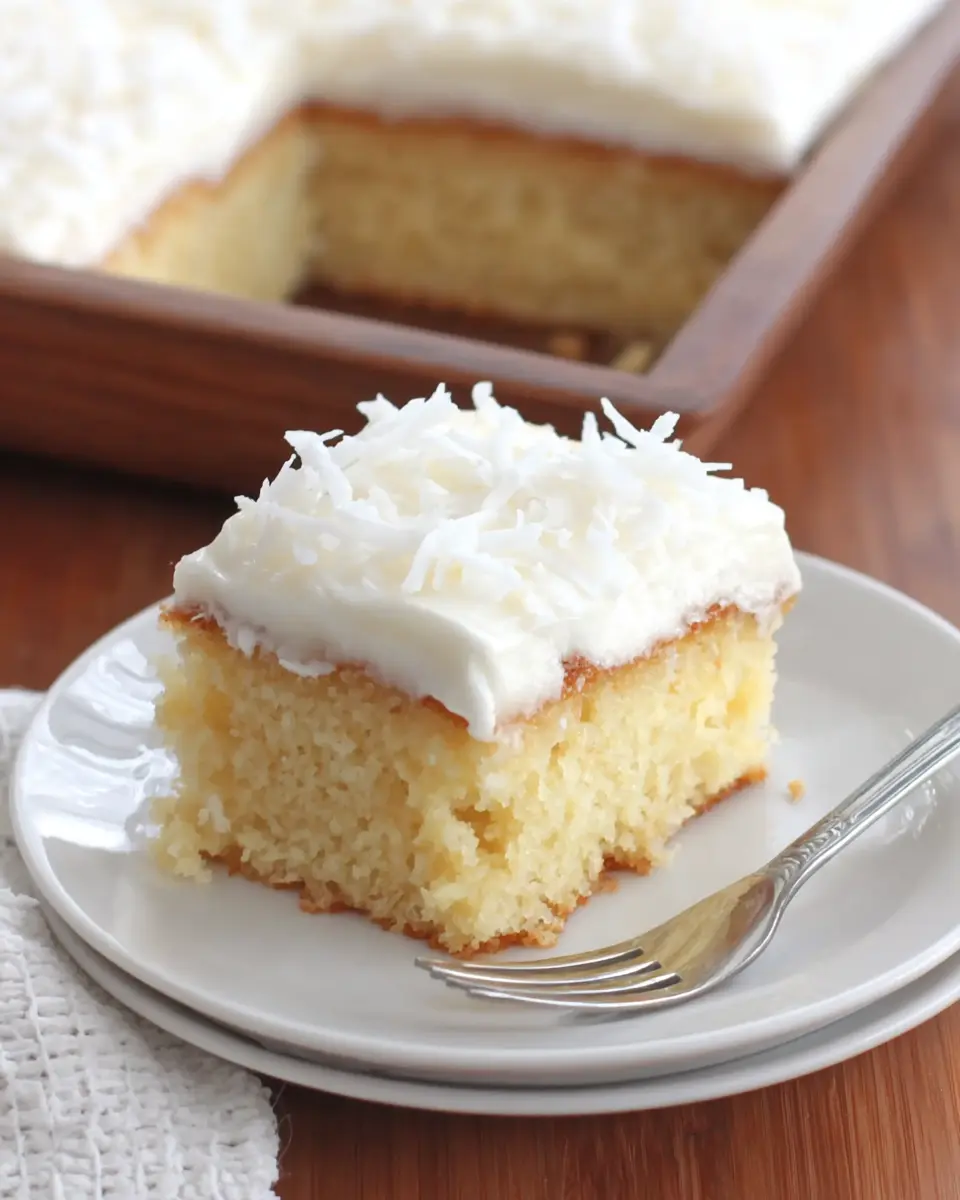
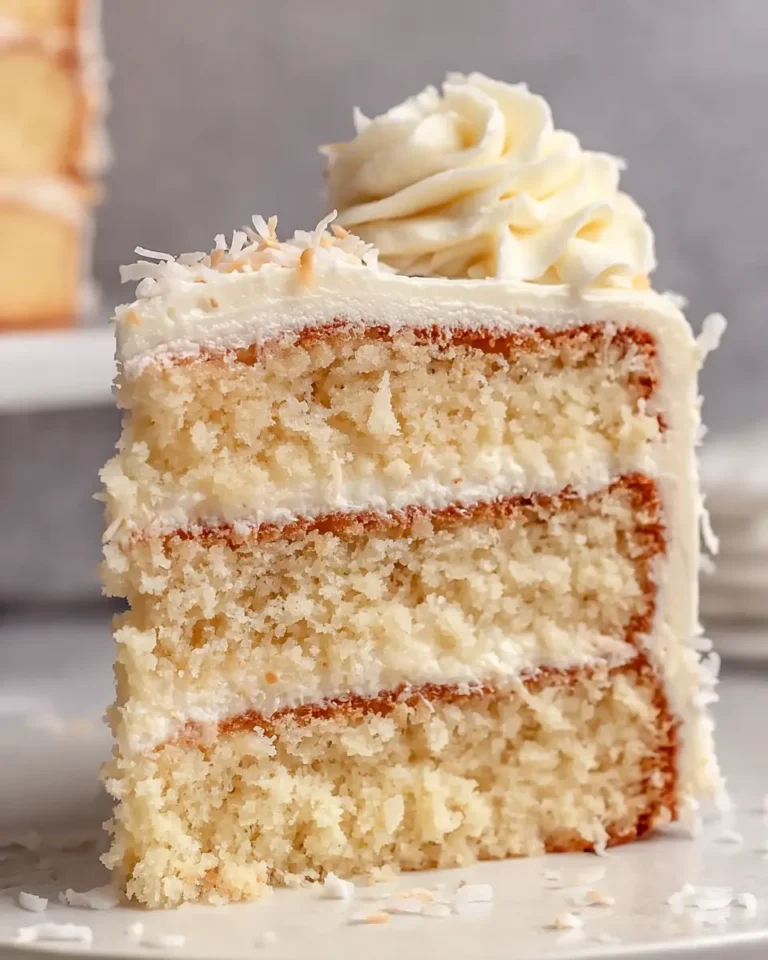
This Sour Cream Coconut Cake is a delightful dessert that combines a tender butter cake base with a rich, creamy coconut layer and a light, airy whipped topping. It’s the perfect make-ahead treat for any occasion, offering a balance of textures and flavors that is both comforting and elegant.
The beauty of this cake lies in its simplicity and how wonderfully it comes together in the refrigerator, allowing the flavors to meld and the textures to perfectly complement each other. It’s a dessert that truly gets better with time, making it an ideal choice for busy hosts who want a show-stopping yet stress-free sweet to present.
Why You Will Love This Recipe
- Effortless Preparation: Utilizing a cake mix as a base significantly cuts down on prep time, making this a quick and accessible recipe for bakers of all skill levels. The steps are straightforward and designed for minimal fuss.
- Rich Coconut Flavor: Generous amounts of sweetened shredded coconut are incorporated into a creamy, tangy sour cream mixture, ensuring every bite is infused with that distinct and beloved coconut essence. This layer is both decadent and perfectly sweet.
- Perfect Make-Ahead Dessert: This cake is designed to be chilled for several hours, or even overnight, before serving. This characteristic allows for stress-free entertaining, as the dessert can be fully prepared in advance.
- Delightful Texture Contrast: The soft, moist butter cake base provides a wonderful foundation for the dense, creamy coconut filling. This is then topped with a light and fluffy whipped layer, creating a symphony of textures in every forkful.
- Crowd-Pleasing Appeal: With its classic flavors and satisfyingly creamy profile, this cake is a guaranteed hit at any gathering, from casual family dinners to more formal celebrations. It appeals to a wide range of palates.
Ingredients You Need
The success of any delicious cake hinges on the quality of its ingredients, and this Sour Cream Coconut Cake is no exception. Using fresh, full-fat dairy and good-quality coconut will elevate the final product, ensuring a depth of flavor that is truly memorable. Each component plays a crucial role in creating the cake’s signature creamy texture and sweet, tropical notes.
Sour Cream Coconut Cake
A chilled dessert cake featuring a soft butter cake base, a rich coconut-and-sour-cream layer, and a light whipped topping finish. Its creamy texture and sweet coconut flavor make it especially suitable for preparing ahead of time.
- 1 package butter cake mix
- 3 large eggs
- 7 tablespoons unsalted butter, softened to room temperature
- 3/4 cup water
- 12 ounces sweetened shredded coconut, thawed
- 8 ounces full-fat sour cream
- 2 cups granulated sugar
- 8 ounces whipped topping, thawed
- 1Prepare the butter cake mix by following the package instructions, using the softened butter, eggs, and water. Pour the batter into a 9 x 13-inch baking pan.
- 2Bake as directed on the cake mix box. When the cake is done, remove it from the oven and let it cool completely in the pan.
- 3In a mixing bowl, combine the granulated sugar, sour cream, and thawed shredded coconut. Stir thoroughly until the mixture is evenly blended. Transfer the bowl to the refrigerator and chill the mixture well.
- 4Once the coconut mixture is fully chilled, set aside 1 cup for the topping. Spread the remaining coconut mixture evenly over the surface of the cooled cake.
- 5In a separate bowl, combine the reserved 1 cup of coconut mixture with the thawed whipped topping. Mix until smooth and fully incorporated.
- 6Spread the whipped topping mixture over the coconut layer, creating an even final layer across the cake.
- 7Refrigerate the finished cake for at least 4 hours before serving. For improved flavor and texture, it may be chilled for up to 24 hours. Slice and serve cold.
Keywords: Sour Cream Coconut Cake, Chilled Cake, Make-Ahead Dessert, Coconut, Sour Cream, Butter Cake
- butter cake mix: A convenient starting point for a tender and moist cake base.
- eggs: Essential for binding ingredients and providing structure to the cake.
- unsalted butter: Adds richness and a delicate, homemade flavor to the cake batter.
- water: Helps to create the correct batter consistency for even baking.
- sweetened shredded coconut: The star of the filling, providing that distinct tropical sweetness and chewy texture.
- full-fat sour cream: Contributes tanginess, moisture, and a luxurious creaminess to the coconut layer.
- granulated sugar: Balances the tanginess of the sour cream and sweetens the coconut filling to perfection.
- whipped topping: Creates a light, airy, and visually appealing finish that complements the denser layers.
The specific quantities for these ingredients are detailed within the recipe card for your convenience.
Variations
To adapt this delightful cake for different dietary needs or flavor preferences, a few simple modifications can be made. For instance, a vegan version can be achieved by using a vegan butter cake mix, plant-based milk instead of water, and a dairy-free sour cream alternative along with a coconut cream-based whipped topping. This ensures the same creamy texture and coconut flavor without any animal products.
For those following a low-carb lifestyle, the base can be modified using a sugar-free cake mix and sugar substitutes in the coconut layer. Unsweetened shredded coconut would be ideal here, and the sour cream and whipped topping would need to be sugar-free versions. The overall sweetness would need careful adjustment to maintain balance.
Adding citrus zest, such as lime or lemon, to the coconut layer can offer a refreshing twist. The bright, zesty notes would cut through the richness, providing a more complex flavor profile that is particularly enjoyable in warmer weather. A sprinkle of toasted coconut on top would also enhance the nutty aroma and texture.
Consider incorporating different extracts into the coconut layer for an aromatic boost. Almond extract pairs beautifully with coconut, adding a subtle depth that complements the tropical notes. A tiny amount of vanilla extract is also a classic addition that enhances the overall sweetness and richness of the filling.
Another exciting variation involves layering fresh fruit. A thin layer of drained pineapple tidbits or sweetened mango chunks could be added between the cake base and the coconut filling for an extra burst of fruity flavor and a delightful textural surprise. Ensure the fruit is well-drained to prevent excess moisture.
How to Prepare Sour Cream Coconut Cake
Step 1: Bake the Cake Base
Begin by preheating your oven to the temperature specified on the butter cake mix box, typically around 350°F (175°C). Grease and flour a 9×13-inch baking pan thoroughly to ensure the cake doesn’t stick. This preparation is crucial for easy removal and presentation later on.
In a large mixing bowl, combine the contents of the butter cake mix according to the package instructions. This usually involves adding the required number of large eggs, softened unsalted butter, and the specified amount of water. Whisk or beat the ingredients until the batter is smooth and well combined, ensuring there are no dry pockets of mix remaining. The consistency should be pourable but not too thin.
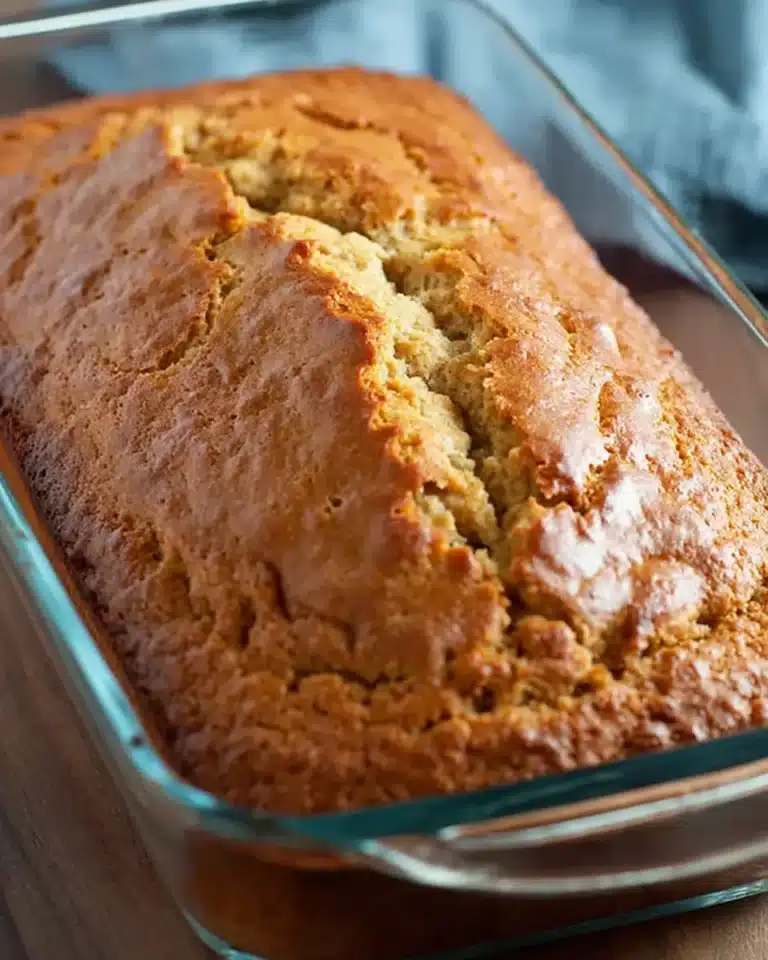
Carefully pour the prepared batter into the greased and floured 9×13-inch pan. Spread the batter evenly with a spatula to ensure an even thickness across the pan. Place the pan in the preheated oven and bake for the time indicated on the cake mix box, or until a wooden skewer or toothpick inserted into the center of the cake comes out clean. The top should be lightly golden brown, and the edges should begin to pull away slightly from the sides of the pan.
Step 2: Cool the Cake Completely
Once baked to perfection, remove the cake from the oven. It’s very important at this stage not to disturb the cake while it’s hot or warm, as this can lead to breakage or a less cohesive structure. Allow the cake to cool in the baking pan for about 10-15 minutes. This initial cooling period in the pan helps the cake firm up slightly, making it easier to handle.
After the initial cooling, carefully invert the cake onto a wire cooling rack. If you greased and floured the pan well, it should release with ease. If you plan to serve the cake from the same 9×13-inch pan, you can skip inverting it and simply let it cool completely in the pan itself. Ensure the entire surface of the cake is cool to the touch before proceeding with the next steps; this is a critical step for the filling to set properly and not melt.
The cake must be completely cool before the coconut layer is added. A warm cake can cause the filling to melt, slide off, or become too liquid, compromising the cake’s structure and appearance. Patience during this cooling phase is key to achieving those beautiful, distinct layers. This allows the cake’s structure to stabilize, making it an ideal foundation for the creamy filling.
Step 3: Prepare the Coconut Filling
While the cake base is cooling down to room temperature, you can begin preparing the luscious coconut filling. In a medium-sized mixing bowl, combine the thawed sweetened shredded coconut, the full-fat sour cream, and the granulated sugar. Ensure that your shredded coconut is completely thawed if it was frozen, and that the sour cream is at room temperature for easier mixing.
Stir these ingredients together thoroughly with a spoon or spatula until they are well combined and the mixture appears consistent. You want to ensure that the sugar is evenly distributed throughout the coconut and sour cream, creating a homogenous blend. This mixture will form the rich, creamy layer that sits atop the cake base.
Once the filling is well mixed, cover the bowl with plastic wrap or a lid and place it in the refrigerator to chill for at least 30-60 minutes. Chilling the filling helps it to firm up slightly, making it much easier to spread evenly over the cooled cake. This step is vital for preventing the filling from becoming too runny and sliding off the cake.
Step 4: Assemble the Coconut Layer
After the cake has completely cooled and the coconut filling has had adequate time to chill and firm up, it’s time to assemble the cake. Retrieve the chilled coconut mixture from the refrigerator. Stir it once more to ensure it’s still well combined and to check its consistency.
Now, carefully scoop out approximately 1 cup of the coconut mixture and set it aside in a separate bowl. This reserved portion will be used later to incorporate into the whipped topping. The remaining coconut mixture in the main bowl will be spread over the cake base.
Using an offset spatula or a regular spatula, carefully spread the larger portion of the coconut mixture evenly over the surface of the completely cooled cake. Work from the center outwards, ensuring that the filling reaches all the edges and corners of the cake. Aim for a smooth, consistent layer so that every slice of cake will have a generous amount of this creamy coconut filling.
Step 5: Create the Whipped Topping
Take the 1 cup of the reserved coconut mixture that you set aside earlier and place it into a clean mixing bowl. Now, add the thawed whipped topping to this bowl. It’s important that the whipped topping is fully thawed but not over-whipped, as it needs to be pliable enough to mix.
Gently fold the reserved coconut mixture into the whipped topping using a spatula or a large spoon. Continue to fold until the ingredients are just combined and the mixture is smooth and fluffy. Avoid overmixing, as this can cause the whipped topping to deflate and lose its airy texture. The goal is a cohesive, light, and creamy topping.
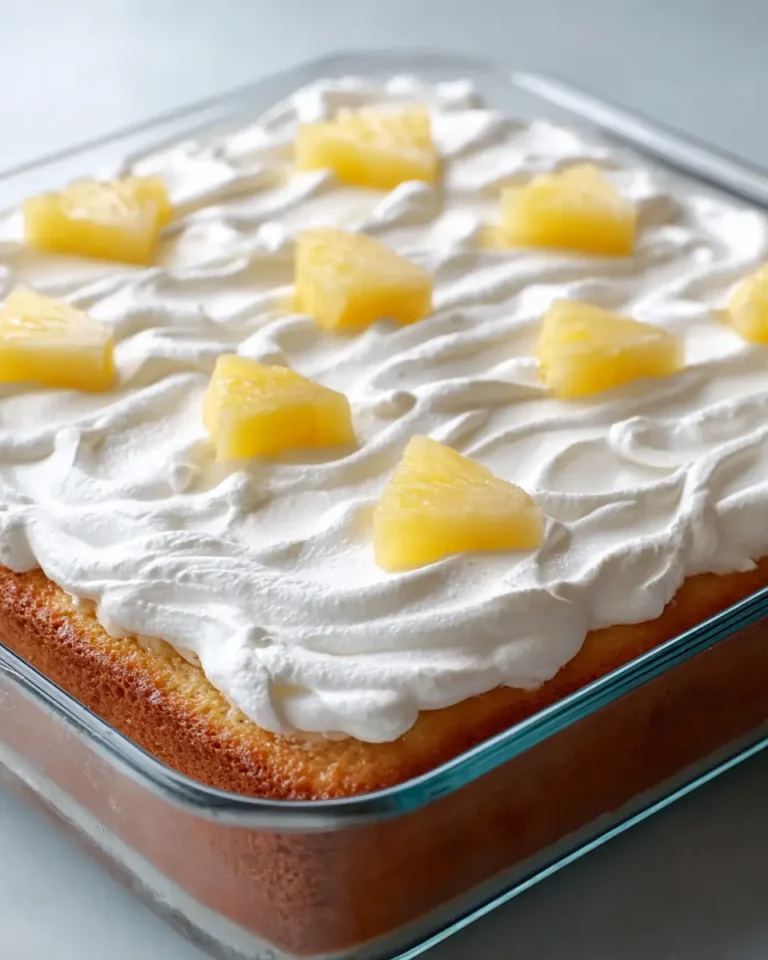
Once the topping is smoothly blended, carefully spread it over the layer of coconut filling on the cake. Again, use your spatula to create an even, smooth surface. Ensure the topping covers the entire cake, right to the edges, providing a beautiful and appealing finish that will hold up well during chilling.
Step 6: Chill to Perfection
The final and arguably most crucial step for this Sour Cream Coconut Cake is the chilling process. Once the cake is fully assembled with all its layers, cover the 9×13-inch pan tightly with plastic wrap or aluminum foil. Ensure the cover is sealed well to prevent any odors from the refrigerator from affecting the cake’s flavor.
Place the covered cake into the refrigerator and allow it to chill for a minimum of 4 hours. This time allows the flavors to meld together, the coconut layer to set properly, and the whipped topping to firm up. For the best possible texture and flavor development, it is highly recommended to chill the cake overnight, for at least 8-12 hours.
An extended chill period allows the cake to absorb some of the moisture from the filling, resulting in an even more moist and tender crumb. It also ensures that the layers are firm and distinct, making for very clean and beautiful slices when it comes time to serve this delectable dessert. The transformation that occurs during chilling is what makes this cake truly special.
Pro Tips for Sour Cream Coconut Cake
Quality Ingredients Matter: For the most authentic and delicious coconut flavor, opt for good quality sweetened shredded coconut. Brands that use real coconut extract and have a pleasing texture will make a noticeable difference in the final outcome. Similarly, using full-fat sour cream ensures a richer, creamier filling that isn’t watery.
Thorough Cooling is Key: Never rush the cooling process of the cake base. A warm cake will melt the coconut filling and the whipped topping, leading to a messy, unappetizing result. Ensure the cake is completely cool to the touch before adding any layers, as this provides a stable foundation.
Chill the Coconut Mixture: Chilling the sour cream and coconut mixture before spreading it on the cake is a game-changer. It firms up the filling, making it easier to spread evenly without running. This prevents a lopsided filling and ensures a neat layer.
Gentle Folding for Topping: When incorporating the reserved coconut mixture into the whipped topping, fold gently. Overmixing can deflate the whipped topping, resulting in a dense rather than fluffy layer. The goal is to combine them without losing the airiness.
Clean Slices for Presentation: For the neatest slices, use a sharp knife that has been dipped in hot water and then wiped dry between each cut. This technique helps to slice cleanly through the chilled layers, ensuring that each piece looks as appealing as it tastes. It’s a small trick that makes a big difference.
Overnight Chill for Optimal Flavor: While 4 hours is the minimum chilling time, allowing the cake to chill overnight significantly enhances its flavor and texture. The ingredients have more time to meld, and the cake becomes exceptionally moist and cohesive. This step is highly recommended for the ultimate experience.
Serving Suggestions for Sour Cream Coconut Cake
Decoration
A simple dusting of powdered sugar over the top offers an elegant finish without detracting from the cake’s inherent charm. Alternatively, a sprinkle of toasted shredded coconut can add a delightful crunch and intensified coconut aroma, creating a visually appealing texture contrast. For a touch of color, consider garnishing the edges with fresh maraschino cherries, their vibrant red hue providing a lovely accent against the creamy white topping.
A swirl of extra whipped topping piped decoratively around the edges can elevate the presentation, making the cake appear more elaborate. For those who enjoy a bit more sweetness and visual appeal, a drizzle of white chocolate ganache or a caramel sauce can be artfully swirled over the top. Edible flowers or a few carefully placed fresh mint leaves can also add a sophisticated and refreshing touch.
The cake’s own beautiful layers, when sliced, are a form of decoration. Showcasing these distinct strata of tender cake, rich filling, and light topping can be an attractive display on its own. A final touch of coconut flakes, toasted or untoasted, sprinkled generously across the surface, reinforces the cake’s signature flavor.
Side Dishes
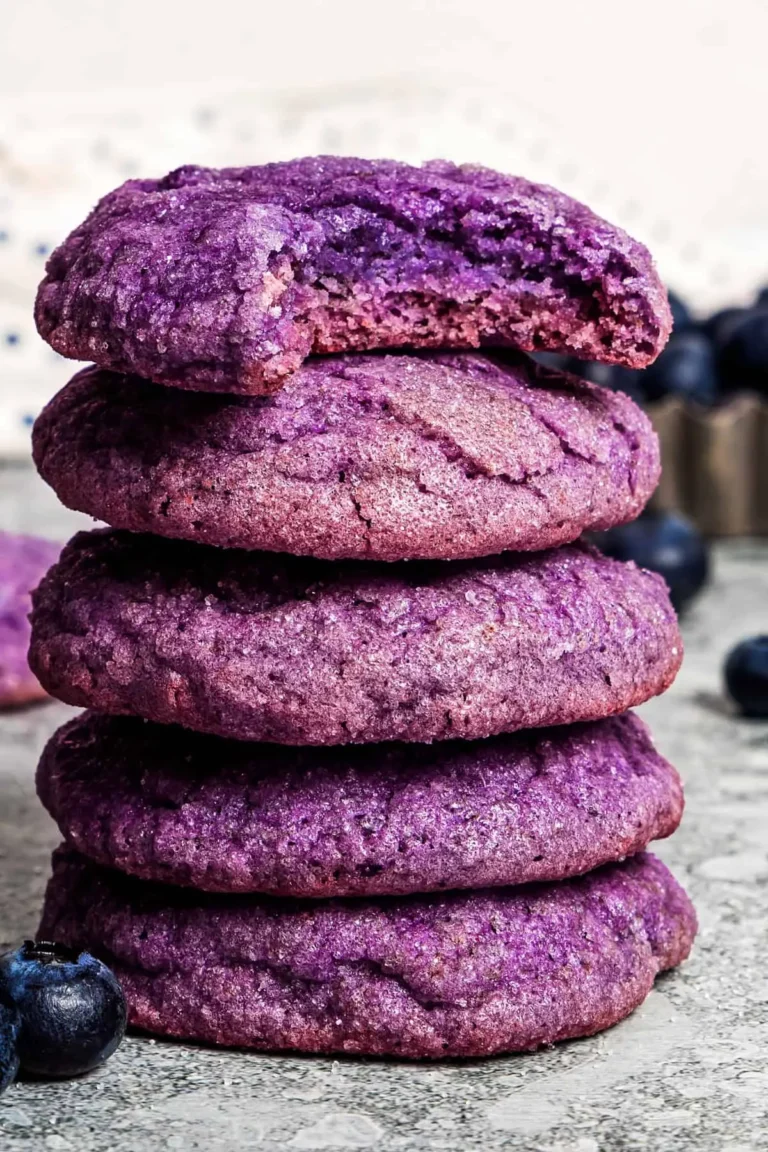
Fresh berries, such as strawberries, raspberries, or blueberries, provide a bright, tart counterpoint to the cake’s sweetness and creamy texture. Their natural acidity cuts through the richness, offering a refreshing palate cleanser with each bite. A simple fruit salad, lightly dressed with a touch of honey or lime juice, also complements the tropical notes of the cake beautifully.
For a warmer, more comforting accompaniment, a cup of freshly brewed hot coffee or a soothing cup of unsweetened tea pairs wonderfully. The slight bitterness of the coffee or the subtle notes of the tea can balance the dessert’s sweetness without being overpowering. Consider a light, sparkling beverage like a prosecco or a non-alcoholic sparkling cider for a celebratory feel.
A small dollop of extra whipped cream or a scoop of vanilla bean ice cream can be served alongside for those who truly love indulgent desserts. However, the cake is often rich enough to stand on its own, making these additions optional enhancements rather than necessities.
Creative Serving Ideas
Individual portions can be made by baking the cake in muffin tins lined with paper liners, creating delightful “cupcake” style treats that are perfect for parties or picnics. This method also ensures consistent baking and easy distribution.
Transform the cake into a trifle by layering cubed pieces of the cake with the coconut filling and whipped topping in individual parfait glasses or a large glass serving bowl. Add some fresh fruit or a berry compote between layers for added visual appeal and flavor complexity.
For a tropical brunch, serve small slices or cubes of the cake alongside fresh pineapple chunks and slices of mango. This presentation enhances the coconut theme and offers a delightful start to the day. A sprinkle of lime zest over the top just before serving can add an extra burst of freshness.
Consider a dessert bar where this cake is one of several options, allowing guests to sample a variety of sweets. Its make-ahead nature means it’s ready to go when dessert time arrives, fitting perfectly into a buffet-style setup. This also allows it to be paired with other dessert options easily.
Preparation & Storage
Storing Leftovers
This Sour Cream Coconut Cake is best stored in the refrigerator due to the sour cream and whipped topping components. Cover the pan tightly with plastic wrap or aluminum foil to prevent the cake from drying out and to keep it from absorbing any unwanted odors from other foods in the fridge. Alternatively, you can transfer individual slices to an airtight container for storage.
When stored properly in the refrigerator, leftovers of this cake will maintain their best quality for up to 4 days. Ensure the cake remains chilled throughout this period to maintain its texture and safety. Avoid leaving the cake at room temperature for extended periods, as this can affect the stability of the whipped topping and sour cream.
If you notice any signs of spoilage, such as an off smell or mold, it is best to discard the cake. Proper refrigeration is key to enjoying this delicious dessert for several days after its initial preparation. The chilling process is integral to its intended texture and taste.
Freezing
Freezing individual slices of this Sour Cream Coconut Cake is a viable option for longer-term storage. To do this, place the slices on a parchment-lined baking sheet and freeze them until firm, which typically takes about 1-2 hours. This flash-freezing step helps prevent the slices from sticking together.
Once the slices are firm, wrap each one tightly in plastic wrap, followed by a layer of aluminum foil or by placing them in a freezer-safe bag or container. This double wrapping provides an extra barrier against freezer burn and helps preserve the quality of the cake. Properly wrapped slices can be stored in the freezer for up to 1 month.
When you are ready to enjoy a frozen slice, it is best to thaw it overnight in the refrigerator rather than at room temperature. Thawing in the fridge helps the whipped topping to remain stable and prevents it from becoming overly soft or watery upon thawing. This gradual thawing process maintains the best possible texture.
Reheating
As this Sour Cream Coconut Cake is designed to be served chilled, there is typically no reheating step required. The intended enjoyment of this dessert is when all its layers are cold and firm, providing a refreshing and creamy experience. Reheating would compromise the texture of the whipped topping and could melt the sour cream mixture.
If you prefer your cake slightly less cold or at room temperature, you can take a slice out of the refrigerator about 15-30 minutes before serving. This brief period at room temperature can slightly soften the texture, making it a bit more yielding. However, it is still important not to let it sit out for too long to maintain food safety.
The magic of this cake is in its chilled state, where the flavors have melded and the textures are perfectly set. Therefore, the best way to enjoy it is straight from the refrigerator, or with a very brief period of tempering, rather than any form of reheating. This preserves its intended deliciousness and delightful consistency.
Frequently Asked Questions
-
Can I make this cake a day in advance?
Yes, absolutely! This Sour Cream Coconut Cake is an ideal make-ahead dessert. In fact, chilling it overnight allows the flavors to meld beautifully and the cake to become incredibly moist and cohesive. The longer chill time ensures that the coconut layer sets perfectly and the whipped topping firms up, making it even easier to slice cleanly. It’s a fantastic option for busy hosts.
-
Does this cake have to be refrigerated?
Yes, due to the inclusion of sour cream in the filling and whipped topping, this cake absolutely must be refrigerated. These dairy components require cold temperatures to remain stable and safe for consumption. While you can take a slice out briefly before serving, it should always be returned to the refrigerator promptly to prevent spoilage and maintain its intended texture.
-
Can I use unsweetened coconut instead of sweetened shredded coconut?
You can use unsweetened shredded coconut, but it will alter the sweetness of the cake. Unsweetened coconut has a more natural coconut flavor and less added sugar. If you opt for it, you may need to slightly increase the granulated sugar in the filling to compensate for the lack of sweetness from the coconut. Taste the mixture before chilling and adjust sugar as needed to achieve your desired sweetness level. The texture will remain similar.