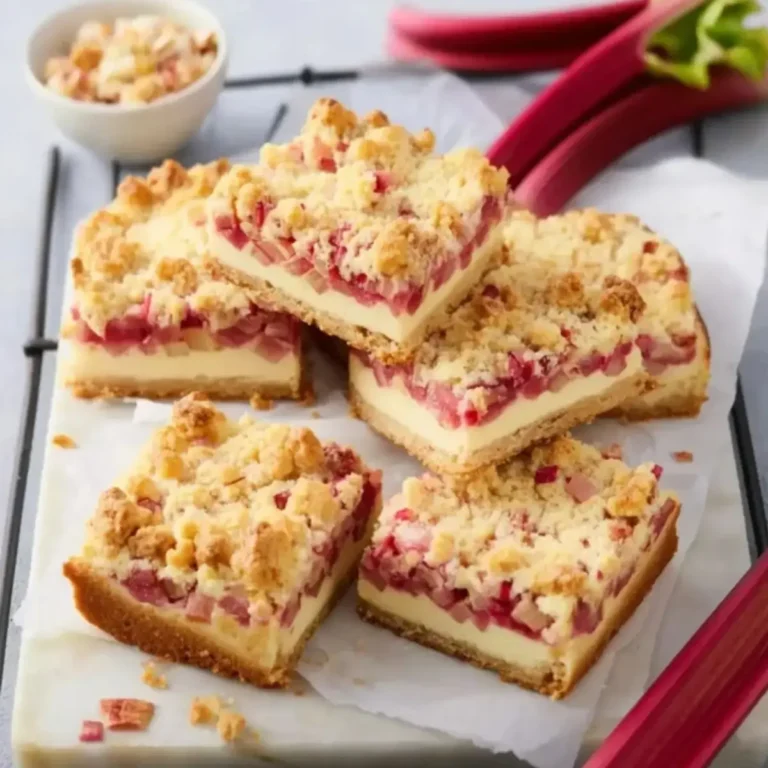
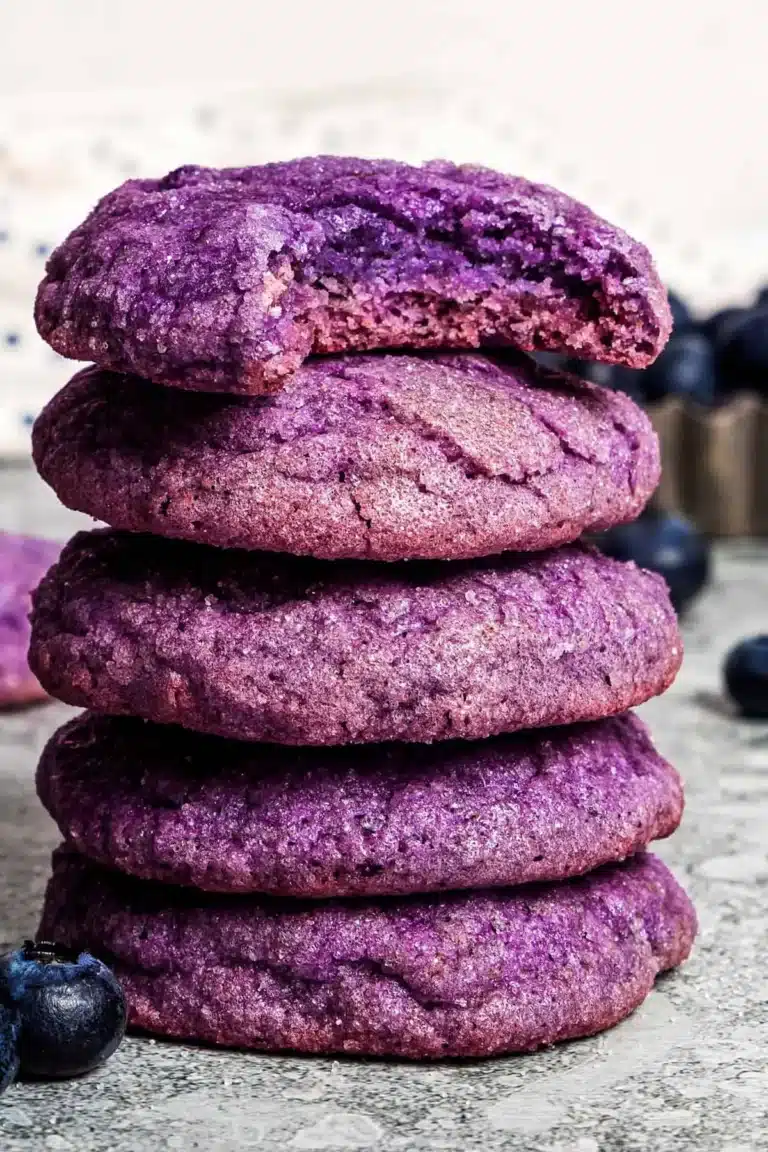
Old-Fashioned Stack Cake with Apple Butter Filling Recipe Everyone Loves

When I first tasted old-fashioned stack cake at a family reunion in rural Kentucky, I was hooked instantly. It wasn’t just the layers upon layers of tender cake; it was that unexpected, luscious apple butter filling that stole the show. Everyone kept asking for seconds—and thirds.
I was lucky enough to score the recipe from my great-aunt, who swore by the slow-cooked apple butter that made this cake legendary in our family. Since then, I’ve made this Old-Fashioned Stack Cake with Apple Butter Filling at least a dozen times, tweaking and perfecting it so it’s as close to that cozy, nostalgic flavor as possible. The magic here is in the simplicity: nothing fancy, just humble ingredients coming together like the best kind of home-cooked hug.
Why You Will Love This Recipe
- Nostalgic Flavor: Experience a true taste of tradition with the comforting spices and tender cake layers that evoke warm memories.
- Simple Ingredients: This cake is made with pantry staples, making it accessible and easy to whip up for any occasion.
- Unique Texture: The layers of cake are intentionally baked to be slightly firm but tender, creating a delightful contrast with the smooth, spiced apple butter filling.
- Make-Ahead Marvel: This cake actually improves with age, allowing the flavors to meld beautifully overnight, making it perfect for planning ahead for gatherings.
- Crowd-Pleaser: Its comforting taste and beautiful presentation are guaranteed to be a hit with family and friends, often prompting requests for the recipe.
Ingredients You Need
The beauty of this Old-Fashioned Stack Cake lies in its reliance on simple, high-quality ingredients. By focusing on the essentials, we ensure that each component shines, from the tender cake layers to the rich, spiced apple butter filling. I’ve always found that using good quality, unadulterated apple butter makes a significant difference in the final flavor profile. Similarly, fresh, room-temperature ingredients for the cake batter contribute to its light and tender texture.
Old-Fashioned Stack Cake with Apple Butter Filling
A nostalgic Southern layered cake featuring tender cake layers and a luscious spiced apple butter filling. This simple yet comforting dessert is perfect for family gatherings and tastes even better after resting overnight.
- 3 cups all-purpose flour (360g)
- 2 teaspoons baking powder
- 1 teaspoon ground cinnamon
- 1 cup unsalted butter (227g), softened
- 1 ½ cups granulated sugar (300g)
- 3 large eggs, room temperature
- 1 cup buttermilk (240ml) (or 1 cup milk + 1 tablespoon lemon juice/vinegar, let sit
- 5 minutes)
- 2 teaspoons vanilla extract
- 2 cups apple butter (480ml)
- 3 tablespoons butter (43g), softened
- Optional: ½ cup chopped pecans or walnuts (60g), toasted
- Optional: thinly sliced apple slices
- 1Preheat your oven to 350°F (175°C). Grease and flour three 9-inch round cake pans or line them with parchment paper circles.
- 2In a medium bowl, whisk together the all-purpose flour, baking powder, baking soda, salt, and cinnamon.
- 3In a large bowl, cream the softened butter and granulated sugar until light and fluffy, about 3-5 minutes.
- 4Add eggs one at a time, beating well after each addition. Mix in the vanilla extract.
- 5With the mixer on low, add the dry ingredients in three parts, alternating with the buttermilk in two parts, beginning and ending with the dry ingredients. Mix just until combined.
- 6Evenly pour batter into the prepared pans and smooth the tops. Bake for 25-30 minutes, rotating pans halfway through. Cakes are done when a toothpick inserted in the center comes out clean or with a few moist crumbs.
- 7Let the cake layers cool in the pans for 10 minutes, then turn out onto wire racks to cool completely.
- 8In a bowl, whip the softened butter until creamy. Add apple butter, powdered sugar, and cinnamon, mixing until smooth and spreadable. Fold in nuts if using.
- 9Place one cake layer on a serving plate. Spread about one-third of the apple butter filling evenly over the top. Repeat with the next two layers. Add thin apple slices between layers if desired. Press gently to secure the stack.
- 10Cover the cake loosely with plastic wrap and refrigerate for at least 2 hours or overnight to let flavors meld and filling soak in.
Keywords: stack cake, apple butter cake, old-fashioned cake, Southern dessert, layered cake, apple butter filling, homemade cake
- all-purpose flour: the foundation for tender, yet sturdy cake layers.
- baking powder: provides the essential lift for a light crumb.
- baking soda: reacts with acidic components for enhanced tenderness.
- salt: balances the sweetness and enhances overall flavor complexity.
- ground cinnamon: adds warm spice notes that are crucial for a classic flavor.
- unsalted butter, softened: contributes richness and a tender texture to the cake.
- granulated sugar: provides sweetness and aids in the creaming process for a lighter cake.
- large eggs, room temperature: bind ingredients and add moisture for a richer cake.
- buttermilk: the secret to exceptionally moist and tender cake layers.
- vanilla extract: enhances sweetness and adds depth to the cake’s aroma and flavor.
- apple butter: the star of the filling, providing a rich, spiced, and slightly tangy apple flavor.
- powdered sugar: lightly sweetens and thickens the apple butter filling for easy spreading.
- ground cinnamon: boosts the warm spice notes in the apple butter filling.
- butter, softened: adds creaminess and richness to the apple butter filling.
- chopped pecans or walnuts, toasted (optional): introduce a delightful crunch and nutty aroma to the filling.
- thinly sliced apple slices (optional): offer a fresh, crisp counterpoint to the soft cake and filling.
Quantities for these ingredients are readily available in the recipe card for precise baking.
Variations
For those who love to experiment in the kitchen, this Old-Fashioned Stack Cake with Apple Butter Filling offers a wonderful canvas. You can easily adapt it to suit different dietary preferences or seasonal tastes. Consider a vegan version by using plant-based butter and a dairy-free milk substitute for the buttermilk, ensuring the same tender results.
A fantastic low-carb variation could involve using almond flour and a sugar substitute in the cake layers, paired with a sugar-free apple butter. This approach still captures the essence of the cake while fitting into a more restrictive diet. Remember to adjust baking times slightly when using alternative flours, as they can behave differently.
Embrace the flavors of autumn by swapping the apple butter for a rich pear butter or a sweet pumpkin butter. You can also add a touch of maple syrup to any of these fruit butter fillings for an extra layer of warmth and complexity. These simple substitutions can transform the cake into a delightful seasonal treat, perfect for holiday gatherings or cozy evenings.
How to Prepare Old-Fashioned Stack Cake with Apple Butter Filling
Step 1: Preheat and Prepare Your Pans
Begin by preheating your oven to the recommended temperature of 350°F (175°C). This ensures that the oven is at the perfect heat when your batter is ready, promoting even baking. Properly preparing your cake pans is crucial for easily releasing the delicate layers later on. Take three 9-inch round cake pans and generously grease them with butter or non-stick cooking spray.
Next, lightly dust the greased pans with flour, tapping out any excess. For an extra layer of insurance against sticking, you can also line the bottom of each pan with a circle of parchment paper. This meticulous preparation will prevent heartbreak when it’s time to turn out your beautifully baked cake layers. Having three pans ready means you can bake all the layers simultaneously, saving valuable time.
Step 2: Mix the Dry Ingredients
In a medium-sized mixing bowl, combine all of your dry ingredients for the cake. This includes the all-purpose flour, baking powder, baking soda, salt, and ground cinnamon. Whisk these ingredients together thoroughly. This step is important because it ensures that the leavening agents and spices are evenly distributed throughout the flour mixture.
An even distribution means that each cake layer will have a consistent texture and flavor. No one wants a bite that’s too salty or lacks that characteristic cinnamon warmth. A good whisking action also helps to aerate the flour slightly, which can contribute to a lighter cake. Ensure there are no lumps of baking soda or powder hiding in the mix.
Step 3: Cream the Butter and Sugar
In a large mixing bowl, cream together the softened unsalted butter and granulated sugar. Use an electric mixer, either a hand mixer or a stand mixer fitted with the paddle attachment, to achieve a light and fluffy consistency. This process typically takes about 3 to 5 minutes of continuous mixing. Creaming incorporates air into the mixture, which is a fundamental step in creating a tender and well-risen cake.
The goal is to achieve a pale yellow color and a texture that resembles soft whipped cream. This aeration is what contributes significantly to the cake’s final lightness and delicate crumb. Don’t rush this step; it’s a foundational element for a superior cake texture. If your butter isn’t soft enough, it won’t cream properly, leading to a denser cake.
Step 4: Incorporate Eggs and Vanilla
Once the butter and sugar are perfectly creamed, it’s time to add the eggs. Introduce the large eggs one at a time, ensuring that each egg is fully incorporated into the butter-sugar mixture before adding the next. Beat well after each addition to maintain the emulsion and prevent the batter from separating. This gradual addition helps create a stable batter.
After the eggs are fully mixed in, stir in the vanilla extract. The vanilla adds a subtle warmth and depth of flavor that complements the apple butter beautifully. Continue to mix until the batter is smooth and homogenous. At this stage, the batter should be thick and somewhat glossy, ready to receive the dry and wet ingredients.
Step 5: Alternate Dry Ingredients and Buttermilk
Now, with your mixer on a low speed, begin adding the dry ingredients to the wet ingredients in alternating stages with the buttermilk. Start by adding about one-third of the dry ingredient mixture and mix just until combined. Then, add about half of the buttermilk and mix until just incorporated.
Continue this process, adding another third of the dry ingredients, followed by the remaining buttermilk, and finishing with the last third of the dry ingredients. It’s crucial to mix only until the ingredients are just combined after each addition. Overmixing the batter at this stage, especially after the flour is added, can develop the gluten too much, resulting in tough and dense cake layers. Scrape down the sides of the bowl as needed to ensure everything is evenly incorporated without overworking the batter.
Step 6: Divide Batter and Bake
Carefully divide the prepared cake batter evenly among the three prepared 9-inch round cake pans. Use a spatula to gently spread the batter to the edges of the pans, creating a relatively flat surface for even baking. Ensure each pan has approximately the same amount of batter for uniform cake layers. Overfilling the pans can lead to overflow during baking.
Place the pans in the preheated oven. Bake for approximately 25 to 30 minutes. To ensure even cooking and browning, rotate the pans halfway through the baking time. You’ll know the cakes are done when a wooden skewer or toothpick inserted into the center of each cake comes out clean, or with just a few moist crumbs attached. Avoid overbaking, which can lead to dry layers. The aroma filling your kitchen should be wonderfully sweet and comforting.
Step 7: Cool Completely
Once the cake layers are baked to perfection, remove them from the oven. Allow the cakes to cool in their pans on a wire rack for about 10 minutes. This initial cooling period helps the cakes to set slightly and makes them easier to remove from the pans without breaking. Gently invert each cake layer onto the wire rack to cool completely.
This step is absolutely critical for the success of your stack cake. If you attempt to assemble the cake while the layers are even slightly warm, the apple butter filling will melt and become a gooey, unmanageable mess. Patience is key here; allow the layers to cool thoroughly, which usually takes at least an hour. The cake layers should feel completely cool to the touch before you move on to assembly. Proper cooling ensures the filling stays put and the structure remains intact.
Step 8: Prepare the Apple Butter Filling
While the cake layers are cooling, prepare the star of the filling: the apple butter. In a clean mixing bowl, whip the softened butter until it becomes creamy and smooth. This makes it easier to incorporate into the apple butter and creates a luscious, spreadable consistency. Do not use melted butter, as this will result in a greasy filling.
Add the apple butter, powdered sugar, and ground cinnamon to the whipped butter. Mix these ingredients together until the filling is uniformly smooth, creamy, and well combined. If you are adding optional chopped nuts, fold them in at this stage. The powdered sugar not only adds a touch of sweetness but also helps to thicken the filling slightly, making it easier to spread without it running out from between the cake layers.
Step 9: Assemble the Stack Cake
With all your components ready and cooled, it’s time for the satisfying assembly of your Old-Fashioned Stack Cake. Place the first cooled cake layer onto your serving plate or cake stand. This forms the stable base for your dessert. Using an offset spatula or a butter knife, spread about one-third of the prepared apple butter filling evenly over the surface of this first cake layer.
Carefully place the second cake layer on top of the filling, pressing down gently to adhere it. Repeat the process of spreading another third of the apple butter filling over the second layer. Then, place the final cake layer on top. If you’re using the optional thin apple slices, arrange them between the layers for an added textural element and a burst of fresh apple flavor before adding the filling. Ensure the stack is stable and even.
Step 10: Chill and Serve
Once your cake is fully assembled, it needs time for the flavors to meld and the filling to settle. Loosely cover the entire cake with plastic wrap. This helps to keep it moist without trapping too much condensation. Refrigerate the cake for a minimum of 2 hours, but for the best results, let it chill overnight. This resting period is essential for the apple butter to subtly soak into the cake layers, making them incredibly moist without becoming soggy.
The chilling process also allows the filling to firm up slightly, making the cake easier to slice and serve. When you are ready to serve, remove the cake from the refrigerator and let it sit at room temperature for about 15-20 minutes to take the chill off slightly, though it is also delicious served cold. Slice generously and enjoy the culmination of your efforts. The aroma and taste will transport you to a simpler time.
Pro Tips for Old-Fashioned Stack Cake with Apple Butter Filling
Embrace the Buttermilk: This ingredient is non-negotiable for achieving that signature tender crumb. If you’re in a pinch and don’t have buttermilk on hand, the milk and lemon juice or vinegar substitute is a reliable way to replicate its acidity and tenderizing effect. Ensure the milk mixture sits for at least five minutes to curdle properly before use.
Room Temperature is Key: For the creamiest butter and sugar mixture and the smoothest batter, ensure your butter, eggs, and buttermilk are all at room temperature. Cold ingredients don’t emulsify well, which can lead to a denser cake and potential curdling. Taking these ingredients out of the fridge about 30-60 minutes before you start baking makes a significant difference.
Mind the Mixing: The cardinal rule for tender cakes is to avoid overmixing once the flour is added. Mix just until the dry ingredients are incorporated. Overworking the batter develops gluten, resulting in a tough texture rather than the desired tender crumb. Gentle handling is your friend here.
Baking Time Precision: Ovens can be notoriously different, so start checking for doneness around the 25-minute mark. Use the toothpick test as your guide. Overbaked cake layers will be dry and crumbly, making them difficult to work with during assembly and less enjoyable to eat. Better slightly underbaked than overbaked in this case.
Cooling is Non-Negotiable: Seriously, do not try to assemble this cake with warm layers. The apple butter filling will melt into a sticky mess. Patience during the cooling phase ensures that the cake layers are firm and ready to hold the filling without collapsing or becoming a greasy disaster. Allow ample time for this crucial step.
Quality of Apple Butter Matters: The apple butter is the dominant flavor in this cake, so use the best quality you can find or make. Homemade apple butter, slow-cooked to perfection, offers unparalleled depth of flavor. If using store-bought, opt for varieties without excessive added sugars or preservatives for the most authentic taste.
Even Spreading: Use an offset spatula or a flexible knife to spread the apple butter filling evenly across each layer. Aim for a consistent thickness; too much filling can cause the cake to slide, while too little will leave some layers feeling dry. The goal is moisture and flavor in every bite without structural compromise.
The Magic of Rest: Resist the urge to cut into the cake immediately. Allowing the assembled cake to chill for at least a few hours, or preferably overnight, transforms it. The filling gently moistens the cake layers, and the flavors meld into a harmonious whole, creating an experience far superior to a freshly assembled cake. It’s worth the wait, I promise.
Serving Suggestions for Old-Fashioned Stack Cake with Apple Butter Filling
Decoration
This cake is beautifully rustic on its own, celebrating the layers and the delicious filling. Often, a simple dusting of powdered sugar over the top layer is all the decoration it needs, mimicking a light snowfall. For a touch more visual appeal, a few strategically placed toasted pecan halves or a delicate drizzle of caramel sauce can add an elegant touch without detracting from its old-fashioned charm. Sometimes, a few thin slices of fresh apple, perhaps lightly dusted with cinnamon, can be arranged on top, echoing the cake’s primary filling ingredient.
Side Dishes
This cake pairs wonderfully with a variety of accompaniments that enhance its comforting flavors. A dollop of freshly whipped cream, lightly sweetened and perhaps infused with a hint of vanilla or cinnamon, provides a cool, creamy contrast to the spiced apple layers. A scoop of high-quality vanilla bean ice cream is another classic pairing, its richness complementing the cake’s spices. For a beverage pairing, a warm cup of spiced apple cider or a rich, robust coffee works beautifully, especially on a chilly day.
Creative Serving Ideas
Elevate the serving experience by transforming slices of this cake into other delightful desserts. Leftover slices can be transformed into an incredible bread pudding or even French toast, soaking up the apple butter filling even further. For a more formal presentation, serve individual stack cakes layered in small glass ramekins, allowing guests to see the beautiful strata of cake and filling. This also makes for easier portion control and a visually appealing dessert.
Preparation & Storage
Storing Leftovers
To keep your Old-Fashioned Stack Cake with Apple Butter Filling fresh, store it loosely covered at room temperature for up to two days. The apple butter in the filling helps maintain moisture, but prolonged exposure to air at room temperature can start to dry out the cake layers. For longer storage, especially in warmer climates, or if you have more than two days of leftovers, it’s best to refrigerate the cake.
Freezing
This cake freezes remarkably well, making it an excellent option for making ahead of holidays or events. You can freeze the entire assembled cake or individual slices. Wrap the cake tightly in several layers of plastic wrap to prevent freezer burn, then place it inside a heavy-duty freezer bag or an airtight container. It can be stored in the freezer for up to three months. Properly wrapped, it maintains its delicious flavor and texture.
Reheating
When you’re ready to enjoy frozen or refrigerated cake, thaw it overnight in the refrigerator. For the best eating experience, allow the cake to come to room temperature for about 15-20 minutes before serving. If you prefer your cake slightly warm, you can gently reheat individual slices in a microwave for about 15-20 seconds, just enough to take the chill off. Be careful not to overheat, as this can make the cake dry or the filling too runny.
Frequently Asked Questions
-
Can I make the apple butter filling ahead of time?
Absolutely! The apple butter filling can be prepared a day or two in advance and stored in an airtight container in the refrigerator. This allows you to get a head start on your baking, making the assembly process much quicker on the day you plan to serve the cake. Simply bring the filling to room temperature and give it a good stir before using it to spread between the cake layers, ensuring it’s easily workable.
-
What if I don’t have apple butter? Can I use something else?
While apple butter is traditional and provides the signature flavor, you can experiment with substitutes if necessary. Thick applesauce or pumpkin butter are viable alternatives, though they will alter the final taste and texture of the cake. You might need to adjust the amount of powdered sugar used in the filling to achieve the desired sweetness and consistency. Homemade apple butter, made by slow-cooking apples with spices, is highly recommended for the most authentic and rich flavor profile.
-
Why is my stack cake falling apart when I slice it?
Several factors can contribute to a stack cake falling apart. The most common reasons are assembling the cake with warm layers, which causes the filling to melt, or using a filling that is too thin or runny. It’s crucial to ensure the cake layers are completely cooled and that the apple butter filling is of a spreadable, not pourable, consistency. Chilling the assembled cake for several hours, or preferably overnight, is essential. This allows the filling to set and the cake layers to firm up, resulting in much cleaner, more stable slices.