Blueberry Cookies – Soft & Chewy!

The aroma of freshly baked goods is one of life’s simple pleasures, and when that aroma is mingled with the sweet, slightly tart scent of blueberries, it’s pure bliss. Imagine biting into a cookie that’s perfectly chewy, tender, and absolutely bursting with vibrant blueberry flavor. These aren’t just any cookies; they’re little pockets of joy, designed to bring a smile to your face with every single bite.
We’ve taken the humble blueberry and elevated it to star status in this delightful cookie recipe. Combining a luscious homemade blueberry sauce with a specially crafted cookie dough, the result is a treat that’s both comforting and exciting. Get ready to discover a new favorite that will have friends and family begging for the recipe.
Why You Will Love This Recipe
- Intense Blueberry Flavor: Instead of just scattering a few berries, we infuse the dough with a rich blueberry sauce, ensuring a burst of flavor in every bite. This method guarantees a deeply satisfying berry experience that truly stands out.
- Perfect Texture: These cookies achieve that sought-after chewy and soft texture, thanks to a secret ingredient and precise baking. They have a delightful balance of yielding softness and a satisfying chew that melts in your mouth beautifully.
- Visually Stunning: The natural vibrant blue hue from the blueberries, enhanced slightly by optional food coloring or butterfly pea powder, makes these cookies a feast for the eyes. They look as good as they taste, making them perfect for any occasion or display.
- Easy to Make: Despite their gourmet taste and appearance, these cookies are surprisingly straightforward to prepare. The process is broken down into simple steps, making it accessible even for beginner bakers looking for impressive results.
- Versatile Enjoyment: Whether enjoyed with a glass of milk, a cup of coffee, or as part of a dessert spread, these blueberry cookies are incredibly versatile. They stand alone wonderfully or can be paired with other treats for a complete culinary experience.
Ingredients You Need
Crafting exceptional blueberry cookies starts with selecting high-quality ingredients that will harmonize to create a truly memorable treat. Using fresh, ripe blueberries is paramount for that authentic, vibrant flavor. When it comes to your pantry staples, like flour and sugar, opting for quality ensures a better texture and taste. Remember, the little details in ingredient selection make a significant difference in the final outcome of your delicious baked goods.
Blueberry Cookies

These blueberry cookies are thick, chewy, and bursting with real blueberries! Made with fresh blueberry sauce and a little cornstarch in the dough, these beautiful blue cookies stay soft for days and taste like a bite of blueberry pie.
- 1 cup fresh blueberries, stems removed
- 2 teaspoons granulated sugar
- 1 tablespoon fresh lemon juice, not bottled
- 2 cups all purpose flour
- 1½ tablespoons cornstarch
- 1½ teaspoons baking powder
- 1½ cups granulated sugar, divided
- 2 tablespoons milk
- 1 large egg
- 1Make the blueberry sauce: In a medium pot over medium-low heat, combine the fresh blueberries, sugar, and lemon juice. Cook, stirring frequently, until the blueberries break down and the mixture thickens. This will take about 5-8 minutes. Set aside to cool.
- 2Combine the dry ingredients: In a large bowl, combine the flour, cornstarch, baking powder, and salt. Set aside.
- 3Cream the butter and sugar: In another large bowl, cream the butter and 1¼ cups of white granulated sugar until light and fluffy.
- 4Add the blueberry sauce: Scoop 3 tablespoons of the cooled blueberry sauce out of the pot and mix it into the butter and sugar. (If you have extra sauce, put it in a mason jar for later. You can use it on pancakes.)
- 5Add remaining liquid ingredients: Add milk, egg, and dye. Mix until just combined.
- 6Add dry ingredients: Mix until everything is well combined and there are no dry bits of batter.
- 7Chill the dough: Cover your bowl with saran wrap and chill in the refrigerator for 3 hours.
- 8Prep your tools: Preheat your oven to 325°F. Line a baking sheet with parchment paper or a Silpat. Set aside.
- 9Pour sugar: Place the remaining 1/4 cup of sugar in a shallow plate. Set aside.
- 10Form the cookies: Scoop the chilled cookie dough and roll it into balls, using about 1 heaping tablespoon of dough per cookie.
- 11Roll in sugar: Place the rolled cookie dough into the sugar and roll it around to coat. Place the sugar cookie dough ball onto your prepared baking sheet. You will be able to fit 6 cookies on one standard baking sheet. (There needs to be space between the balls of dough.)
- 12Chill the extra dough: Once you have shaped your 6 cookies, place the cookie dough back in the fridge until you are ready to shape the next batch. Or, if you have two cookie sheets, you can start working on the next batch while the first one bakes. You just don’t want the cookie dough to sit on the counter and warm up.
- 13Bake: Place in the oven and bake for 15 minutes or until cracks form.
- 14Cool: Remove the cookies from the oven and allow them to cool for 10 minutes on the baking sheet before transferring them to a wire rack to finish cooling for another 20 minutes. If you try to move the cookies before 10 minutes, they will be too soft and will break.
Keywords: blueberry cookies, soft cookies, chewy cookies, fruit cookies, summer dessert, baked goods
The full quantities and specific measurements for all ingredients are detailed within the recipe card provided.
Variations
While these blueberry cookies are already divine in their classic form, their adaptability opens up a world of exciting flavor profiles. Consider transforming them into a delightful vegan treat by substituting dairy ingredients with plant-based alternatives. This might involve using a good quality vegan butter, a non-dairy milk such as almond or oat, and an egg replacer like flaxseed or applesauce, ensuring the chewy texture is still maintained.
For those mindful of carbohydrate intake, a low-carb version is certainly achievable. You can experiment with almond flour or coconut flour as a base, and utilize a sugar substitute like erythritol or stevia. Be aware that these substitutions might slightly alter the texture and baking time, so small test batches are recommended to achieve the perfect balance for your low-carb blueberry delight.
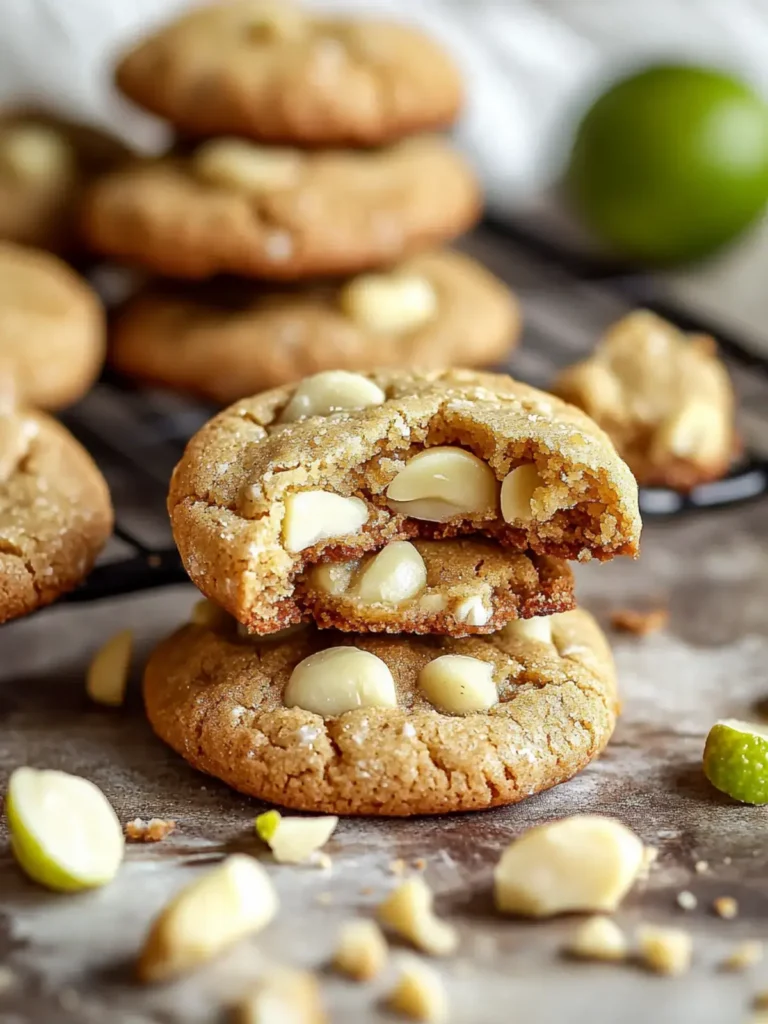
Another inspired variation involves incorporating complementary flavors that enhance the blueberry. Adding white chocolate chips to the dough creates pockets of creamy sweetness that beautifully contrast with the tartness of the blueberries. Alternatively, a hint of lemon zest in the dough before baking can further brighten the blueberry flavor, adding a zesty dimension that makes these cookies truly sing.
How to Prepare Blueberry Cookies
Step 1: Crafting the Flavorful Blueberry Sauce
The foundation of these exceptional blueberry cookies lies in a vibrant, homemade blueberry sauce. Begin by selecting your fresh blueberries, meticulously inspecting them to remove any stems or less-than-perfect berries, ensuring only the best make it into your creation. This attention to detail in the initial selection promises a superior flavor profile for your finished cookies.
In a medium saucepan, combine these pristine blueberries with granulated sugar and freshly squeezed lemon juice. The sugar acts as a catalyst, drawing out the natural juices from the berries, while the lemon juice provides a crucial zesty counterpoint that brightens and intensifies the blueberry essence. Gentle heat is key here; cook this mixture over medium-low heat.
Stir frequently as the berries begin to break down, releasing their luscious juices and forming a thickened sauce. This simmering process typically takes about 5 to 8 minutes. The goal is a consistency that is syrupy but not watery, ensuring it will integrate beautifully into the cookie dough without making it too wet. Once achieved, remove the saucepan from the heat and set the sauce aside to cool completely before proceeding. This cooling period is essential for the sauce to thicken further and for its flavors to meld.
Step 2: Preparing the Dry Dough Components
While your flavorful blueberry sauce is cooling, it’s time to assemble the dry ingredients for the cookie dough. In a large mixing bowl, combine your all-purpose flour, which forms the primary structure of the cookie. Alongside the flour, add cornstarch; this is a secret weapon for achieving that wonderfully soft and chewy cookie texture, also helping to prevent excessive spreading during baking.
Next, incorporate the baking powder, which acts as a leavening agent, helping the cookies to rise slightly and achieve a pleasant, light texture without becoming cakey. Finally, add a pinch of kosher salt. Salt plays a crucial role in enhancing all the other flavors in the dough, balancing the sweetness and bringing out the best in the blueberries and other ingredients. Whisk these dry components together thoroughly until they are evenly distributed, ensuring uniform flavor and texture throughout your cookie batch.
This meticulous combination of dry ingredients is the backbone of a great cookie. The precise ratio of flour to cornstarch is what gives these blueberry cookies their signature chewiness, while the baking powder ensures they aren’t too dense. Proper whisking at this stage guarantees that each cookie receives the intended lift and flavor balance, setting the stage for the next steps in cookie perfection. It’s a simple yet vital step that shouldn’t be overlooked for optimal cookie outcomes.
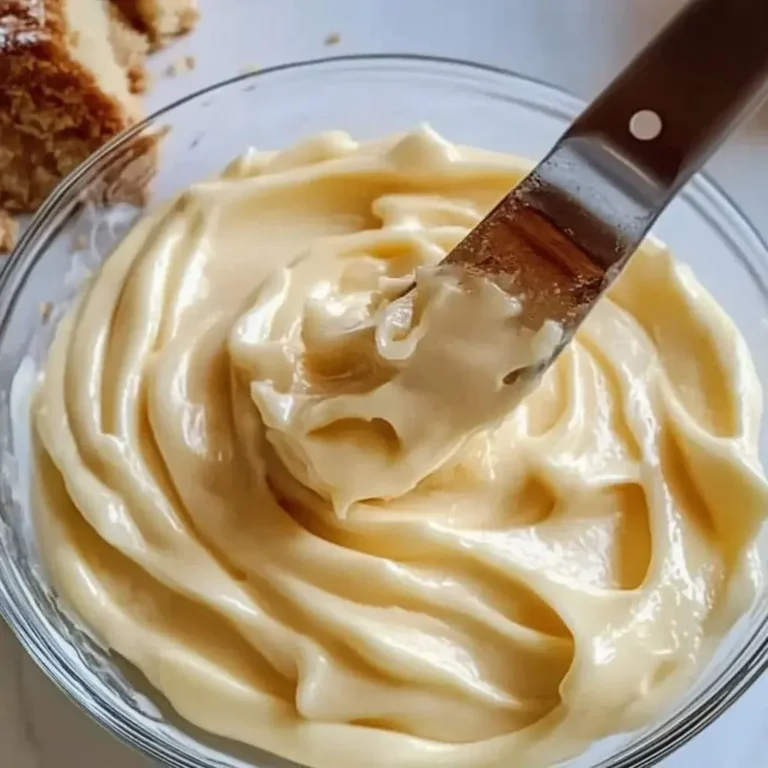
Step 3: Creaming Butter and Sugar, Infusing with Blueberry
Now, let’s focus on the wet ingredients that will bring our cookie dough to life. In a separate, large mixing bowl, take your softened, room-temperature unsalted butter. The warmth of the butter is crucial for proper creaming, allowing it to incorporate air effectively, which contributes to the cookie’s texture. Add a portion of the granulated sugar to the bowl with the butter; the recipe typically calls for 1 and 1/4 cups at this stage.
Using a hand mixer or a stand mixer fitted with the paddle attachment, cream together the butter and sugar. Beat them on medium speed until the mixture becomes light in color and noticeably fluffy. This process, known as creaming, incorporates air into the dough, which is essential for creating tender cookies that aren’t dense or tough. Scrape down the sides of the bowl periodically to ensure all the butter and sugar are evenly incorporated and whipped.
Once you have a beautifully light and fluffy butter-sugar mixture, it’s time to introduce the star flavor. Gently scoop about 3 tablespoons of your cooled, homemade blueberry sauce into the creamed mixture. Stir this in until it’s mostly combined; don’t worry if there are still slight swirls of blueberry. This is where the magic happens, infusing the very core of the cookie dough with that incredible blueberry essence and a subtle, beautiful hue.
Step 4: Incorporating Remaining Wet Ingredients and Dry Mixture
With the blueberry-infused butter and sugar base ready, it’s time to add the remaining liquid ingredients to enrich the dough further. Pour in your milk; this can be any type, from whole milk for a richer result to a non-dairy alternative. Then, add the large egg. Ensure your egg is at room temperature for seamless integration into the mixture, preventing it from curdling the butter.
If you are opting to enhance the color of your cookies for a more vivid blue, now is the time to add the purple food dye. A small amount, typically about 1/4 teaspoon of liquid dye, is usually sufficient to achieve a soft, pleasing blue hue without overpowering the natural color. Mix these ingredients gently until they are just combined with the butter and sugar mixture. Overmixing at this stage can toughen the dough, so aim for a state where everything is incorporated but not overworked.
Once the wet ingredients are smoothly integrated, it’s time to bring the dry ingredients into play. Gradually add the whisked dry ingredients (flour, cornstarch, baking powder, and salt) to the wet mixture. Mix on low speed or fold them in by hand until everything is just well combined. It’s crucial to avoid overmixing here; stop as soon as there are no dry streaks of batter visible. An overmixed dough can lead to tough, dense cookies instead of the desired soft and chewy texture.
Step 5: Chilling the Dough and Preparing for Baking
The cookie dough is now prepared, but it requires a crucial chilling period before it can be baked into delicious cookies. Cover the bowl containing the cookie dough tightly with plastic wrap, ensuring it’s sealed well to prevent the dough from drying out. Place the covered bowl in the refrigerator and allow it to chill for a minimum of 3 hours. This chilling time is absolutely vital; it allows the fats in the dough to solidify, which significantly controls spread during baking, resulting in thicker, chewier cookies.
While the dough is chilling, it’s the perfect time to prepare your baking environment. Preheat your oven to 325°F (160°C). This moderate temperature is ideal for ensuring the cookies bake through without burning, allowing them to develop that perfect soft center and slightly crisp edge. Line your baking sheets with parchment paper or a Silpat baking mat. This prevents the cookies from sticking and makes for easy cleanup. If you don’t have these, a lightly greased baking sheet will suffice, but parchment is recommended for even baking and easy release.
You’ll also need a shallow plate for coating the cookies in sugar. Pour the remaining 1/4 cup of granulated sugar into this plate. This sugar coating will provide a delightful sparkle and a subtle crunch to the exterior of the cookies, creating a lovely contrast with their soft interior. Having everything prepared and ready before you start shaping the cookies will ensure a smooth and efficient baking process, leading to consistently delicious results.
Step 6: Shaping, Sugaring, and Baking the Cookies
Once the cookie dough has achieved its necessary chill, it’s time to bring these delightful creations to life. Begin by taking out the chilled dough from the refrigerator. Using a cookie scoop that holds about one heaping tablespoon of dough, portion out individual cookies. Roll each portion into a neat ball between your palms, ensuring a uniform size for even baking.
Next, take each dough ball and gently roll it in the granulated sugar you prepared in the shallow plate. Ensure each cookie is evenly coated with sugar; this creates that beautiful, sparkling crust and adds a pleasing textural contrast. Place the sugar-coated dough balls onto your prepared baking sheets, leaving adequate space between them. A standard baking sheet can typically accommodate about 6 cookies, as they will spread slightly during baking. This spacing is crucial to prevent them from merging into one large cookie mass.
As you shape your cookies, keep the remaining dough chilled in the refrigerator. If you have two baking sheets, you can start on the next batch while the first one bakes, but always return the dough to the cold. This prevents it from warming up and spreading too much. Bake the cookies in the preheated 325°F oven for approximately 15 minutes. You’ll know they’re ready when the edges are set, and the centers are just starting to show cracks, indicating they’re perfectly soft on the inside.
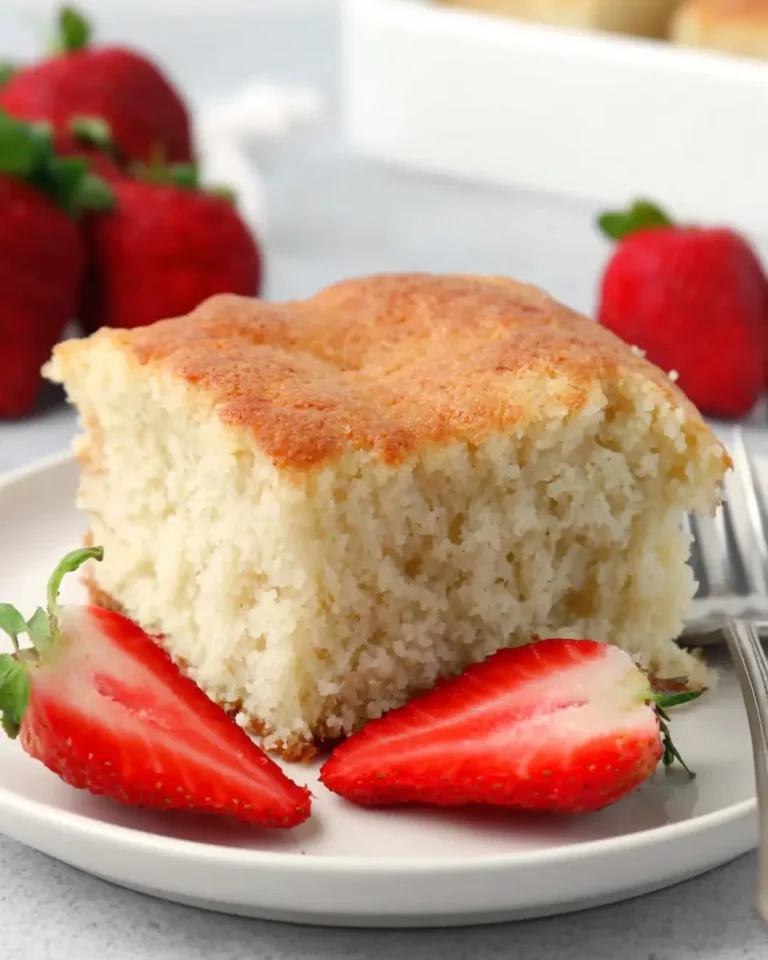
After baking, resist the urge to move the cookies immediately. Let them cool on the hot baking sheet for about 10 minutes. This resting period allows them to firm up just enough to be moved without crumbling. Finally, carefully transfer the cookies to a wire rack to finish cooling completely for another 20 minutes. This final cooling step ensures they achieve their ideal texture, ready to be savored.
Pro Tips for Blueberry Cookies
- Don’t Overmix the Dough: Overmixing is the enemy of tender cookies. Mix the dry ingredients into the wet until just combined. Stop as soon as you don’t see any dry flour streaks remaining to maintain that desirable soft and chewy texture.
- Chill Time is Crucial: That 3-hour chill in the refrigerator is non-negotiable. It solidifies the fats, preventing excessive spreading and ensuring your cookies bake up thick and chewy, just as intended. Plan ahead for this essential step.
- Watch Baking Time Closely: Cookies can go from perfectly baked to overdone very quickly. Pull them out when the edges look set and the centers still appear slightly soft. They will continue to cook on the baking sheet, achieving a perfect balance.
- Let Them Rest on the Sheet: Allowing the cookies to cool on the baking sheet for 10 minutes after removal from the oven is essential. This critical step prevents them from breaking apart when you attempt to move them, ensuring they remain intact and beautiful.
- Embrace Leftover Sauce: If you have any leftover blueberry sauce, don’t let it go to waste! It’s fantastic drizzled over pancakes, waffles, yogurt, or even ice cream. It’s a delicious bonus that extends the blueberry goodness.
Serving Suggestions for Blueberry Cookies
Decoration
For an extra touch of elegance and flavor, consider a simple yet effective decoration. A light dusting of powdered sugar over the cooled cookies can create a delicate, snowy effect that complements their blue hue beautifully. Alternatively, a very thin drizzle of white chocolate glaze, made by melting white chocolate chips with a tiny amount of coconut oil or milk, can add a touch of decadence and visual appeal.
Side Dishes
These blueberry cookies are sensational served alongside a refreshing glass of cold milk, a perfect pairing that evokes childhood nostalgia. For a more sophisticated adult treat, they are wonderful with a warm cup of coffee or a creamy latte, where the rich coffee notes enhance the sweetness of the cookie. They also pair exceptionally well with a light herbal tea, such as chamomile or peppermint, offering a soothing contrast.
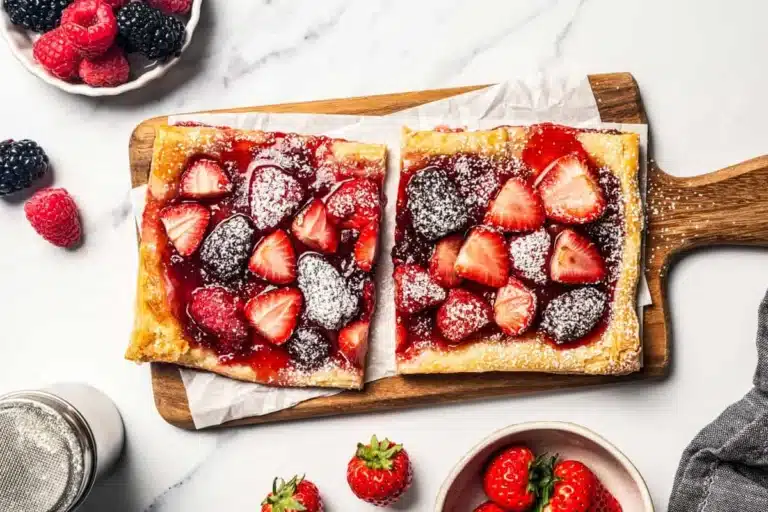
Creative Serving Ideas
Elevate your cookie experience by transforming them into delightful ice cream sandwiches. Simply take two cooled blueberry cookies and sandwich a scoop of creamy vanilla or blueberry ice cream between them. This creates a gourmet dessert that is utterly irresistible, especially on a warm day. You can also serve them as part of a beautifully arranged dessert platter, interspersed with other small cakes, tarts, or fresh fruit, creating a visually stunning and delicious centerpiece for any gathering.
Preparation & Storage
Storing Leftovers
To maintain the delightful soft and chewy texture of these blueberry cookies, proper storage is key. Once completely cooled, store them in an airtight container at room temperature. This prevents them from drying out or absorbing unwanted moisture from the air. They are best enjoyed within 3 to 4 days, ensuring you savor them at their peak freshness.
Freezing
Should you find yourself with an abundance of these delectable cookies, freezing is an excellent option to preserve them for future enjoyment. Arrange the cooled cookies in a single layer on a baking sheet and place them in the freezer until solid, which typically takes about an hour. Once frozen, transfer them to a freezer-safe bag or airtight container, separating layers with parchment paper to prevent sticking. Properly stored, they can remain frozen for up to 1 month.
Reheating
When you’re ready to enjoy your frozen blueberry cookies, simply allow them to thaw at room temperature. This process usually takes about 30-60 minutes, depending on the ambient temperature. For a slight refresh and to bring back a hint of warmth and soft texture, you can briefly reheat them in a low oven (around 250°F or 120°C) for just a few minutes until they are slightly warmed through. Be careful not to overheat, as this can lead to dryness.
Frequently Asked Questions
-
Can I use frozen blueberries instead of fresh ones for the sauce?
Yes, you absolutely can use frozen blueberries. If using frozen berries, you have two options: either thaw them completely before starting the sauce, ensuring you drain off any excess liquid, or cook them directly from frozen. If cooking from frozen, you will need to simmer the sauce for a slightly longer period to allow the excess moisture to evaporate and for the berries to break down adequately. Keep an eye on the consistency to ensure it thickens properly, similar to when using fresh berries.
-
What is the purpose of cornstarch in this recipe, and can I omit it?
Cornstarch plays a crucial role in achieving the signature texture of these blueberry cookies. It acts as a tenderizer, contributing significantly to their soft and chewy consistency. Furthermore, cornstarch helps to absorb moisture and bind ingredients, which also aids in preventing the cookies from spreading too thinly during baking, ensuring they maintain a desirable thickness. While you might still get a decent cookie without it, omitting cornstarch will likely result in a different texture – possibly less chewy and more prone to spreading, so it’s highly recommended to include it for the best results.
-
Why do my cookies spread too much, and how can I prevent this in the future?
Excessive spreading in cookies is a common issue, and it often stems from a few key factors. Firstly, ensure your butter was at the correct room temperature – too soft and melted butter will cause major spreading. Secondly, chilling the dough for the full 3 hours is paramount; this solidifies the fats, which controls spread. If your dough is still spreading too much, make sure you’re not over-creaming the butter and sugar, as this can incorporate too much air. Baking at the correct temperature (325°F/160°C) is also important; an oven that’s too hot can cause the cookies to spread before they set.