Vegan Black Bean Brownies: 7 Secrets for Ultimate Decadence
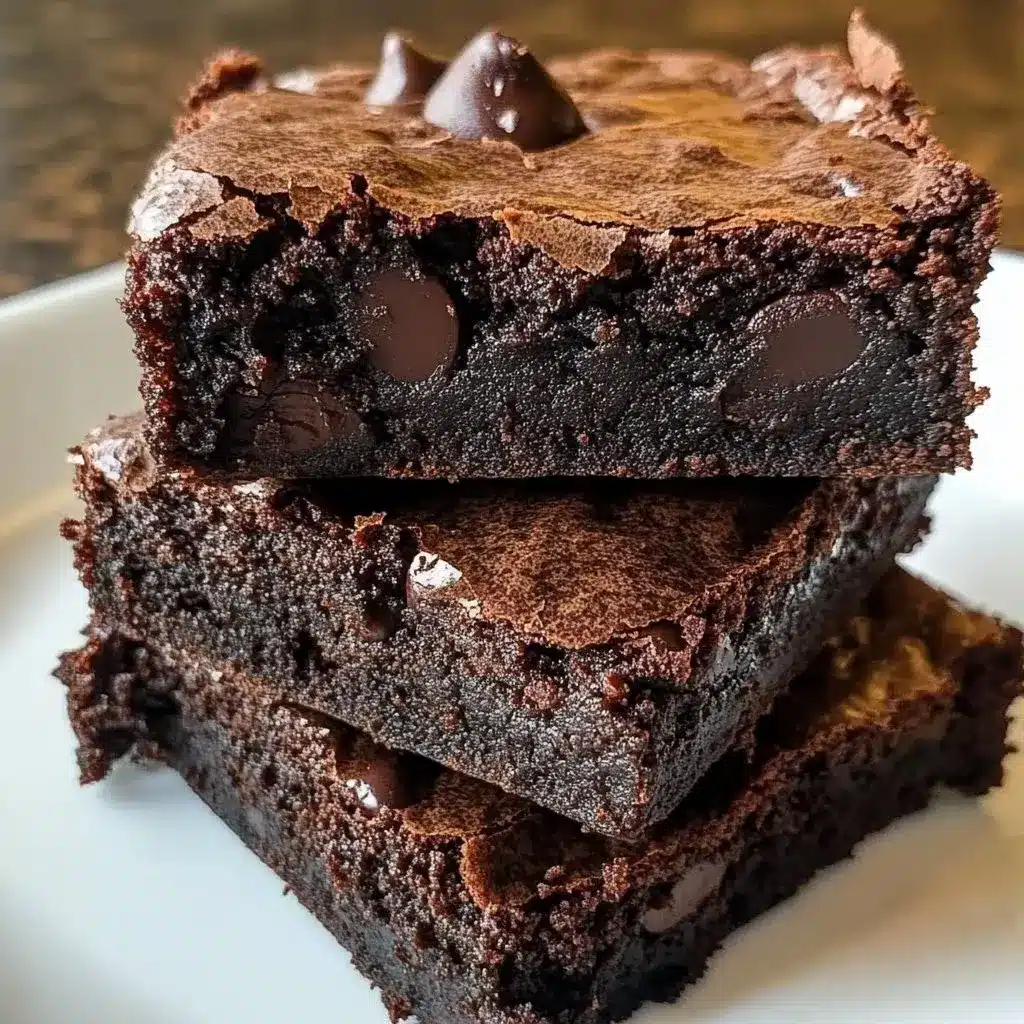
Are you ready to indulge in a dessert that’s not only delicious but also packed with wholesome ingredients? If so, let’s dive into the world of Vegan Black Bean Brownies: 7 Secrets for Ultimate Decadence. Imagine sinking your teeth into a fudgy, rich brownie that surprisingly contains black beans, offering a unique twist on a classic favorite.
In a world where dessert often means guilt, this recipe flips the script entirely, proving that rich indulgence can also be incredibly nourishing. Black beans lend unparalleled moisture and a decadent richness, making these brownies remarkably fudgy without relying on any eggs or dairy whatsoever. You truly can enjoy a profoundly satisfying dessert experience without compromise, a testament to innovative baking.
Why You Will Love This Recipe
- Incredible Fudginess: These brownies achieve an exceptionally moist and fudgy texture thanks to the secret ingredient: black beans, which create a dense, satisfying bite.
- Surprisingly Healthy: Packed with fiber and protein from the black beans, this recipe offers a nutritious alternative to traditional brownies without sacrificing flavor.
- Quick and Easy Preparation: Requiring minimal effort and a simple food processor, these brownies come together swiftly, making them perfect for last-minute cravings.
- Dietary Friendly: Naturally vegan and easily made gluten-free, these brownies are a fantastic option for accommodating various dietary needs and preferences.
- Rich Chocolate Flavor: Despite the unconventional ingredient, the deep, chocolatey taste is undeniable and will satisfy even the most discerning sweet tooth.
Ingredients You Need
The beauty of these Vegan Black Bean Brownies lies in their carefully selected ingredients, which work in harmony to create a truly remarkable dessert. Using high-quality components, such as rich cocoa powder and smooth peanut butter, will elevate the final flavor profile significantly. Each element plays a crucial role in achieving that perfect balance of sweetness, richness, and that signature fudgy texture that makes these brownies so irresistible and a delightful addition to your dessert repertoire.
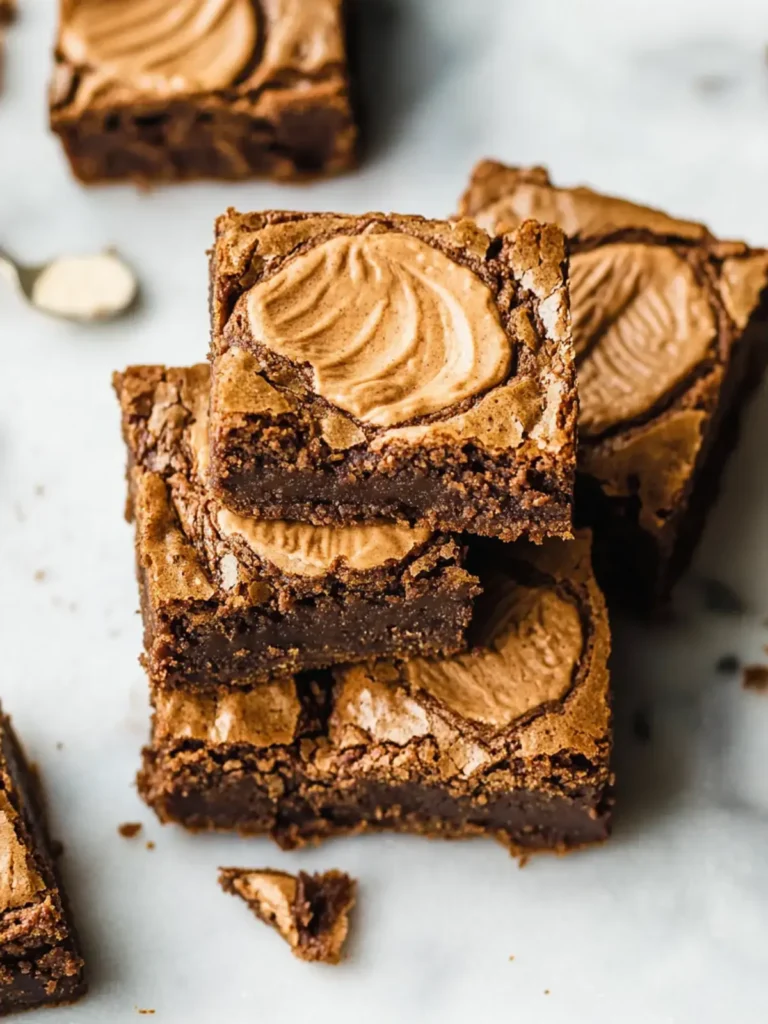
Vegan Black Bean Brownies: 7 Secrets for Ultimate Decadence

Indulge in delicious, fudgy brownies made with black beans, offering a healthier and guilt-free dessert option. This recipe is incredibly easy to make and packed with nutritious ingredients.
- 1 can black beans, rinsed and drained
- 1/2 cup maple syrup
- 1/4 cup cocoa powder
- 1/4 cup peanut butter
- 1 tsp vanilla extract
- 1/2 tsp baking powder
- 1/4 tsp salt
- 1/2 cup dairy-free chocolate chips
- 1Gather all your ingredients. Make sure the black beans are rinsed and drained well. Premeasure everything.
- 2In a food processor, blend the rinsed black beans until smooth.
- 3Add the maple syrup, cocoa powder, peanut butter, vanilla extract, baking powder, and salt to the food processor, and blend until well combined.
- 4Stir in the dairy-free chocolate chips.
- 5Grease an 8x8 inch baking pan or line it with parchment paper.
- 6Pour the brownie batter into the prepared baking pan and spread evenly.
- 7Bake in a preheated oven at 350°F (175°C) for 25-30 minutes.
- 8Cool in the pan for 15-20 minutes before slicing into squares.
Keywords: Black Bean Brownies, Gluten-Free Brownies, Healthy Dessert, Nutritious Treat, vegan brownies
- black beans, rinsed and drained: providing the moist, fudgy base for the brownies.
- maple syrup: adding a natural sweetness and liquid component to the batter.
- cocoa powder: essential for that deep, rich chocolate flavor that defines a great brownie.
- peanut butter: contributing creaminess, a hint of nutty flavor, and extra richness.
- vanilla extract: enhancing all the other flavors and adding a warm aromatic note.
- baking powder: acting as a leavening agent to give the brownies a slight lift.
- salt: balancing the sweetness and intensifying the chocolate and other flavors.
- dairy-free chocolate chips: for pockets of melted chocolate goodness throughout the brownies.
Quantities for each ingredient are readily available within the detailed recipe card, ensuring perfect proportions for optimal results.
Variations
To truly personalize your Vegan Black Bean Brownies, consider infusing them with a hint of refreshing mint extract. Just a few drops added to the batter will transform these rich chocolate treats into a delightful mint-chocolate sensation, perfect for those who love a cooling aftertaste.
For those who crave a bit of heat, explore the world of spicy Mexican brownies. A pinch of cinnamon and a whisper of chili powder, or cayenne pepper, can add a warm, subtle kick that beautifully complements the deep chocolate. This variation offers an unexpected yet incredibly pleasing flavor complexity.
Embrace a tropical twist by incorporating shredded coconut into the batter. This not only adds a delightful chewiness but also imparts a subtle, sweet coconut flavor. These coconut bliss brownies offer a unique texture and a taste of paradise with every bite, making them an excellent choice for a summery treat.
Another exciting variation involves incorporating ripe mashed banana into the mix. This natural sweetener adds extra moisture and a delicate banana flavor, creating a wonderful fusion with the chocolate. These nutty banana brownies are incredibly moist and satisfying, perfect for breakfast or a wholesome snack, reminiscent of delicious pancakes in brownie form.
If you’re aiming for a nut-free version, simply substitute the peanut butter with sunflower seed butter. This ensures that even those with nut allergies can enjoy these decadent treats safely. This simple swap maintains the creaminess and richness without any compromise on flavor or texture.
How to Prepare vegan black bean brownies
Step 1: Gathering and Preparing Your Ingredients
The journey to creating these extraordinary vegan black bean brownies begins with a thorough gathering of all your components. Ensure that the black beans are exceptionally well-rinsed and thoroughly drained; this step is fundamental as any excess moisture can inadvertently affect the final texture of your brownies, leading to a less desirable outcome. Precision in measurement is also key, so take the time to pre-measure everything accurately.
Having all your ingredients ready and measured before you start blending will streamline the entire process considerably. This careful preparation not only saves time but also reduces the likelihood of errors, allowing you to focus on the technique and achieve the best possible results. It’s akin to a chef meticulously organizing their mise en place before embarking on a culinary masterpiece.
Consider this the foundational step, where setting the stage correctly ensures a smooth and successful baking experience from start to finish. This meticulous approach to ingredient preparation is a hallmark of quality baking and directly contributes to the deliciousness of the finished product.
Step 2: Creating the Smooth Black Bean Base
With your ingredients prepped, the next critical step involves transferring the rinsed and drained black beans into a food processor. Begin blending the beans until they achieve an exceptionally smooth consistency. This process may take approximately 1 to 2 minutes, and it’s important to ensure that there are absolutely no discernible lumps remaining.
The texture of this bean base is paramount; the smoother it is, the more seamlessly it will integrate into the brownie batter, resulting in an ultra-fudgy and luxurious final product. Any grittiness or lumps will translate directly into the texture of the brownies, detracting from their intended decadent quality. Thorough blending is the secret to achieving that perfect, melt-in-your-mouth sensation.
Think of this stage as creating the canvas for your chocolate masterpiece. A smooth, uniform base ensures that the flavor and texture of the beans are completely masked, allowing the rich chocolate notes to shine through, creating a truly surprising and delightful dessert.
Step 3: Combining Wet Ingredients and Flavor Enhancers
Once you have a perfectly smooth black bean puree, it’s time to introduce the rest of the wet ingredients and flavor enhancers into the food processor. Add the maple syrup, which provides natural sweetness, alongside the rich cocoa powder, responsible for the deep chocolate flavor. Also, incorporate the creamy peanut butter, the aromatic vanilla extract, the baking powder for lift, and a pinch of salt to balance the sweetness and intensify the overall taste experience.
Continue blending until all these components are thoroughly combined and integrated into a uniform, luscious batter. You are looking for a consistency that is smooth, creamy, and homogenous, with no streaks of individual ingredients visible. This amalgamation is where the magic truly begins to happen, transforming the humble bean puree into the foundation of a decadent dessert.
The goal here is to create a batter that is not only visually appealing in its rich chocolate hue but also promises a symphony of flavors. This step is crucial for ensuring that each bite of your finished brownie will be an explosion of chocolatey goodness, balanced perfectly with sweetness and subtle nutty undertones.
Step 4: Incorporating the Chocolate Chips
With the main batter perfectly blended and uniformly mixed, the next step is to introduce the delightful dairy-free chocolate chips. Gently stir these into the batter. This is your opportunity to add those wonderful pockets of melted chocolate that make brownies so irresistible. You can choose to pulse them briefly in the food processor, or for more control and distinct chips, folding them in by hand with a spatula is often preferred.
The act of stirring in the chocolate chips not only enhances the visual appeal of the batter but also promises bursts of molten chocolate with every single bite. Ensure they are distributed as evenly as possible throughout the mixture, so no brownie square is left without this essential element of chocolatey joy. This is where the brownies truly start to feel like a classic indulgence.
This step is particularly satisfying as it signals that your batter is nearing completion. The sight of the chocolate chips dispersed throughout the rich, dark batter is a visual promise of the delicious treat to come. It’s a simple addition that significantly elevates the overall chocolate experience, making these brownies even more decadent.
Step 5: Preparing the Baking Pan for Success
Before pouring your glorious brownie batter, meticulous preparation of the baking pan is absolutely essential to guarantee easy removal and prevent any sticking. Select an 8×8 inch baking pan, which is the ideal size for this recipe to ensure the brownies bake to the perfect thickness and consistency. You have two excellent options for preparing the pan: either grease it thoroughly with your preferred cooking oil, ensuring every surface is coated, or line it meticulously with parchment paper.
Lining with parchment paper is often the preferred method as it creates a natural sling, allowing you to lift the entire block of baked brownies out of the pan in one piece. This makes cutting into perfect squares incredibly easy and minimizes cleanup. If you choose to grease the pan, ensure it is done generously, perhaps with a light spray of non-stick cooking spray or a swipe of coconut oil.
This seemingly simple step is a cornerstone of successful brownie baking. Skipping it or being careless can lead to frustrating moments where your hard work sticks stubbornly to the pan. Proper pan preparation ensures that your beautiful, fudgy brownies emerge intact and ready to be sliced and enjoyed, maintaining their aesthetic appeal and structural integrity.
Step 6: Evenly Spreading the Batter
Once your baking pan is perfectly prepared, carefully pour the rich, chocolatey brownie batter into it. Use a spatula or a flat-edged spoon to gently spread the batter evenly across the entire surface of the pan. It’s important to ensure that the batter reaches into all the corners, creating a uniform layer. This even distribution is crucial for ensuring that the brownies bake consistently, from the center to the edges.
Take your time with this step; gently coaxing the batter into every nook and cranny will result in brownies that are all the same thickness. This consistency in thickness is what allows for even baking and a uniform fudgy texture throughout. Smooth the top as much as possible to create a visually appealing surface once baked.
The visual appeal of the batter spread evenly in the pan is a good indicator of the delightful outcome you can expect. It signifies that each square will have the perfect ratio of chewiness and fudginess, promising a truly satisfying dessert experience that lives up to the “ultimate decadence” in the recipe’s name. This smooth, even surface will bake into a beautiful top layer.
Step 7: Baking the Brownies to Perfection
Preheat your oven to 350°F (175°C) before you even begin preparing the pan and batter. This ensures that when the batter is ready, the oven is at the optimal temperature for baking. Carefully place the pan with the evenly spread batter into the preheated oven.
Bake for approximately 25 to 30 minutes. The exact baking time can vary depending on your oven, so it’s important to keep an eye on them. You’ll know the brownies are done when the edges begin to subtly pull away from the sides of the pan, and a toothpick inserted into the center comes out mostly clean, perhaps with a few moist crumbs attached, but no wet batter.
This testing method is crucial for achieving that perfect fudgy texture. Overbaking will result in dry brownies, while underbaking might leave them too gooey. The goal is a moist, dense center that holds together beautifully when sliced, indicating they are perfectly baked. This is a critical stage for achieving the signature texture.
Step 8: Allowing the Brownies to Cool
Once the brownies have reached that perfect stage of doneness, carefully remove the pan from the oven. It is absolutely vital to resist the temptation to cut into them immediately. Allow the brownies to cool in the pan for at least 15 to 20 minutes. This cooling period is not just about preventing burns; it is a critical step for the brownies to firm up properly.
During this cooling phase, the structure of the brownies solidifies. The fudgy interior continues to set, and the edges become more stable. If you attempt to slice them while they are still too warm and soft, they are much more likely to crumble and lose their shape, diminishing the beautiful presentation and the satisfying texture you’ve worked so hard to achieve.
Patience during this cooling stage is a virtue that will be richly rewarded. The transformation from a molten-hot pan of baked goods to perfectly sliceable squares is a testament to the importance of this seemingly passive step. It ensures that your delicious creation will hold its form, making for cleaner cuts and a more enjoyable eating experience.
Step 9: Slicing Into Perfect Squares
After the brownies have undergone their essential cooling period and have firmed up sufficiently, it’s time to transform them into individual portions. Use a sharp knife to carefully cut the brownies into your desired square sizes. A sharp knife is paramount here, as it will create clean, precise edges and prevent the brownies from tearing or smudging.
For the cleanest cuts, consider wiping your knife clean with a damp cloth between each slice. This simple practice prevents chocolatey residue from building up on the blade, ensuring each cut is as sharp and defined as the last. This attention to detail will result in beautifully presented brownies that look as good as they taste.
Observe the interior of the brownie as you make your cuts; you should see that delightful fudgy texture that is the hallmark of this recipe. The smooth texture, devoid of bean lumps, is a testament to your successful blending and baking. Admire your handiwork – you’ve created a batch of incredibly delicious and surprisingly healthy brownies!
Step 10: The Moment of Enjoyment
Finally, the moment you’ve been eagerly anticipating: it’s time to enjoy your masterpiece! Whether you choose to share these delectable vegan black bean brownies with friends and family, or savor them all by yourself, the experience is bound to be one of pure bliss. Each bite offers a rich, chocolatey flavor with a perfectly fudgy texture that is both satisfying and guilt-free.
These brownies are a testament to the fact that healthy ingredients can yield incredibly delicious results. They are perfect for any occasion, from a simple afternoon treat to a more festive gathering, and are sure to impress anyone who tries them, especially when they discover the secret ingredient. Pair them with a glass of plant-based milk or a cup of coffee for the ultimate indulgence.
Relish the delicious outcome of your baking efforts. You’ve successfully created a dessert that is not only incredibly tasty but also packed with wholesome goodness. Enjoy every single fudgy, chocolatey moment – you’ve earned it!
Pro Tips for vegan black bean brownies
Don’t Skip the Draining and Rinsing: It’s absolutely essential to rinse and thoroughly drain the black beans. Excess liquid can make your brownie batter too wet, leading to a gummy texture rather than a fudgy one. Ensure they are as dry as possible before adding them to the food processor.
Blend Until Ultra-Smooth: The key to masking the bean flavor and achieving that signature fudgy texture is to blend the beans until they are completely smooth. Scrape down the sides of the food processor multiple times to ensure no lumps remain. A super-smooth base is non-negotiable for success.
Quality Cocoa is King: For the most intense and satisfying chocolate flavor, use a high-quality unsweetened cocoa powder. Dutch-processed cocoa will yield a darker color and a smoother, richer taste compared to natural cocoa powder. Invest in good cocoa for the best results.
Mindful Baking Time: Overbaking is the enemy of fudgy brownies. Test for doneness with a toothpick; it should come out with moist crumbs, not completely clean. Remember that the brownies will continue to cook slightly as they cool in the pan, so err on the side of slightly underbaked rather than overbaked.
Cooling is Crucial: Resist the urge to slice into the brownies immediately after they come out of the oven. Allowing them to cool completely in the pan is vital for them to set properly. This cooling process helps achieve that perfect dense, fudgy texture and makes cutting them into clean squares much easier.
Serving Suggestions for vegan black bean brownies
Decoration
Elevate your vegan black bean brownies with simple yet impactful decorations. A dusting of powdered sugar can add a touch of elegance, especially when paired with fresh berries. For a more decadent look, consider a drizzle of melted dairy-free chocolate or a dollop of whipped coconut cream.
Side Dishes
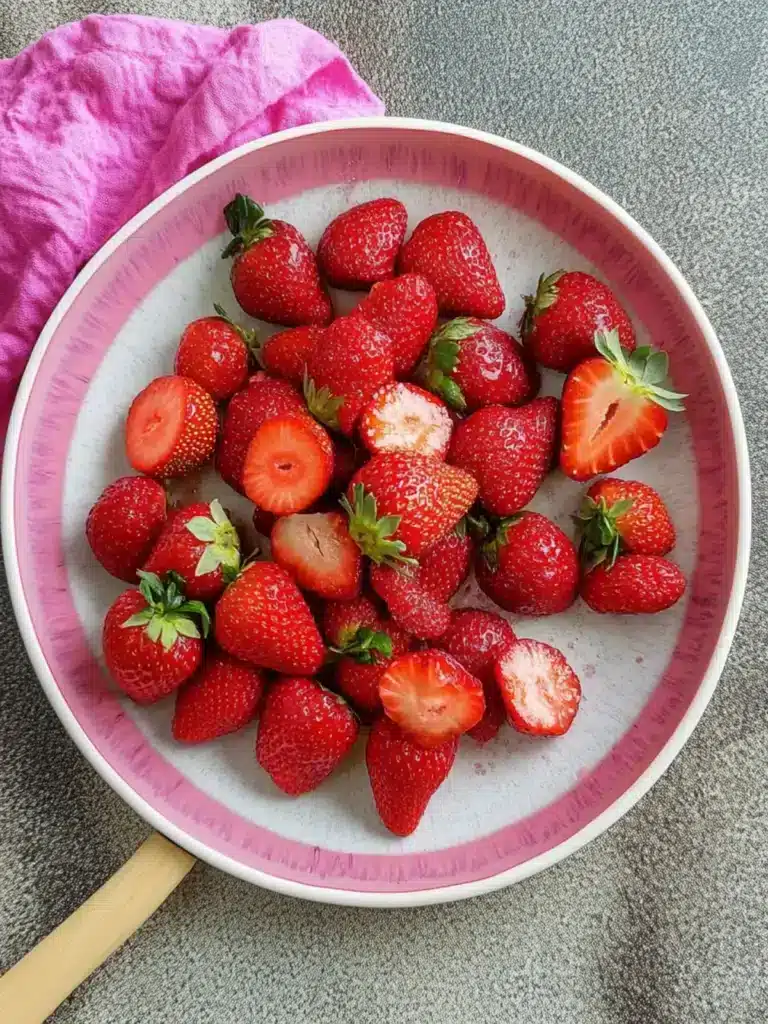
These fudgy brownies are wonderful on their own, but they also pair beautifully with other delightful treats. A scoop of vegan vanilla or chocolate ice cream is a classic accompaniment that enhances the richness. Fresh raspberries or strawberries offer a bright, tart contrast to the deep chocolate flavor.
Creative Serving Ideas
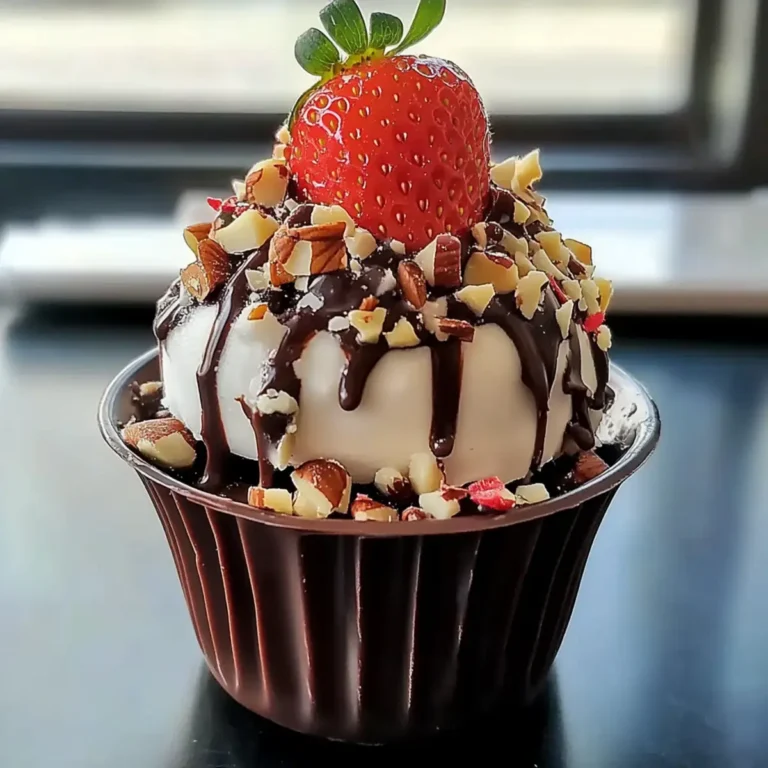
Consider serving these brownies warm, perhaps with a sprinkle of sea salt on top to intensify the chocolate flavor, much like gourmet chocolate bars. For a more whimsical presentation, cut them into small, bite-sized pieces and serve them as part of a dessert platter alongside other vegan cookies or fruits. They also make a fantastic base for an ice cream sundae bar, where guests can add their own favorite toppings.
Preparation & Storage
Storing Leftovers
To maintain the optimal freshness and texture of your vegan black bean brownies, store them in an airtight container at room temperature. They will remain delicious for up to three days. If your environment is particularly warm, or you wish to extend their shelf life slightly, refrigeration is an option, keeping them good for up to a week.
Freezing
These brownies freeze exceptionally well, making them perfect for making ahead or for stocking up on your favorite treat. Wrap each brownie square tightly in plastic wrap or aluminum foil to prevent freezer burn. Once individually wrapped, you can store them in a freezer-safe bag or container for up to three months, ensuring they retain their delightful quality.
Reheating
If you’ve stored your brownies in the refrigerator or freezer, a quick reheat can bring them back to their warm, gooey best. Microwave a brownie for about 10-15 seconds, or until it is just warmed through and the chocolate chips (if added) are starting to melt. Alternatively, you can gently warm them in a low oven for a few minutes.
Frequently Asked Questions
-
Can I prepare these vegan black bean brownies ahead of time, and how should I store them for optimal freshness?
Absolutely, these brownies are an excellent candidate for meal preparation. You can bake them a day or two in advance and store them in an airtight container at room temperature for up to three days. For longer storage, they can be kept in the refrigerator for up to a week, or frozen for up to three months, ensuring you always have a delightful treat on hand.
-
What are the best substitutions if I don’t have certain ingredients, particularly for dietary restrictions or flavor preferences?
If you’re seeking a lower sugar option, mashed ripe banana or unsweetened applesauce can effectively replace maple syrup, adding natural sweetness and moisture. For those with nut allergies, sunflower seed butter is a fantastic substitute for peanut butter, maintaining creaminess without the allergens. If gluten is a concern, ensure all your chosen ingredients, like cocoa powder and chocolate chips, are certified gluten-free.
-
Are these brownies truly suitable for children and family gatherings, and how can I ensure they appeal to a wide range of tastes?
Yes, these brownies are incredibly family-friendly and a huge hit with children, often surprising them with their deliciousness and the fact that they are made with beans! Their rich chocolate flavor is universally appealing, and the fudgy texture is highly satisfying. The versatility of this recipe also means you can easily adapt them to be gluten-free or nut-free, making them a safe and delicious option for diverse dietary needs at any family event or gathering.