How to Make Banana Chips
Embarking on the journey of creating your own snacks is a deeply rewarding endeavor, especially when the result is as delightful and wholesome as homemade baked banana chips. These golden crescents offer a satisfying crunch and a natural sweetness that makes them an ideal treat for any time of day.
Forget the store-bought alternatives laden with excessive sugar or unhealthy oils. This recipe is designed to bring you the pure, unadulterated joy of fruit, transformed into a crispy delight using the simple magic of your oven. Get ready to discover a new favorite healthy indulgence that you can feel good about sharing with your loved ones.
Why You Will Love This Recipe
- Effortless Preparation: With just a few basic ingredients and simple steps, you can transform ripe bananas into delicious, crunchy chips in no time. This recipe requires minimal active cooking, allowing your oven to do most of the work.
- Guilt-Free Snacking: These baked banana chips are naturally sweet and free from added sugars, unhealthy fats, and artificial preservatives. They are a fantastic alternative to processed snacks, perfect for health-conscious individuals and families.
- Versatile & Adaptable: While the base recipe is wonderfully simple, it also serves as a perfect canvas for a variety of flavors. You can easily customize them with spices like cinnamon or a touch of salt for a sweet-and-salty contrast.
- Perfect for Portability: Once cooled and stored properly, these banana chips are incredibly portable. They are an excellent addition to packed lunches, travel snacks, or a go-to option for satisfying cravings on the move.
- Economical Choice: Making your own banana chips at home is significantly more cost-effective than purchasing pre-packaged versions. It’s a smart way to enjoy a healthy snack while saving money.
Ingredients You Need
The beauty of homemade baked banana chips lies in their simplicity, requiring only a handful of readily available ingredients. Using ripe yet firm bananas is key, as they provide the perfect balance of sweetness and texture for baking. Freshly squeezed lemon juice plays a crucial role, not just for a subtle tang, but more importantly, to prevent the banana slices from browning prematurely during the preparation and baking process, ensuring your chips maintain an appealing golden hue.
Baked Banana Chips
Deliciously sweet, guilt-free baked banana chips make a perfectly portable, light, and tasty snack to have on hand in case a craving strikes!
- 10 ripe but firm bananas, thinly sliced
- Freshly squeezed lemon juice (1 lemon is plenty)
- 1Preheat the oven to 200°F. Cover a sheet pan with foil and lightly grease it with cooking spray.
- 2Toss the banana slices in lemon juice. Arrange the bananas in a single layer on the prepared baking sheet.
- 3Bake for 1 hour; check to see if the tops are firm and starting to turn color. If so, flip the slices with a metal spatula and continue to bake for 1 hour longer or until desired crispness.
- 4Remove from the oven and transfer the banana chips to a wire rack to cool completely. The longer they cool, the crunchier they will get. Store in an airtight container.
Keywords: banana chips, baked, healthy snack, fruit chips, oven-baked
- ripe but firm bananas: choose bananas that are yellow and have a few brown spots, indicating ripeness and sweetness, but are still firm to the touch to hold their shape during slicing and baking.
- freshly squeezed lemon juice: this acidic component helps to preserve the color of the banana slices and adds a bright note that complements the natural sweetness.
Variations
The fundamental baked banana chip recipe is a masterpiece of simplicity, but its true charm lies in its incredible adaptability. Imagine transforming these humble chips into a delightful flavor adventure with just a few minor adjustments. This inherent versatility makes them an endlessly enjoyable snack, catering to a wide range of palates and preferences. They become more than just a snack; they evolve into a customizable treat.
For those seeking a sweeter indulgence, consider a delightful cinnamon-spiced variation. After tossing the banana slices in lemon juice, gently sprinkle them with a generous amount of ground cinnamon before arranging them on the baking sheet. The warmth of the cinnamon harmonizes beautifully with the banana’s sweetness, creating an aroma and taste reminiscent of freshly baked pastries. This simple addition elevates the chips into a dessert-like treat, perfect for satisfying a sweet craving.
If you prefer a more complex flavor profile, a touch of savory spice can be introduced. Think about a pinch of nutmeg or even a very light dusting of cardamom. For those who enjoy a hint of heat or a more robust flavor, a blend of chili powder and a touch of smoked paprika can create a surprisingly delicious sweet-and-spicy chip. This approach allows you to experiment with global spice profiles, turning your snack into a unique culinary exploration. The possibilities are truly endless when you begin to explore the world of spices.
Another exciting avenue is the addition of a subtle sweetness enhancer or a textural element. A light drizzle of honey or maple syrup, applied sparingly after the initial lemon juice toss, can add an extra layer of caramelized sweetness as the chips bake. Alternatively, for a fun twist, you could sprinkle them with a tiny bit of unsweetened shredded coconut before baking. This adds a delicate crunch and a tropical undertone, making them feel truly special and exotic. These small additions can dramatically change the character of the chips.
How to Prepare baked banana chips
Step 1: Preheating and Preparation of the Baking Sheet
The foundation of perfectly baked banana chips begins with the right oven temperature and a properly prepared baking surface. Preheat your oven to a gentle 200°F (95°C). This low and slow approach is crucial for drying out the banana slices gradually, transforming them into crispy chips without burning them. A lower temperature allows for dehydration rather than rapid cooking, which is essential for achieving that desirable crispness.
Next, select a sturdy baking sheet. To ensure easy removal of the chips and a breeze of a cleanup, line the baking sheet with aluminum foil or parchment paper. A light spritz of cooking spray over the lining provides an extra layer of non-stick protection, guaranteeing that your delicate banana chips won’t adhere to the surface. This simple step prevents frustration and makes the whole process much more enjoyable, from start to finish.
This meticulous preparation ensures that the heat is distributed evenly across the baking sheet, leading to uniformly baked chips. It’s these small details in the initial setup that pave the way for a successful batch of baked banana chips. Taking a moment to ensure your equipment is ready will save you time and effort later in the process.
Step 2: Coating the Banana Slices
Once your baking sheet is ready, it’s time to prepare the star ingredient: the bananas. Begin by peeling your ripe but firm bananas. The ideal banana for this recipe is one that is yellow with a few brown spots, indicating peak ripeness and sweetness, but still holds its shape well. Overly ripe or mushy bananas will be difficult to slice evenly and may result in soggy chips.
The next critical step is to lightly coat the banana slices in freshly squeezed lemon juice. You can do this by either gently tossing the slices in a bowl with the lemon juice or by brushing the juice onto each slice individually. The lemon juice serves a dual purpose: it prevents the bananas from oxidizing and turning brown, thus maintaining their attractive golden color, and it adds a very subtle, bright tang that balances the inherent sweetness of the fruit. Do not let the bananas soak; a quick coating is sufficient.
This step is vital for both the visual appeal and the texture of your finished chips. The lemon juice acts as a natural preservative, ensuring that your chips have a pleasing appearance throughout the baking process. It’s a simple yet highly effective technique that significantly contributes to the overall quality of the final product, making the chips look as good as they taste.
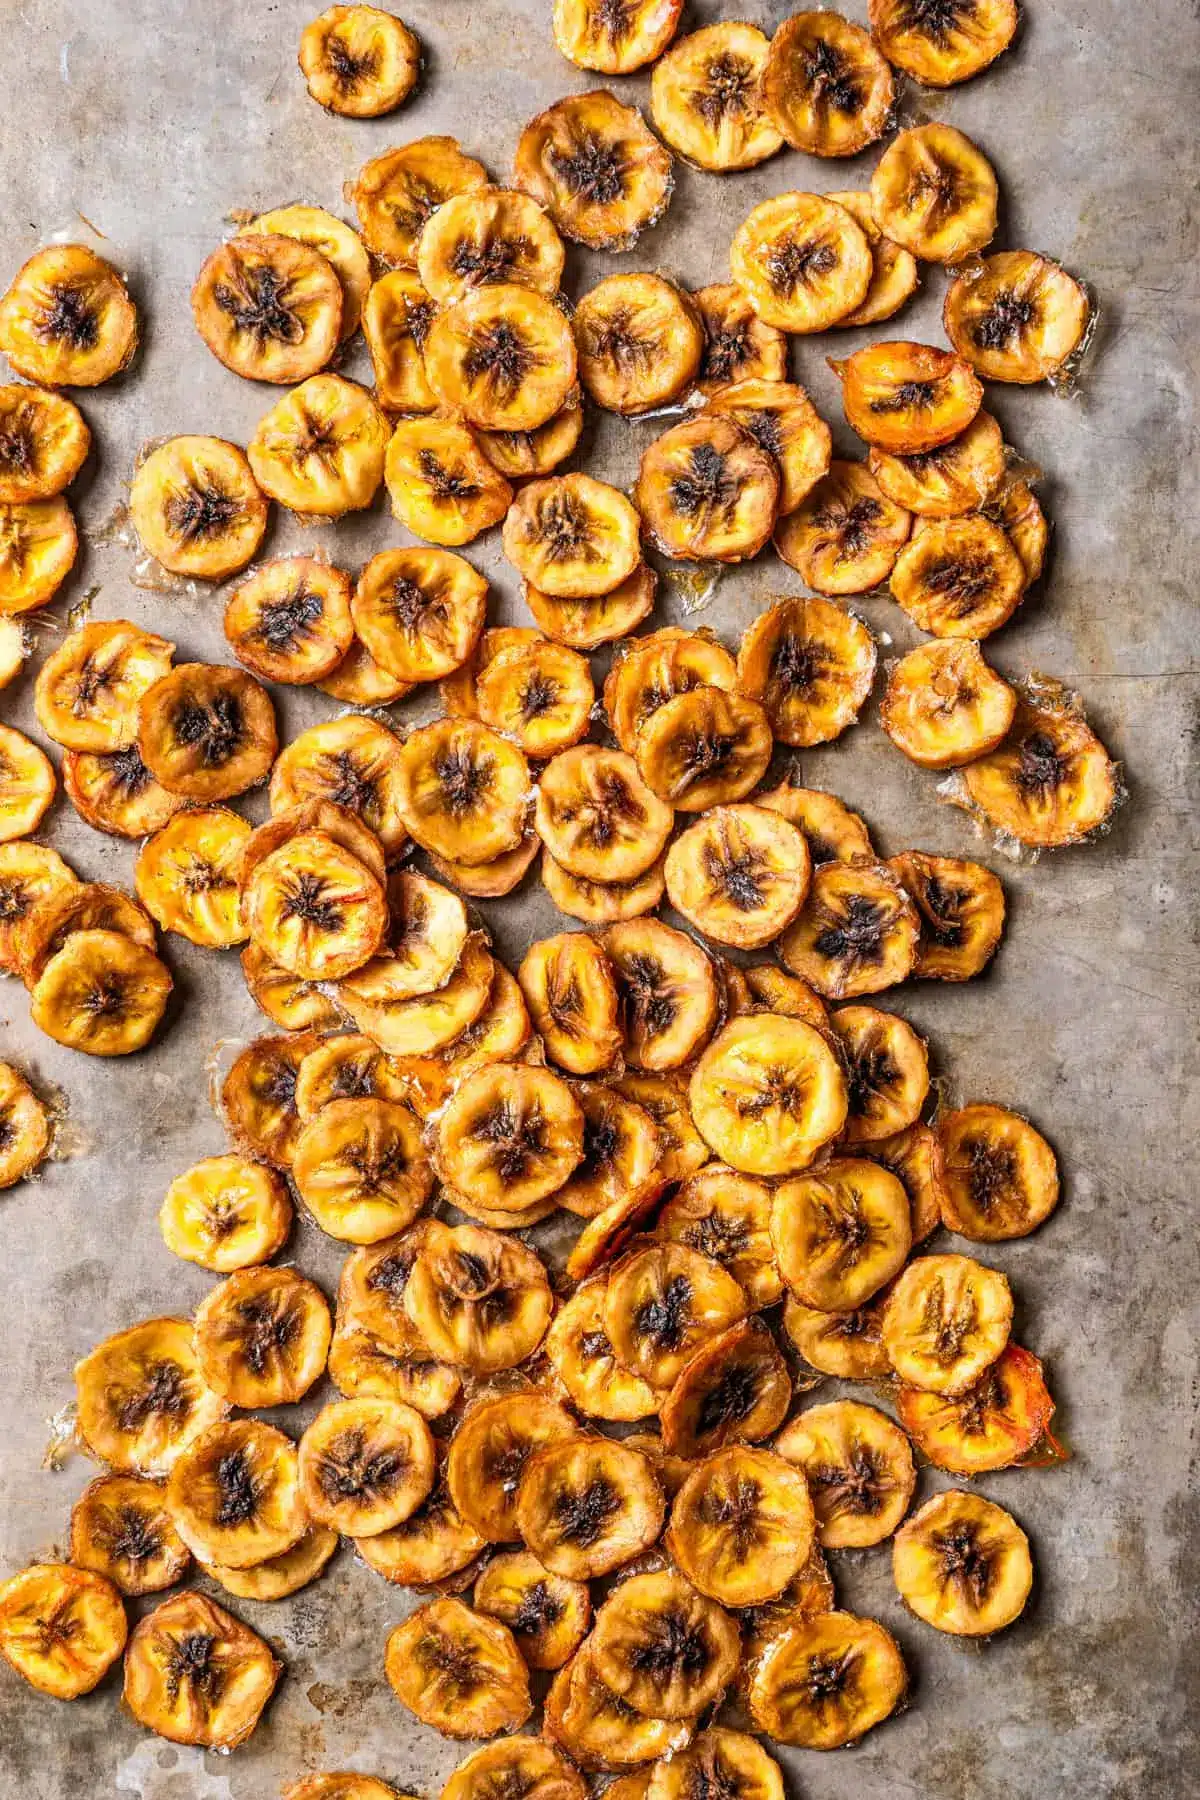
Step 3: Arranging the Slices on the Baking Sheet
With your banana slices coated and ready, the next crucial step is to arrange them meticulously on the prepared baking sheet. It is paramount that the slices are laid out in a single layer. Overlapping the banana slices will prevent them from drying out evenly, leading to some parts being crispy while others remain soft and chewy. Each slice needs direct exposure to the warm circulating air in the oven to achieve optimal crispness.
Ensure that there is a little space between each banana slice. This spacing allows the hot air to circulate freely around every piece, promoting even dehydration and browning. If your baking sheet is too small to accommodate all the slices in a single layer with adequate spacing, it is far better to use two baking sheets rather than overcrowding one. Patience in this arrangement stage directly translates to better texture in the final product, ensuring each chip is a delightful crunch.
Think of this as setting the stage for the baking process. A well-arranged baking sheet means the oven can do its job efficiently, treating each banana slice with the same gentle heat. This attention to detail in the arrangement phase is a hallmark of achieving truly superior baked banana chips. It is a simple yet impactful step that should not be overlooked.
Step 4: The Baking Process – First Hour
Now, carefully place the prepared baking sheet into your preheated oven. The initial baking phase at 200°F (95°C) is dedicated to gently drying out the moisture from the banana slices. This low temperature is key to preventing the sugars in the bananas from caramelizing too quickly and burning, allowing the chips to dehydrate slowly and evenly.
After approximately one hour, it’s time to check on your banana chips. You should observe that the tops of the slices are starting to firm up and may show a slight change in color, perhaps beginning to turn a light golden brown. This indicates that the dehydration process is well underway. Resist the temptation to remove them too early, as they need this extended time to develop their signature crispness.
This first hour is about patiently allowing the moisture to evaporate. The goal is not to brown them significantly at this stage, but rather to initiate the drying process. It’s a delicate balance of heat and time, ensuring the bananas begin their transformation into delicious, crunchy snacks. The visual cues at this stage are important indicators of progress, guiding you toward the next crucial step.
Step 5: Flipping and Continuing the Bake
Once the first hour of baking is complete and you’ve noted the firming of the banana tops, it’s time to flip each slice. Using a thin metal spatula is ideal for this task, as it allows you to carefully lift and turn each banana chip without breaking it. This step is vital for ensuring that both sides of the chips are exposed to the heat, promoting uniform crispness and preventing any one side from becoming too dry or brittle.
After flipping, return the baking sheet to the oven. The second phase of baking will continue for another hour, or potentially longer, depending on the thickness of your banana slices and your desired level of crispness. During this time, the chips will continue to dehydrate and will become noticeably firmer. It’s important to keep a watchful eye on them as they approach the end of this period, as oven temperatures can vary, and individual slices may reach desired crispness at slightly different times.
The goal during this second baking period is to achieve that satisfying crunch. You are looking for chips that are dry to the touch and have a firm texture. If they still feel slightly pliable or chewy, they likely need more time. However, be cautious not to overbake, as they can quickly turn from perfectly crisp to burnt. This stage requires your keen attention to detail to achieve the perfect result. The transformation from soft fruit to crispy chip is almost complete.
Step 6: Cooling and Achieving Ultimate Crispness
As soon as your baked banana chips have reached your desired level of crispness, carefully remove the baking sheet from the oven. The immediate transfer to a wire rack is a non-negotiable step in achieving the perfect texture. Leaving them on the hot baking sheet will cause them to continue cooking from residual heat, potentially leading to over-crispness or uneven cooling.
Place the banana chips in a single layer on the wire rack. This allows air to circulate freely around them, facilitating a thorough and even cooling process. As they cool, they will continue to dry out further and will become even crispier. The longer they cool completely, the more pronounced their crunchy texture will become. This cooling period is as important as the baking itself for developing the final desired crispness.
Resist the urge to taste them while they are still warm; their true crunch will only be apparent once they have reached room temperature. This patient cooling process is the final transformation, turning what were once soft banana slices into delightful, crunchy, guilt-free snacks that are ready to be enjoyed. The sound of them cooling on the rack is a testament to your successful baking.
Pro Tips for baked banana chips
Consistency is Key: For the most uniform baking results, strive to slice your bananas into even thicknesses. Using a mandoline slicer can be incredibly helpful for achieving consistent ¼-inch (about 0.6 cm) thick slices, ensuring all chips bake at the same rate and achieve the same level of crispness. This attention to uniformity is a hallmark of truly professional-looking homemade snacks.
Patience with the Oven: Ovens can be notoriously inconsistent, and banana thickness varies. Therefore, it’s crucial to check your chips periodically, especially during the latter half of baking. If some slices appear done before others, carefully remove them from the baking sheet with a spatula to prevent them from burning, leaving the rest to continue baking until they reach your desired crispness. This selective removal ensures no chip is overcooked.
The Power of the Cool Down: Do not underestimate the importance of the cooling phase. The banana chips will continue to crisp up significantly as they cool completely on a wire rack. If they seem a little softer than you’d like immediately after baking, give them more time to cool; often, the crispness will develop further. This waiting period is essential for achieving that perfect, satisfying crunch you’re after.
Scalability for Any Occasion: This recipe is remarkably scalable. If you find yourself hosting a gathering or simply have a large family with a penchant for healthy snacks, feel free to double or even triple the batch. Conversely, if you’re just looking for a small treat, halving the recipe is perfectly feasible. The baking time may need slight adjustments for larger quantities, but the core method remains the same.
Beyond the Basics: Flavor Exploration: While delicious on their own, these baked banana chips are a fantastic base for flavor experimentation. Consider adding a sprinkle of cinnamon, nutmeg, or even a pinch of sea salt before baking for a delightful sweet and savory contrast. For a spicier kick, a very light dusting of chili powder can be an unexpected but welcome addition. This encourages creativity and allows you to tailor the snack to your exact preferences.
Serving Suggestions for baked banana chips
Decoration
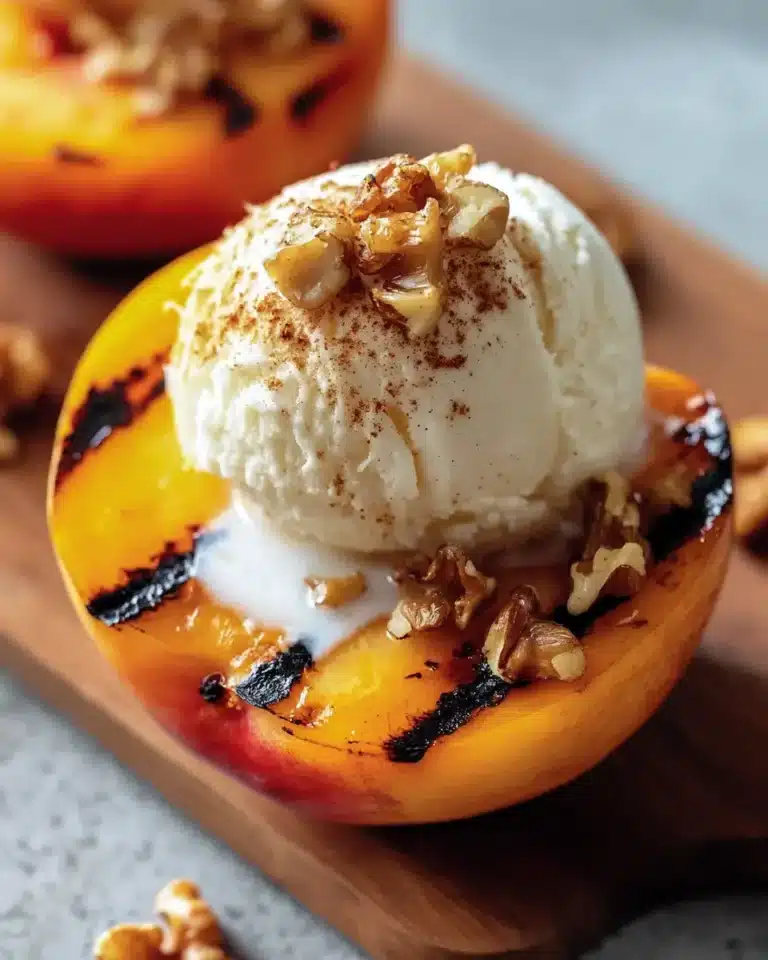
While baked banana chips are often enjoyed straight from the cooling rack, they can also add a charming decorative touch to various desserts. Imagine them delicately placed around the edge of a fruit tart, providing a unique textural contrast and a beautiful golden accent. They can also be crumbled and sprinkled over whipped cream or ice cream for an elegant finish, adding both visual appeal and a delightful crunch. Their natural, rustic look makes them a versatile decorative element.
Side Dishes
These delightful chips serve as an excellent accompaniment to a variety of dishes, especially in a breakfast or brunch setting. They can be a wonderful crunchy addition to a bowl of yogurt or acai bowls, providing a satisfying texture that complements softer ingredients. Consider them a healthier alternative to granola, offering a delightful crunch without the added sugars often found in commercial varieties. Their subtle sweetness also makes them a surprisingly good pairing with savory items, offering a unique sweet counterpoint.
Creative Serving Ideas
Think outside the traditional snack box when serving your homemade banana chips. They can be an inspired addition to trail mix, providing a fruity and crunchy element alongside nuts and seeds. For a more sophisticated presentation, arrange them on a platter with a selection of cheeses and fruits for a delightful appetizer. You could even incorporate them into a charcuterie board for an unexpected, delightful twist. Their versatility means they can elevate both casual get-togethers and more formal occasions with their unique texture and taste.
Consider using them as a topping for pancakes or crepes, adding an exciting textural dimension to your breakfast or brunch. They can also be finely crushed and used as a crispy coating for baked chicken tenders or fish, offering a subtly sweet and crunchy exterior. This innovative use transforms them from a simple snack into a culinary ingredient that adds a special touch to a variety of dishes. The possibilities for incorporating these chips into your cooking and baking are vast.
Another delightful idea is to pair them with dips. While seemingly unconventional, their crispness and mild sweetness can be a fantastic counterpoint to creamy or savory dips. Imagine a small bowl of your favorite hummus or a spicy black bean dip served alongside a pile of these banana chips for dipping. This unexpected combination offers a unique flavor experience that is sure to impress your guests and broaden their perception of what a “snack” can be. They are truly a chameleon in the world of culinary creations.
Preparation & Storage
Storing Leftovers
Once your perfectly baked banana chips have completely cooled, storing them properly is key to maintaining their crispness. The best way to keep them fresh and crunchy is to place them in an airtight container. This prevents moisture from the air from rehydrating the chips, which is their biggest enemy and can quickly turn them soft and chewy. Ensure the container is truly sealed to maximize their shelf life.
When stored in a suitable airtight container at room temperature, these homemade banana chips can retain their delightful crunch for up to three weeks. This long shelf life makes them an excellent snack to have on hand, reducing the temptation to reach for less healthy options when a craving strikes. The simplicity of storing them makes them an ideal grab-and-go snack for busy days or a ready treat for unexpected guests.
Avoid storing them in a place with high humidity or fluctuating temperatures, as this can compromise their texture. If you live in a particularly humid climate, you might consider adding a small food-safe desiccant pack to the container, though typically, a good airtight seal is sufficient. The goal is to create a barrier against ambient moisture, preserving the hard-earned crispness you achieved through baking.
Freezing
While banana chips are best enjoyed fresh and at room temperature to maintain their optimal crispness, freezing is an option for longer-term storage, though it may slightly alter their texture. If you choose to freeze them, it’s important to prepare them correctly to minimize any textural degradation. Ensure they are completely cooled and perfectly dry before attempting to freeze them.
To freeze, first, lay the cooled banana chips in a single layer on a baking sheet and freeze them until solid, a process that typically takes about an hour. This step, known as flash freezing, prevents the chips from clumping together into a solid mass once transferred to a storage bag. Once frozen solid, transfer them into a freezer-safe airtight container or a heavy-duty freezer bag, removing as much air as possible before sealing.
When you are ready to enjoy them after freezing, it is best to allow them to thaw completely at room temperature before consuming. While they may not be as uniformly crisp as freshly baked ones, they will still offer a pleasant crunch and retain their flavor. Freezing is a practical solution for preserving a large batch, especially if you anticipate not consuming them within their typical three-week shelf life at room temperature. It ensures you always have a healthy snack option available, even if it requires a little thawing time.
Reheating
If your baked banana chips have softened slightly due to humidity or prolonged storage, or if you’ve thawed them from frozen and they’ve lost some of their crispness, reheating them can revive their delightful crunch. The most effective method for reheating is to use a low oven temperature, similar to the original baking process, to gently dry them out again.
Preheat your oven to a very low temperature, around 200-225°F (95-107°C). Spread the chips in a single layer on a baking sheet, ensuring they are not overlapping. Place the baking sheet in the preheated oven for about 10-15 minutes, or until they feel firm and crisp again. Keep a close eye on them during this process, as they can quickly go from crisp to burnt due to their thinness and the concentrated sugars.
Alternatively, for a quicker revival of crispness, you can use a toaster oven on a low heat setting, or even briefly toast them in a dry skillet over low heat, stirring constantly. If using a skillet, be extremely vigilant as this method is very fast and can lead to burning if not monitored carefully. The aim is to gently evaporate any absorbed moisture, restoring that satisfying snap and crunch that makes these homemade treats so enjoyable. This simple reheating step can bring them back to their former glory.
Frequently Asked Questions
- Can I use different types of bananas for this recipe? While ripe but firm yellow bananas are ideal, you can experiment with slightly greener bananas if you prefer a less sweet and slightly firmer chip. However, overripe bananas, those that are very soft and mushy, are not recommended as they will be difficult to slice evenly and may not bake up to a desirable crispness. The sugar content in very ripe bananas can also lead to quicker burning. It’s always best to aim for that sweet spot of ripeness that allows for easy slicing and a good balance of sweetness and structure.
- Why are my banana chips not crispy? If your banana chips aren’t achieving the desired crispness, there are a few common reasons. Firstly, the slices might have been too thick; thinner slices dehydrate more effectively. Secondly, the oven temperature might have been too high, causing them to cook rather than dry out, or not high enough to facilitate proper dehydration. Another crucial factor is insufficient baking time; they may need an extra 15-30 minutes in the oven, especially if the humidity is high. Finally, ensuring they cool completely on a wire rack is vital, as they continue to crisp up as they cool.
- How can I make my banana chips sweeter without adding sugar? To enhance the natural sweetness of your banana chips without adding refined sugar, focus on using very ripe bananas, which have a higher natural sugar content. You can also lightly brush or drizzle them with a small amount of pure maple syrup or honey before baking. Be mindful that these natural liquid sweeteners can increase the browning and caramelization process, so keep a close watch to prevent burning. Another option is to sprinkle them with a pinch of cinnamon, which enhances the perception of sweetness.