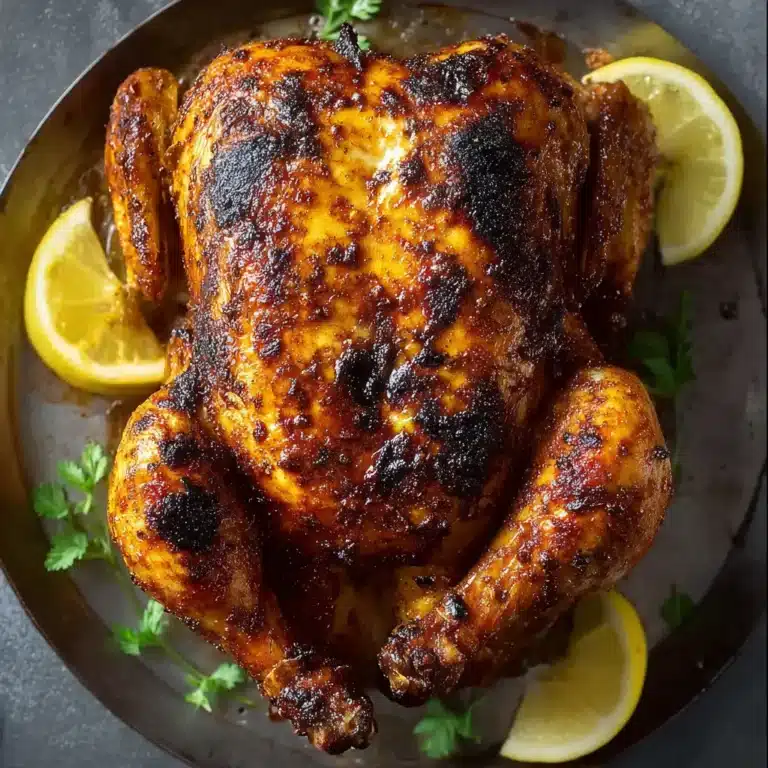
Seasoned Crispy Chicken Drumsticks
The allure of perfectly seasoned, crispy chicken drumsticks is undeniable. They represent a culinary comfort that transcends generations, offering a delightful combination of savory flavors and satisfying textures. Whether you’re hosting a lively game night, planning a casual family dinner, or simply craving a delicious and easy-to-prepare meal, these drumsticks are sure to hit the spot.
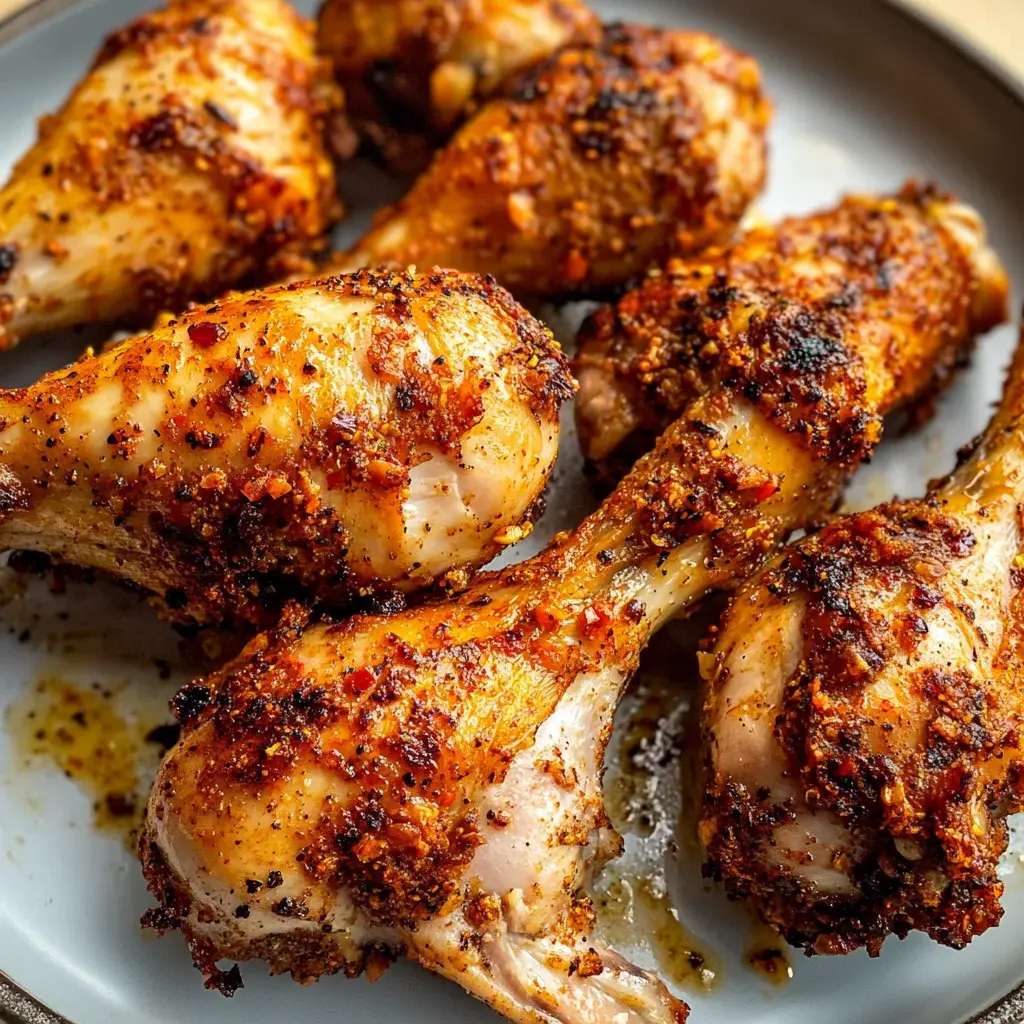
This recipe is designed to be straightforward, yielding exceptionally flavorful results without demanding hours in the kitchen. Imagine the golden-brown, crackling skin giving way to juicy, tender meat infused with a symphony of aromatic spices – it’s a simple pleasure that brings joy to any table and guarantees smiles all around.
Why You Will Love This Recipe
- Exceptional Crispiness: Achieved through a precise baking temperature and technique, ensuring a perfectly crunchy exterior that’s incredibly satisfying with every bite.
- Deeply Flavorful: A carefully curated blend of common pantry spices infuses the chicken with rich, savory notes that are both comforting and exciting.
- Quick Preparation: Most of the magic happens in the oven, with minimal hands-on time, making this an ideal option for busy weeknights or spontaneous gatherings.
- Versatile Enjoyment: Delicious served on their own as a snack, as a star main course, or even incorporated into other dishes, offering incredible flexibility for meal planning.
- Budget-Friendly: Chicken drumsticks are an economical cut of poultry, making this a fantastic recipe for feeding a crowd without breaking the bank.
Ingredients You Need
The secret to outstanding seasoned crispy chicken drumsticks lies in the quality and selection of your ingredients. While this recipe focuses on accessible pantry staples, choosing fresh, good-quality chicken drumsticks will elevate the final outcome considerably. The spices, when combined with the natural richness of the chicken and a good oil, create an unparalleled depth of flavor that is truly memorable.
Seasoned Crispy Chicken Drumsticks

Seasoned Crispy Chicken Drumsticks are the ultimate crowd-pleaser, perfect for any occasion from casual family dinners to festive gatherings. Bursting with flavor and boasting a crunchy exterior, these drumsticks are incredibly easy to prepare, making them ideal for busy cooks who don’t want to compromise on taste. With simple ingredients and straightforward steps, you can whip up a delicious meal that everyone will love. Serve them with your choice of sides or enjoy them as a delightful snack on their own.
- 13-15 chicken drumsticks
- 3-4 tablespoons extra virgin olive oil
- 2 teaspoons sea salt
- 2 teaspoons garlic powder
- 2 teaspoons chili powder
- 2 teaspoons oregano
- 1 teaspoon paprika
- 1 teaspoon ground pepper
- 1Preheat your oven to 420°F.
- 2Pat the chicken drumsticks dry with paper towels and place them in a large mixing bowl.
- 3Drizzle olive oil over the chicken, then add sea salt, garlic powder, chili powder, oregano, paprika, and ground pepper. Mix until coated.
- 4Spray a baking sheet and rack with cooking spray and arrange the drumsticks on the rack for air circulation.
- 5Bake for 35 minutes, then flip and bake an additional 15 minutes until golden brown and crispy. Allow to cool slightly before serving.
Keywords: chicken drumsticks, crispy chicken, seasoned chicken, oven-baked chicken, easy dinner, weeknight meal, party food
- chicken drumsticks: approximately 13-15 pieces, providing ample servings for a family.
- extra virgin olive oil: 3-4 tablespoons, to ensure the spices adhere and to aid in crisping the skin.
- sea salt: 2 teaspoons, a fundamental seasoning that enhances all other flavors.
- garlic powder: 2 teaspoons, offering a foundational savory and aromatic profile.
- chili powder: 2 teaspoons, adding a gentle warmth and a touch of color to the spice blend.
- oregano: 2 teaspoons, contributing an earthy, slightly peppery herbaceous note.
- paprika: 1 teaspoon, for a mild sweetness and a beautiful reddish hue.
- ground pepper: 1 teaspoon, to provide a subtle kick and complexity.
The precise quantities for these ingredients are detailed within the provided recipe card for your convenience.
Variations
Elevating seasoned crispy chicken drumsticks can be an exciting culinary adventure, allowing for creative twists that cater to diverse palates and dietary preferences. Imagine transforming this classic dish into something entirely new with just a few strategic additions or substitutions, proving its incredible adaptability.
For a vibrant and zesty take, consider a lemon-herb variation. After patting the drumsticks dry, toss them with olive oil, salt, pepper, garlic powder, and oregano as usual. Then, incorporate the zest of one lemon directly into the spice mix and add a tablespoon of fresh chopped rosemary or thyme. The citrus brightens the flavors beautifully, creating a lighter, more refreshing profile that’s perfect for spring or summer meals.
If you’re seeking a bolder, spicier kick, a “Spicy Fiesta” variation will be a hit. Build upon the base recipe by adding a teaspoon of cayenne pepper or a pinch of red pepper flakes to the spice blend for a noticeable heat. You could also introduce a teaspoon of smoked paprika for added depth and a touch of cumin for an earthy, complex flavor. A final drizzle of hot sauce before serving can amplify the heat even further for true spice aficionados.
For those aiming for a low-carb or gluten-free option, simply ensure your spice blend is pure and free from any added fillers. The core recipe is naturally compliant with these dietary needs. You might also consider incorporating finely crushed pork rinds into the spice mixture before coating the drumsticks; this adds an extra layer of crispy texture without the carbohydrates of traditional breading.
How to Prepare seasoned crispy chicken drumsticks
Step 1: Preheat the Oven and Prepare Your Workspace
The journey to perfectly seasoned crispy chicken drumsticks begins with setting the right stage in your kitchen. This crucial first step ensures that your oven is at the optimal temperature the moment your chicken is ready to go in, promoting even cooking and that coveted crispiness from the start. A thoroughly preheated oven is one of the cornerstones of achieving superior texture and flavor in roasted meats.
Preheat your oven to a robust 420 degrees Fahrenheit (215 degrees Celsius). This high heat is essential for creating the crackling, golden-brown skin that defines excellent crispy chicken drumsticks. While the oven is heating up, take this opportunity to prepare your baking sheet and wire rack. Lightly spray your baking sheet with cooking spray, and then place your oven-safe wire rack on top of it. This setup is critical because it allows hot air to circulate freely around each drumstick, ensuring all sides cook evenly and crisp up beautifully, preventing the bottoms from becoming soggy.
Step 2: Prepare the Chicken Drumsticks for Maximum Crispiness
Before any seasonings touch the chicken, the most vital step for achieving unparalleled crispiness is thoroughly drying the drumsticks. Excess moisture on the skin is the enemy of crispiness; it creates steam in the oven, which can lead to rubbery skin instead of the desired crunch. Therefore, dedicate a few minutes to this seemingly simple but incredibly impactful task.
Take each chicken drumstick and pat it meticulously dry using paper towels. Ensure you get into all the crevices and under the skin where moisture can hide. Once all excess moisture has been absorbed, place the thoroughly dried drumsticks into a large mixing bowl. This bowl will serve as your primary station for coating the chicken with oil and spices, ensuring every piece is evenly seasoned and ready for its transformation in the oven.
Step 3: Coat the Drumsticks with Oil and Aromatic Spices
With the drumsticks prepped and waiting, it’s time to infuse them with flavor. The olive oil acts as a binder for the spices, ensuring they adhere well to the chicken’s surface, and also contributes to the browning and crisping process during baking. Using a good quality extra virgin olive oil will impart a subtle richness that complements the chicken perfectly.
Drizzle the 3-4 tablespoons of extra virgin olive oil generously over the drumsticks in the mixing bowl. Now, it’s time to add the star players of your spice blend: 2 teaspoons of sea salt, 2 teaspoons of garlic powder, 2 teaspoons of chili powder, 2 teaspoons of oregano, 1 teaspoon of paprika, and 1 teaspoon of ground pepper. Once all the seasonings are in the bowl, use your hands to gently massage them into the chicken. Ensure that every single drumstick is thoroughly coated, paying attention to getting some seasoning under the skin if possible for maximum flavor penetration. The goal is an even, consistent coating across all pieces.
Step 4: Arrange Drumsticks on the Baking Rack for Optimal Air Circulation
Presentation on the baking sheet is more than just aesthetics; it’s a functional step that directly impacts the final texture of your chicken. Proper spacing allows the hot air from your oven to circulate effectively, which is absolutely key to achieving that uniformly crispy skin we’re aiming for. Overcrowding would lead to steaming rather than roasting, compromising the desired outcome.
Carefully arrange each seasoned drumstick onto the prepared wire rack that sits atop your baking sheet. Make sure there is ample space between each drumstick, with no pieces touching. This allows the heat to surround every surface of the chicken, promoting even cooking and developing that irresistible crispy exterior. The baking sheet beneath the rack will catch any drippings, making cleanup a breeze and preventing smoke from excessive fat burning.
Step 5: Bake to Golden Perfection, Flipping Midway
This is where the magic happens, transforming your seasoned chicken into a culinary masterpiece. The high oven temperature works its charm, rendering the fat in the skin and creating those beautiful crispy bits. The initial baking time allows the chicken to cook through and start developing its golden hue, while the flip ensures an even crisp on both sides.
Place the prepared baking sheet with the drumsticks into your preheated 420°F oven. Bake for approximately 35 minutes. After this initial baking period, carefully remove the baking sheet from the oven and, using tongs, flip each drumstick over to expose the other side. Return the baking sheet to the oven and continue baking for an additional 15 minutes, or until the drumsticks are deeply golden brown, wonderfully crispy, and cooked through. The total cooking time will be around 50 minutes, but always keep an eye on them, as oven temperatures can vary.
Step 6: Rest and Revel in Your Culinary Achievement
The final step before indulging in your perfectly prepared seasoned crispy chicken drumsticks is a brief resting period. While it might be tempting to dive right in, allowing the chicken to rest ensures that the juices redistribute throughout the meat, resulting in a more tender and moist bite. This short pause is a small sacrifice for a significant improvement in the eating experience.
Once removed from the oven, let the seasoned crispy chicken drumsticks cool on the wire rack for about 5-10 minutes. This resting period allows the juices to settle and the skin to firm up just a little more. You can then serve them immediately, hot and incredibly delicious, or prepare them for storage if you happen to have any leftovers – though with this recipe, leftovers are rarely a concern! Enjoy the fruits of your labor with these incredibly flavorful drumsticks.
Pro Tips for seasoned crispy chicken drumsticks
The Secret to Ultimate Crispiness: Always ensure your drumsticks are patted completely dry with paper towels before applying oil and seasonings. Moisture is the enemy of crispiness, and this step is non-negotiable for achieving that perfect crunch.
High Heat is Your Friend: Don’t shy away from the high oven temperature of 420°F. This intense heat is crucial for rendering the fat in the chicken skin, making it delightfully crispy and golden brown while keeping the meat juicy.
Air Circulation is Key: Utilize a wire rack set inside a baking sheet. This elevation allows hot air to circulate around all sides of the drumsticks, preventing them from sitting in their own rendered fat and becoming soggy. Proper spacing between drumsticks on the rack is also vital.
Don’t Skip the Flip: Flipping the drumsticks halfway through the cooking process ensures that both sides achieve an even, beautiful crispiness and color. This simple step guarantees consistent results across the entire batch.
Spice Blend Precision: While the provided spice blend is excellent, feel free to adjust it to your personal preference. Consider adding a pinch of smoked paprika for depth, a touch of cayenne for heat, or substituting dried herbs like thyme or rosemary for oregano. Always taste and adjust seasonings if possible before coating.
Serving Suggestions for seasoned crispy chicken drumsticks
Decoration
Elevate the visual appeal of your seasoned crispy chicken drumsticks by adding a few thoughtful garnishes. A sprinkle of freshly chopped parsley or cilantro over the finished dish provides a burst of vibrant green color that contrasts beautifully with the golden-brown chicken. Thinly sliced red onion rings or a few wedges of lemon on the serving platter can also add a touch of elegance and indicate the citrus notes that complement the dish.
Side Dishes
These flavorful drumsticks are incredibly versatile and pair wonderfully with a wide array of side dishes, making them suitable for any meal occasion. For a classic comfort food pairing, consider creamy garlic mashed potatoes or a fluffy white rice pilaf, which soak up any extra savory juices. Roasted vegetables, such as broccoli, carrots, or Brussels sprouts, offer a healthy and colorful accompaniment, their slight char complementing the chicken’s crispiness.
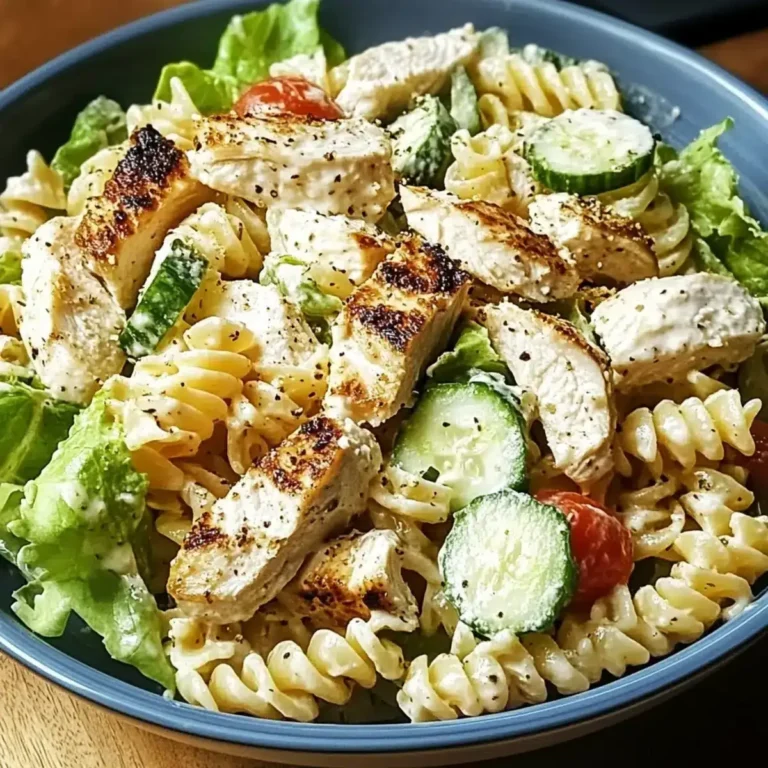
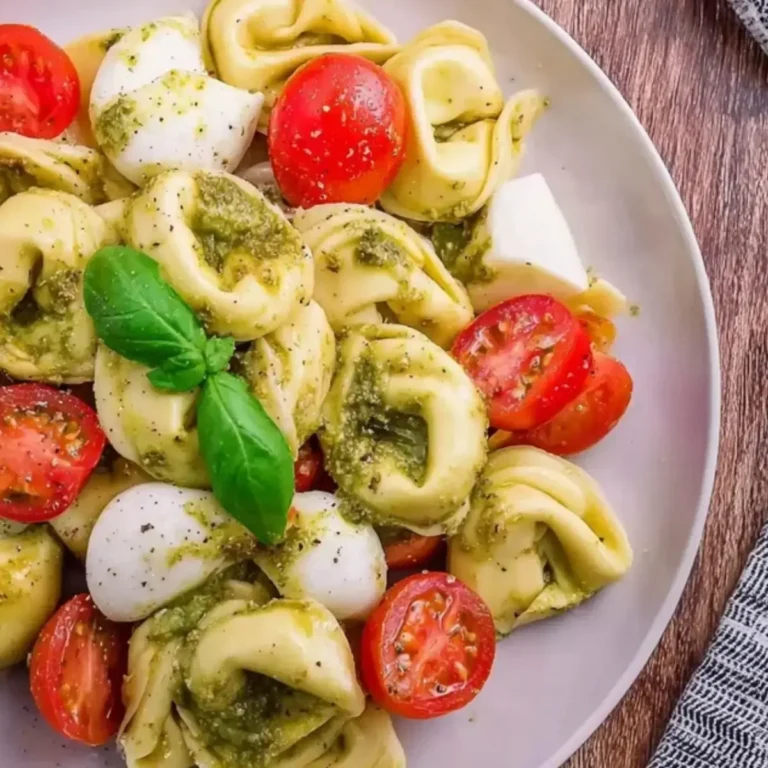
A fresh, crisp salad, like a simple garden salad with a vinaigrette or a tangy coleslaw, provides a refreshing counterpoint to the richness of the chicken. For a more substantial meal, consider serving them alongside sweet potato fries or classic potato wedges, perfect for dipping into your favorite sauces. The adaptability of these drumsticks means they can be the centerpiece of a hearty dinner or a delightful addition to a casual lunch spread.
Creative Serving Ideas
Move beyond the traditional presentation with some creative serving ideas that will wow your guests. Consider shredding leftover drumsticks and using them as a flavorful filling for tacos or sliders, offering a unique twist on familiar favorites. You could also create a “chicken drumstick platter” by arranging the drumsticks attractively alongside a selection of dipping sauces like honey mustard, spicy BBQ, or a creamy ranch for guests to customize their bites.
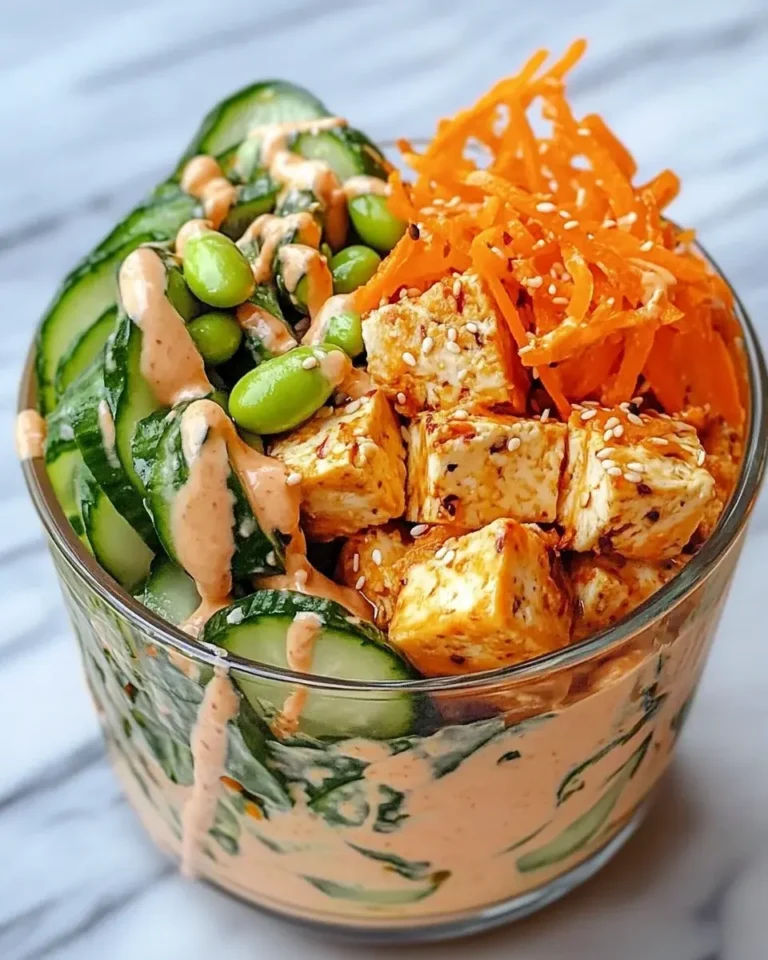
For a fun and interactive meal, serve the drumsticks as part of a build-your-own bowl station. Offer bases like quinoa or mixed greens, along with various toppings such as corn salsa, black beans, avocado, and a zesty lime dressing. This allows everyone to create their perfect meal, integrating the delicious chicken into a personalized culinary creation. You might even find inspiration for future meals by exploring other lunch or dinner recipes on sites like Pinterest.
Preparation & Storage
Storing Leftovers
Should you be fortunate enough to have any seasoned crispy chicken drumsticks remaining, proper storage is key to preserving their delightful flavor and texture. Once the drumsticks have cooled down to room temperature, transfer them to an airtight container. This prevents them from drying out and absorbing any unwanted odors from other foods in the refrigerator.
When stored correctly in the refrigerator, these drumsticks will remain fresh and enjoyable for approximately 3 to 4 days. It’s always a good practice to label your container with the date of storage, just to keep track. While they won’t retain their initial oven-baked crispiness after refrigeration, they still make for a delicious and convenient meal or snack when reheated.
Freezing
For longer-term storage, seasoned crispy chicken drumsticks can be successfully frozen. This is an excellent option for meal prepping or ensuring you always have a tasty protein source on hand. To freeze them, allow the drumsticks to cool completely to avoid the formation of ice crystals.
Wrap each drumstick individually and tightly in plastic wrap, ensuring no air can penetrate. Then, place the wrapped drumsticks into a heavy-duty freezer bag or an airtight freezer-safe container. Properly frozen, these drumsticks can maintain their quality for up to 2 to 3 months. When you’re ready to use them, thaw them overnight in the refrigerator before reheating.
Reheating
Reheating seasoned crispy chicken drumsticks requires a method that helps restore some of their former crispiness and ensures they are heated through safely. The microwave can be used for quick reheating, but it often results in softer skin. To revive the crispiness, the oven is generally the best choice for reheating.
Preheat your oven to a moderate 350°F (175°C). Arrange the refrigerated or thawed drumsticks in a single layer on a baking sheet. Heat them for about 15-20 minutes, or until they are warmed through and the skin has regained some of its crispiness. For a quicker, albeit less crispy, reheat, you can place one or two drumsticks on a microwave-safe plate, cover with a damp paper towel, and heat in 30-second intervals until hot. Another method involves heating a skillet over medium heat, adding a splash of water, and covering to steam-heat the drumsticks for 5-10 minutes.
Frequently Asked Questions
-
How do I ensure my seasoned crispy chicken drumsticks achieve the ultimate level of crispiness?
To achieve maximum crispiness, the absolute key is to ensure the drumsticks are thoroughly dried with paper towels before seasoning. This removes surface moisture that would otherwise steam the skin instead of allowing it to crisp up. Using a high oven temperature, like the 420°F recommended in this recipe, is also crucial for rendering the fat and creating that desirable crunch. Finally, ensuring adequate air circulation by placing the drumsticks on a wire rack and not overcrowding the baking sheet allows the hot air to reach all sides, contributing significantly to the overall crispiness.
-
Can I customize the seasonings for my seasoned crispy chicken drumsticks, and what are some popular alternatives?
Absolutely! The beauty of this recipe lies in its adaptability to various flavor profiles. You can easily swap out or add to the core spice blend based on your preferences. For a smoky flavor, incorporate smoked paprika or a touch of chipotle powder. If you enjoy Italian herbs, feel free to add dried basil, thyme, or rosemary alongside or instead of oregano. For a spicier kick, consider adding cayenne pepper, red pepper flakes, or even a dash of your favorite hot sauce to the oil mixture before coating the chicken. Experimenting with different spice combinations is part of the fun and can lead to wonderfully unique results. You might even find inspiration from recipes like a baked lemon chicken for citrus notes.
-
What is the ideal cooking time and temperature for seasoned crispy chicken drumsticks, and how do I know when they are done?
The recommended cooking time and temperature for achieving perfectly seasoned crispy chicken drumsticks is to preheat your oven to 420°F (215°C). Bake the drumsticks for approximately 35 minutes on one side, then flip them and continue baking for an additional 15 minutes, totaling about 50 minutes of cooking time. You will know they are done when the skin is deeply golden brown and visibly crispy, and an instant-read thermometer inserted into the thickest part of the drumstick (without touching bone) registers an internal temperature of 165°F (74°C). The juices should also run clear when pierced with a fork.