Irresistible Hot Cross Buns – Perfectly Soft Easter Treats
As I pulled my first batch of Hot Cross Buns from the oven, the warmth enveloped the kitchen, inviting everyone nearby to indulge in the homemade delight. With their soft, fluffy texture and the comforting aroma of spiced cinnamon and sweet raisins, these buns are perfect for gathering around the table during Easter celebrations.
I love how this Easy Hot Cross Buns recipe combines simple ingredients with a touch of magic, transforming them into a comforting treat that rivals any bakery. Plus, with options for vegan and gluten-free adaptations, everyone can join in on the enjoyment, making them a true crowd-pleaser. Are you ready to embrace the joy of baking and fill your home with the delightful scent of these classic buns?
Why You Will Love This Recipe
- Irresistible Aroma: The moment these buns start baking, their spiced aroma creates a cozy atmosphere that draws in family and friends, making your home smell absolutely divine.
- Versatile Variations: With options such as gluten-free flour or vegan butter, everyone can enjoy these delightful treats regardless of dietary needs, ensuring inclusivity for all.
- Easy Preparation: This simple recipe requires minimal effort, making it perfect for bakers of all skill levels, from novice to seasoned culinary artists.
- Deliciously Nostalgic: Whether you’re celebrating Easter or simply indulging, these buns embody the warmth of home-cooked comfort, truly an irresistible treat that evokes fond memories.
- Customizable Flavors: Feel free to adjust the spices or dried fruit to your preference, allowing you to personalize these buns and make them uniquely yours.
Ingredients You Need
Gathering the finest ingredients is the first step towards baking truly exceptional Hot Cross Buns. Opting for fresh, high-quality components will not only enhance the flavor but also contribute to the perfect texture of your baked goods. Ensuring you have the right essentials will set you up for a successful and rewarding baking experience.
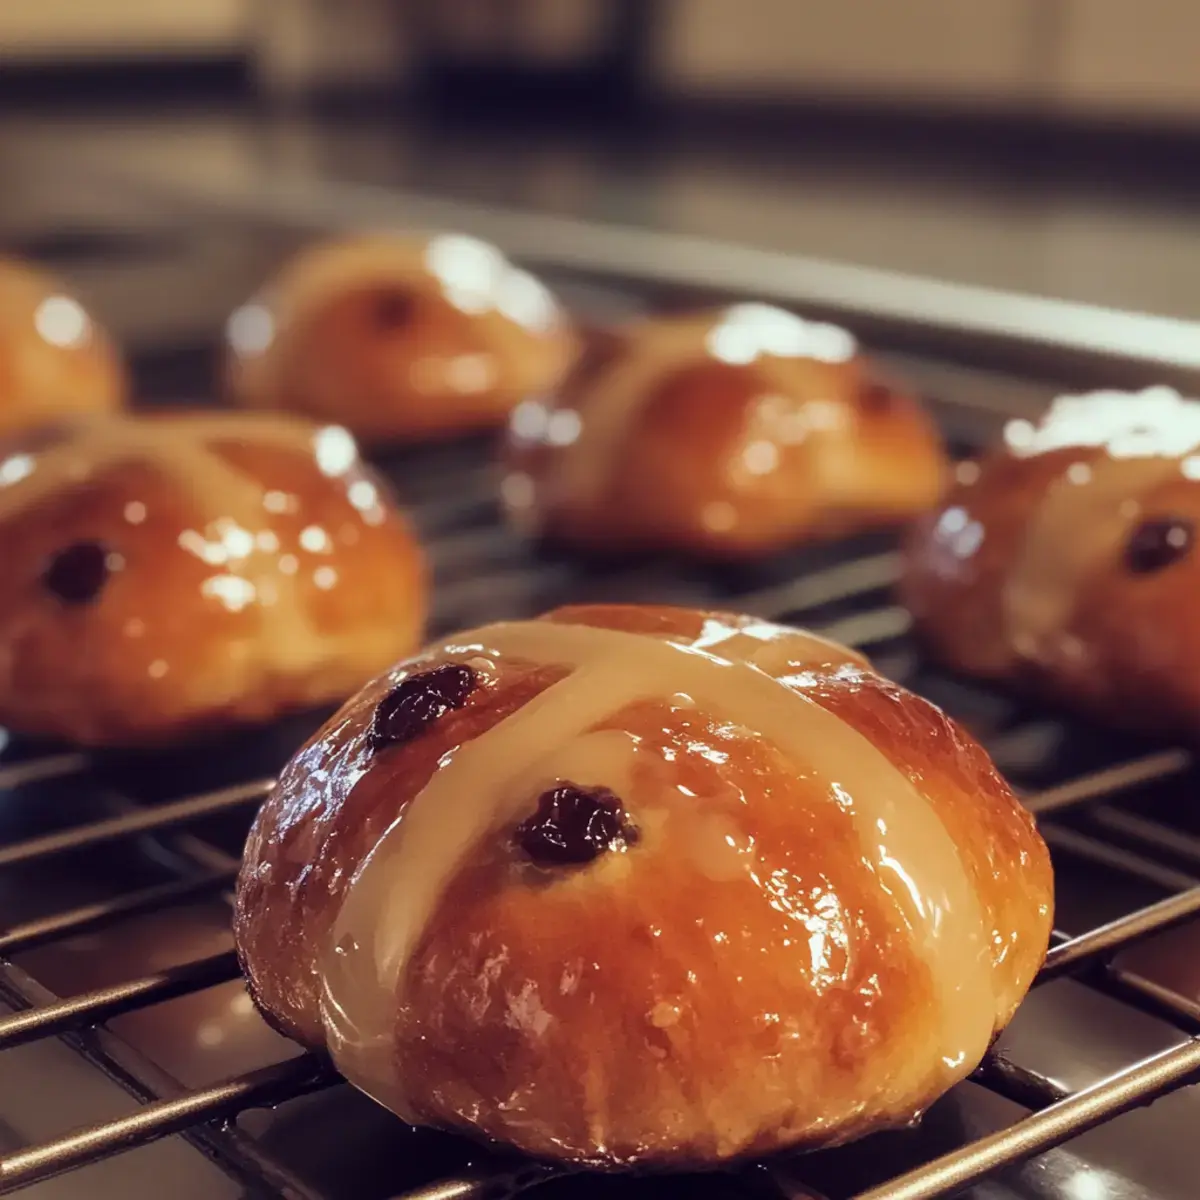
Soft and Spiced Hot Cross Buns

These homemade Hot Cross Buns are soft, fluffy, and spiced, perfect for your Easter celebration. They offer a comforting aroma and a slightly sweet taste, making them a delightful treat for any occasion.
- For the Dough:
- 4 cups All-purpose flour (Gluten-free flour can be used.)
- 2 tablespoons Active dry yeast (Ensure it's fresh.)
- 1 cup Warm milk (For vegan, substitute with plant-based milk.)
- 2 tablespoons Sugar (Coconut sugar can be used.)
- 1 teaspoon Salt
- 3 tablespoons Milk or vegan butter (Use vegan butter for dairy-free.)
- 1 large Egg (Replace with a flax egg for a vegan version.)
- 1 teaspoon Cinnamon
- 1 teaspoon Nutmeg
- 1 cup Dried fruit (raisins or currants) (Swap for your favorite dried fruit.)
- For the Glaze:
- 1 cup Sugar
- 2 tablespoons Milk (Can use plant-based milk.)
- 1Prepare the Dough: In a mixing bowl, combine warm milk, sugar, and active dry yeast. Let sit for 5-10 minutes until frothy.
- 2Add all-purpose flour, salt, cinnamon, nutmeg, melted butter, and the beaten egg. Knead for 8-10 minutes until smooth and slightly tacky.
- 3First Rise: Place the dough in a greased bowl, cover with a clean kitchen towel or plastic wrap, and let rise in a warm spot for 1-2 hours, or until doubled in size.
- 4Shape the Buns: Gently punch down the risen dough to release excess air. Divide the dough into 12 equal pieces and roll each piece into a smooth bun shape. Place the buns on a parchment-lined baking sheet, ensuring there is space between them.
- 5Second Rise: Cover the shaped buns again with a kitchen towel and let them rise for another 30-40 minutes in a warm area.
- 6Bake: Preheat your oven to 375°F (190°C). Once the buns have finished their second rise, bake for 15-20 minutes, or until they turn a golden brown hue.
- 7Cool and Glaze: Remove the buns from the oven and let them cool on a wire rack for about 10 minutes. To make the glaze, mix powdered sugar with warm milk until smooth. Brush this glaze over the warm buns for a glossy finish.
Keywords: Hot Cross Buns, Easter, Buns, Baking, Spiced Buns, Sweet Buns, Holiday Baking, Vegetarian, German Baking
- all-purpose flour: provides the essential structure for the buns; for an alternative texture, gluten-free flour can be successfully substituted.
- active dry yeast: acts as the primary leavening agent; it’s crucial to ensure your yeast is fresh for optimal rising performance.
- warm milk: adds vital moisture to the dough; for a dairy-free option, a simple substitution with plant-based milk like almond or oat milk works beautifully.
- sugar: contributes sweetness and aids in achieving a lovely golden-brown crust during baking; coconut sugar can be used as a healthier alternative.
- salt: a fundamental ingredient that enhances overall flavor and effectively balances the sweetness of the other components.
- milk or vegan butter: contributes richness and a tender crumb to the dough; using vegan butter makes these buns suitable for a dairy-free diet.
- egg: adds structure and helps bind the ingredients together; it can be replaced with a flax egg for a completely vegan preparation.
- cinnamon and spices (nutmeg/cloves): these aromatic spices are key to the classic Hot Cross Bun flavor; feel free to adjust the types and amounts to suit your personal taste.
- dried fruit (raisins or currants): offers pockets of sweetness and delightful chewy texture; feel free to swap these for your favorite dried fruit like cranberries or chopped apricots.
- sugar: used for the glaze, providing sweetness and a beautiful glossy sheen to the finished buns.
- milk: helps create the perfect consistency for the glaze; plant-based milk can be used here as well for a vegan-friendly finish.
The specific quantities for each ingredient are readily available within the comprehensive recipe card above, ensuring you have all the precise measurements needed for success.
Variations
The beauty of Hot Cross Buns lies not only in their classic form but also in their adaptability. These spiced delights can be transformed to cater to various dietary needs and flavor preferences, making them universally enjoyable.
For a delightful vegan interpretation, the substitution process is straightforward. You can effortlessly swap out the dairy milk for a creamy plant-based alternative like almond, soy, or oat milk. Similarly, dairy butter can be replaced with vegan butter or even a good quality coconut oil to maintain richness and moisture in the dough.
If you are looking to reduce carbohydrates, a low-carb version can be achieved by using a gluten-free flour blend specifically designed for low-carb baking. Sweetening can be done using erythritol or stevia-based sweeteners, and instead of traditional dried fruit, consider incorporating sugar-free dried berries or nuts for texture.
Another exciting variation involves incorporating citrus zest into the dough. A teaspoon of finely grated orange or lemon zest can add a wonderfully bright and refreshing counterpoint to the warm spices. This subtle addition elevates the overall flavor profile, making each bite a more complex and enjoyable experience.
For those who adore a richer, more indulgent treat, consider adding a handful of dark chocolate chips along with the dried fruit. This creates a decadent twist that is especially popular around holidays, transforming the traditional bun into a chocolate lover’s dream.
How to Prepare Hot Cross Buns
Step 1: Prepare the Dough
Begin by activating your yeast, a crucial first step for achieving perfectly risen buns. In a large, cozy mixing bowl, combine approximately one cup of warm milk with two tablespoons of sugar and two teaspoons of active dry yeast. This warm, sugary environment provides the ideal conditions for the yeast to awaken and multiply.
Let this mixture rest undisturbed for about five to ten minutes. During this time, you should observe the surface becoming frothy and bubbly, a clear visual confirmation that your yeast is alive and active and ready to work its magic. If you don’t see this frothy layer, your yeast may be old and inactive, and it’s best to start with a fresh packet.
Once the yeast is active, it’s time to build the dough. Add four cups of all-purpose flour to the bowl, along with one teaspoon of salt and a teaspoon each of ground cinnamon and nutmeg for that signature warm spice. Incorporate three tablespoons of melted butter (or vegan butter) and one lightly beaten egg to enrich the dough, then mix everything together until a shaggy dough begins to form.
Now comes the essential kneading process. Turn the dough out onto a lightly floured surface and knead it vigorously for about eight to ten minutes. The goal is to develop the gluten in the flour, which gives the buns their characteristic chewy yet tender texture. You’ll know the dough is ready when it becomes smooth, elastic, and only slightly tacky to the touch. This thorough kneading is a key contributor to the delightful texture of the final Hot Cross Buns.
Step 2: First Rise
After the dough has been expertly kneaded to perfection, it’s time to give it space to grow. Lightly grease a clean, large bowl with a little oil or cooking spray, ensuring all sides are coated. This prevents the dough from sticking as it expands.
Carefully place the smooth ball of dough into the greased bowl, turning it once to ensure the entire surface is lightly coated with oil. This oil coating helps to keep the dough moist and pliable during its resting period. Then, cover the bowl snugly with a clean kitchen towel or a piece of plastic wrap to create a warm, humid environment.
Find a warm, draft-free spot in your kitchen for the dough to rise. This could be near a gently heated oven, in a sunny window, or simply in a quiet corner of your countertop. Allow the dough to rest and rise for approximately one to two hours. During this time, the yeast will work its magic, producing carbon dioxide gas, causing the dough to swell and double in size, becoming wonderfully light and airy.
Step 3: Shape the Buns
Once your dough has impressively doubled in size, it’s time to gently deflate it and prepare it for shaping. Gently punch down the center of the risen dough with your fist to release the accumulated air. This process not only makes the dough easier to handle but also redistributes the yeast and sugars for a more even texture in the final buns.
Now, divide the dough into twelve equal portions. Using a kitchen scale can help ensure uniformity, but you can also eyeball it by simply cutting the dough into manageable sections. Roll each piece of dough between your hands to form a perfectly smooth, round ball. The smoother the surface of each ball, the more attractive your finished buns will be.
Prepare a baking sheet by lining it with parchment paper. This prevents sticking and makes for easy cleanup. Arrange the shaped dough balls on the prepared baking sheet, leaving ample space (about two inches) between each bun. This spacing is crucial as the buns will expand significantly during their second rise and subsequent baking.
The act of shaping these into neat, round forms is an important part of the Hot Cross Bun tradition, creating those appealing domed tops that are characteristic of this classic bake. This careful shaping ensures that each bun has its own distinct space to develop beautifully. This step, while seemingly simple, sets the stage for the final presentation of your delicious creations.
Step 4: Second Rise
With your dough balls perfectly shaped and nestled on the baking sheet, it’s time to give them another moment to puff up. Once again, cover the shaped buns loosely with a clean kitchen towel or a piece of plastic wrap. This covering will help maintain a humid environment, preventing the surface of the dough from drying out and forming a crust.
Return the covered baking sheet to a warm, draft-free spot in your kitchen. Allow the buns to rise for an additional 30 to 40 minutes. During this second rise, the buns will visibly increase in size again, becoming noticeably plumper and more rounded. They will also begin to touch each other, which helps them bake into each other slightly, creating that classic connected appearance.
Keep a close watch during this period; you want them to become irresistibly fluffy and visibly larger, but avoid over-proofing, which can lead to a less desirable texture. The goal is for them to be visibly puffy and almost touching, indicating they are ready for their fiery transformation in the oven.
Step 5: Bake
As your buns are nearing the end of their second rise and becoming beautifully plump, it’s the perfect time to preheat your oven. Set your oven temperature to 375°F (190°C). Ensuring the oven is fully preheated before placing the buns inside is critical for even baking and achieving that perfect golden-brown crust.
Once the oven is at temperature and the buns have completed their second rise, carefully remove the covering. They should look visibly puffed up and almost touching each other on the baking sheet, a sign of their perfect readiness. Place the baking sheet into the preheated oven.
Bake the Hot Cross Buns for approximately 15 to 20 minutes. During this time, the magic happens as the dough transforms into golden brown, fragrant pastries. The aroma that will waft through your kitchen is truly one of the most comforting and inviting scents imaginable, signaling that your delicious creation is almost ready.
You’ll know they are perfectly baked when they have achieved a beautiful golden-brown hue on top and their bottoms sound hollow when gently tapped. This visual and auditory cue indicates that the interior is cooked through and the crust has formed perfectly. Carefully remove the baking sheet from the oven to prevent over-baking and ensure a tender interior.
Step 6: Cool and Glaze
Once the Hot Cross Buns have emerged from the oven, golden and fragrant, it’s essential to let them cool slightly before applying the finishing touches. Carefully transfer the baked buns from the baking sheet to a wire cooling rack. This allows air to circulate around them, preventing the bottoms from becoming soggy and ensuring even cooling.
Allow the buns to cool on the rack for about 10 minutes. While they are still warm, it’s the perfect time to prepare and apply the sweet glaze. The warmth of the buns helps the glaze to melt slightly and adhere beautifully, creating that signature glossy finish.
To make the glaze, simply mix one cup of powdered sugar with two tablespoons of warm milk in a small bowl. Whisk until smooth and pourable, adding a tiny bit more milk if it seems too thick. The consistency should be thick enough to coat the buns but not so thick that it’s difficult to spread. For a vegan glaze, use plant-based milk.
Using a pastry brush or the back of a spoon, generously brush the sweet glaze over the tops of the warm buns. The glaze will set as the buns continue to cool, adding an extra layer of sweetness and a beautiful, inviting sheen. These gorgeous Hot Cross Buns are now perfectly ready to be served and enjoyed!
Pro Tips for Hot Cross Buns
Active Yeast Test: Before you even begin mixing your dough, ensure your yeast is fresh and active. Mix about 2 teaspoons of yeast with 1 cup of warm milk and 2 tablespoons of sugar. Let it sit for 5-10 minutes; if it bubbles and froths significantly, it’s alive and ready to perform.
Kneading Magic: Knead the dough just until it becomes smooth and slightly tacky. Over-kneading can develop too much gluten, leading to tough buns that lack the desired softness and chewiness.
Warm Rising: Choose a cozy, draft-free spot for the first rise. A warm environment is crucial for the yeast to work effectively; a location near a gently heated oven is often ideal for optimal Hot Cross Bun rising.
Golden Finish: Keep a close eye on your buns during the final baking stages. They should be a beautiful golden brown. A simple test is to tap the bottom of a bun; if it sounds hollow, it’s perfectly baked and ready to come out.
Flavor Experimentation: Don’t hesitate to mix in different spices or dried fruits according to your preferences. Personalizing your Hot Cross Buns can elevate them from delicious to truly unforgettable, allowing for a unique signature bake.
Sweet Glaze Application: Always brush the glaze onto the buns while they are still warm. This technique ensures maximum shine and allows the glaze to melt slightly, creating a beautiful, inviting finish on your delightful Easter treats.
Serving Suggestions for Hot Cross Buns
Decoration
The classic cross on top of Hot Cross Buns is traditionally made with a simple flour-and-water paste or a thin sugar glaze. For a touch of elegance, consider piping thin lines of white icing onto the cooled buns to create decorative patterns. Edible glitter or a sprinkle of candied peel can also add festive sparkle for special occasions.
Side Dishes
While Hot Cross Buns are delicious on their own, they pair wonderfully with a variety of complementary accompaniments. A generous smear of rich, creamy butter is a timeless classic that enhances their soft texture. For a touch of fruity sweetness, a dollop of your favorite fruit jam, such as raspberry or apricot, provides a delightful contrast to the spiced dough.
A steaming cup of tea, perhaps an Earl Grey or a soothing chamomile, complements the warm spices beautifully, turning a simple snack into a comforting ritual. Fluffy, buttery scrambled eggs offer a savory element that balances the sweetness of the buns, creating a well-rounded breakfast or brunch experience.
For a lighter, more refreshing option, a vibrant, colorful fresh fruit salad adds brightness and a natural sweetness to the table. The juicy, crisp fruits provide a wonderful counterpoint to the denser texture of the buns.
Creative Serving Ideas
Elevate your Hot Cross Buns beyond the traditional by getting creative with presentation and pairings. Consider serving them as part of a festive Easter brunch spread alongside other seasonal delights like deviled eggs or a baked ham. A warm, indulgent option is to serve a scoop of creamy vanilla ice cream alongside a warm Hot Cross Bun, allowing the ice cream to melt into the bun for a truly decadent dessert experience.
You could also slice the buns horizontally and toast them lightly, then fill them with cream cheese and a drizzle of honey for a delightful breakfast treat. For a savory twist, try topping a toasted bun with a slice of sharp cheddar cheese and a thin piece of prosciutto before warming it briefly in the oven.
For a fun twist, especially for children, consider turning your Hot Cross Buns into mini bread puddings. Cube the buns, soak them in a custard mixture, and bake until golden and set. This transforms them into a comforting, spoonable dessert that’s perfect for using up any leftover buns.
Preparation & Storage
Storing Leftovers
To keep your delicious Hot Cross Buns fresh and soft, proper storage is key. Once the buns have cooled completely to room temperature, place them in an airtight container. This will help to prevent them from drying out and maintain their delightful texture for as long as possible. At room temperature, they are best enjoyed within two days.
If you wish to store them for a slightly longer period, you can refrigerate them. Ensure they are well-wrapped, either in their airtight container or individually wrapped in plastic wrap or foil, to prevent them from absorbing odors and drying out. Refrigerated buns can typically last for up to a week, although their texture might become slightly firmer.
Freezing
Hot Cross Buns freeze exceptionally well, making them perfect for baking ahead of time. After the buns have completely cooled, wrap each individual bun tightly in plastic wrap. This initial wrapping creates a barrier against freezer burn.
Then, place the individually wrapped buns into a freezer-safe bag or airtight container. Squeeze out as much air as possible before sealing the bag. Properly stored, your Hot Cross Buns can maintain their quality in the freezer for up to three months, ensuring you have a delicious treat readily available.
Reheating
To enjoy your stored or frozen Hot Cross Buns warm and fresh, reheating is simple and effective. For buns stored at room temperature or in the refrigerator, you can gently reheat them in a microwave for about 15-20 seconds per bun. Be careful not to overheat, as this can make them tough.
Alternatively, for a more even warmth and to revive a slight crispness to the crust, you can reheat them in a preheated oven. Place the buns on a baking sheet and warm them in an oven set to 350°F (175°C) for about 5 to 10 minutes. For frozen buns, you can reheat them directly from frozen in the oven, increasing the heating time slightly, usually to around 10 minutes, until they are warmed through and soft.
Frequently Asked Questions
-
How do I know if my yeast is fresh?
Absolutely! To ensure your yeast is active, a simple test can be performed before you begin. Mix about 2 teaspoons of active dry yeast with 1 cup of warm milk and 2 tablespoons of sugar in a small bowl. Let this mixture sit undisturbed for 5 to 10 minutes. If the mixture bubbles and froths significantly on the surface, it indicates that the yeast is alive and ready to perform its leavening duties for your Hot Cross Buns. If there is no reaction, it’s best to use a new packet of yeast to guarantee a proper rise.
-
What’s the best way to store Hot Cross Buns?
For optimal freshness and softness when storing your delicious Hot Cross Buns, it’s best to keep them in an airtight container at room temperature. This method ensures they retain their moisture and delightful texture for up to 2 days. If you need to extend their shelf life further, you can refrigerate them, but make sure they are wrapped tightly, either individually or in their container, to prevent them from drying out. Refrigerated buns can remain good for up to a week.
-
Can I freeze Hot Cross Buns? How?
Yes, you certainly can! Freezing Hot Cross Buns is an excellent way to preserve their freshness for later enjoyment. After the buns have cooled completely, the best method is to wrap each bun individually in plastic wrap. This prevents them from sticking together and protects them from freezer burn. Once individually wrapped, place them into a freezer-safe bag or an airtight container, removing as much air as possible before sealing. They will remain delicious in the freezer for up to 3 months. To enjoy them later, you can reheat them directly from frozen, either in a microwave for about 15-20 seconds per bun or in a preheated oven at 350°F (175°C) for about 10 minutes, until they are warmed through and soft.
-
What if my buns don’t rise properly?
If your Hot Cross Buns fail to rise as expected, there are a few common culprits to investigate. First, ensure your yeast is fresh and has been properly activated as per the instructions; old or inactive yeast is a primary reason for poor rising. Secondly, check the temperature of the environment where the dough is rising; it needs to be warm and free from drafts. If the dough doesn’t rise during the first rise, it’s possible the yeast wasn’t active or the environment wasn’t warm enough. In such cases, it might be best to start with a fresh batch to ensure you achieve fluffy, perfectly risen buns.
-
Can I make these Hot Cross Buns vegan?
Very easily! Creating a delicious vegan version of these Hot Cross Buns is quite straightforward. To make them vegan, substitute the regular warm milk with your favorite plant-based milk, such as almond, soy, or oat milk. Use vegan butter instead of traditional butter for richness. Additionally, replace the large egg with a flax egg, which is made by mixing 1 tablespoon of ground flaxseed with 2.5 tablespoons of water and letting it sit for a few minutes to thicken. These simple swaps ensure the buns remain incredibly rich, moist, and satisfying while catering to vegan dietary preferences.
-
Are there any allergen considerations for these buns?
Absolutely, and it’s important to be mindful of common allergens. For those requiring gluten-free buns, you can successfully switch to a 1-to-1 gluten-free all-purpose flour blend and ensure that all other ingredients used are also certified gluten-free. If dairy is a concern, the recipe readily accommodates this by suggesting the use of plant-based milk and vegan butter as direct substitutes, maintaining the delicious texture and flavor. Always take the time to check the labels of all your ingredients to be certain they are free from any potential allergens and to keep your loved ones safe.