Juicy Oven Roasted Chicken – No More Dry Chicken!
The quest for the perfect oven-roasted chicken breast can feel like a culinary expedition, often leading to a desert of dry, uninspired poultry. For years, home cooks have grappled with the inherent challenge of this lean cut, seeking that elusive balance between tender, juicy, and richly flavored. This recipe promises to end that search, offering a foolproof method that transforms humble chicken breasts into a succulent masterpiece.
Embark on a journey to discover the secret behind incredibly moist and flavorful roasted chicken breasts, a technique so simple yet profoundly effective. It involves a quick brining process that imbues the meat with moisture and tenderness, ensuring that every bite is a delight. Prepare to impress yourself and your loved ones with a dish that’s both remarkably easy and exceptionally delicious.
Why You Will Love This Recipe
- Perfectly Tender and Juicy: This recipe guarantees that your chicken breasts will be moist and tender every single time, banishing the fear of dry, rubbery meat forever.
- Incredibly Easy to Prepare: The process is straightforward, involving a simple brining step, seasoning, and baking, making it ideal for busy weeknights or casual entertaining.
- Highly Versatile: These chicken breasts serve as a fantastic base for countless meals, pairing wonderfully with a variety of side dishes and being perfect for repurposing in salads, sandwiches, or wraps.
- Customizable Flavor: While the provided spice blend is exquisite, you have the freedom to experiment with your favorite herbs and spices, tailoring the taste to your personal preferences.
Ingredients You Need
The foundation of any great dish lies in the quality of its ingredients, and this oven-roasted chicken breast recipe is no exception. We focus on simple, accessible components that, when combined with the right technique, create something truly special. While the recipe calls for boneless, skinless chicken breasts for ease and speed, the principles can be adapted for other cuts with slight adjustments to cooking times.
Oven Roasted Chicken Breast

This juicy and tender roasted chicken breast recipe turns out perfect every time! Say goodbye to dry chicken with this easy recipe featuring a quick saltwater soak and a delicious homemade spice mix.
- 1 to 1.5 pounds boneless, skinless chicken breasts
- 4 cups lukewarm water
- 1 tablespoon olive oil
- fresh chopped parsley (for garnish)
- 1Preheat the oven to 425˚F.
- 2Place the chicken breasts in a large bowl and set aside. In a large measuring cup or a mixing bowl, combine lukewarm water and salt; stir, then pour over chicken breasts. Set aside for 20 to 30 minutes. You can also cover the bowl and refrigerate for 2 hours.
- 3In the meantime, prepare the chicken seasoning blend. Combine the salt, pepper, paprika, garlic powder, onion powder, dried thyme, dried basil, dried rosemary, dried parsley, and cayenne pepper in a small bowl; using a fork, stir the seasonings until thoroughly incorporated. Set aside.
- 4Pour out the salt water and rinse each chicken breast under cold water; pat them dry with paper towels. Place the chicken in a baking dish and rub the olive oil all over each chicken breast. Sprinkle the seasoning blend evenly over the chicken breasts on all sides. You don't have to use the entire seasoning blend; use as much as you like.
- 5Transfer to the oven and bake for 22 to 25 minutes, or until internal temperature reaches 165˚F. Use an Instant Read Meat Thermometer to check for doneness. Thinner breasts will need less time, and thicker chicken breasts might need a little more time in the oven. Start checking for doneness around the 20-minute mark.
- 6For a browned, crispy top, set your oven to broil on HIGH for the final 3 to 4 minutes and broil the chicken until golden on top.
- 7Remove the chicken breasts from the oven and transfer them to a serving plate to rest for 10 minutes before cutting and serving.
- 8Garnish with fresh chopped parsley and serve.
Keywords: Oven Roasted Chicken Breast, Baked Chicken, Juicy Chicken, Easy Chicken Recipe, Saltwater Brine, Spice Mix
The precise quantities for each ingredient are detailed within the recipe card, ensuring you have everything you need for a perfect outcome.
Variations
While the classic herb and spice blend is divine, this versatile oven-roasted chicken breast recipe is a blank canvas for culinary creativity. Consider infusing different flavor profiles to suit specific tastes or dietary needs, transforming a simple meal into an exciting new experience.
For a vibrant, plant-based twist, you can adapt this recipe by using firm tofu or large portobello mushrooms as your base. Marinate them in a similar brine solution (perhaps using vegetable broth instead of water) and then coat them with your chosen seasonings. Baking until tender and slightly caramelized will yield a delicious vegetarian centerpiece that stands proudly alongside its poultry counterpart.
If you’re seeking a low-carb option, focus on the seasoning blend and consider serving with an abundance of roasted vegetables. Swap out starchy sides for broccoli, cauliflower, or asparagus, all of which complement the chicken beautifully. Ensuring your seasoning mix contains no added sugars is key for maintaining a low-carb profile.
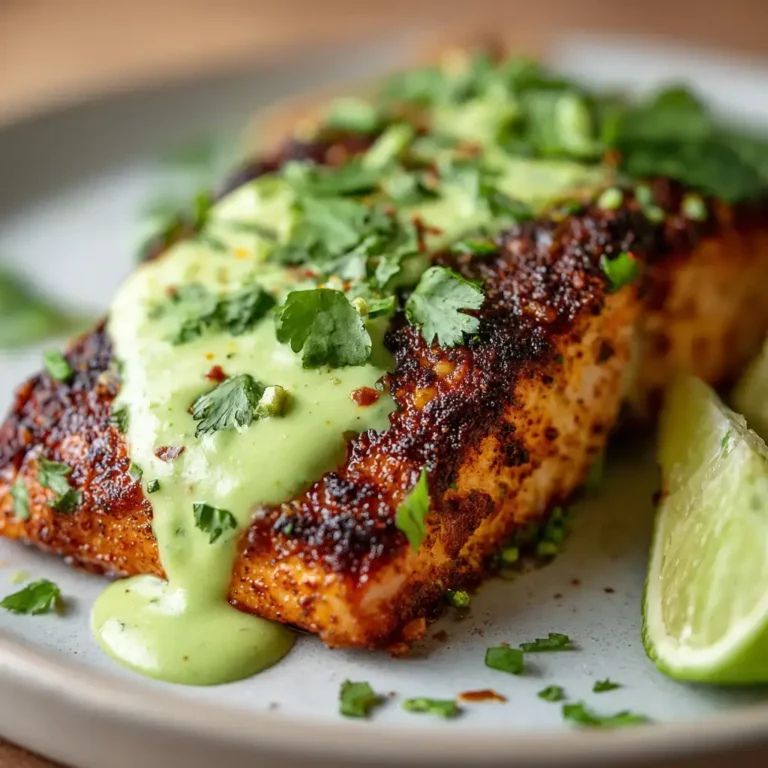
Another exciting avenue is to explore international flavors. Imagine a lemon-herb Mediterranean version, incorporating ingredients like lemon zest, oregano, and a hint of garlic, served with quinoa and a cucumber-tomato salad. Or, perhaps a smoky Tex-Mex rendition with chili powder, cumin, and paprika, paired with black beans and a fresh salsa for a flavorful dinner option.
How to Prepare oven roasted chicken breast
Step 1: The Essential Brine
The journey to the most succulent oven-roasted chicken breast begins with a crucial step: brining. This process, often overlooked, is the secret weapon against dry, unappetizing poultry. By submerging the chicken breasts in a simple saltwater solution, you are essentially allowing the meat to absorb moisture and tenderize from within.
Gather your ingredients for the brine: lukewarm water and salt are all you need. The warmth of the water helps the salt dissolve more effectively and also begins to bring the chicken closer to room temperature, promoting more even cooking. You’ll want a large enough bowl or a sturdy zip-top bag to fully immerse the chicken breasts, ensuring every surface comes into contact with the brine.
Combine approximately 4 cups of lukewarm water with 1/4 cup of salt in your chosen vessel. Stir until the salt is completely dissolved. Once the solution is ready, carefully place your boneless, skinless chicken breasts into the brine. Ensure they are fully submerged; you may need to place a plate or a smaller bowl on top to keep them down. Let them soak for a minimum of 20 minutes, but you can extend this time up to 2 hours for an even more pronounced tenderizing effect. This relatively short brining period is highly effective for chicken breasts, which can quickly become oversalted if left too long.
Step 2: Preparing the Flavorful Seasoning Blend
While your chicken is brining, it’s the perfect time to prepare the aromatic seasoning blend that will elevate its flavor profile. This custom mix is designed to create a symphony of tastes that perfectly complement the tender chicken without overpowering its natural essence.
Assemble all your dry spices in a small bowl. This blend typically includes salt (use sparingly, as the brine adds saltiness), freshly ground black pepper for a touch of warmth, smoked or sweet paprika for color and depth, garlic powder and onion powder for foundational savory notes, and a quartet of dried herbs: thyme, basil, rosemary, and parsley, which provide classic aromatic complexity. A pinch of cayenne pepper can be added for a subtle hint of heat, but this is entirely optional and can be adjusted to your liking.
Using a fork or a small whisk, thoroughly combine all the individual spices. Ensure there are no clumps and that the ingredients are evenly distributed. This thorough mixing is key to achieving a consistent flavor across the entire surface of the chicken breasts. Set this fragrant blend aside, ready to be generously applied once the chicken has completed its brining process.
Step 3: Seasoning and Roasting Perfection
Once the brining period is complete, it’s time to transform the brined chicken into a culinary delight. The first step is to remove the chicken from the brine and rinse it thoroughly under cold running water. This rinse is essential to wash away any excess salt from the surface, preventing the final dish from being too salty.
After rinsing, pat the chicken breasts completely dry with paper towels. This step is critical for achieving a beautifully browned exterior; moisture on the surface will steam the chicken rather than allowing it to roast and caramelize. Once dry, place the chicken breasts in a baking dish. Drizzle them with a tablespoon of olive oil, ensuring each breast is lightly coated. The oil helps the seasonings adhere and contributes to a lovely golden crust.
Now, generously sprinkle the prepared seasoning blend evenly over all sides of the chicken breasts. Gently pat the seasonings onto the chicken to ensure they stick. You don’t necessarily need to use every last grain of the seasoning blend; adjust the amount to your preference, ensuring a good, even coating.
Preheat your oven to 425°F (220°C). This high temperature is crucial for achieving a quick sear and tender, juicy results without drying out the meat. Place the seasoned chicken breasts into the preheated oven and bake for approximately 20 to 22 minutes. The exact cooking time will vary depending on the thickness of your chicken breasts. Use an instant-read meat thermometer inserted into the thickest part of the breast to check for doneness. The chicken is ready when it reaches an internal temperature of 165°F (74°C).
Step 4: Achieving a Golden-Brown Finish
For those who desire an extra layer of flavor and visual appeal, the broiling step is a game-changer. This technique allows you to achieve a beautifully browned, slightly crispy exterior that adds textural contrast to the succulent interior of the chicken.
Once the chicken has reached the safe internal temperature of 165°F (74°C) and is nearly done baking, it’s time to engage the broiler. Carefully switch your oven setting from the baking function to the broil setting, selecting the ‘HIGH’ heat option. Ensure you position your oven rack appropriately, usually on the middle or upper-middle shelf, to allow the chicken to be close enough to the heat source for browning without burning.
Keep a very close eye on the chicken during this stage, as broilers can work very quickly. The goal is to achieve a lovely golden-brown color on the surface of the chicken. This typically takes only about 3 to 4 minutes. Rotate the pan if necessary to ensure even browning across all the chicken breasts. The intense heat will caramelize the seasonings and any residual olive oil, creating a delightful crust that enhances the overall eating experience.
Step 5: The Crucial Resting Period
The moment of truth has arrived, but before you slice into your perfectly roasted chicken breasts, there is one final, non-negotiable step: resting. This period of repose is as vital to the final outcome as the brining and baking itself.
Upon removing the chicken from the oven, transfer the breasts to a clean cutting board. Avoid the temptation to cut into them immediately. Instead, let them rest, uncovered, for at least 5 to 10 minutes. During the cooking process, the muscle fibers in the chicken tighten, forcing the juices towards the center. If you cut into the chicken right away, these precious juices will escape onto the cutting board, leaving you with dry meat.
By allowing the chicken to rest, you give the muscle fibers time to relax and reabsorb those juices. This redistribution of moisture throughout the meat is what guarantees a tender, succulent bite. Think of it as letting the chicken finish its cooking process internally, ensuring every part of the breast is infused with flavor and moisture. This simple act of patience will pay immense dividends in the final taste and texture of your dish.
Step 6: Serving Your Masterpiece
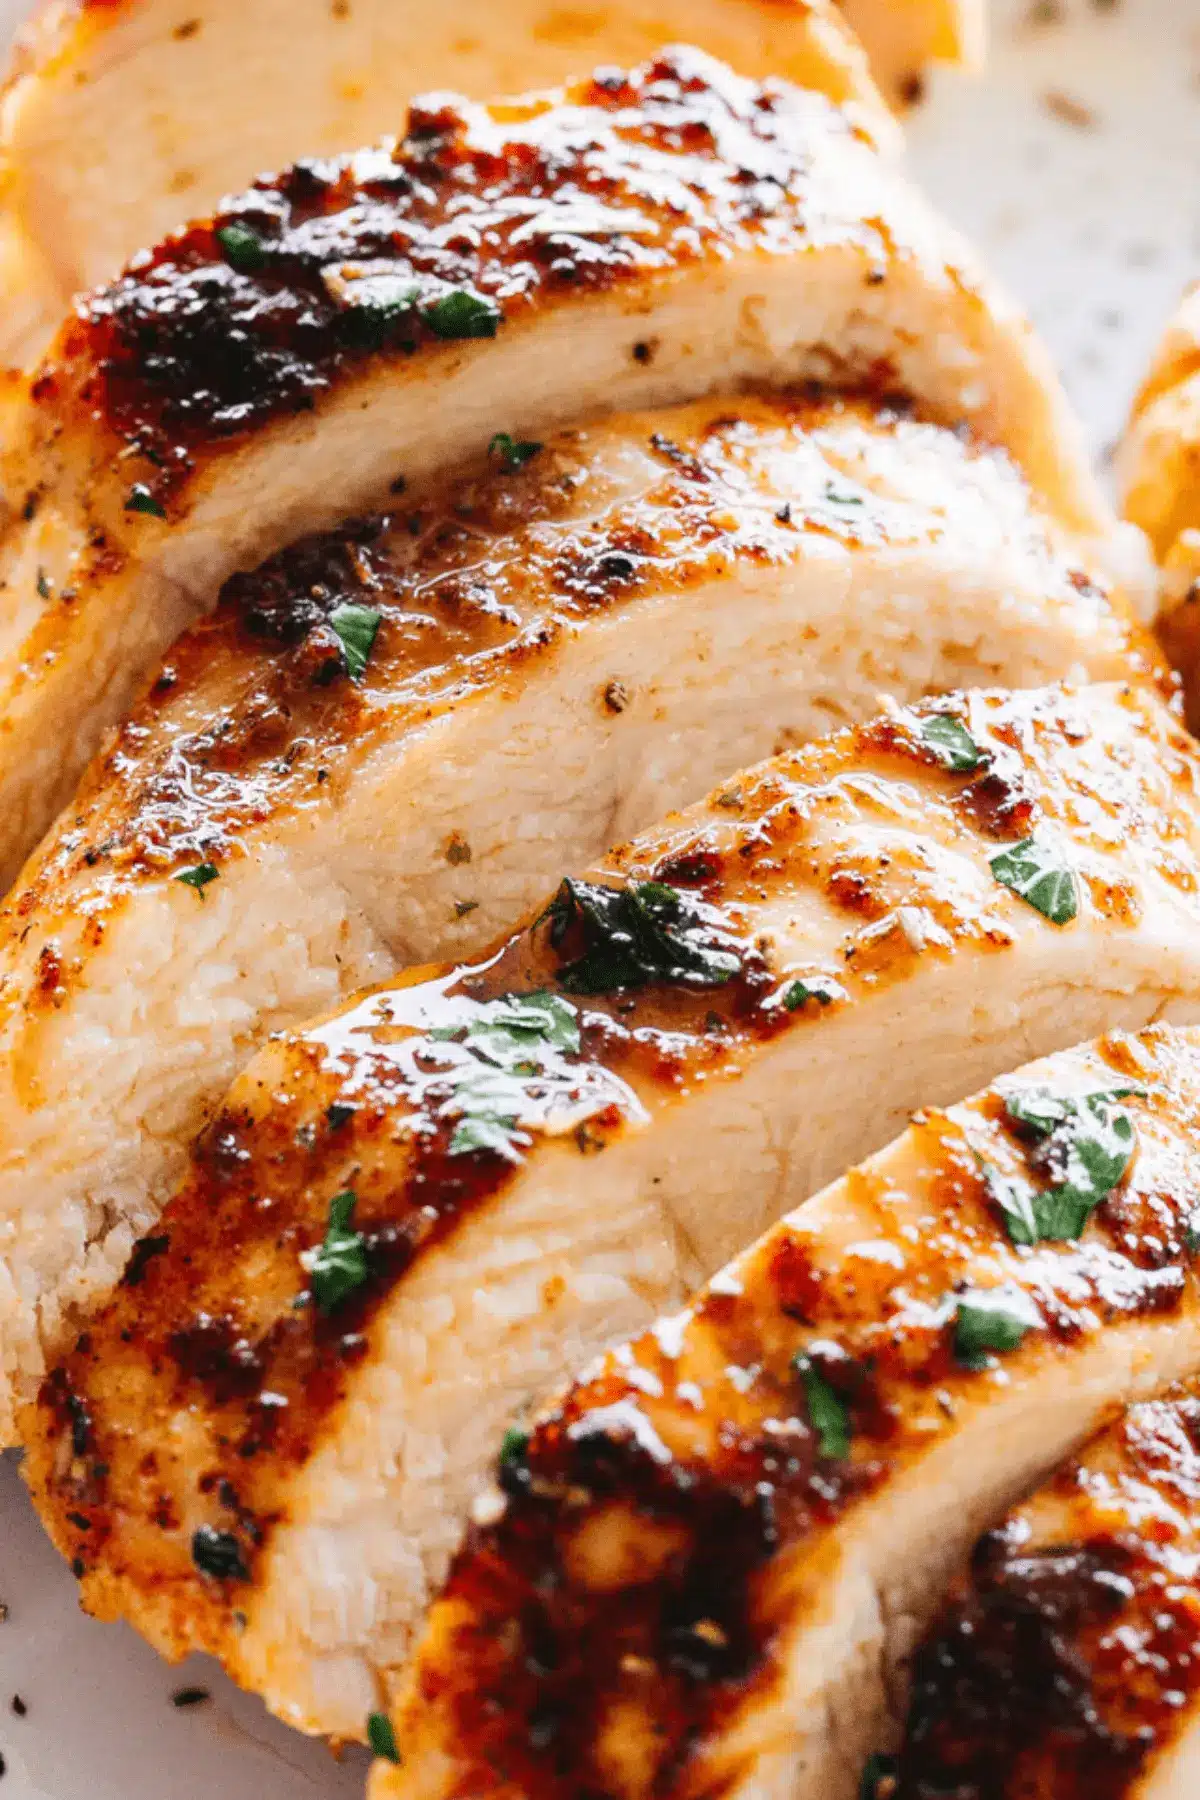
With your oven-roasted chicken breasts perfectly rested and beautifully browned, they are ready to be presented as the star of your meal. Whether you’re serving them whole or sliced, the presentation enhances the enjoyment of this delicious dish.
Consider garnishing the platter with a sprinkle of fresh chopped parsley. The vibrant green adds a pop of color and a hint of fresh, herbaceous aroma that complements the savory chicken. This simple touch elevates the dish from everyday to elegant.
Serve the chicken breasts immediately while they are warm and at their most succulent. The aroma alone will be enough to entice your diners. The juicy interior, combined with the flavorful exterior, creates a truly satisfying culinary experience that’s perfect for any occasion. This is the culmination of a simple yet highly effective cooking method.
Pro Tips for oven roasted chicken breast
Achieving consistently perfect oven-roasted chicken breasts is all about understanding a few key principles. Here are some expert tips to ensure your chicken is always moist, tender, and bursting with flavor. They go beyond the basic steps to help you master this versatile dish.
Invest in a Reliable Meat Thermometer: This is arguably the single most important tool for cooking chicken breasts perfectly. Overcooking is the primary culprit behind dry chicken, and an instant-read thermometer takes the guesswork out of it. Aim to remove the chicken from the oven as soon as it registers an internal temperature of 165°F (74°C) in the thickest part. Remember, it will continue to cook slightly as it rests.
Don’t Skip the Resting Period: As emphasized in the preparation steps, allowing the chicken to rest for at least 5-10 minutes after cooking is crucial. This allows the juices to redistribute throughout the meat, ensuring that every slice is moist and flavorful. Cutting too soon is a surefire way to lose all that hard-earned moisture.
Uniform Thickness is Key: Chicken breasts naturally vary in thickness. If you have significantly thick and thin breasts in the same batch, they will cook at different rates. To ensure even cooking, consider placing the thicker parts between two sheets of plastic wrap and gently pounding them with a meat mallet or rolling pin until they reach a more uniform thickness. This simple preparation step will lead to more consistent results.
Experiment with Seasonings: While the provided spice blend is excellent, don’t be afraid to get creative. Try different combinations of herbs and spices based on your preferences or the cuisine you’re aiming for. Smoked paprika, za’atar, Italian herbs, or even a touch of curry powder can all transform the flavor profile. Just be mindful of salt content if you’re using pre-made spice blends.
Consider the Brine Time: While 20 minutes to 2 hours is a great window for brining chicken breasts, you can also brine them for longer periods if needed, especially if you’re not using a very high salt concentration. However, for chicken breasts, it’s generally best not to exceed 4-6 hours in a refrigerator brine, as they can absorb too much salt and become unpleasantly seasoned. The 20-minute to 2-hour range is ideal for most situations, providing a significant boost in moisture and tenderness.
Serving Suggestions for oven roasted chicken breast
Decoration
The visual appeal of your oven-roasted chicken breast can be as enticing as its taste. Simple garnishes can elevate the presentation significantly. Freshly chopped parsley offers a burst of vibrant green and a delicate, fresh aroma that brightens the entire dish.
Other excellent options include a sprinkle of fresh chives, which provide a mild oniony flavor and a delicate green color. A scattering of toasted sesame seeds can add a lovely nutty crunch and a sophisticated look, especially if serving with an Asian-inspired seasoning blend. For a touch of elegance, a few sprigs of fresh rosemary or thyme can be placed artfully on the platter, hinting at the aromatic herbs used in the cooking process.
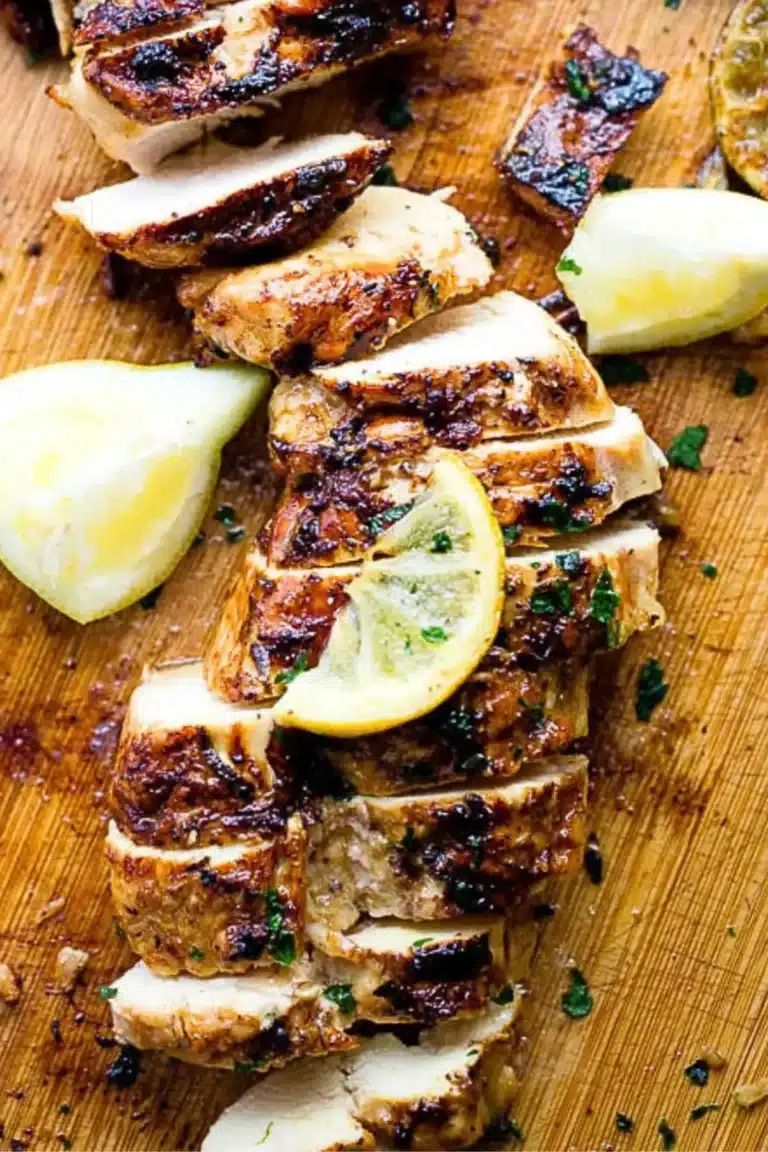
A drizzle of a complementary sauce, such as a light lemon-herb vinaigrette or a garlic-infused olive oil, can also add both visual appeal and an extra layer of flavor. Consider arranging slices of fresh lemon or lime wedges around the chicken for a zesty and refreshing aesthetic.
Side Dishes
Oven-roasted chicken breast is incredibly versatile and pairs beautifully with a wide array of side dishes. For a classic and comforting meal, consider serving it with creamy mashed potatoes or a fluffy pilaf. These starchy companions are perfect for soaking up any delicious pan juices.
Vegetable sides offer a delightful contrast in texture and a boost of nutrients. Roasted asparagus or broccoli, with their slightly crisp texture and earthy flavors, complement the chicken wonderfully. A vibrant mixed green salad with a light vinaigrette adds freshness and a welcome lightness to the plate. For a heartier vegetable option, consider balsamic-glazed Brussels sprouts or a medley of roasted root vegetables like carrots, parsnips, and sweet potatoes.
If you’re aiming for a lighter meal, a quinoa salad with chopped vegetables and herbs or a fresh caprese salad would be excellent choices. These options provide a delightful balance of flavors and textures that make for a complete and satisfying dining experience.
Creative Serving Ideas
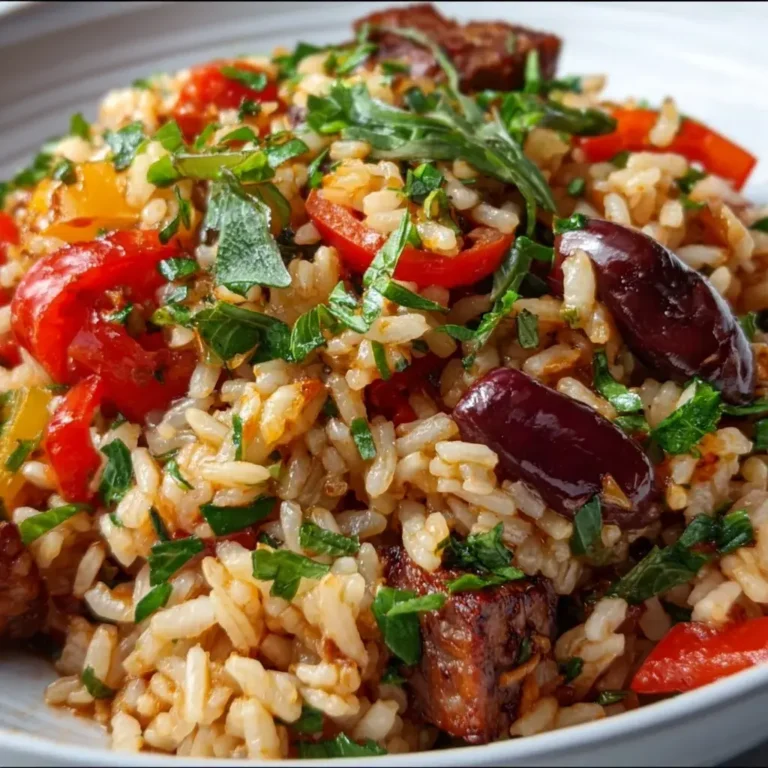
Beyond serving the chicken breasts whole, their tender, juicy nature makes them perfect for a variety of creative preparations. Slice them thinly and use them as the protein base for vibrant grain bowls, layering with roasted vegetables, hummus, and a drizzle of tahini dressing.
Shredded or diced chicken breasts are ideal for adding to salads, sandwiches, or wraps. Imagine a hearty chicken salad sandwich, a flavorful chicken Caesar wrap, or even as a filling for savory tacos or enchiladas. They are also excellent additions to soups, stews, or casseroles, providing lean protein without altering the dish’s texture significantly.
For a more elegant presentation, slice the chicken breasts and fan them out on the plate, perhaps with a dollop of a complementary sauce like a mushroom cream sauce or a simple pan jus. They can also be incorporated into dishes like chicken parmesan, layered with marinara sauce and cheese, or added to pasta dishes for a complete meal.
Preparation & Storage
Storing Leftovers
One of the greatest advantages of this oven-roasted chicken breast recipe is its excellent shelf life for leftovers. Properly stored, the chicken remains wonderfully moist and flavorful for several days, making it a perfect component for meal prep.
Once the chicken has cooled completely, transfer it to an airtight container. You can store the chicken breasts whole, sliced, or diced, depending on how you anticipate using them next. Place the container in the refrigerator. When stored correctly, these roasted chicken breasts will maintain their quality and deliciousness for up to 4 days.
This makes them an incredibly convenient option for lunches, quick dinners, or as a protein boost for salads and other dishes throughout the week. The brining and careful cooking process ensures that even after refrigeration, the chicken retains its tender texture and satisfying moisture.
Freezing
For longer-term storage, oven-roasted chicken breasts can be successfully frozen. This is an excellent way to stock up on pre-cooked protein for future meals, saving time and effort down the line. Ensure the chicken is completely cooled before proceeding with the freezing process.
To freeze, wrap each chicken breast individually and tightly in plastic wrap. This initial wrapping helps to prevent freezer burn. For added protection and to keep the chicken even fresher, you can then wrap the individually wrapped breasts again in aluminum foil or place them inside a heavy-duty freezer bag. Squeeze out as much air as possible from the freezer bag before sealing.
Properly frozen cooked chicken can last in the freezer for approximately 3 to 4 months. When you’re ready to use them, it’s best to thaw the chicken in the refrigerator overnight. This slow thawing process helps to maintain the chicken’s moisture and texture.
Reheating
Reheating oven-roasted chicken breasts requires a gentle approach to preserve their succulence and prevent them from becoming dry. The goal is to warm them through without overcooking them, which can easily happen with lean chicken.
The best method for reheating is on the stovetop. Place the cold chicken breasts (whole or sliced) in a skillet. Add a small amount of liquid, such as a tablespoon or two of water, chicken broth, or a pat of butter. Cover the skillet tightly with a lid. Heat over low to medium-low heat, allowing the chicken to gently steam and warm through. This method ensures that the chicken stays moist and tender.
Alternatively, you can reheat them in the oven at a low temperature (around 300-325°F or 150-160°C), covered with foil to retain moisture. Avoid microwaving them on high power for extended periods, as this can quickly lead to a rubbery texture. For both stovetop and oven reheating, start checking for warmth after about 5-10 minutes, and continue until heated through, being careful not to overheat.
Frequently Asked Questions
-
Can I brine the chicken breasts for longer than the recommended time, and can I freeze them after brining?
Yes, you can certainly brine chicken breasts for longer than the initial 20 minutes, and up to a few hours, to enhance tenderness and moisture. However, it’s important to be cautious with very long brining times, especially for boneless, skinless breasts, as they can absorb too much salt and become overly seasoned. For freezing after brining, it’s a great make-ahead strategy. Ensure you drain the brining solution completely from the chicken breasts before placing them in freezer-safe bags or containers. This prevents excess ice crystals from forming and maintains the quality of the chicken. Thaw them thoroughly in the refrigerator before cooking to ensure they cook evenly.
-
What is the optimal oven temperature and cooking time for boneless, skinless chicken breasts, and how do I ensure they are cooked through without being dry?
For oven-roasted chicken breasts, a high temperature of 425°F (220°C) is recommended for about 20-25 minutes. This high heat helps to sear the outside quickly, locking in juices. The absolute best way to ensure they are cooked through without being dry is by using an instant-read meat thermometer. Insert it into the thickest part of the chicken breast; it is perfectly cooked when it reaches an internal temperature of 165°F (74°C). It’s advisable to start checking around the 20-minute mark, as thinner breasts will cook faster. Remember to let the chicken rest for at least 5-10 minutes after removing it from the oven, as it will continue to cook slightly and the juices will redistribute.
-
Are there any specific types of salt recommended for brining, and what are the benefits of using lukewarm water for the brine?
For brining, common table salt or kosher salt works perfectly well; the key is the correct ratio of salt to water. Kosher salt has a less dense crystal structure, so you might use a little more by volume than table salt to achieve the same salinity. The benefit of using lukewarm water is twofold: it helps the salt dissolve more quickly and efficiently, creating a uniform brine solution. Additionally, it helps to bring the chicken breasts closer to room temperature, which contributes to more even cooking in the oven. A cold chicken breast placed into a hot oven can lead to uneven cooking, where the outside is done while the inside is still undercooked, or conversely, the outside overcooks before the inside is ready.