Garlic Butter Roasted Parsnips Recipe – Easy Thanksgiving Side Dish!

Discover the humble parsnip transformed into a culinary delight with this sensational roasted parsnip recipe. This dish promises a symphony of sweet, savory, and deeply aromatic flavors, perfectly complementing any meal, from a casual weeknight dinner to an elegant holiday feast. Get ready to elevate your side dish game with this incredibly simple yet remarkably delicious preparation that highlights the natural sweetness of parsnips.
Roasting is a magical technique that unlocks the inherent sweetness and complex notes within root vegetables, and these parsnips are a prime example of its power. They become tender, beautifully caramelized, and develop a depth of flavor that is simply irresistible. Whether you are a seasoned home cook or just beginning your culinary journey, this recipe is sure to become a beloved staple.
Why You Will Love This Recipe
- Effortless Elegance: These roasted parsnips offer a sophisticated flavor profile that belies their simple preparation, making them perfect for both everyday meals and special occasions.
- Naturally Sweet: Roasting caramelizes the parsnips, intensifying their natural sugars for a delightful sweet and savory balance that appeals to all palates.
- Quick Preparation: With minimal chopping and a straightforward roasting process, this dish comes together quickly, ideal for busy weeknights when you need a delicious side without fuss.
- Versatile Pairing: Their rich, slightly earthy flavor makes them an exceptional companion to a wide range of main courses, from roasted meats to poultry and even hearty vegetarian dishes.
- Aromatic Infusion: The combination of garlic and rosemary infuses the parsnips with an incredible fragrance and depth of flavor that enhances the overall dining experience.
Ingredients You Need
The beauty of this roasted parsnip recipe lies in its simplicity, utilizing a few high-quality ingredients to create an extraordinary side dish. Opt for fresh, firm parsnips for the best texture and flavor. The richness of butter, the pungent kick of fresh garlic, and the fragrant aroma of rosemary are key to achieving that perfect balance of taste and aroma. These elements work in harmony to create a dish that is both comforting and refined, proving that exceptional food doesn’t require complicated steps or rare ingredients. Remember, the quality of your ingredients directly impacts the final outcome, so choose wisely for a truly memorable culinary experience.
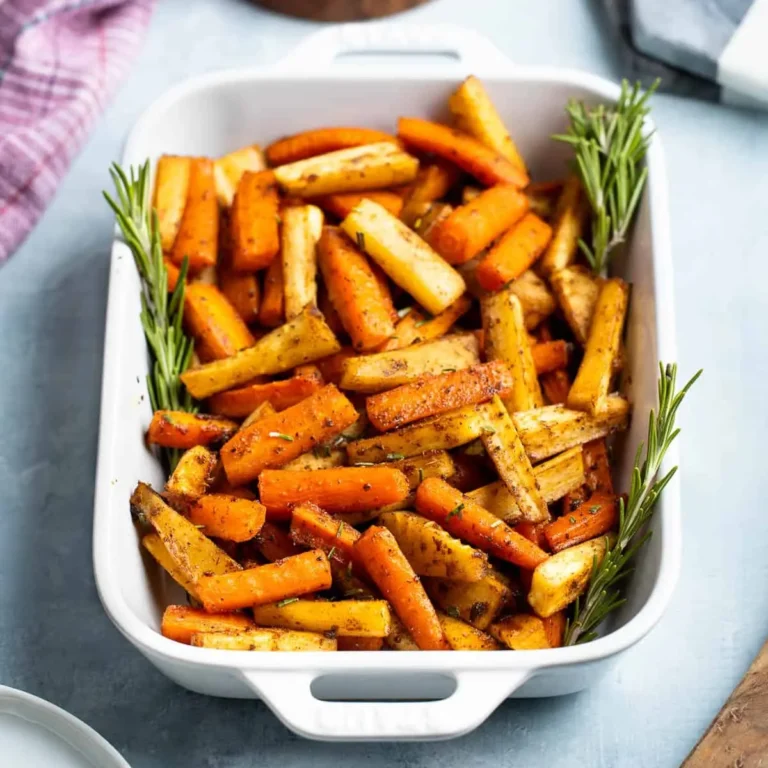
Roasted Parsnips with Garlic Butter
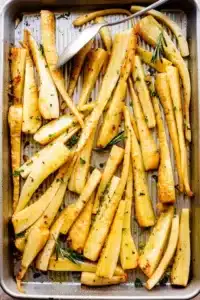
This recipe for roasted parsnips features sweet and tender parsnips coated in an easy, homemade garlic-butter sauce and roasted to perfection. They are a perfect side dish for weeknights or holiday dinners.
- 2 to 2½ pounds parsnips
- 5 tablespoons butter
- 4 cloves garlic, pressed or minced
- Chopped fresh parsley, for garnish
- Crushed red pepper flakes, for garnish, optional
- 1Preheat the oven to 450˚F and pull out a large rimmed baking sheet.
- 2Wash and optionally peel the parsnips. Cut the parsnips down the center, longwise. Then cut each half into 3 to 4 batons. From there, cut away any tough, woody core. Spread them out on your baking sheet and set aside.
- 3Melt the butter in a skillet set over medium heat. Stir in the garlic and cook for 20 to 30 seconds or until fragrant. Do not burn the garlic. Remove from the heat and stir in the rosemary.
- 4Pour the garlic butter over the parsnips. Season with salt and pepper, and toss to coat. Spread the parsnips out in a single layer and roast for 10 minutes.
- 5Stir the parsnips, then continue roasting for 8 to 10 more minutes, or until tender.
- 6Remove from oven. Taste the parsnips for salt and pepper, and adjust accordingly. Garnish with parsley and pepper flakes. Serve.
Keywords: parsnips, roasted parsnips, garlic butter, side dish, vegetarian, German
The precise quantities for each ingredient are detailed within the integrated recipe card, ensuring you have all the necessary information for a perfect result every time. A simple sprinkle of fresh parsley and optional red pepper flakes adds a final flourish of color and a hint of spice, enhancing both the visual appeal and the taste complexity of these delightful roasted parsnips.
Variations
Vegan Delight: For a completely plant-based version, simply swap the butter for a good quality olive oil or a vegan butter alternative. Ensure the olive oil is robust enough to stand up to the roasting process; a medium-bodied extra virgin olive oil works beautifully. You can also incorporate a teaspoon of nutritional yeast alongside the herbs and garlic for an added savory, cheesy note that vegans often crave. This simple substitution maintains the delicious caramelized sweetness of the parsnips while catering to dietary preferences.
Low-Carb Adaptation: Parsnips are naturally higher in carbohydrates than some other root vegetables, but you can still enjoy them in moderation on a low-carb plan. Focus on consuming smaller portions and pair them with lower-carb main dishes. For an interesting twist, consider incorporating Brussels sprouts or broccoli florets into the roasting pan alongside the parsnips. This adds volume and a different nutrient profile, making the overall dish more balanced for those watching their carb intake. The garlic butter sauce remains a low-carb friendly accompaniment.
Spiced & Exotic Twist: To introduce a more adventurous flavor profile, consider adding a pinch of warm spices during the roasting process. Smoked paprika lends a lovely smoky depth, while a touch of cumin can add an earthy, Middle Eastern flair. For a subtle heat and intriguing complexity, a tiny amount of ground ginger or coriander can also be delightful. Experiment with these spices, perhaps combined with a squeeze of lemon juice just before serving, to create a roasted parsnip dish with a truly global influence that surprises and delights the palate.
How to Prepare roasted parsnips
Step 1: Prepare the Oven and Baking Sheet
Begin by preheating your oven to a robust 450 degrees Fahrenheit (230 degrees Celsius). This high temperature is crucial for achieving that perfect caramelization and crisp exterior on the parsnips. Simultaneously, select a large, rimmed baking sheet; the rim is important to prevent any delicious garlic butter or rendered juices from spilling over during the roasting process. Ensure the baking sheet is large enough to accommodate all the parsnips without overcrowding, as this will lead to steaming rather than roasting.
A generously sized baking sheet allows each parsnip piece to have ample space, ensuring direct exposure to the hot oven air. This is fundamental for developing those coveted crispy edges and tender interiors. If you find your baking sheets are too small, consider using two instead of cramming everything onto one. Proper spacing is a cornerstone of achieving beautifully roasted vegetables every single time, preventing them from becoming soggy or unevenly cooked.
Once the oven is preheated and the baking sheet is ready, you can proceed to preparing the star of the show: the parsnips. Having your oven at the correct temperature from the outset ensures that the parsnips begin to roast immediately upon entering the heat, facilitating a more efficient and effective cooking process. This initial high heat blast is key to achieving the desired texture and flavor profile.
Step 2: Preparing the Parsnips
Start by thoroughly washing the parsnips under cool running water. This removes any residual dirt from their time in the soil. You then have the option to peel them or leave the skin on. For smaller, fresher parsnips, especially organic ones, scrubbing them well with a vegetable brush is often sufficient, and leaving the skin on adds a rustic charm and extra nutrients. However, if your parsnips are larger or have any blemishes, peeling them with a vegetable peeler is recommended to ensure a more uniform texture and to remove any potential bitterness from the skin.
Next, trim off the woody ends of the parsnips. Then, cut the parsnips lengthwise into halves or quarters, depending on their thickness. For more uniform cooking, aim for pieces that are roughly the same size. Subsequently, cut each of these larger pieces into batons or fries, approximately 3 to 4 inches long and about ½ inch thick. This shape ensures they cook evenly and achieve a pleasing texture, with crispy edges and a tender core. If you encounter any tough, woody core within larger parsnips, carefully cut it out and discard it to maintain the best eating quality.
Once all the parsnips are cut into uniform batons, gently spread them out in a single layer on the prepared baking sheet. It is absolutely critical that the parsnips are not piled on top of each other. This spacing allows the hot air to circulate freely around each piece, promoting even browning and caramelization. Overcrowding the pan will result in steamed parsnips rather than deliciously roasted ones, so do not skip this important step. Ensure there’s a little room between each piece for optimal results.
Step 3: Crafting the Garlic Butter Sauce
In a small skillet, melt the butter over medium heat. The butter should be gently heated until it is fully liquid and starts to shimmer, but it should not brown or smoke. This gentle melting process ensures the butter is the perfect base for infusing flavors without burning the delicate garlic that will be added next. Keep the heat steady and controlled to achieve the best aromatic release from the garlic and herbs.
Once the butter is melted, add the minced garlic. Sauté the garlic for approximately 20 to 30 seconds, stirring constantly. The goal here is to release the fragrant oils from the garlic, infusing the butter with its pungent flavor, but it is crucial not to let the garlic burn. Burnt garlic will impart a bitter, unpleasant taste to the entire dish. As soon as you smell its potent aroma, it’s time to move to the next step. Stirring continuously is key to preventing localized hotspots that could scorch the garlic.
Immediately after sautéing the garlic, remove the skillet from the heat. Stir in the minced fresh rosemary, or your chosen alternative fresh herbs. The residual heat from the butter will gently warm the herbs, releasing their essential oils and fragrant aromas without cooking them too intensely. This method ensures the herbs retain their fresh, vibrant flavor. This aromatic garlic butter mixture is now ready to be generously poured over the prepared parsnips, promising a burst of deliciousness with every bite.
Step 4: Coating and Initial Roasting
Carefully pour the fragrant garlic butter mixture evenly over the parsnips that have been spread out on the baking sheet. Ensure that every parsnip baton is lightly coated with the flavorful butter. This step is essential for ensuring that the seasonings distribute properly and that the parsnips cook in a flavorful medium, promoting even browning and deliciousness. Use a spatula or your hands (if comfortable) to gently toss the parsnips, ensuring each piece is glistening with the garlic butter.
Once the parsnips are thoroughly coated, season them generously with salt and freshly ground black pepper according to your taste preferences. The salt will help to draw out moisture, aiding in the caramelization process, while the pepper adds a subtle warmth and complexity. After seasoning, redistribute the parsnips on the baking sheet, making sure they are still in a single layer with a little space between each piece for optimal air circulation. This spacing is crucial for achieving crispy edges rather than soft, steamed ones.
Now, carefully place the baking sheet into the preheated 450°F (230°C) oven. Allow the parsnips to roast for exactly 10 minutes. During this initial roasting period, the high heat will begin to soften the parsnips and start the process of caramelization, forming the initial layers of delicious browning. Keep a close eye on them, as ovens can vary in temperature, and you want to begin developing that golden hue without any burning.
Step 5: The Second Roast and Final Touches
After the initial 10 minutes of roasting, carefully remove the baking sheet from the oven. Using a spatula, gently stir and flip the parsnips. This crucial step ensures that all sides of the parsnips get exposed to the direct heat, promoting even browning and achieving a beautifully roasted texture all around. It breaks up any pieces that might be sticking slightly and ensures uniform cooking. This flipping action is key to achieving that desirable golden-brown finish on all surfaces.
Return the baking sheet to the oven and continue to roast for another 8 to 10 minutes. The exact time will depend on the thickness of your parsnip batons and how tender you prefer them. Check for doneness by piercing a piece with a fork or a sharp knife; it should slide in easily, indicating that the parsnips are tender throughout. You are looking for a lovely caramelized exterior with a soft, yielding interior. The goal is a perfect balance between tender and slightly crisp.
Once the parsnips have reached your desired level of tenderness and have a beautiful golden-brown hue, carefully remove the baking sheet from the oven. Taste one or two of the roasted parsnips and adjust the seasoning with additional salt and pepper if needed. Finally, garnish the roasted parsnips with freshly chopped parsley for a burst of color and freshness, and optionally, a sprinkle of crushed red pepper flakes for a hint of gentle heat. Serve immediately and enjoy the delightful flavors and textures.
Pro Tips for roasted parsnips
Choose Wisely: Size Matters for Tenderness. When selecting parsnips from the grocery store or farmer’s market, aim for smaller to medium-sized specimens. These tend to be sweeter and have tender cores that are easily edible. Larger parsnips are more prone to developing a tough, woody center that can be unpalatable and requires extra effort to trim away, leading to more waste. Smaller parsnips also cook more evenly and quickly, contributing to a better overall result.
Embrace the Peel: A Matter of Preference and Quality. While peeling parsnips is a common practice, it is not always necessary, especially if you are using small, fresh parsnips. If they are well-scrubbed, much like carrots or new potatoes, the skin can be left on. The peel adds a rustic texture and contains valuable nutrients. However, if you find the flavor of the peel too strong, or if the parsnips are not pristine, then peeling is certainly the way to go for a smoother eating experience. Ultimately, it’s a personal choice that impacts texture and appearance.
Uniformity is Key: Cut for Even Cooking. To ensure that your parsnips cook evenly and achieve that perfect tender-crisp texture, cutting them into uniform pieces is paramount. Aim for consistent thickness in your batons or wedges. This means that all pieces will be exposed to the oven’s heat in a similar manner, preventing some from becoming mushy while others remain undercooked. Taking a few extra moments to ensure consistent sizing will significantly improve the final outcome of your roasted parsnips, making them a consistently delicious side.
Don’t Crowd the Pan: Allow for Airflow. This is perhaps one of the most critical tips for achieving truly spectacular roasted vegetables. Ensure that your parsnips are spread out in a single layer on the baking sheet with a little space between each piece. Overcrowding the pan will cause the parsnips to steam rather than roast, leading to a softer, less desirable texture and preventing the formation of those delicious caramelized edges. Ample airflow is the secret to achieving crispy, golden-brown perfection.
Mid-Roast Flip for Golden Perfection: The Turning Point. For evenly browned and beautifully caramelized parsnips on all sides, remember to give them a gentle stir or flip halfway through the roasting process. This simple action ensures that each surface of the parsnip gets its turn to bask in the oven’s heat, developing a rich, golden-brown hue and a slightly crisp exterior. This mid-roast turn is essential for achieving that desirable texture and appearance that makes roasted parsnips so appealing.
Serving Suggestions for roasted parsnips
Decoration
A final flourish of chopped fresh parsley adds a vibrant splash of green, offering a beautiful visual contrast to the golden-brown parsnips. This simple garnish not only enhances the aesthetic appeal of the dish but also provides a hint of fresh, herbaceous flavor that brightens the overall taste profile. For those who enjoy a touch of subtle heat, a light scattering of crushed red pepper flakes can add a visually appealing speckled effect and a whisper of spice, enhancing the visual and gustatory experience without overpowering the delicate flavors of the parsnips.
Side Dishes
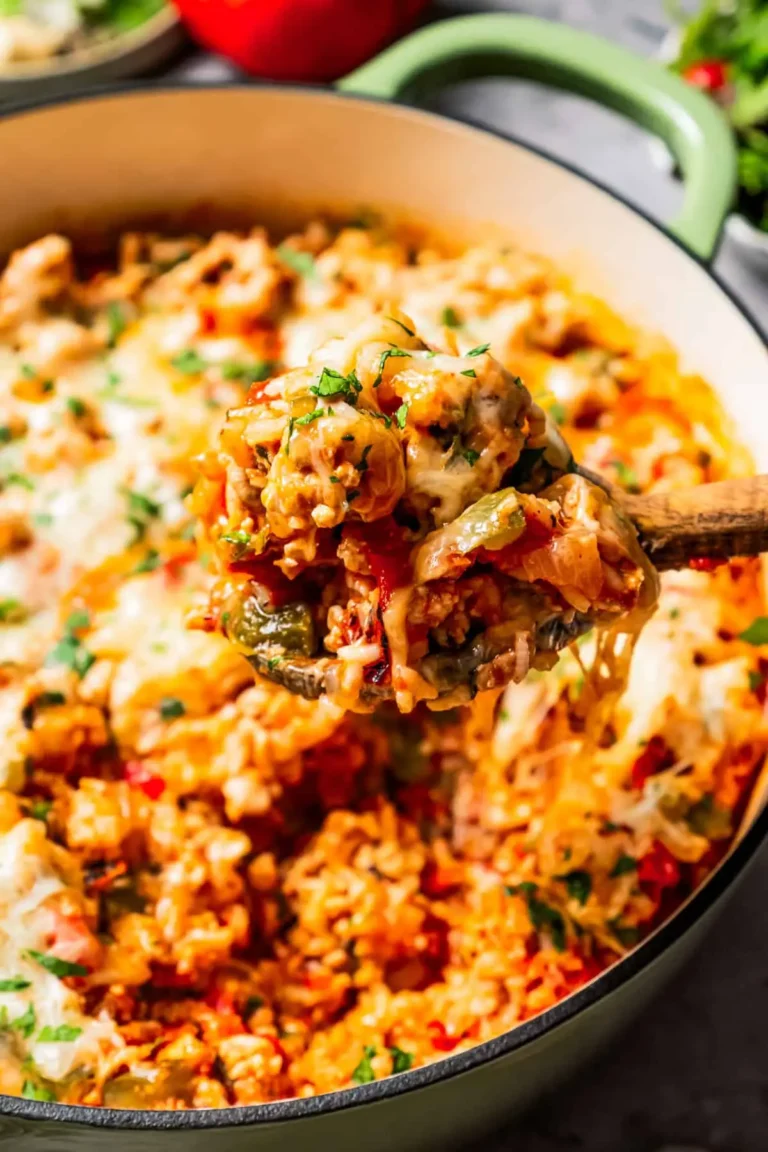
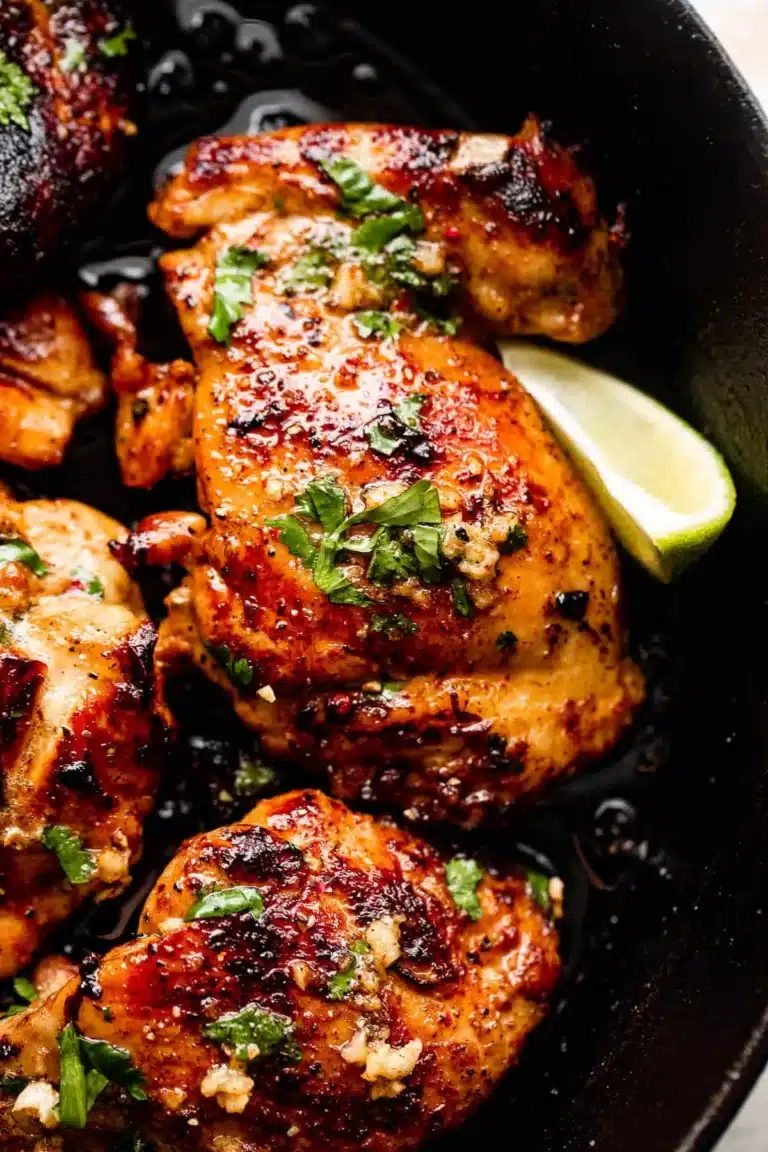
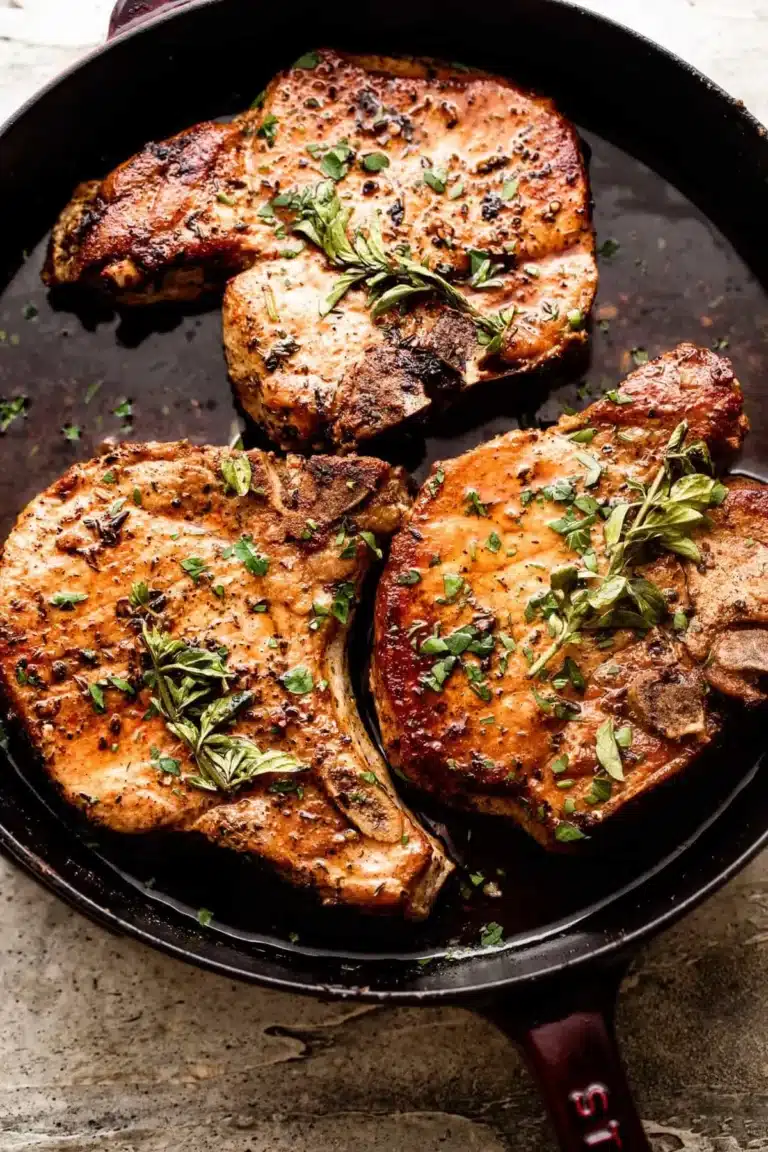
These roasted parsnips are an exquisite accompaniment to a classic baked lemon chicken, their inherent sweetness and savory garlic notes providing a perfect counterpoint to the bright citrus and tender poultry. They also pair exceptionally well with robust flavors, such as a hearty easy lobster bisque or a comforting meatloaf, adding a refined yet accessible element to the meal. Consider serving them alongside a perfectly roasted pork loin or a pan-seared steak for a truly satisfying dinner experience that feels both elegant and approachable.
Creative Serving Ideas
For a delightful brunch option, consider incorporating these roasted parsnips into a frittata or a savory tart, adding a unique sweetness and tender texture. They can also be mashed with a touch of cream and nutmeg to create a sophisticated alternative to mashed potatoes, offering a subtle nutty flavor. Another idea is to toss them with a simple vinaigrette and some toasted nuts for a warm, flavorful salad that bridges the gap between a side dish and a light appetizer, showcasing their versatility beyond traditional accompaniments.
Preparation & Storage
Storing Leftovers
Once cooled completely, any leftover roasted parsnips should be transferred to an airtight container. This helps to maintain their moisture and prevent them from drying out in the refrigerator. Store them in the fridge for up to three days. The refrigeration process will slightly alter their texture, making them a bit softer, but they will still retain a good portion of their delicious flavor, making them perfect for repurposing.
Freezing
Roasted parsnips can be frozen for longer storage, ideally for up to three months. Ensure they are cooled thoroughly before placing them in freezer-safe bags or containers. To prevent them from sticking together in clumps, you can flash-freeze them on a baking sheet for about an hour before transferring them to their final storage container. This initial freeze helps to maintain their individual shapes and makes them easier to portion out later.
Reheating
The best method for reheating roasted parsnips is to spread them in a single layer on a baking sheet and bake them in a preheated oven at around 450°F (230°C) for about 3 to 5 minutes. This high heat helps to revive their crispness and warmth, bringing them closer to their original texture. Alternatively, they can be reheated gently in a skillet over medium heat with a small amount of butter or oil, stirring occasionally, until heated through and slightly crisped.
Frequently Asked Questions
-
Can I use frozen parsnips for this recipe?
While fresh parsnips are generally recommended for the best texture and flavor, you can use frozen parsnips if necessary. However, it’s important to note that frozen parsnips tend to release more moisture when thawed and cooked. You should thaw them completely before cooking, and then pat them thoroughly dry with paper towels to remove as much excess water as possible. Be prepared for a slightly softer texture compared to using fresh parsnips, and you may need to adjust the roasting time slightly, potentially reducing it to avoid overcooking.
-
What herbs can I substitute for rosemary in this roasted parsnip recipe?
Rosemary offers a distinctive piney, slightly peppery aroma that pairs wonderfully with parsnips, but there are several other herbs that work beautifully as substitutes. Fresh thyme is an excellent choice, providing an earthy, slightly minty note that is very complementary. Fresh sage offers a more robust, savory flavor that can add a rich depth. For a lighter, more delicate option, finely chopped fresh parsley or chives can be used, though they offer a milder flavor profile. You can also experiment with a blend of herbs, such as rosemary and thyme together, for a more complex aromatic experience.
-
My parsnips are not caramelizing properly; what could be the issue?
Several factors can prevent parsnips from caramelizing effectively. Firstly, ensure your oven is accurately preheated to 450°F (230°C); lower temperatures will not produce sufficient caramelization. Secondly, make sure the parsnips are cut into reasonably uniform pieces and are spread in a single layer on the baking sheet, allowing for proper airflow. Overcrowding the pan is a common culprit, as it leads to steaming instead of roasting. Also, ensure the parsnips are not overly wet before roasting; excess moisture hinders browning. Finally, the natural sugar content of parsnips can vary, so some may caramelize faster than others. Patience and ensuring the correct roasting environment are key.