
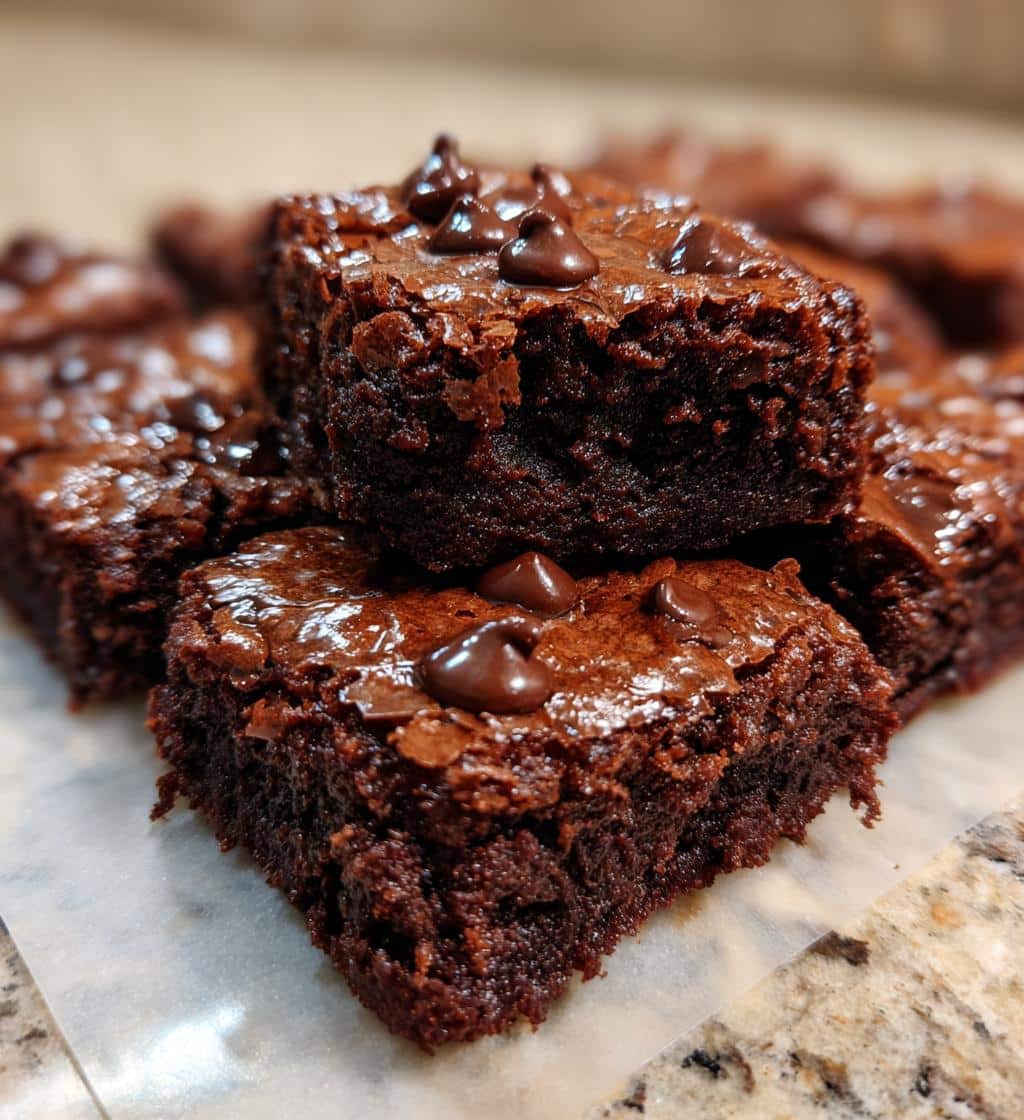
Lunchroom Ladies Brownies are a beloved classic, conjuring nostalgic memories of school days and simple, sweet pleasures. This easy-to-follow recipe brings that perfect fudgy, chewy texture right into your kitchen. Prepare to bake a delightful chocolate treat that tastes just like the cherished original, perfect for any sweet craving.
Key Takeaways
- Recreate classic, fudgy brownies reminiscent of school lunchrooms with ease.
- Utilize simple, everyday ingredients and straightforward steps for baking success.
- Master the art of proper baking, cooling, and storage to achieve the perfect brownie texture.
- Enjoy a versatile chocolate treat that’s ideal for any occasion, from family desserts to quick snacks.
These brownies offer pure joy. They bring back happy memories for many. Simple ingredients yield incredible taste. Everyone loves a good chocolate brownie. Bake a batch today for family.
About Lunchroom Ladies Brownies
The Lunchroom Ladies Brownies hold a special place in the hearts of many, evoking a powerful sense of nostalgia for simpler times. These are not just any brownies; they are the quintessential chocolate brownies that were often the highlight of school lunch. Their reputation stems from a consistent, comforting flavor and a perfect texture that balances fudginess with a delightful chew. This iconic dessert, deeply ingrained in American culinary memory, delivers a simple yet profound satisfaction with every bite. If you’re looking for more delightful sweet recipes, check out our dedicated desserts category.
Why They Are Loved
What makes these brownies so universally cherished? It’s a combination of factors. First, their incredible consistency – a dense, moist, and perfectly fudgy interior with a slightly crisp top crust that cracks just so. Second, the rich, deeply satisfying chocolate flavor isn’t overly sweet, striking a harmonious balance that appeals to all ages. Lastly, there’s the emotional connection. For many, these brownies are a taste of childhood, a reminder of innocent days and happy moments shared around a school cafeteria table. They represent comfort food at its finest, a reliable source of simple joy that transcends generations.
Quick Recipe Overview
This recipe for Lunchroom Ladies Brownies is surprisingly straightforward, making it accessible for bakers of all skill levels. The process involves a few key stages: melting butter and chocolate, combining wet and dry ingredients with care, baking until just set, and the crucial step of proper cooling. We’ll walk you through preparing your pan, mixing the batter to achieve that signature fudgy texture, and ensuring they’re baked to perfection. The beauty of this recipe lies in its simplicity, yielding consistently delicious results that taste just like you remember, without any fuss or complex techniques. Prepare to enjoy a truly classic treat.
Why Make These Amazing Brownies
Making Lunchroom Ladies Brownies at home offers a multitude of benefits that extend beyond simply satisfying a sweet tooth. Firstly, the joy of recreating a beloved classic in your own kitchen is incredibly rewarding. You get to control the quality of ingredients, ensuring a fresh, wholesome treat free from preservatives. These brownies are an absolute crowd-pleaser, perfect for school bake sales, family gatherings, potlucks, or simply as a comforting afternoon snack. Their familiar taste brings a sense of warmth and happiness, making them an ideal choice when you need a reliable, delicious dessert that everyone will adore.
Beyond nostalgia, these brownies are incredibly versatile. You can enjoy them plain, warmed with a scoop of vanilla ice cream, or drizzled with caramel sauce. They make thoughtful homemade gifts and are perfect for meal prepping a week’s worth of delightful treats. Plus, the aroma of baking chocolate filling your home is a treat in itself! They are also relatively inexpensive to make, offering a gourmet taste without the gourmet price tag. Opting for homemade means you can adjust sweetness levels or add extra chocolate chips to customize them to your exact preference. For more sweet inspiration, be sure to follow Carina Recipes on Pinterest!
Ingredients for Pure Bliss Brownies
Crafting the perfect Lunchroom Ladies Brownies begins with selecting the right ingredients. The magic of these brownies lies in their simple yet effective composition, where each component plays a vital role in achieving that signature fudgy and chewy texture. Quality ingredients don’t necessarily mean expensive ones; often, it just means choosing fresh, standard pantry staples. Pay attention to the types of chocolate and fats, as they greatly influence the final taste and consistency of your brownies.
Wet Ingredients List
- Unsalted Butter: The foundation of fudginess. Using unsalted butter allows you to control the overall salt content of the recipe.
- Granulated Sugar: Provides sweetness and contributes to the moist texture.
- Brown Sugar (lightly packed): Adds a deeper, molasses-rich flavor and enhances chewiness.
- Large Eggs: Act as a binder, provide structure, and contribute to the richness and moistness.
- Vanilla Extract: A crucial flavor enhancer that elevates the chocolate notes.
Dry Ingredients List
- All-Purpose Flour: Provides structure. Over-measuring or over-mixing can lead to cakey brownies, so measure carefully.
- Unsweetened Cocoa Powder: The primary source of rich chocolate flavor. A good quality cocoa powder makes a significant difference.
- Salt: Balances the sweetness and amplifies the chocolate flavor. Don’t skip it!
The Chocolatey Touch
For an extra layer of decadence and texture, chocolate chips are a must. Semi-sweet chocolate chips are typically recommended as they melt beautifully and provide small pockets of melted chocolate throughout the brownies. You could also experiment with milk chocolate chips for a sweeter brownie or dark chocolate chips for a more intense chocolate experience. The combination of cocoa powder and chocolate chips ensures a multifaceted chocolate flavor that is truly irresistible. If you love chocolate and peanut butter together, you might also enjoy our Peanut Butter Brownie Swirl Cookies.
Tools for Your Brownie Bliss
Having the right tools on hand can make the brownie-making process smooth and enjoyable. You don’t need a professional kitchen setup, but a few essential pieces of baking gear will ensure you achieve perfect results every time. Proper preparation starts with gathering all your equipment before you even begin measuring ingredients. This ensures you’re not scrambling mid-recipe, which can lead to mistakes.
Essential Baking Gear
- 9×13-inch Baking Pan: A heavy-bottomed metal pan is ideal for even heat distribution. Glass pans can work but may require a slight adjustment in baking time or temperature.
- Parchment Paper: Absolutely crucial for easy removal of the brownies and clean cuts. Lining the pan with parchment paper that overhangs the sides creates “slings” to lift the cooled brownies out effortlessly.
- Mixing Bowls (Large and Medium): You’ll need at least two bowls for separating wet and dry ingredients.
- Whisk: For combining dry ingredients and light whisking of wet ingredients.
- Rubber Spatula: Essential for scraping down the sides of bowls and gently folding in ingredients without overmixing.
- Measuring Cups and Spoons: Accurate measurements are key in baking; invest in a reliable set.
- Small Saucepan or Microwave-Safe Bowl: For melting butter.
- Wire Cooling Rack: Critical for allowing brownies to cool completely and evenly, preventing them from becoming soggy on the bottom.
With these basic tools, you’re well-equipped to create delicious Lunchroom Ladies Brownies that will impress everyone.
Making Lunchroom Ladies Brownies
Embarking on the creation of Lunchroom Ladies Brownies is a delightful journey that promises a rich, chocolatey reward. The process, while straightforward, benefits from attention to detail at each stage. From precise ingredient preparation to careful mixing and accurate baking, every step contributes to the ultimate fudgy texture and intense flavor that defines these beloved treats. This section will provide a general overview of the entire baking process, setting the stage for the more detailed instructions that follow.
Step-by-Step Process
The journey to perfect brownies can be broken down into four main phases. First, you’ll focus on preparation, which involves preheating your oven and getting your baking pan ready. This is a critical foundation for successful baking. Second, you’ll move to creating the batter, meticulously combining your wet and dry ingredients to achieve the desired consistency without overmixing. The third phase is baking, where timing and temperature are paramount to ensure your brownies are perfectly cooked – moist and fudgy, not dry or cakey. Finally, the crucial phase of cooling and enjoying ensures that your brownies set properly and are ready for clean, perfect squares. Each phase builds upon the last, so taking your time and following the instructions carefully will lead to the best possible outcome.
Getting Ready to Bake
Proper preparation is the cornerstone of successful baking, and making Lunchroom Ladies Brownies is no exception. Taking a few moments to set up your workspace and prepare your ingredients will streamline the entire process, preventing common baking mishaps and ensuring a smooth experience from start to finish. These initial steps are simple but vital for achieving that perfect fudgy brownie texture and easy cleanup.
Oven and Pan Prep
Before you even think about mixing ingredients, preheat your oven to the specified temperature, usually around 350°F (175°C). Consistent oven temperature is crucial for even baking. Next, prepare your 9×13-inch baking pan. For easy removal and clean cuts, line the pan with parchment paper, leaving an overhang on the longer sides to create “slings.” Lightly grease the pan first to help the parchment stick. This simple trick will save you a lot of effort when it’s time to take your brownies out of the pan. The parchment also helps prevent the edges from over-baking, contributing to an overall moist brownie.
Melting the Butter
The first actual step in the recipe usually involves melting the butter. You can do this in a small saucepan over low heat on the stovetop, stirring constantly until fully melted. Alternatively, use a microwave-safe bowl and melt the butter in 20-30 second intervals, stirring in between, until smooth. Be careful not to overheat the butter, as this can affect the batter’s consistency later. Once melted, set it aside to cool slightly before combining with other wet ingredients. This prevents scrambling the eggs when they are added, ensuring a smooth and cohesive wet mixture for your decadent brownie batter.
Creating the Brownie Batter
The heart of any brownie recipe lies in its batter, and for Lunchroom Ladies Brownies, achieving the right consistency is key to their signature fudgy texture. This stage requires careful mixing to ensure all ingredients are well combined without overworking the gluten in the flour, which could lead to a tougher, cake-like brownie. Patience and gentle handling are your best allies here, guaranteeing a tender, moist interior.
Mixing Wet Together
Once your butter has cooled slightly, it’s time to combine the wet ingredients. In a large mixing bowl, whisk together the melted butter, granulated sugar, and brown sugar until smooth. Then, crack in the large eggs one at a time, whisking well after each addition until fully incorporated and the mixture is light and slightly thickened. Finish by stirring in the vanilla extract. This creates a rich, cohesive base for your brownies, contributing significantly to their deep flavor and moist crumb. Make sure to scrape down the sides of the bowl to ensure all ingredients are evenly mixed.
Combining Dry Mix
In a separate medium bowl, whisk together the all-purpose flour, unsweetened cocoa powder, and salt. This step ensures that the dry ingredients are evenly distributed, preventing pockets of unmixed flour or salt in the final batter. Once combined, gradually add the dry mixture to the wet ingredients. Mix using a rubber spatula or a wooden spoon until *just* combined. The most important rule here is to avoid overmixing. Overmixing develops gluten, which can result in tough, dry, or cakey brownies instead of the desired fudgy texture. A few streaks of flour are acceptable; they will disappear during baking.
Folding in Chips
Finally, it’s time for the chocolatey touch! Gently fold in your chosen chocolate chips (semi-sweet are classic, but feel free to experiment with milk or dark chocolate). Distribute them evenly throughout the batter. This step adds extra pockets of melted chocolate, enhancing the richness and texture of the brownies. Once the chips are incorporated, pour the batter into your prepared pan, spreading it evenly with the spatula. For more delicious dessert ideas, consider trying a Quick Italian Cream Cake, also a delightful treat. You can learn more about the science of chocolate itself, which is a fascinating topic.
Baking Your Delicious Brownies
Baking is where the magic happens, transforming simple batter into luscious Lunchroom Ladies Brownies. This stage is crucial, as both underbaking and overbaking can significantly impact the final texture. The goal is to achieve a perfectly fudgy center with set edges, ensuring every bite is moist and delectable. Paying close attention to bake time and doneness cues will yield exceptional results.
Proper Bake Time
Place your prepared pan in the preheated oven. The typical bake time for a 9×13-inch pan of these brownies is usually between 25 to 30 minutes, but this can vary depending on your oven and the specific depth of your pan. It’s always a good idea to start checking around the 25-minute mark. Overbaking is the arch-nemesis of fudgy brownies, as it can turn them dry and cake-like. Keep an eye on the edges, which should appear set, while the center might still look slightly moist.
Checking for Doneness
To determine if your brownies are perfectly baked, insert a toothpick into the center of the pan. For fudgy brownies, you want the toothpick to come out with moist crumbs attached, but not wet batter. If the toothpick comes out completely clean, your brownies are likely overbaked. If it comes out with wet batter, they need a few more minutes. The key is to remove them from the oven when they are just set, allowing residual heat to continue cooking them slightly as they cool, a process known as carryover cooking. This ensures the coveted gooey, fudgy texture. Don’t be afraid to pull them out when they still seem a tiny bit underdone in the very center – this is often the secret to incredible fudginess!
Cooling and Enjoying Brownies
After the tempting aroma of freshly baked brownies fills your kitchen, it’s incredibly difficult to resist diving in immediately. However, patience during the cooling phase is paramount for achieving the perfect Lunchroom Ladies Brownie experience. This step is not just about temperature; it’s about allowing the brownies to set, firm up, and develop their full, rich flavor and signature fudgy texture. Rushing this stage can lead to crumbling brownies and a less satisfying result.
Importance of Cooling
Once out of the oven, your brownies are still actively cooking due to residual heat. Allowing them to cool completely in the pan, preferably on a wire rack, is crucial. This cooling period allows the internal structure of the brownies to stabilize and the fats to re-solidify, resulting in a denser, fudgier texture that holds its shape. If you cut into them while warm, they are more likely to crumble, stick to the knife, and appear gooey rather than fudgy. Cooling also deepens the chocolate flavor, making each bite even more satisfying. Plan for at least 1-2 hours of cooling, or even longer if possible.
Cutting Into Squares
Once the brownies are completely cool, you can lift them out of the pan using the parchment paper slings. Place them on a cutting board. For perfect, clean squares, here are a few tips: use a large, sharp knife, and wipe the blade clean with a damp cloth after each cut to prevent sticking. For an extra clean cut, some bakers even recommend using a plastic knife or running your knife under hot water and drying it between cuts. Decide on your desired size – typically, 16-24 squares from a 9×13-inch pan – and slice away. The reward for your patience will be beautifully structured, fudgy squares that are a joy to behold and even better to eat. Enjoy your homemade Lunchroom Ladies Brownies!
Tips for Perfect Brownies
While the Lunchroom Ladies Brownies recipe is robust, a few extra tips can help elevate your baking game and ensure consistently perfect results. These insights are designed to troubleshoot common issues and enhance the overall quality of your brownies, guaranteeing that signature fudgy texture and rich chocolate flavor every single time. Small adjustments can make a big difference in the final outcome.
Adjusting Texture
If you prefer an even fudgier brownie, you can slightly reduce the amount of flour (by about 1-2 tablespoons) or increase the butter slightly. For those who lean towards a slightly cakier brownie, adding an extra tablespoon or two of flour or a touch more leavening agent (like 1/4 teaspoon of baking powder) can help achieve that lighter texture. Always be mindful not to overmix the batter once the dry ingredients are added, as this is the primary culprit behind tough, cake-like brownies. The less you mix, the more tender your brownies will be. Experiment with different types of chocolate chips – milk, dark, or even white chocolate – for varied flavor profiles and texture experiences. Feel free to check out Carina Recipes on Instagram for more baking inspiration and tips!
Cooling Completely
We cannot stress this enough: cooling your brownies completely is absolutely critical for the best texture and clean cuts. While warm brownies are tempting, cutting into them too soon will result in crumbly, messy pieces that lack the dense, fudgy consistency you’re aiming for. The cooling process allows the brownies to finish setting up internally, firming up the structure and locking in moisture. For truly perfect squares, let them cool in the pan on a wire rack for at least 2 hours, or even overnight if time permits. This patience will be rewarded with beautifully structured, intensely chocolatey brownies that slice like a dream.
Storing Your Lunchroom Brownies
Once you’ve perfected your batch of Lunchroom Ladies Brownies, proper storage ensures they stay fresh, fudgy, and delicious for as long as possible. Whether you plan to enjoy them over a few days or save some for a later craving, knowing the best storage techniques will help preserve their quality and taste. These methods are simple and effective, making sure your effort in baking translates into lasting enjoyment.
Airtight Container Storage
For short-term storage, up to 3-4 days, keep your brownies at room temperature in an airtight container. This prevents them from drying out and maintains their fudgy texture. Placing a piece of parchment paper or wax paper between layers of brownies can prevent them from sticking together. Avoid refrigerating brownies unless absolutely necessary for very long-term storage or if your kitchen is exceptionally warm. Refrigeration tends to dry them out and make them harder, though they can be brought back to room temperature for a softer bite.
Freezing for Later
If you’ve baked a large batch or want to enjoy these delightful treats over a longer period, freezing is an excellent option. Cut the brownies into individual squares, then wrap each piece tightly in plastic wrap. Place the wrapped brownies in an airtight freezer-safe container or a heavy-duty freezer bag. They can be frozen for up to 3 months. To enjoy, simply thaw them at room temperature for a few hours, or pop them in the microwave for a few seconds for a warm, gooey treat. Freezing is also a great method for other baked goods like a Snickerdoodle Cobbler, extending their enjoyment. This preparation ensures you always have a delicious snack ready.
Brownie Nutrition Information
While Lunchroom Ladies Brownies are undoubtedly a delectable treat, many people are curious about their nutritional content. It’s important to remember that homemade brownies, while often made with common ingredients, are a dessert and should be enjoyed as part of a balanced diet. The exact nutritional values can vary significantly based on the specific ingredients used, such as the type of chocolate, amount of sugar, and any additional mix-ins like nuts or extra chocolate chips. Therefore, any provided nutritional information should be considered an estimate.
Per Serving Details
Generally, a single serving of a homemade fudgy brownie (typically cut into a 2×2 inch square from a 9×13 inch pan yielding 24 servings) might contain approximately:
- Calories: 150-250 kcal (depending on size and ingredients)
- Total Fat: 8-15g (of which 4-8g saturated fat)
- Cholesterol: 30-50mg
- Sodium: 50-100mg
- Total Carbohydrates: 20-30g (of which 15-25g sugars)
- Protein: 2-3g
These figures are rough estimates. If precise nutritional data is required, you would need to use a detailed recipe analysis tool with the exact quantities and brands of your specific ingredients. However, the true value of these brownies lies not just in their caloric content, but in the joy and comfort they bring, making them a worthy indulgence.
