Coconut Cake No Flour No Butter

Welcome to the delightful world of baking where simplicity meets exquisite flavor. This Coconut Cake No Flour No Butter is a testament to how wholesome ingredients can create a dessert that is both incredibly moist and satisfyingly rich.
It’s the perfect treat for any occasion, whether you’re looking for a quick weekday indulgence or a stunning addition to a weekend gathering. Its unique texture and pure coconut essence will enchant your taste buds, offering a truly memorable culinary experience.
Why You Will Love This Recipe
- Effortless Preparation: This cake comes together with minimal fuss, perfect for bakers of all skill levels.
- Rich Coconut Flavor: Each bite is a celebration of coconut, enhanced by the creamy texture of full-fat coconut milk.
- Naturally Gluten-Free: By omitting flour entirely, this recipe caters to those seeking gluten-free dessert options.
- Moist and Tender Crumb: Despite the absence of butter and flour, the cake boasts a wonderfully soft and moist texture that melts in your mouth.
- Beginner-Friendly: The straightforward steps and common pantry ingredients make this an ideal recipe for novice bakers looking for a successful and delicious outcome.
Ingredients You Need
The magic of this cake lies in its carefully selected ingredients, focusing on natural flavors and textures. Using high-quality components ensures the best possible outcome, bringing out the subtle nuances of coconut and the richness of the eggs.
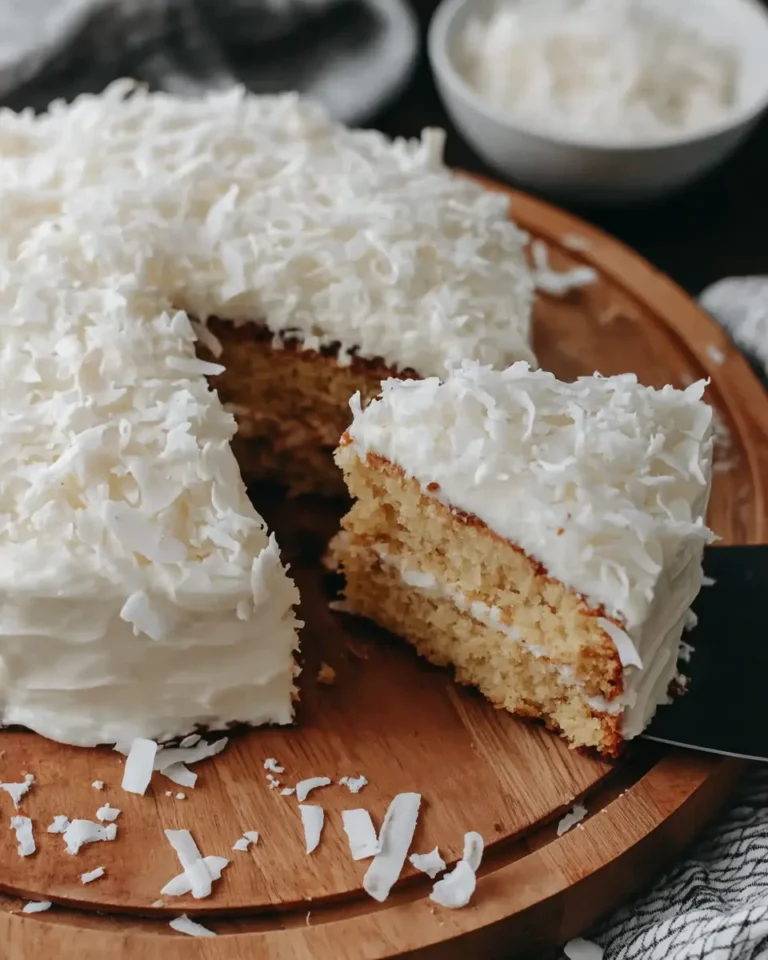
Coconut Cake No Flour No Butter
A moist, beginner-friendly dessert with a rich coconut flavor, simple prep, and a soft, sliceable texture. This flourless coconut cake uses pantry basics, chills quickly, and bakes into golden squares that work for everyday dessert or make-ahead treats.
- 3 large eggs, brought to room temperature
- 1 cup full-fat coconut milk
- 2 1/2 cups shredded coconut
- 1/2 cup monk fruit sweetener
- 1 teaspoon baking powder
- 1/2 teaspoon vanilla extract
- 1 pinch salt
- 1In a medium mixing bowl, whisk the eggs with the monk fruit sweetener and vanilla until the mixture looks smooth and evenly blended.
- 2Stir in the coconut milk, shredded coconut, and salt until everything is fully combined.
- 3Cover the bowl and chill the batter for about 30 minutes.
- 4Once chilled, stir in the baking powder thoroughly. Preheat your oven to 350°F (175°C) and prepare an 8x8-inch pan by greasing it and lining it.
- 5Spread the batter evenly in the pan, smoothing the top with a spatula.
- 6Bake for 30 to 35 minutes, until the top is golden and the middle is set. A toothpick inserted in the center should come out clean or with just a few moist crumbs.
- 7Let the cake cool completely in the pan before cutting.
Quantities for these delightful ingredients are conveniently listed in the recipe card below.
Variations
This versatile cake serves as an excellent base for creative adaptations. Experimenting with different additions can lead to entirely new flavor profiles and textural experiences, allowing you to personalize this delicious dessert.
For a delightful vegan twist, consider replacing the eggs with a flax egg mixture or a commercial egg replacer. Ensure your coconut milk is indeed dairy-free and omit any potential dairy-based toppings. The resulting cake will still retain its signature moistness and coconut aroma, offering a satisfying plant-based treat.
If you’re aiming for a lower-carbohydrate version, explore using a different low-carb sweetener in place of monk fruit, ensuring it bakes well. You might also consider adding a small amount of almond flour or coconut flour to adjust the texture slightly, though this would technically deviate from the “no flour” aspect, it can enhance structure for a very low-carb diet. Always test small batches to achieve your desired balance of sweetness and texture.
Adding a touch of citrus can brighten the cake’s flavor profile significantly. A tablespoon or two of fresh lemon or lime zest, finely grated, can be incorporated into the batter during the mixing stage. This offers a refreshing counterpoint to the rich coconut, creating a more complex and zesty dessert that is perfect for warmer weather.
How to Prepare Coconut Cake No Flour No Butter
Step 1: Whisking the Foundation
Begin by gathering a medium-sized mixing bowl, a whisk, and your primary wet ingredients. You’ll need to start with the eggs, ensuring they are at room temperature to facilitate a smoother emulsion. Add the specified amount of monk fruit sweetener to the eggs, along with the pure vanilla extract.
Gently whisk these ingredients together until the mixture achieves a uniform consistency. The goal here isn’t to create a voluminous foam, but rather to ensure the sweetener is completely dissolved and the mixture is homogenous. This preliminary step lays the groundwork for a well-integrated batter, setting the stage for the other flavors to meld beautifully.
Step 2: Incorporating Creaminess and Texture
Once the egg and sweetener base is ready, it’s time to introduce the rich, full-fat coconut milk. Pour the coconut milk into the bowl, making sure to scrape out any creamy solids from the can if it has separated. Next, add the shredded coconut; this is the star ingredient that provides the cake’s structure and delightful chew.
Finally, sprinkle in the pinch of salt, which is crucial for enhancing all the other flavors and balancing the sweetness. Stir everything together until the batter is thoroughly combined. It will likely appear somewhat textured due to the shredded coconut, rather than perfectly smooth, which is precisely the desired consistency for this unique cake.
Step 3: The Crucial Chilling Period
Cover the mixing bowl securely, either with plastic wrap or a lid, and place it in the refrigerator. Allow the batter to chill for approximately 30 minutes. This resting period is surprisingly important for the final texture of the cake.
During this time, the shredded coconut will begin to absorb some of the moisture from the eggs and coconut milk. This hydration process helps the coconut particles plump up and soften, leading to a more cohesive and evenly textured cake after baking. It also allows the flavors to meld more effectively before the heat is applied.
Step 4: Preparing for the Oven
After the batter has had its 30-minute chill, remove the bowl from the refrigerator. Now it’s time to incorporate the leavening agent: baking powder. Stir the baking powder into the chilled batter until it is completely and evenly distributed throughout the mixture. Ensuring thorough incorporation prevents pockets of unmixed baking powder, which could affect the cake’s rise.
Concurrently, preheat your oven to the specified temperature. While the oven heats, prepare your baking pan. An 8×8-inch square pan is ideal for achieving a good height and even baking. Grease the pan thoroughly and then line it with parchment paper, leaving some overhang on the sides. This parchment lining will make it significantly easier to lift the cake out of the pan once it’s baked and cooled.
Step 5: Evening Out the Batter
Carefully spoon the chilled and slightly firmed batter into the prepared 8×8-inch baking pan. Using a spatula, gently spread the batter into an even layer across the entire surface of the pan. Pay attention to the corners and edges to ensure the batter is distributed uniformly.
This even spreading is vital for ensuring that the cake bakes consistently. If one area is thicker than another, it may cook at a different rate, leading to uneven browning and a potential difference in texture between the center and the edges. Aim for a smooth, level surface to promote uniform heat distribution during baking.
Step 6: The Golden Transformation
Place the prepared pan into the preheated oven. Bake for the recommended duration, typically between 30 to 35 minutes. During this time, the cake will puff up slightly and begin to turn a beautiful golden-brown color on top.
To check for doneness, insert a toothpick into the center of the cake. It should come out clean or with just a few moist crumbs attached. Avoid overbaking, as this can lead to a dry cake. Once baked, remove the cake from the oven and allow it to cool completely in the pan on a wire rack. This cooling period is essential for the cake to set properly, enabling clean slicing and preventing it from crumbling.
Pro Tips for Coconut Cake No Flour No Butter
Perfect Hydration is Key: Don’t skip the 30-minute chilling time. This allows the shredded coconut to properly hydrate, which is crucial for the cake’s structure and prevents it from being too crumbly. The coconut absorbs moisture, becoming pliable and creating a better crumb.
Room Temperature Eggs Matter: Using eggs that are at room temperature helps the batter emulsify more effectively. Cold eggs can cause the mixture to look slightly separated or oily, whereas room temperature eggs blend seamlessly, creating a smoother, more uniform batter from the start.
Patience with Cooling: Resist the urge to cut into the cake while it’s still warm. Allowing the cake to cool completely in the pan is a critical step. As it cools, the internal structure firms up, making it much easier to slice into neat, clean squares without them falling apart.
Shredded Coconut Choice: For this recipe, unsweetened shredded coconut is generally preferred. It provides structure and flavor without adding excess sugar, giving you more control over the final sweetness. If you must use sweetened coconut, consider slightly reducing the amount of added sweetener.
Pan Preparation Precision: Ensure your baking pan is thoroughly greased and lined with parchment paper. This step significantly simplifies the process of removing the cake once it’s baked. The overhang from the parchment paper acts as handles, allowing you to lift the entire cake out of the pan with ease.
Serving Suggestions for Coconut Cake No Flour No Butter
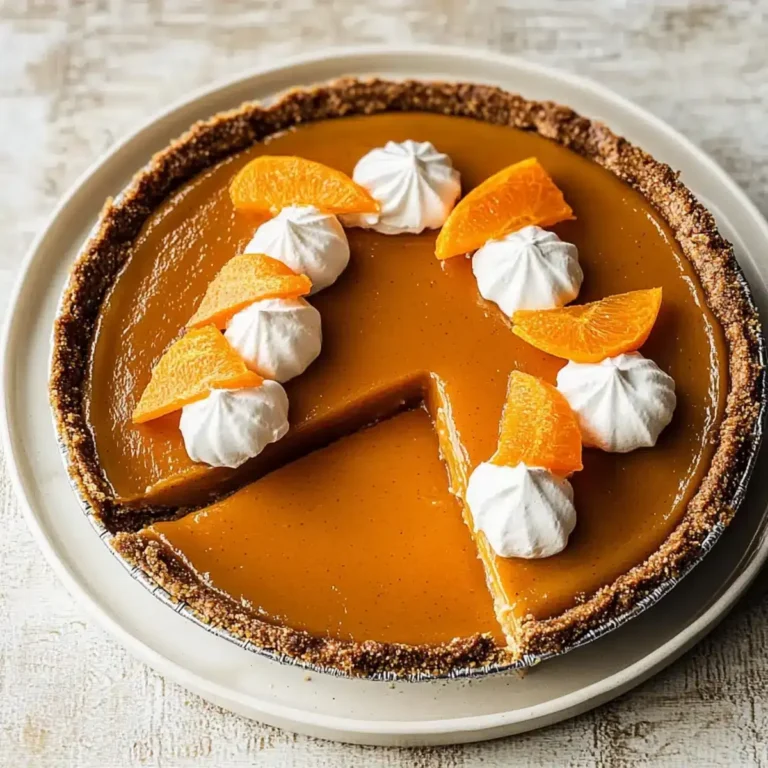
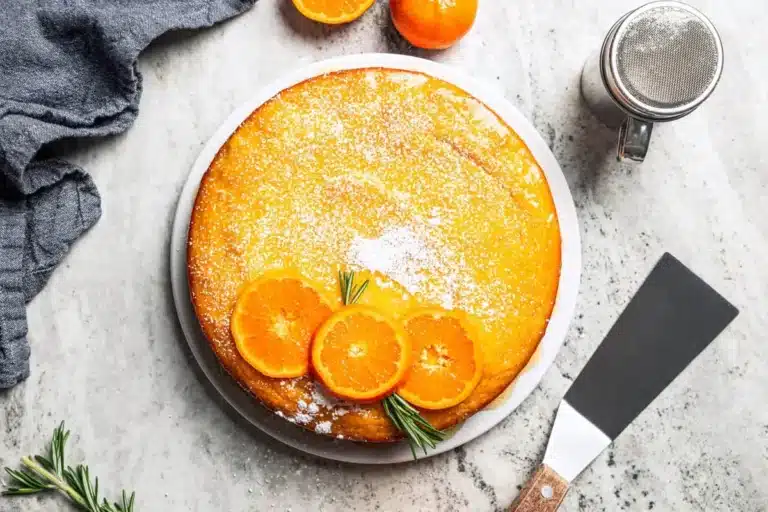
Decoration
To elevate the presentation of this delightful cake, consider a few simple yet elegant decorative touches. A light dusting of powdered sugar or a sprinkle of toasted shredded coconut can add visual appeal and a subtle textural contrast. For a more decadent finish, a drizzle of melted white chocolate or a light glaze made from powdered sugar and a splash of coconut milk can be artfully applied.
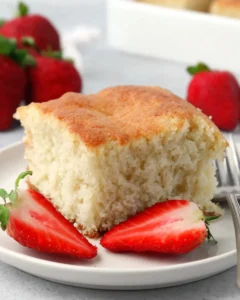
Side Dishes
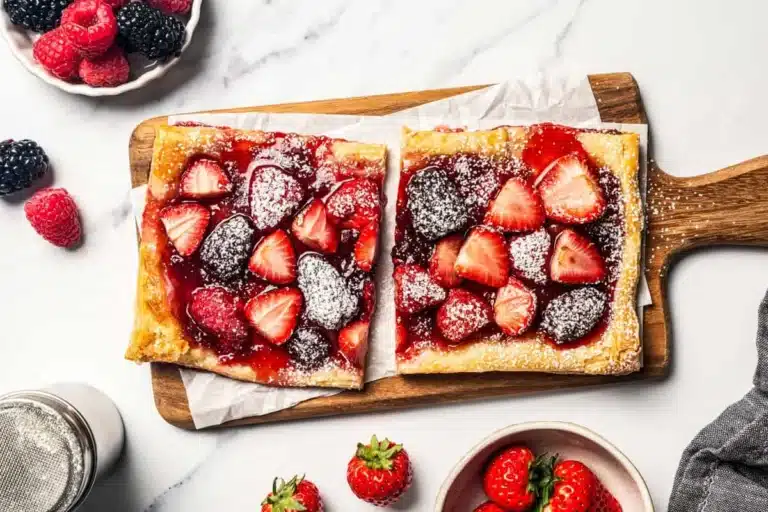
This moist coconut cake pairs beautifully with a variety of accompaniments that enhance its natural flavors. Fresh berries, such as raspberries or blueberries, offer a burst of tartness and vibrant color that complements the sweet, mellow coconut. A dollop of whipped cream or a side of coconut yogurt adds an extra layer of creaminess and a touch of indulgence.
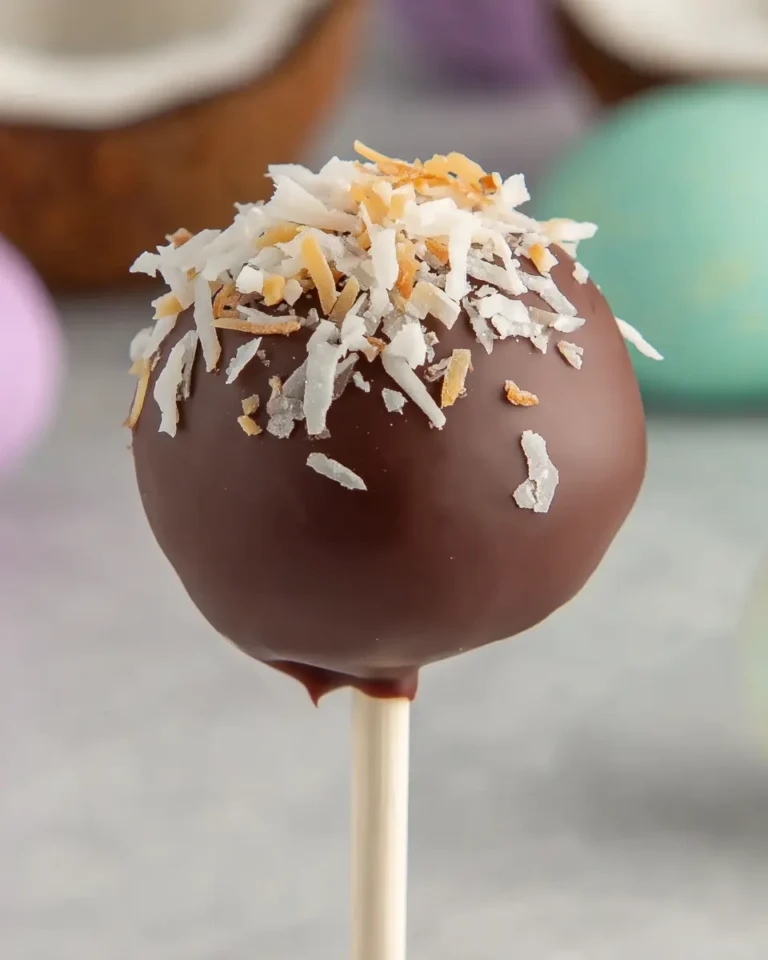
Creative Serving Ideas
Beyond the traditional slice, this cake can be transformed into charming individual desserts. Cut the cooled cake into small bite-sized cubes and serve them in miniature cups with a swirl of cream and a berry for a delightful parfait-style treat. Alternatively, slightly warm a slice and serve it with a scoop of vanilla or coconut ice cream for a warm and cold dessert experience that is utterly irresistible.
Preparation & Storage
Storing Leftovers
Once the cake has cooled completely, it can be stored in an airtight container at room temperature for up to 2 days, or in the refrigerator for up to 4 days. Keeping it in a sealed container prevents it from drying out and maintains its lovely moist texture. The refrigerator is the best option for longer storage, especially in warmer climates, to ensure freshness.
Freezing
For longer preservation, this coconut cake freezes remarkably well. Wrap individual slices securely in plastic wrap, then place them in a freezer-safe bag or container. You can also freeze the entire cooled cake by wrapping it tightly. It will keep its quality in the freezer for up to 2 months, making it a convenient make-ahead dessert option.
Reheating
If you prefer your cake slightly warm or need to thaw it from frozen, there are a few gentle methods. To reheat a chilled slice, place it on a microwave-safe plate and heat for 10-15 seconds, just enough to take the chill off. For a thawed frozen slice, allow it to come to room temperature first, then apply the same brief microwaving if desired. Avoid overheating, as this can dry out the cake.
Frequently Asked Questions
-
Why does this cake need to chill before baking?
The chilling period is crucial for the texture and structure of this flourless coconut cake. During refrigeration, the shredded coconut absorbs moisture from the other ingredients, such as eggs and coconut milk. This absorption process allows the coconut particles to soften and swell, which results in a more cohesive and evenly textured cake once baked. A rested batter typically bakes more uniformly, yielding cleaner slices and a better overall crumb consistency. Without this step, the cake might be more prone to crumbling.
-
Can I use sweetened shredded coconut instead of unsweetened, and what impact will it have?
You can use sweetened shredded coconut, but it will noticeably alter the final taste and sweetness of the cake. Since this recipe includes a specific amount of sweetener, using sweetened coconut will result in a significantly sweeter cake. You might consider reducing the added monk fruit sweetener slightly if you opt for sweetened coconut to avoid an overly sweet profile. The moisture content in sweetened coconut can also vary, potentially affecting the final texture, though the difference is often minimal.
-
How do I know when the cake is perfectly done and not under or overcooked?
Determining when the cake is done involves a combination of visual cues and a simple test. Look for the top of the cake to be a light golden brown color. The edges should appear set, and the center should no longer look wet or loose. A toothpick inserted into the very center of the cake is the most reliable indicator; it should come out clean or with just a few moist crumbs attached. If it comes out with wet batter, it needs a few more minutes in the oven. Avoid leaving it in too long, as it can become dry.