Soft Coconut Cake Bites

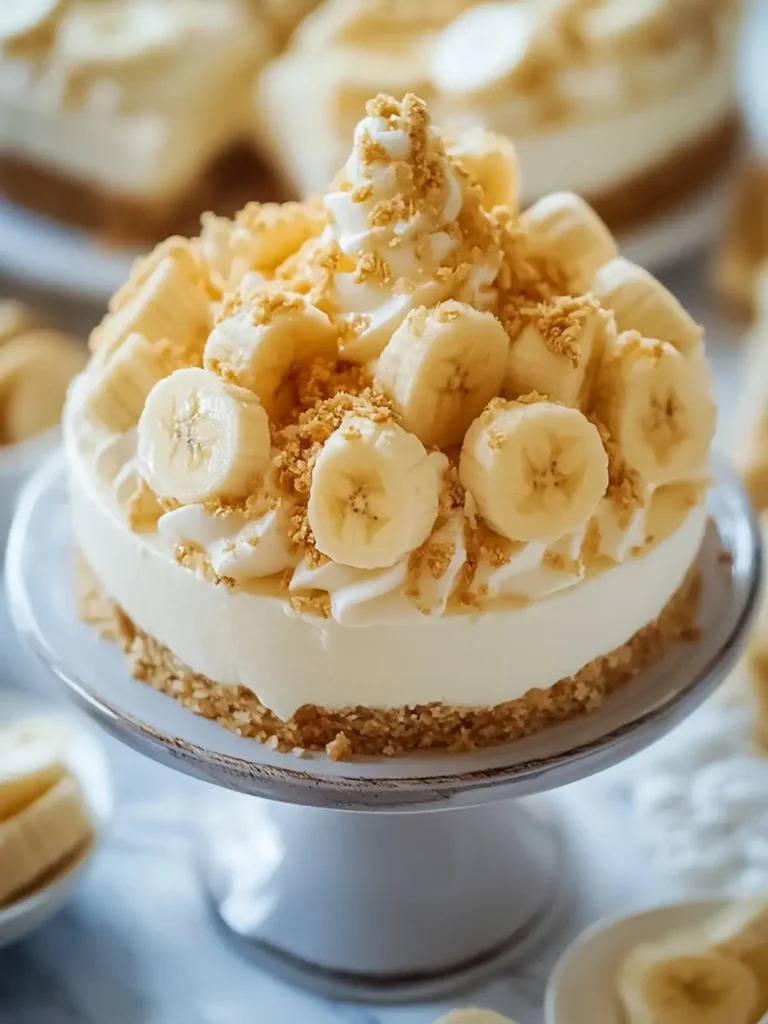
Coconut Cake Bites are a simple, beginner-friendly dessert with a soft crumb, cozy coconut flavor, and an easy make-ahead feel that works well for party trays, afternoon coffee, or a small sweet treat at home. These delightful little morsels offer a taste of tropical bliss in every single bite, making them a perfect addition to any occasion. Pin
This is one of those bakes that feels uncomplicated in the best way. You mix a basic cake batter, fold in plenty of shredded coconut, and end up with tender little squares that are easy to portion and serve. Their charming size and delightful flavor profile make them an instant favorite for both bakers and eaters alike.
Why You Will Love This Recipe
- Effortless Preparation: The batter comes together in minutes with minimal fuss, making this an ideal recipe for busy weeknights or spontaneous baking.
- Irresistible Coconut Flavor: Generous amounts of shredded coconut infuse every bite with a sweet, tropical essence that is utterly addictive.
- Perfectly Tender Crumb: A combination of the right liquids and fats ensures a wonderfully soft and moist cake texture that melts in your mouth.
- Bite-Sized Portions: These small cakes are perfectly portioned, making them ideal for parties, snacking, or enjoying a guilt-free sweet treat.
- Make-Ahead Friendly: Bake them in advance and store them for later, ensuring you always have a delightful homemade dessert ready to go.
Ingredients You Need
The success of these Coconut Cake Bites hinges on using fresh, quality ingredients. Opt for good quality shredded coconut, whether sweetened or unsweetened depending on your preference, and ensure your leavening agents are fresh for the best rise. Selecting good eggs and milk will contribute significantly to the final texture and richness of the cake.
Coconut Cake Bites

Simple, beginner-friendly coconut cake bites with a soft crumb, cozy coconut flavor, and an easy make-ahead feel. Perfect for party trays, afternoon coffee, or a small sweet treat.
- 1 cup white granulated sugar
- 3/4 cup whole milk
- 1 1/2 cups all-purpose flour
- 1 teaspoon vanilla extract
- 2 large eggs
- 1/2 teaspoon salt
- 1/4 cup vegetable oil or melted unsalted butter
- 2 teaspoons baking powder
- 1 1/2 cups sweetened shredded coconut
- 1/2 cup toasted shredded coconut (optional, for added flavor and texture)
- 1Gather and measure all ingredients. Preheat oven to 350°F (175°C). Grease an 8x8 inch baking pan or line it with parchment paper.
- 2In a large bowl, whisk together the flour, granulated sugar, baking powder, and salt until evenly combined.
- 3In a separate medium bowl, whisk together the eggs, milk, vegetable oil, and vanilla extract until smooth.
- 4Gradually add the wet ingredients to the dry ingredients, stirring gently until just combined. Do not overmix.
- 5Fold in the sweetened shredded coconut until evenly distributed.
- 6Spread the batter evenly into the prepared baking dish.
- 7Bake for 25-30 minutes, or until a toothpick inserted into the center comes out clean and the top is lightly golden.
- 8Let the cake cool in the pan for about 10 minutes, then transfer it to a wire rack to cool completely.
- 9Once cooled, cut the cake into small bite-sized pieces. Optionally, press the pieces into toasted shredded coconut for an extra coating.
Keywords: Coconut Cake, Cake Bites, Easy Dessert, Make-Ahead Dessert, Coconut Flavor, Beginner Baking, Party Treats
Quantities for each ingredient can be found within the accompanying recipe card. The list above provides a comprehensive overview of what you will need to create these delicious treats.
Variations
For those following a plant-based lifestyle, transforming these Coconut Cake Bites into a delightful vegan treat is remarkably simple. You can easily substitute the eggs with a flax egg (one tablespoon of ground flaxseed mixed with three tablespoons of water, left to sit for five minutes) or a commercial egg replacer. For the milk, a rich almond milk, soy milk, or oat milk will work beautifully, contributing their own subtle nuances to the flavor profile. Ensure your baking powder is vegan, and you’re all set for a delicious vegan version that rivals the original.
If you’re managing your carbohydrate intake, these Coconut Cake Bites can be adapted for a low-carb or ketogenic diet with a few smart ingredient swaps. Replace the all-purpose flour with a blend of almond flour and a touch of coconut flour to create a gluten-free, low-carb base. For the sugar, an erythritol or xylitol-based sweetener, or your favorite keto-friendly sugar substitute, will provide sweetness without the glycemic impact. Ensure the sweetened shredded coconut you use is sugar-free, and you’ll have a satisfyingly low-carb indulgence that still captures that beloved coconut flavor.
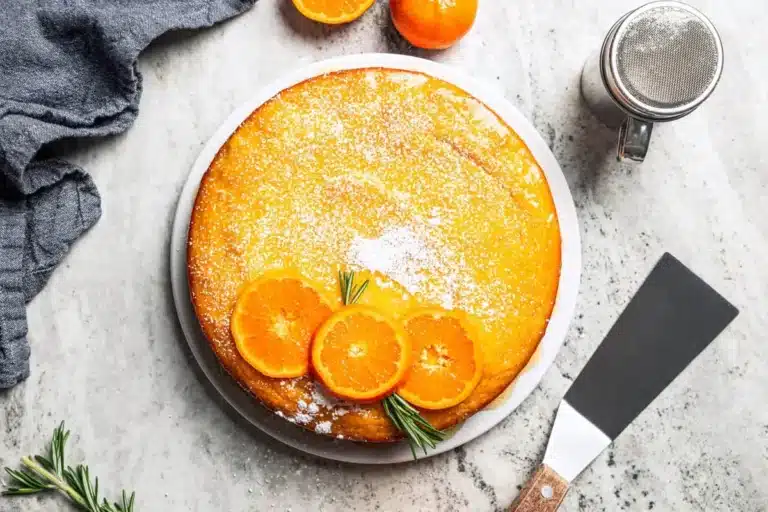
Elevate these bites with exciting flavor infusions for a truly gourmet experience. Consider adding a tablespoon of finely grated lime zest to the batter to impart a subtle citrus brightness that beautifully complements the coconut. Another wonderful option is to mix in a teaspoon of finely chopped crystallized ginger for a gentle warmth and spicy kick. For an extra layer of decadence, you could fold in a handful of white chocolate chips or dried cranberries for pops of complementary flavor and texture.
How to Prepare Coconut Cake Bites
Step 1: Prepare Your Workspace and Oven
Before you even think about mixing ingredients, it’s crucial to set up your baking environment for success. Preheat your oven to the specified temperature, typically around 350°F (175°C), ensuring it reaches the correct heat for even baking. Simultaneously, prepare your baking pan by greasing it thoroughly with butter or cooking spray, or by lining it with parchment paper.
This preparation is more than just a formality; it’s about efficiency and preventing any last-minute scrambling. Having your oven preheated guarantees that the cake begins to bake immediately upon entering, promoting an even rise and preventing the batter from sitting too long. Properly greasing or lining the pan ensures that your beautiful cake bites will slide out cleanly, maintaining their perfect shape and integrity.
Taking a moment to gather and measure all your ingredients before you start mixing is another key step for a smooth baking process. This practice, often referred to as “mise en place” in culinary circles, allows you to focus entirely on the mixing and baking without interruptions. It significantly reduces the chance of errors and makes the entire experience more enjoyable and less stressful, especially when tackling a new recipe.
Step 2: Combine the Dry Ingredients
In a large mixing bowl, begin by combining all the dry ingredients. This typically includes the all-purpose flour, granulated sugar, baking powder, and salt. Whisk these ingredients together thoroughly until they are evenly distributed throughout the bowl. This step is vital for ensuring that the leavening agent (baking powder) and the salt are uniformly spread, which will lead to a consistent texture and flavor in your final cake bites.
The whisking action not only mixes but also aerates the flour slightly, contributing to a lighter crumb. Pay attention to breaking up any clumps of flour or sugar that might be present. A well-mixed dry base is the foundation for a perfectly risen and evenly flavored cake, so don’t underestimate the importance of this initial step in the preparation process.
Ensuring that the sugar is fully incorporated with the flour and leavening agents at this stage also helps prevent pockets of unsweetened or overly sweet cake in the final product. It’s a simple yet fundamental technique that makes a discernible difference in the overall quality of your bake, setting the stage for the deliciousness to come.
Step 3: Blend the Wet Ingredients
In a separate, medium-sized bowl, whisk together the wet ingredients. This will typically involve the eggs, whole milk, vegetable oil (or melted butter), and vanilla extract. Continue whisking until the mixture is smooth, homogenous, and well-emulsified. The eggs should be fully beaten into the liquid, and the oil or butter should be completely incorporated, creating a uniform and slightly creamy liquid base.
This thorough blending of the wet ingredients ensures that they will integrate smoothly with the dry ingredients in the next step, preventing lumps and promoting a tender cake texture. If you are using butter, ensure it has cooled slightly after melting so it doesn’t cook the eggs prematurely. A good whisking here is key to achieving that desirable soft crumb that defines these cake bites.
The vanilla extract adds a warm, aromatic depth that complements the coconut flavor beautifully. Make sure you are using pure vanilla extract for the best taste, as imitation extracts can sometimes impart an artificial note. The goal is a perfectly balanced liquid mixture that is ready to marry with the dry components.
Step 4: Combine Wet and Dry Mixtures
Now it’s time to bring the two mixtures together. Pour the well-blended wet ingredients into the bowl containing the dry ingredients. Using a spatula or a wooden spoon, gently stir the ingredients together just until no dry streaks of flour remain. It is absolutely crucial not to overmix at this stage; a few small lumps in the batter are perfectly acceptable and even desirable.
Overmixing develops the gluten in the flour too much, which can result in a tough and dense cake, rather than the tender, light crumb you’re aiming for. The moment you see the last vestiges of dry flour disappear, stop stirring. This gentle folding technique is essential for maintaining the cake’s delicate texture and ensuring it bakes up soft and moist.
The batter should be thick but pourable. If it seems excessively stiff, you can add a tablespoon of milk at a time until it reaches the desired consistency, but err on the side of slightly thicker rather than too thin. The goal is a cohesive batter that holds its shape without being stiff or runny.
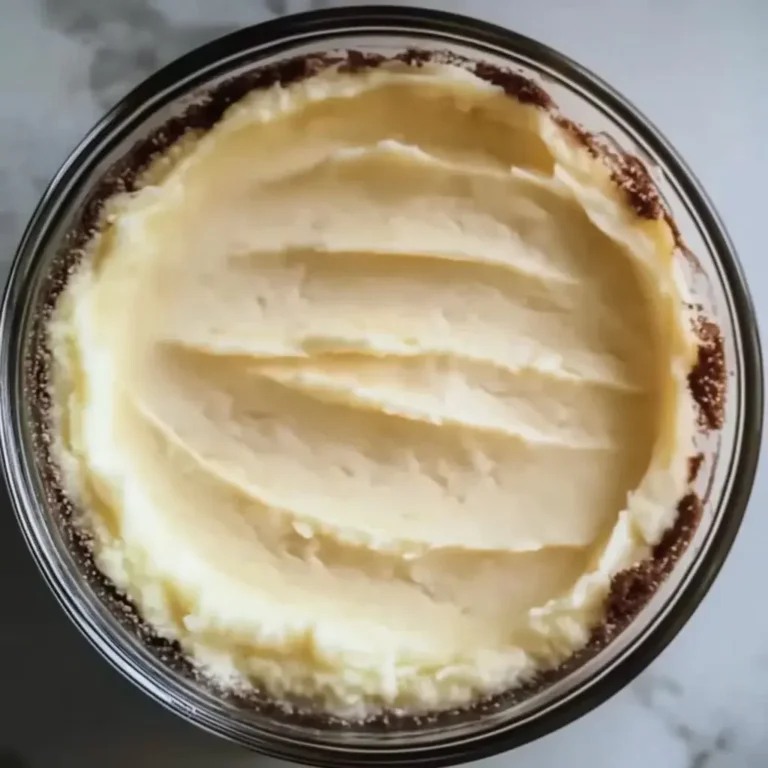
Step 5: Fold in the Coconut and Spread the Batter
With your batter just combined, it’s time to incorporate the star of the show: the shredded coconut. Add the sweetened shredded coconut (and the toasted shredded coconut if using for extra flavor) to the batter. Gently fold it in using your spatula until it is evenly distributed throughout the mixture. Be careful not to stir vigorously; a gentle folding motion will keep the coconut from clumping and ensure it’s present in every bite.
Once the coconut is incorporated, transfer the batter to your prepared baking dish. Spread the batter into an even layer across the bottom of the pan. This evenness is critical for ensuring that the cake bakes uniformly, with no overly browned edges or undercooked centers. Use your spatula to smooth the top as much as possible, creating a level surface for baking.
If you are using a particular type of coconut, like finely desiccated versus larger shreds, the texture of your cake bites will vary slightly. Either is delicious, but keep this in mind for your desired outcome. The aroma of coconut mingling with the cake batter is already a delightful preview of the treat to come.
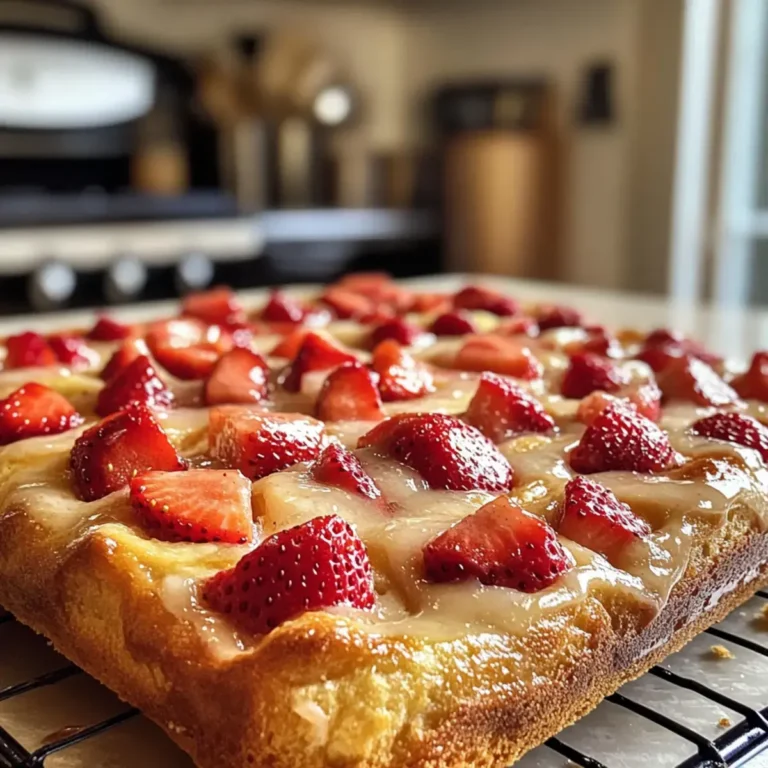
Step 6: Bake and Cool for Perfect Bites
Place the prepared baking dish into the preheated oven and bake for the specified time, usually around 20-30 minutes, or until the top of the cake is lightly golden brown and a toothpick inserted into the center comes out clean. Avoid the temptation to open the oven door too early, as this can cause the cake to sink. Keep an eye on it towards the end of the baking time to prevent over-baking, which can lead to dry cake.
Once baked to perfection, remove the cake from the oven and let it cool in the pan for about 10-15 minutes. This brief cooling period allows the cake to set slightly, making it easier to handle and preventing it from breaking apart when you remove it from the pan. After this initial cooling, carefully invert the cake onto a wire rack to cool completely. Allowing it to cool fully on the rack ensures air circulation, preventing any steam from making the bottom soggy.
Once the cake has cooled completely to room temperature, you can begin the process of cutting it into bite-sized pieces. Use a sharp knife for clean cuts. For an optional finishing touch, you can gently press each bite into extra shredded coconut or toasted coconut for a more decorative and flavorful coating. This final step adds a delightful texture and visual appeal to your homemade Coconut Cake Bites.
Pro Tips for Coconut Cake Bites
Toast Your Coconut for Depth: For an enhanced nutty flavor and a more complex aroma, consider lightly toasting some or all of your shredded coconut before adding it to the batter. Spread the coconut in a single layer on a baking sheet and bake at 300°F (150°C) for 5-10 minutes, stirring frequently, until golden brown. Let it cool completely before incorporating it into the batter for a sophisticated flavor dimension.
Don’t Overmix the Batter: This is a golden rule for tender cakes. Mix the dry and wet ingredients just until they are combined. A few small lumps are fine and actually desirable, as overmixing can lead to a tough texture due to gluten development. Gentle handling is key to achieving that melt-in-your-mouth quality.
Cool Completely Before Cutting: Patience is a virtue when it comes to baking. While the temptation to cut into warm cake might be strong, allowing the cake to cool completely ensures it firms up properly. Warm cake is delicate and prone to crumbling, whereas a fully cooled cake will slice cleanly, yielding neat and appealing bite-sized pieces.
Use a Sharp Knife and Clean Between Cuts: For the cleanest possible edges on your coconut cake bites, invest in a good quality, sharp knife. If you’re aiming for a presentation-ready platter, wiping your knife clean with a damp cloth between each cut will prevent crumbs from sticking and smearing, ensuring each piece looks as pristine as the last.
Consider a Coconut Glaze: For an extra touch of sweetness and visual appeal, you can whip up a simple glaze. Mix powdered sugar with a little coconut milk or water until you achieve a drizzleable consistency. Drizzle this over the cooled cake bites for a beautiful finish that adds another layer of coconut flavor.
Serving Suggestions for Coconut Cake Bites
Decoration
The aesthetic appeal of your Coconut Cake Bites can be significantly enhanced with thoughtful decoration. A simple yet effective method is to roll the cooled cake pieces in additional sweetened shredded coconut or toasted coconut. This not only adds a beautiful texture and visual depth but also intensifies the coconut flavor with every bite. For a touch of elegance, a very light dusting of powdered sugar can provide a delicate, snowy finish, reminiscent of freshly fallen snow. Alternatively, you could pipe a tiny dollop of coconut buttercream frosting on top of each bite, or sprinkle them with edible glitter or small edible flowers for a festive look.
Side Dishes
These delightful bites pair wonderfully with a variety of accompaniments that complement their sweet, tropical flavor. Fresh berries, such as raspberries, strawberries, or blueberries, offer a bright, tart contrast that cuts through the sweetness of the cake beautifully. A dollop of lightly sweetened whipped cream or a spoonful of thick, creamy Greek yogurt provides a luscious counterpoint, transforming the bites into a more substantial dessert experience. For a beverage pairing, a glass of chilled coconut milk, a light iced tea, or a strong cup of coffee are excellent choices that enhance the overall tropical theme and offer a refreshing balance.
Creative Serving Ideas
Think beyond the standard serving tray for truly memorable presentations. Arrange the Coconut Cake Bites artfully on a tiered dessert stand for a charming afternoon tea setting, interspersed with fresh flowers or sprigs of mint for visual appeal. You could also serve them in small, decorative paper cups or mini muffin liners, making them perfect for grab-and-go treats at parties or picnics. For a tropical-themed party, present them alongside other island-inspired delights like pineapple skewers or mango slices. They also make a wonderful addition to a dessert buffet, offering a smaller, more manageable sweet option among larger cakes and pies.
Preparation & Storage
Storing Leftovers
Proper storage is key to maintaining the freshness and texture of your Coconut Cake Bites. Once completely cooled, store them in an airtight container at room temperature. In a cool, dry environment, they should remain delicious for up to 1-2 days. If your kitchen tends to be warm or humid, it’s advisable to store them in the refrigerator to prevent them from becoming stale or potentially developing mold. Ensure the container is truly airtight to prevent the cake from drying out or absorbing unwanted odors from other foods.
When storing, if you’ve coated the bites in extra coconut, you might want to place a small piece of parchment paper between layers. This simple step can help prevent the coconut coating from sticking together and maintain its appealing texture. Avoid stacking them too high if they are particularly delicate, as this could lead to them getting crushed.
If you plan on storing them for longer than a couple of days, or if your climate is particularly warm, refrigeration is the best course of action. They can typically be kept in the refrigerator for up to 4-5 days, though their texture will be best within the first few days. Always check for any signs of spoilage before consuming.
Freezing
Coconut Cake Bites freeze exceptionally well, making them an excellent candidate for batch baking and stocking up your freezer for future cravings or unexpected guests. To freeze them, arrange the completely cooled cake bites in a single layer on a baking sheet. Ensure they are not touching each other to prevent them from sticking together during the initial freezing process. Once they are firm to the touch, typically after about 1-2 hours in the freezer, you can transfer them to a freezer-safe airtight container or a heavy-duty freezer bag. Removing as much air as possible from the bag will help prevent freezer burn.
Label the container or bag with the date they were frozen. Properly stored, these cake bites can maintain their quality in the freezer for approximately 1 to 2 months. This makes them a fantastic option for preparing ahead for holidays, parties, or simply having a convenient sweet treat on hand whenever the mood strikes. The individual freezing step is crucial for maintaining their shape and texture upon thawing.
When you’re ready to enjoy them, simply remove the desired amount from the freezer. Thawing can be done at room temperature for about 30-60 minutes, or more slowly in the refrigerator overnight. The slower thawing method in the refrigerator is often best for maintaining the most delicate texture, especially if you have a particularly soft cake.
Reheating
While these Coconut Cake Bites are delightful served at room temperature or even chilled, a brief reheating can bring back that wonderfully fresh-baked softness. If you prefer your cake bites warm, you can gently reheat them in a microwave for a very short period. Start with just 5-10 seconds on a low power setting, checking after each interval. The goal is to warm them through, not to cook them further or make them rubbery. Over-microwaving can quickly turn even the tenderest cake into a tough confection.
Alternatively, if you have refrigerated the cake bites and want to serve them at room temperature, simply take them out of the refrigerator about 30-60 minutes before serving. This allows them to come up to temperature naturally, which often restores their soft, moist texture without the risk of overheating. The gentle warming or natural thawing is usually all that’s needed to bring them back to their best.
For those who might have frozen them, the thawing process described in the freezing section is generally sufficient. If, after thawing, you find they are a little firmer than you’d like, a very short burst in the microwave can help. The key to successful reheating is minimal time and gentle heat to avoid compromising the delicate crumb.
Frequently Asked Questions
-
Can I substitute the all-purpose flour with a gluten-free blend?
Yes, you can absolutely substitute the all-purpose flour with a good quality gluten-free all-purpose flour blend. Look for blends that contain xanthan gum, as this helps to mimic the binding properties of gluten, which is crucial for cake structure. You may also find that adding a small amount of almond flour or coconut flour to your gluten-free blend can improve the texture and moisture content. Bake for a similar amount of time, but keep a close eye on them as gluten-free baked goods can sometimes brown differently. A toothpick test for doneness is always reliable.
-
How can I ensure my cake bites have a moist texture and don’t turn out dry?
Several factors contribute to a moist cake texture. First, ensure you are measuring your flour correctly by spooning it into the measuring cup and leveling it off, rather than scooping directly from the bag, which can pack too much flour. Secondly, avoid overmixing the batter after adding the wet ingredients to the dry; this develops gluten and can lead to dryness. Using vegetable oil or melted butter as specified contributes moisture, and oil generally yields a moister crumb than butter. Finally, be careful not to overbake the cake; start checking for doneness a few minutes before the recipe suggests, as ovens can vary. A toothpick inserted into the center should come out with moist crumbs attached, not completely clean and dry.
-
What is the best way to achieve a perfect square shape for the coconut cake bites?
To achieve perfect square shapes, it’s essential to start with a very evenly spread batter in your baking pan, ensuring consistent thickness from edge to edge. Once the cake is completely cooled, use a long, sharp knife to cut it into neat portions. A ruler can be helpful for marking your lines before cutting, ensuring uniform sizes. For the cleanest cuts, wipe the knife clean with a damp cloth between each slice, especially if the cake is very moist or has a crumbly texture. If you’re aiming for precise, bakery-quality squares, you might even consider using a bench scraper to help guide your cuts and keep the sides clean. The key is patience and a good, sharp cutting tool.