Healthy Chocolate Pudding: The Ultimate Delicious Dessert

Indulge in a dessert that’s as good for you as it is delicious with this healthy chocolate pudding recipe. Crafted with wholesome ingredients and a touch of culinary magic, this pudding promises a rich, creamy texture and an intensely satisfying chocolate flavor without the usual guilt associated with sweet treats. It’s the perfect testament to the fact that healthy eating doesn’t mean compromising on taste or enjoyment, offering a comforting and decadent experience for any occasion.
Whether you’re looking for a quick after-dinner indulgence, a delightful snack to brighten your afternoon, or a show-stopping dessert for guests, this healthy chocolate pudding is your answer. Its simplicity in preparation belies its sophisticated flavor profile, making it an accessible yet impressive recipe for home cooks of all skill levels. Prepare to fall in love with this guilt-free pleasure that nourishes your body while delighting your senses.
Why You Will Love This Recipe
- Effortless Preparation: Incredibly straightforward to make, this pudding requires minimal fuss, allowing you to enjoy a homemade treat with ease.
- Customizable Sweetness: Tailor the sweetness to your exact preference by choosing from a variety of natural sweeteners, ensuring a perfectly balanced flavor.
- Deep Chocolate Flavor: Utilizing high-quality Dutch cocoa powder delivers a profound and luxurious chocolate taste that is both rich and incredibly satisfying.
- Dietary Adaptability: Easily made vegan by using non-dairy milk, this recipe offers flexibility to suit various dietary needs without sacrificing creaminess or taste.
- Versatile Enjoyment: Ideal for any setting, from a casual family dessert to an elegant addition to a party spread, its appeal is universally delightful.
Ingredients You Need
The magic of this healthy chocolate pudding lies in its thoughtful selection of simple, wholesome ingredients, each contributing to its delightful texture and profound flavor. We emphasize using quality components to ensure the best possible outcome, transforming everyday items into an extraordinary dessert experience. The beauty of this recipe is its adaptability; feel free to explore different types of milk or sweeteners to perfectly align with your personal taste and dietary goals.
Healthy Chocolate Pudding
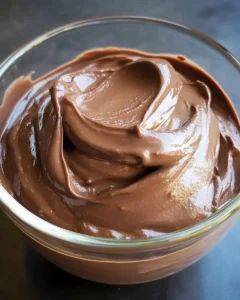
Indulge in a guilt-free dessert with this Healthy Chocolate Pudding recipe. This creamy treat combines rich Dutch cocoa with wholesome ingredients, making it not only delicious but also nutritious. In just 15 minutes, you can prepare this delightful pudding that's perfect for any occasion—whether you're hosting a dinner party or simply satisfying your sweet tooth. Customizable with various sweeteners and toppings, this pudding is a versatile option that everyone will love. Enjoy a satisfying dessert that checks all the boxes for health-conscious eaters!
- 2 cups milk of choice (or canned coconut milk)
- heaping 1/8 tsp salt
- 1/4 cup Dutch cocoa powder
- 1/3 cup sweetener (sugar, maple syrup, erythritol, or honey)
- 1/2 cup milk of choice + 3 tbsp cornstarch
- 3/4 tsp pure vanilla extract
- 3 oz chocolate chips or broken-up bar (optional)
- 1In a saucepan over medium heat, warm 2 cups of your chosen milk. Add salt, cocoa powder, and sweetener. Stir until combined and warm but not boiling.
- 2In a small bowl, whisk together 1/2 cup milk and cornstarch until smooth.
- 3Add the cornstarch mixture to the saucepan and increase heat slightly. Stir constantly until boiling; then simmer for another minute before removing from heat.
- 4Stir in vanilla extract and chocolate chips if using until melted.
- 5Transfer to a refrigerator-safe container and chill for several hours or overnight until thickened.
Keywords: chocolate pudding, healthy dessert, vegan option, dairy-free, quick dessert, easy recipe
The specific quantities for each ingredient, along with detailed preparation notes, are readily available in the detailed recipe card associated with this guide, ensuring you have all the information needed for a flawless execution.
Variations
Elevate your healthy chocolate pudding experience with these creative variations, each designed to introduce a unique twist on the classic recipe. These adaptations cater to different tastes and dietary preferences, proving the versatility of this delightful dessert.
For those seeking a completely plant-based indulgence, the vegan variation is a triumph. Simply swap out traditional milk for a rich, creamy non-dairy alternative like full-fat canned coconut milk or unsweetened almond milk. The coconut milk, in particular, lends an unparalleled creaminess and a subtle tropical hint that beautifully complements the chocolate. Ensure you choose an unsweetened variety to maintain control over the final sweetness. This substitution is seamless and ensures the pudding remains decadently smooth and satisfyingly rich, making it an excellent choice for vegan friends or family.
If you’re managing carbohydrate intake, a low-carb version offers a sophisticated solution. Replace conventional sweeteners with erythritol or stevia, monk fruit sweeteners are also excellent choices. These sugar substitutes provide sweetness without significantly impacting blood sugar levels, making the pudding suitable for a ketogenic or low-carb lifestyle. Be mindful that the sweetness intensity of sugar substitutes can vary, so it’s wise to adjust the quantity gradually until you reach your desired level of sweetness. This allows for a guilt-free, delicious dessert that aligns with your health goals.
Another exciting avenue for customization is the introduction of complementary flavors. Consider infusing your pudding with a hint of espresso powder; this doesn’t make the pudding taste like coffee but rather intensifies the chocolate notes, adding a layer of complexity. A touch of orange zest can also be wonderfully aromatic, pairing beautifully with the deep cocoa flavor to create a more sophisticated palate. For a hint of warmth and spice, a pinch of cinnamon or a whisper of chili powder can add an unexpected and delightful dimension, transforming the familiar pudding into something truly unique and memorable.
How to Prepare healthy chocolate pudding
Step 1: Prepare the Milk Mixture
Begin by selecting your preferred milk for the base of this luscious pudding. Whether you choose whole dairy milk for ultimate richness or a plant-based alternative like almond, soy, or oat milk for a lighter touch, ensure it’s fresh and of good quality. Pour two cups of your chosen milk into a medium-sized saucepan, selecting one that is deep enough to accommodate the ingredients and allow for easy stirring. The choice of milk is crucial as it forms the foundation for the pudding’s creamy texture and overall flavor profile.
Next, carefully add the heaping 1/8 teaspoon of salt to the milk in the saucepan. Salt, though a small amount, plays a vital role in enhancing the sweetness and deepening the chocolate flavor, acting as a flavor amplifier. Following the salt, measure out 1/4 cup of high-quality Dutch cocoa powder. Dutch-processed cocoa has a smoother, less acidic taste and a richer, darker color compared to natural cocoa, which is ideal for achieving that intensely chocolatey essence without any bitterness. This carefully selected cocoa powder is key to the pudding’s indulgent character.
Now, introduce your chosen sweetener into the mixture. Measure 1/3 cup of your preferred sweetener; options include granulated sugar for a classic taste, pure maple syrup for a warm, natural sweetness, erythritol for a low-carb alternative, or honey for its distinct floral notes. Whisk these dry and liquid ingredients together thoroughly in the saucepan with the milk. Continue to stir gently and occasionally over medium heat. The goal is to warm the milk and fully dissolve the cocoa powder and sweetener, creating a homogenous, smooth liquid base without allowing it to reach a boil at this stage.
Step 2: Mix Cornstarch and Milk
In a separate, small bowl, prepare the thickening agent for your healthy chocolate pudding. This step is critical for ensuring a perfectly smooth and lump-free final consistency. Measure out 1/2 cup of your chosen milk – this can be the same type used for the base or a different one if you wish to subtly alter the flavor profile. Having a small amount of cool milk is essential for properly dispersing the cornstarch without clumping.
Carefully add 3 tablespoons of cornstarch to the 1/2 cup of milk in the small bowl. Cornstarch is a common and effective thickener for puddings, sauces, and desserts, providing a silky smooth texture when used correctly. It’s important to use a good quality cornstarch for the best results. If you are aiming for a gluten-free pudding, ensure your cornstarch is certified gluten-free, though cornstarch is naturally gluten-free.
Using a whisk, vigorously blend the cornstarch into the milk. Continue whisking until the mixture is completely smooth and no lumps of cornstarch remain visible. This slurry should be a uniform, milky liquid. Taking the time to thoroughly whisk out all the lumps now will prevent them from forming in your pudding later, ensuring a velvety smooth texture. This step is a fundamental technique in achieving pudding perfection.
Step 3: Combine Mixtures and Cook
Once the initial milk mixture in the saucepan is warm and all the cocoa and sweetener have dissolved beautifully, it’s time to bring everything together. Ensure the milk in the saucepan is indeed warm, but not yet boiling; this gentle warmth helps to temper the cornstarch mixture and prevents the milk from scalding. The process of heating the milk first allows the flavors to meld and the cocoa to bloom, deepening its chocolate essence.
Now, gradually pour the smooth cornstarch slurry from the small bowl into the warm milk mixture in the saucepan. As you pour, begin whisking the contents of the saucepan continuously. This constant stirring is paramount to prevent the cornstarch from settling at the bottom and clumping, and also to ensure even cooking throughout the mixture. The whisk should be active, moving through all parts of the pan.
Increase the heat slightly on your stovetop, moving towards medium-high, just enough to encourage the mixture to come to a gentle boil. Continue to stir constantly as the mixture begins to thicken. You’ll notice it transforming from a thin liquid to a noticeably thicker consistency within a few minutes. Once it reaches a full boil and has thickened considerably, let it boil gently while stirring continuously for approximately two minutes. This boiling period is crucial for fully activating the cornstarch, ensuring it thickens properly and eliminates any starchy taste.
After the two-minute boiling period, reduce the heat to low and allow the pudding to simmer for an additional minute. This brief simmer helps to further stabilize the thickening process and ensures a perfectly smooth, luxurious texture. Once this final minute is up, turn off the heat completely. The pudding should now have a rich, creamy consistency, coating the back of a spoon with a beautiful, velvety sheen, signaling it’s ready for the final flavor enhancements.
Step 4: Add Vanilla and Chocolate
With the heat turned off and the pudding base perfectly cooked and thickened, it’s time to infuse it with aromatic and rich flavor enhancers. The addition of pure vanilla extract at this stage is crucial, as it complements and amplifies the chocolate notes, adding a subtle complexity and depth that makes the pudding truly irresistible. Measure out 3/4 teaspoon of high-quality pure vanilla extract. It’s important to use “pure” vanilla extract, as imitation vanilla can have a harsher, less nuanced flavor.
Gently stir the vanilla extract into the hot pudding mixture. Ensure it is thoroughly incorporated, distributing its wonderful aroma and flavor evenly throughout the creamy base. The warmth of the pudding will help to release the vanilla’s essence, creating an even more captivating fragrance and taste. This simple addition elevates the overall flavor profile significantly, making the chocolate taste even more pronounced and delicious.
Now comes an optional but highly recommended step for those who desire an even more decadent and luxurious chocolate experience: adding chocolate chips or a broken-up chocolate bar. If you’re using this addition, measure out approximately 3 ounces of your favorite semi-sweet, dark, or even milk chocolate chips or a chopped bar. The residual heat from the pudding is perfectly sufficient to melt these additions smoothly. Stir the chocolate into the hot pudding until it is completely melted and seamlessly integrated into the mixture, creating a swirl of extra chocolatey goodness and a richer, more complex flavor.
Step 5: Chill to Thicken
Once all the flavorings have been beautifully incorporated into the pudding, it’s time to prepare it for its final transformation. Carefully transfer the warm, rich chocolate pudding from the saucepan into a refrigerator-safe container. This container should be large enough to hold the pudding comfortably and preferably have a lid or be covered tightly with plastic wrap to prevent a skin from forming on the surface as it cools.
Place the covered container into the refrigerator. For the pudding to achieve its signature thick, creamy, and delightful pudding-like consistency, it needs ample time to chill and set. Ideally, allow it to chill for at least a few hours. For the absolute best texture and flavor development, chilling it overnight is highly recommended. During this chilling period, the starches from the cornstarch will fully hydrate and gel, and the fats from the milk and any added chocolate will solidify, resulting in that perfect, spoonable texture.
As the pudding cools down in the refrigerator, you will observe its gradual thickening. The once warm and fluid mixture will transform into a dense, velvety dessert that is ready to be enjoyed. This setting process is fundamental to the pudding’s success, ensuring it holds its shape and delivers that satisfying mouthfeel. Patience during this stage is key; resist the urge to rush the chilling process, as it is crucial for achieving the ideal final product.
Once the pudding has thoroughly chilled and reached its desired firmness, it is ready to be served. Spoon the deliciously creamy healthy chocolate pudding into individual serving dishes, glasses, or bowls. The smooth, rich texture and deep chocolate flavor are now at their peak, offering a truly indulgent and guilt-free dessert experience. Enjoy the fruits of your labor, knowing you’ve created a wholesome treat that’s both satisfying and nourishing, perfect for any time you crave something sweet and comforting.
Pro Tips for healthy chocolate pudding
Use the Best Cocoa Powder: For an intensely rich and smooth chocolate flavor, opt for high-quality Dutch-processed cocoa powder. It has a less bitter taste and a deeper color than natural cocoa, making a significant difference in the final pudding.
Whisk Constantly: During the cooking phase, especially when the pudding reaches a boil, continuous whisking is absolutely essential. This prevents lumps from forming and ensures a perfectly smooth, velvety texture throughout.
Don’t Skip the Slurry: Always mix the cornstarch with a small amount of cold milk first to create a smooth slurry before adding it to the hot mixture. This prevents the cornstarch from clumping and ensures it thickens the pudding evenly.
Allow Ample Chilling Time: Patience is key for the perfect pudding consistency. Chilling for several hours, or ideally overnight, allows the pudding to set properly and develop its ideal texture and flavor depth.
Taste and Adjust Sweetness: Sweeteners can vary in intensity. Taste the pudding mixture before chilling and adjust the sweetener if necessary to achieve your perfect level of sweetness.
Serving Suggestions for healthy chocolate pudding
Decoration
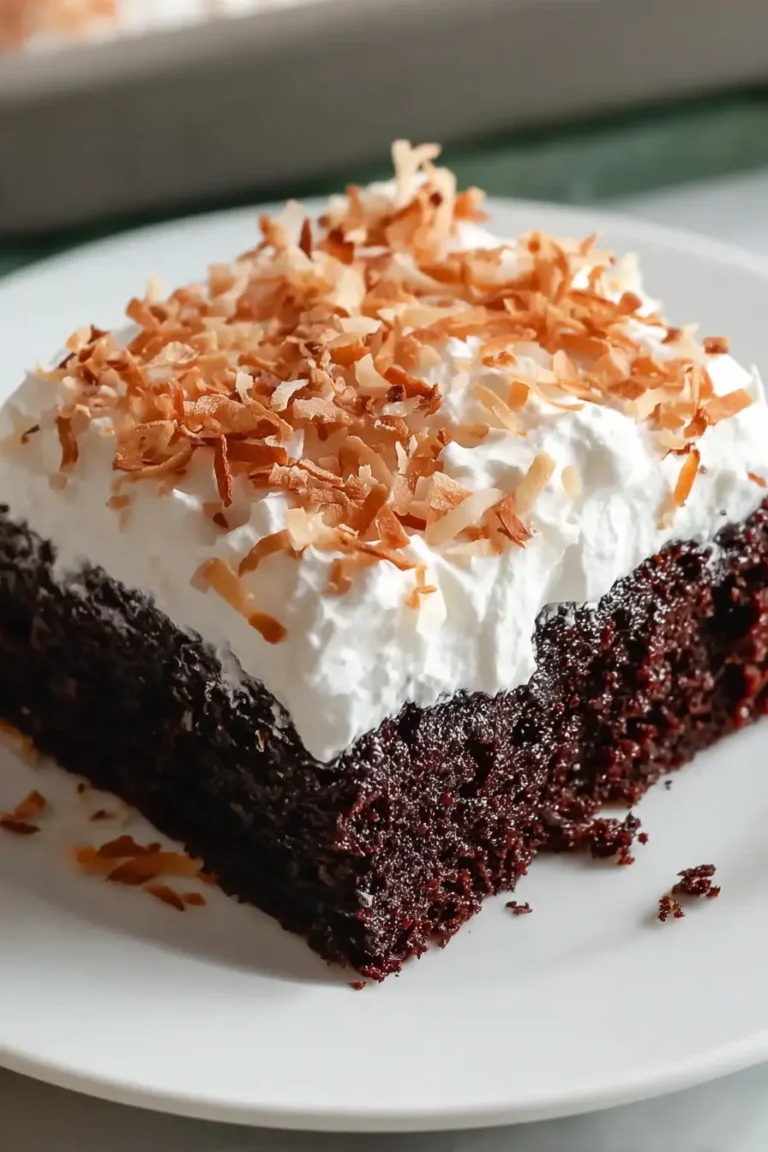
Transform your healthy chocolate pudding into a visual masterpiece with thoughtful decorations that not only look appealing but also complement its rich flavor. A dollop of light, airy whipped cream, whether dairy-based or a coconut cream alternative for a vegan option, adds a beautiful contrast in texture and a touch of classic elegance. Fresh berries, such as vibrant raspberries, plump blueberries, or sliced strawberries, introduce a burst of color and a refreshing tartness that cuts through the richness of the chocolate beautifully.
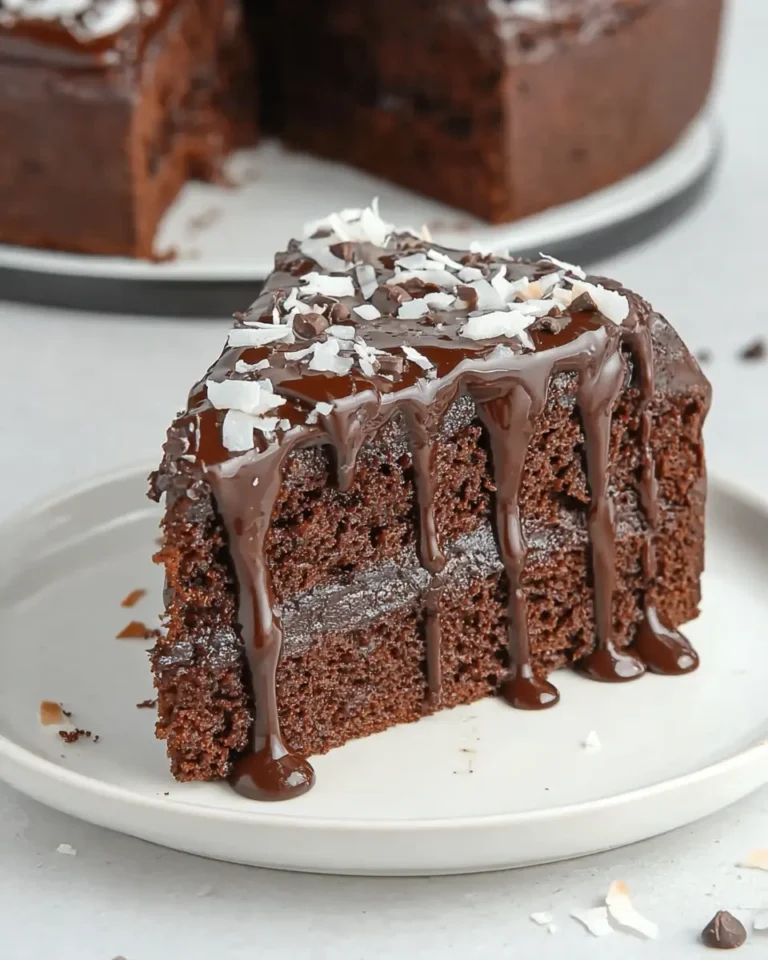
For a touch of crunch and nutty depth, consider a sprinkle of toasted chopped nuts like almonds, walnuts, or pecans. These add a delightful textural element and a complementary flavor profile. A dusting of cocoa powder or shaved chocolate can enhance the chocolatey theme, offering visual appeal and an extra hint of indulgence. Even a simple sprig of fresh mint can add a pop of color and a refreshing aroma, elevating the presentation and the sensory experience of enjoying your pudding.
Side Dishes
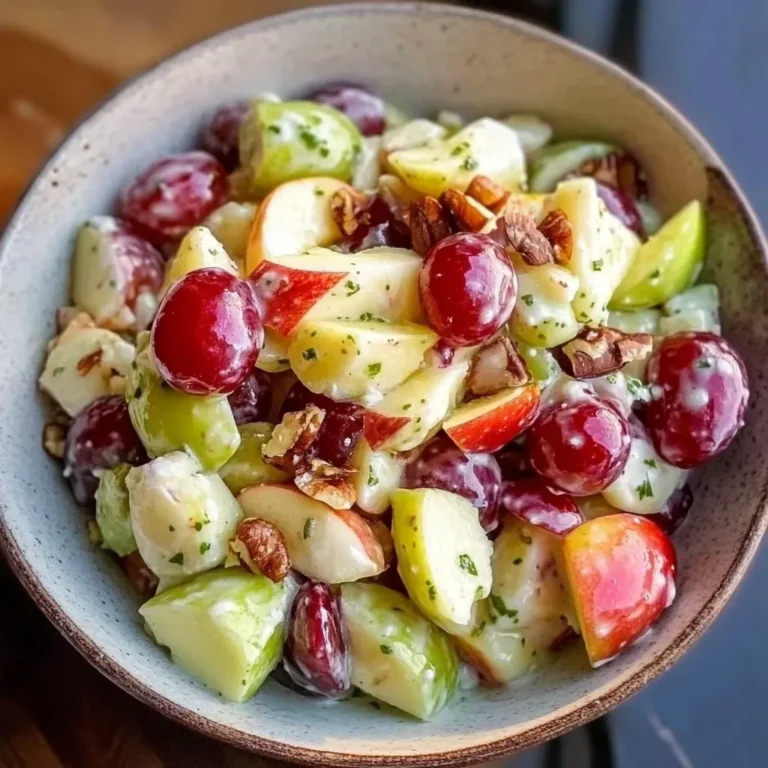
Pairing your healthy chocolate pudding with complementary side dishes can create a more complete and satisfying dessert experience or even a balanced breakfast. A vibrant fruit salad, brimming with seasonal fruits like melon, pineapple, and grapes, offers a refreshing and healthy counterpoint to the pudding’s richness. The natural sweetness and slight tartness of the fruits cleanse the palate and add a light, wholesome element.
Consider serving the pudding alongside a batch of homemade oatmeal cookies or soft-baked biscotti for a delightful textural contrast. The chewy or crisp texture of the cookies provides a wonderful counterpoint to the pudding’s creaminess. For a more substantial and nutritious pairing, a yogurt parfait layered with granola, fresh fruit, and perhaps a drizzle of honey can be an excellent companion, offering a balance of protein, fiber, and delightful flavors. A small selection of mild cheeses, like a creamy brie or a mild cheddar, can also offer a surprising and sophisticated savory note that beautifully contrasts with the sweet chocolate.
Creative Serving Ideas
Think beyond the traditional bowl when serving your healthy chocolate pudding to add an element of fun and surprise. Serve individual portions in elegant shot glasses or small mason jars for a sophisticated, party-ready presentation, perfect for easy grab-and-go enjoyment. Layering the pudding with Greek yogurt and crunchy granola in parfait glasses creates a visually appealing and multi-textured dessert that works wonderfully as a healthy breakfast or a light dessert.
For a more playful approach, consider using the pudding as a filling for mini tart shells or as a decadent topping for homemade waffles or pancakes. You could even create a “pudding parfait” by alternating layers of pudding with crushed cookies, fresh fruit, and a sprinkle of toasted coconut flakes. For a truly unique presentation, try freezing small portions in mini muffin tins and serving them as delightful chocolate “bites” or use them to top a smoothie bowl, adding a rich chocolatey dimension.
Preparation & Storage
Storing Leftovers
Properly storing any leftover healthy chocolate pudding is essential to maintain its optimal texture and freshness. Once the pudding has cooled completely, transfer it into an airtight container. This prevents it from absorbing other odors in the refrigerator and stops a dry skin from forming on the surface. Ensure the lid is securely fastened. Refrigerated, this pudding typically remains delicious and safe to consume for up to 3 to 5 days. Always check for any signs of spoilage, such as off odors or mold, before enjoying.
When ready to serve leftovers, you can enjoy them chilled straight from the container. The cold temperature enhances the refreshing quality of the pudding and its firm texture. Alternatively, you can gently warm it slightly if you prefer a more comforting, pudding-like warmth, though this will alter the texture slightly, making it more fluid. The key is maintaining its integrity through proper sealing and refrigeration.
Freezing
Healthy chocolate pudding can also be frozen for longer-term storage, allowing you to enjoy its decadent flavor at a later time. Ensure the pudding has completely cooled before attempting to freeze it. Transfer the pudding into a freezer-safe airtight container or a heavy-duty freezer bag. It’s advisable to portion it into smaller servings before freezing, as this makes it easier to thaw only what you need.
When freezing, try to minimize the amount of air in the container or bag, as excessive air exposure can lead to freezer burn. Properly sealed, your healthy chocolate pudding can be stored in the freezer for up to 3 months. While freezing is a convenient option for preservation, be aware that the texture might change slightly upon thawing, potentially becoming a bit icier or less smooth than when fresh. However, it will still retain its delicious chocolate flavor.
Reheating
If you’ve stored or frozen your healthy chocolate pudding and prefer it warm, reheating is a straightforward process. For reheating in the microwave, place a portion of the pudding in a microwave-safe bowl. Heat on medium power in short intervals, typically 30 seconds, stirring thoroughly between each interval. Continue this until the pudding reaches your desired warmth, being careful not to overheat, which can cause it to break or become too liquid.
Alternatively, you can gently reheat the pudding on the stovetop. Transfer the pudding to a small saucepan and heat over very low heat, stirring constantly. Continuous stirring is crucial here to prevent the pudding from scorching or sticking to the bottom of the pan. This method allows for more controlled heating and can help preserve a smoother texture compared to microwaving. If the pudding seems too thick after reheating, you can whisk in a tablespoon or two of milk or a non-dairy alternative to achieve a more desirable consistency.
Frequently Asked Questions
-
What makes this Healthy Chocolate Pudding recipe particularly healthy compared to traditional versions?
This recipe earns its “healthy” designation by thoughtfully substituting traditional ingredients with more beneficial alternatives. Instead of relying solely on refined sugars, it incorporates natural sweeteners like maple syrup or erythritol, which can offer a lower glycemic impact. Furthermore, the use of high-quality Dutch cocoa powder provides antioxidants, and the option to use non-dairy milks like almond or coconut milk makes it suitable for those avoiding lactose or seeking plant-based options. By focusing on wholesome ingredients and controlling sugar content, it offers a satisfying chocolate experience with enhanced nutritional benefits and fewer drawbacks than many conventional pudding recipes.
-
Can I substitute the cornstarch with another thickening agent, and what impact would that have on the pudding?
While cornstarch is an excellent and common thickener for puddings due to its ability to create a smooth, gelatinous texture, alternative thickeners can be used with varying results. Arrowroot powder is a good substitute and can yield a similar smooth texture, though it tends to produce a glossier finish and can become a bit gummy if overcooked. Tapioca starch is another option, which results in a slightly chewier texture and is more forgiving if slightly overcooked. For a dairy-free and naturally gluten-free option, agar-agar can be used, but it requires boiling and sets more firmly, potentially creating a texture closer to a firm jelly than a creamy pudding. Each alternative may subtly alter the final consistency and mouthfeel, so it’s best to stick with cornstarch for the classic creamy pudding texture this recipe aims for, or experiment with caution.
-
How can I achieve an even richer chocolate flavor or incorporate other complementary tastes into this healthy chocolate pudding?
To intensify the chocolate flavor, consider adding a teaspoon of instant espresso powder or a tablespoon of strongly brewed coffee to the warm milk mixture in Step 1. Coffee doesn’t make the pudding taste like coffee but significantly deepens and enhances the chocolate notes. For other complementary tastes, you could infuse the milk with a cinnamon stick or a few cardamom pods while it warms in Step 1, removing them before proceeding with the recipe. A pinch of chili powder or cayenne pepper can add a subtle warmth and complexity that pairs wonderfully with dark chocolate. Additionally, adding a tablespoon of unsweetened nut butter, like almond or cashew butter, along with the chocolate chips in Step 4 can introduce a nutty richness and a slightly different flavor profile.