Chicken Kiev – Easy and Classic Stuffed Chicken Recipe!
Chicken Kiev stands as a testament to culinary ingenuity, a dish that elevates simple ingredients into a luxurious experience. Its signature is the burst of warm, herb-infused butter that escapes from a perfectly cooked, crispy chicken breast. This delightful surprise makes every bite an adventure, combining textures and flavors that are both comforting and exciting.
This recipe takes you on a journey to recreate that restaurant-quality magic in your own kitchen. We’ll delve into the techniques that ensure a juicy interior and a satisfyingly crunchy exterior, making this classic dish accessible and utterly delicious. Get ready to impress yourself and your loved ones with this iconic poultry preparation.
Why You Will Love This Recipe
- Elegant Presentation: The golden-brown exterior of the chicken Kiev offers a visually appealing start, hinting at the deliciousness within. It’s a dish that truly looks as good as it tastes, perfect for special meals.
- Bursting with Flavor: The combination of tender chicken, zesty garlic-herb butter, and a crispy panko coating creates a multi-layered flavor profile that is incredibly satisfying. Each element plays a crucial role in the overall taste sensation.
- Juicy and Tender Chicken: Properly prepared, chicken Kiev boasts exceptionally moist and tender chicken meat. The melting butter inside acts as a natural basting agent, preventing dryness and infusing every morsel with savory goodness.
- Satisfying Crunch: The panko breadcrumb coating provides an irresistible crispiness that contrasts beautifully with the soft chicken and the molten butter. This textural element is key to the dish’s appeal.
- Versatile Meal: While elegant enough for a dinner party, this recipe is also straightforward enough for a weeknight treat. It pairs wonderfully with a variety of side dishes, making it a flexible addition to your cooking repertoire.
Ingredients You Need
Crafting an exceptional Chicken Kiev begins with selecting the finest ingredients. Quality matters, especially when it comes to the star of the dish: the chicken. Opt for plump, fresh chicken breasts to ensure they remain succulent throughout the cooking process. The compound butter, a crucial element, relies on fresh herbs and good quality butter for its vibrant flavor. Selecting the right breadcrumbs, like panko, is also key to achieving that perfect golden crispiness that defines this classic.
Chicken Kiev

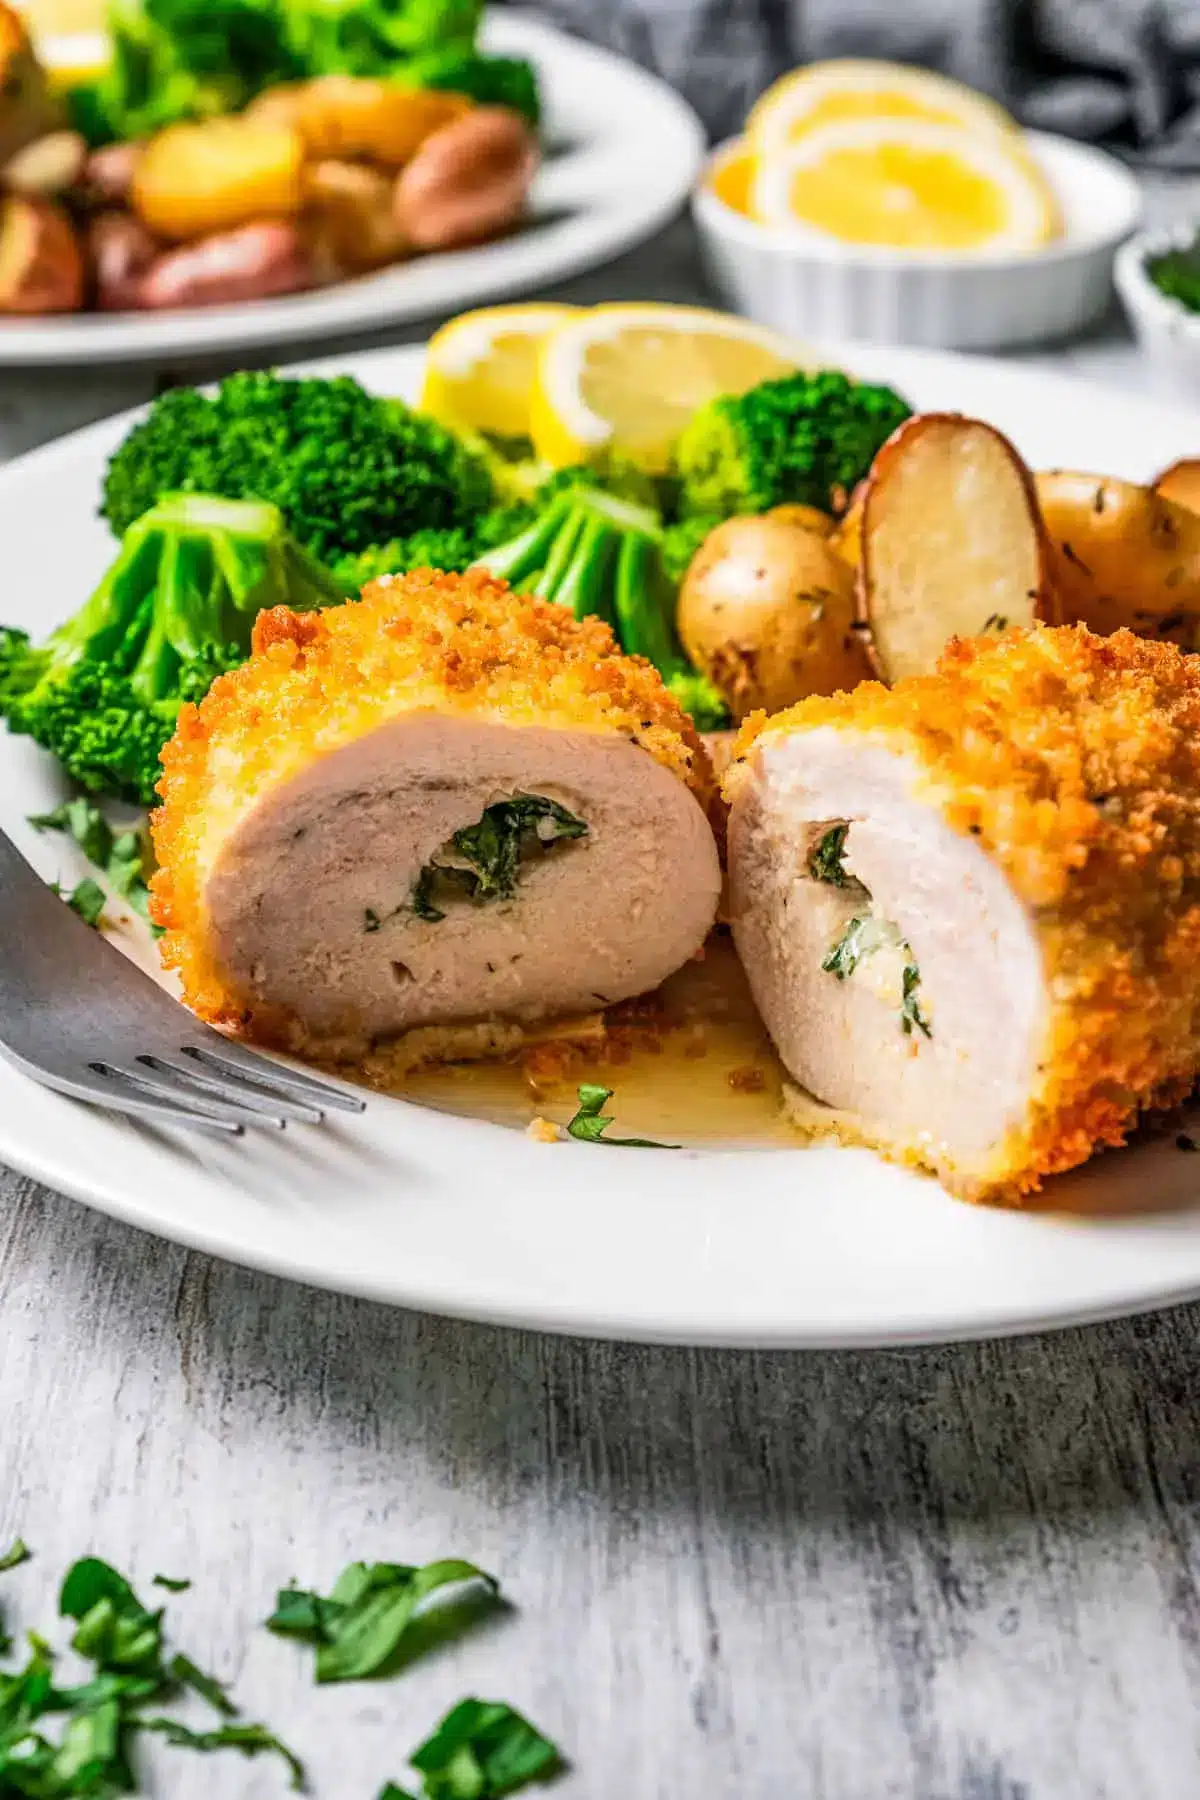
Crispy golden-fried chicken stuffed with lemony garlic herb butter. It's crunchy on the outside, juicy on the inside, and totally delicious!
- For the Butter:
- 6 tablespoons unsalted butter, softened
- 2 cloves garlic, minced
- 2 tablespoons chopped fresh parsley
- ¼ teaspoon lemon zest, optional
- For the Chicken:
- 4 chicken breast fillets, about 6 ounces each
- 1 cup all purpose flour
- salt and freshly ground black pepper, to taste
- 2 large eggs, beaten
- 2 cups panko breadcrumbs
- 1Combine the butter ingredients: Add softened butter, garlic, and parsley in a bowl. Stir well until combined. If you are using lemon zest, now is the time to add it.
- 2Chill: Place the butter on a piece of plastic wrap. Roll it into a log shape and twist the ends of the plastic wrap. Refrigerate the butter until firm.
- 3Pound the chicken: Place chicken breasts between two pieces of plastic wrap (one at a time) and pound with a meat mallet to ¼-inch thickness. Season the chicken to taste with salt and pepper.
- 4Roll the chicken: Cut the butter into four equal pieces. Place one piece of butter in the center of the pounded chicken. Fold the sides of the chicken breasts over the butter and roll from the narrower side until you have a log shape. Repeat with the remaining butter and chicken breasts.
- 5Wrap and freeze: Wrap the prepared chicken with plastic wrap and freeze for 30 minutes.
- 6Prepare the breading station: In the meantime, prepare the breading station. Add flour in a shallow wide bowl, with a pinch of salt and pepper. Stir to combine. Whisk the eggs with a pinch of salt and pepper in a separate bowl and add the panko breadcrumbs into the third bowl.
- 7Coat the chicken: Carefully remove plastic wrap from the chicken. Coat the chicken with flour, then eggs, shaking off the excess eggs. Finally, coat the chicken with panko breadcrumbs.
- 8Fry the chicken: Heat oil in a deep fryer to 375ºF. Meanwhile, preheat the oven to 350ºF. Fry the chicken for 1-2 minutes per side or until golden.
- 9Bake the chicken: Place a wire rack on top of the baking sheet. Add the fried chicken breasts to the wire rack and bake for 15 to 20 minutes or until the inner temperature reaches 165ºF.
- 10Rest and serve: Allow the chicken to rest for 5 minutes before serving and cutting.
Keywords: chicken, kiev, stuffed chicken, fried chicken, baked chicken, herb butter, garlic butter, lemon, parsley
The quantities for each ingredient are meticulously detailed in the recipe card provided. This ensures you have precisely what you need for a flawless execution of this beloved dish.
Variations
While the classic chicken Kiev, with its signature lemon-garlic herb butter, is undeniably superb, the beauty of this dish lies in its adaptability. You can easily infuse it with different flavors to suit your palate or dietary needs. Imagine a touch of spice, a hint of smokiness, or a completely different herb profile, all encapsulated within that crispy shell.
For a delightful vegan twist, consider using thick slices of king oyster mushrooms or firm tofu as your base instead of chicken. The mushrooms, when scored and gently pressed, can mimic the texture of meat. For the “butter,” a blend of high-quality vegan butter, nutritional yeast for a cheesy note, finely chopped chives, garlic, and a squeeze of lemon juice would create a surprisingly rich and savory filling. The breading process remains similar, ensuring that satisfying crunch without any animal products.
A low-carb adaptation focuses on replacing the traditional flour and breadcrumbs with almond flour and crushed pork rinds or finely ground nuts. This significantly reduces the carbohydrate count while maintaining an excellent crispy texture. The compound butter can remain largely the same, or you could experiment with adding a pinch of cayenne pepper for a spicy kick, or a bit of smoked paprika for depth. This makes the dish compliant with ketogenic and other low-carbohydrate lifestyles.
Another exciting variation involves infusing the compound butter with a fusion of global flavors. Consider adding a teaspoon of curry powder, a pinch of ginger, and some finely chopped cilantro for an Indian-inspired Kiev. Alternatively, a Mediterranean twist could incorporate sun-dried tomatoes, Kalamata olives, and a pinch of oregano into the butter. These small additions transform the familiar dish into something entirely new and exciting, showcasing the versatility of this beloved recipe.
How to Prepare chicken kiev recipe
Step 1: Crafting the Flavorful Compound Butter
The heart of chicken Kiev lies in its rich, aromatic compound butter, which melts into the chicken as it cooks, infusing it with incredible flavor. Begin by taking your softened unsalted butter and placing it in a medium bowl. It’s crucial that the butter is at room temperature, which allows for easy incorporation of the other ingredients. If your butter is too cold, it will be difficult to mix evenly, and the result might be lumpy.
Next, finely mince two cloves of garlic. The intensity of the garlic flavor can be adjusted to your personal preference, but two cloves provide a robust and classic taste. Add the minced garlic to the softened butter. For a classic herbaceous note, finely chop two tablespoons of fresh parsley. Fresh parsley offers a bright, clean flavor that complements the richness of the butter beautifully. If you enjoy a hint of citrus, consider adding a quarter teaspoon of lemon zest, which adds a lovely brightness and cuts through the richness of the butter.
Thoroughly mix all these ingredients together until they are completely combined. A spatula or a fork works well for this. Ensure there are no pockets of unmixed butter or herbs. Once mixed, transfer the compound butter onto a piece of plastic wrap or parchment paper. Shape it into a log, approximately 1 to 1.5 inches in diameter. Twist the ends of the plastic wrap tightly to seal the log, ensuring it maintains its shape. Place this butter log in the refrigerator to chill and firm up until it’s solid enough to be cut into portions. This chilling process is essential for preventing the butter from leaking out during the cooking phase.
Step 2: Preparing the Chicken Breasts for Stuffing
The success of chicken Kiev hinges on preparing the chicken breasts properly to receive the rich butter filling. Start with four good-sized chicken breast fillets, ideally around six ounces each. These should be skinless and boneless for ease of handling and rolling. Place one chicken breast fillet at a time between two sheets of plastic wrap or inside a large resealable plastic bag. This protective barrier prevents the chicken from tearing and keeps your kitchen tidy.
Using a meat mallet or a rolling pin, gently but firmly pound the chicken breast until it’s uniformly about 1/4-inch thick. The goal is to create a thin, pliable surface that can be rolled without breaking. Be careful not to pound too aggressively, which can result in shredded chicken. Once pounded to the desired thickness, remove the chicken from the plastic wrap. Season both sides generously with salt and freshly ground black pepper. The seasoning not only enhances the chicken’s flavor but also helps to create a flavorful crust during the breading process.
Repeat this pounding and seasoning process for all four chicken breasts. It’s important to have them all prepared before you move on to the next stage of assembly. Having them uniformly thin ensures that they will cook evenly and allow for a neat roll around the butter filling. The thinness also contributes to a shorter cooking time, keeping the chicken tender and juicy.
Step 3: Assembling the Chicken Kiev Rolls
Now comes the exciting part: filling and rolling the chicken breasts to encase that glorious compound butter. Retrieve your chilled, firm butter log from the refrigerator. Using a sharp knife, cut the butter log into four equal portions. Each portion should be a thick cylinder that will fit nicely into the center of a flattened chicken breast.
Take one pounded and seasoned chicken breast and lay it flat on your work surface. Place one portion of the firm compound butter in the center of the chicken breast. Now, carefully fold the sides of the chicken breast inward over the butter, tucking them in snugly. The goal is to create a sealed pocket that will prevent the butter from escaping during cooking. Once the sides are folded, begin rolling the chicken from the narrower end, tucking in as you go, until you have a compact log shape, similar to a small cigar or burrito.
Ensure that the seam where the chicken meets is well-sealed. If any butter peeks out, gently press the chicken to seal it. Repeat this filling and rolling process with the remaining three chicken breasts and butter portions. Once all four chicken Kiev rolls are formed, wrap each one tightly in plastic wrap. This extra layer of wrapping helps to maintain their shape and ensures that they are well-sealed. Place these wrapped chicken rolls in the freezer for at least 30 minutes.
The freezing step is critical. It further firms up the butter inside and makes the chicken rolls easier to handle and coat with breadcrumbs without the butter softening too quickly. This preparation ensures that when the chicken Kiev hits the hot oil, the butter remains mostly contained, leading to that spectacular burst of flavor later on. While the chicken is freezing, you can set up your breading station.
Step 4: Preparing the Breading Station and Coating the Chicken
A well-prepared breading station is key to achieving a perfectly crispy, golden-brown exterior on your chicken Kiev. You’ll need three shallow dishes or bowls for this process. In the first bowl, add one cup of all-purpose flour. To this, season with a pinch of salt and freshly ground black pepper. Stir the flour mixture gently to combine, ensuring the seasoning is evenly distributed. This flour layer acts as a base, helping the egg wash to adhere better.
In the second bowl, whisk two large eggs until they are well beaten and slightly frothy. Add a small pinch of salt and pepper to the eggs as well, which will subtly season the coating. The egg wash acts as the adhesive for the breadcrumbs, ensuring they stick firmly to the chicken. In the third and final bowl, place two cups of panko breadcrumbs. Panko breadcrumbs are ideal for chicken Kiev as their larger, airy flakes create a significantly crispier and lighter coating than traditional breadcrumbs.
Once the chicken Kiev rolls have firmed up in the freezer, carefully remove them from their plastic wrap. Take one chicken roll and dredge it thoroughly in the seasoned flour, making sure to coat all sides evenly. Gently shake off any excess flour. Next, dip the floured chicken roll into the beaten egg wash, ensuring it’s fully coated. Allow any excess egg to drip off.
Finally, transfer the egg-coated chicken roll to the bowl of panko breadcrumbs. Press the breadcrumbs gently onto the chicken, turning it to ensure complete coverage on all sides. The breadcrumbs should adhere well to the egg wash, creating a beautiful, textured coating. Repeat this flour-egg-breadcrumb process for all four chicken Kiev rolls. Ensure that the chicken is entirely covered in breadcrumbs for maximum crispiness.
Step 5: Frying for that Perfect Golden Crisp
The next step is to achieve that irresistible golden-brown crust through frying, which also partially cooks the chicken and seals the flavorful butter inside. You’ll need a deep fryer or a large, heavy-bottomed pot or Dutch oven for this. Heat about 3-4 inches of neutral cooking oil, such as vegetable, canola, or peanut oil, in your pot over medium-high heat. It’s crucial to maintain the oil temperature at approximately 375°F (190°C). Using a thermometer is highly recommended to ensure the oil is at the correct temperature; too cool, and the chicken will absorb too much oil, becoming greasy; too hot, and the breading will burn before the chicken cooks through.
While the oil is heating, preheat your oven to 350°F (175°C). This is where the chicken Kiev will finish cooking after its initial fry. Once the oil reaches the target temperature, carefully place 1-2 breaded chicken Kiev rolls into the hot oil. Be cautious not to overcrowd the pot, as this can lower the oil temperature and result in uneven cooking. Fry the chicken for about 1-2 minutes per side, just until it achieves a beautiful golden-brown color. The goal here is not to cook the chicken through, but to crisp up the breading and get a head start on the cooking.
Using a slotted spoon or tongs, carefully remove the fried chicken Kiev from the oil and place it on a wire rack set over a baking sheet. This allows any excess oil to drain away. Repeat the frying process with any remaining chicken rolls, ensuring the oil temperature returns to 375°F between batches. The initial fry creates that essential crunchy exterior that is so characteristic of chicken Kiev.
Step 6: Baking to Perfection and Resting
After the initial frying stage, the chicken Kiev needs to finish cooking in the oven to ensure the chicken is cooked through and the butter is fully melted and luscious. Place the wire rack with the fried chicken Kiev into the preheated 350°F (175°C) oven. Bake for approximately 15 to 20 minutes. The exact baking time will depend on the thickness of your chicken breasts and the efficiency of your oven.
The most reliable way to check for doneness is by using an instant-read meat thermometer. Insert the thermometer into the thickest part of a chicken Kiev, making sure not to touch the filling. The internal temperature should reach 165°F (74°C). The breading should be a deep golden brown and feel firm to the touch. Once the chicken reaches the correct internal temperature, carefully remove the baking sheet from the oven.
Now, for a crucial, often overlooked step: resting the chicken Kiev. Transfer the cooked chicken to a clean plate or a cutting board. Let it rest for at least 5 minutes before serving or cutting into it. This resting period allows the juices within the chicken to redistribute, resulting in a more tender and moist final product. Cutting into it too soon can cause the juices to run out, leading to drier chicken. This final resting period ensures that every bite of your perfectly prepared chicken Kiev is as succulent and flavorful as possible.
Pro Tips for chicken kiev recipe
Chill the Butter Thoroughly: The compound butter needs to be very firm before you try to roll it inside the chicken. This prevents it from melting and leaking out during the rolling and breading stages. If it’s too soft, pop it back in the freezer for a bit.
Don’t Skip the Freezing Step for the Rolls: After you’ve rolled the chicken around the butter, freezing the rolls for at least 30 minutes is vital. This firms up the chicken and butter, making the rolls much easier to handle and coat evenly with the breading. It significantly reduces the risk of the butter escaping during cooking.
Double Breading for Extra Crunch: For an even crispier coating, consider a double breading process. After the initial flour-egg-breadcrumb coating, dip the chicken rolls back into the egg wash and then back into the breadcrumbs. This creates a thicker, more robust crust that stays exceptionally crispy.
Monitor Oil Temperature Closely: During the frying stage, maintaining the correct oil temperature (around 375°F) is critical. If the oil is too cool, the breading will become greasy. If it’s too hot, the outside will burn before the inside is cooked. Use a thermometer and adjust the heat as needed.
Rest is Best: Just like with a steak, resting your cooked chicken Kiev for at least 5 minutes before cutting into it is essential. This allows the juices to redistribute throughout the meat, ensuring that each bite is moist and tender. Skipping this step can lead to dry chicken.
Serving Suggestions for chicken kiev recipe
Decoration
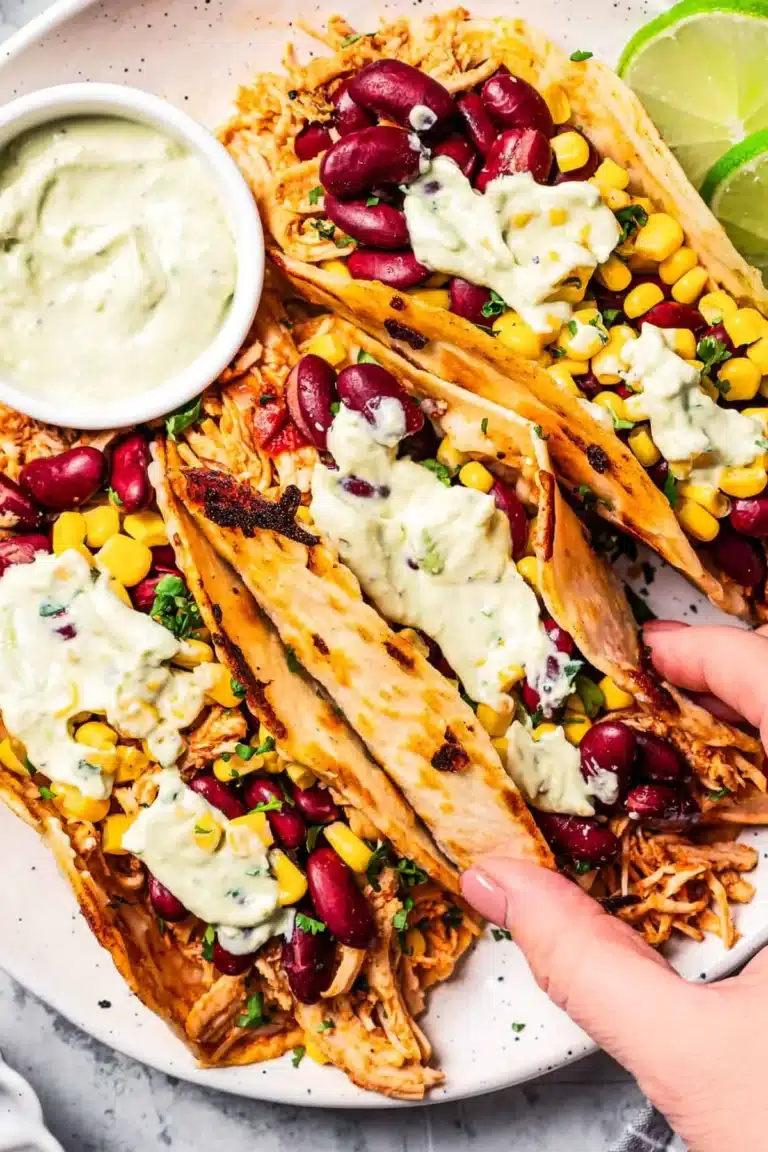
Elevate the presentation of your chicken Kiev with simple yet elegant garnishes. A sprinkle of fresh, finely chopped parsley over the top just before serving adds a burst of color and freshness. A small sprig of dill or chives can also provide a lovely visual contrast. For a touch of brightness, a thin slice of lemon or a wedge on the side of the plate offers both aesthetic appeal and a zesty accompaniment for those who enjoy an extra citrus note.
Side Dishes
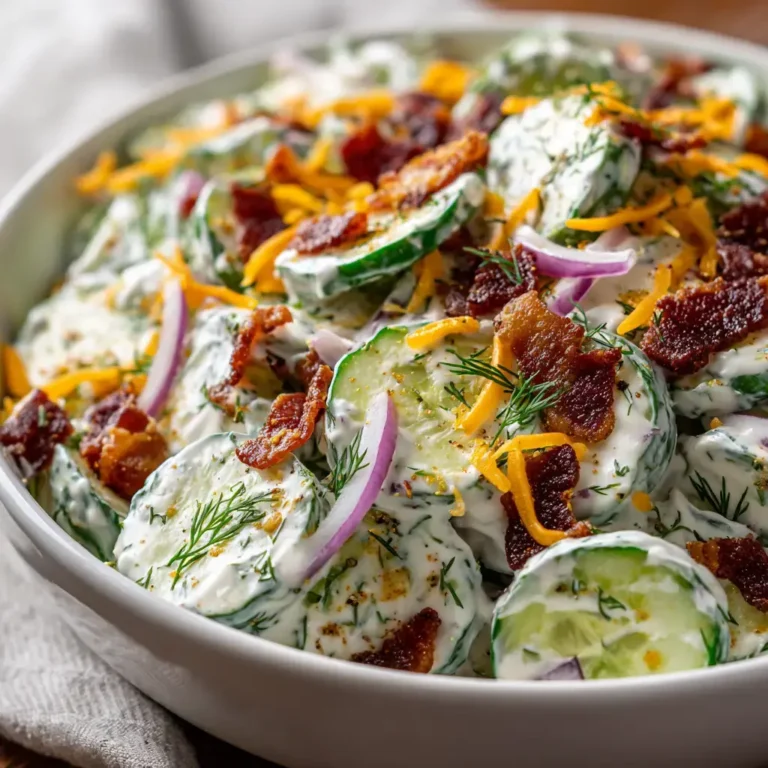
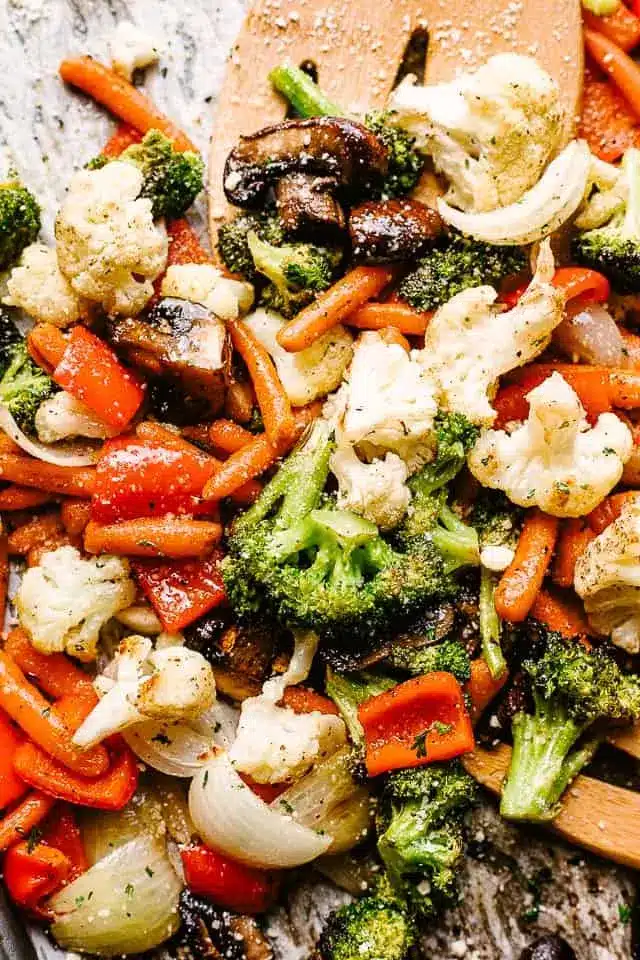
Chicken Kiev pairs beautifully with a variety of classic side dishes that balance its richness. Creamy mashed potatoes are a perennial favorite, their smooth texture a wonderful contrast to the crispy chicken. Roasted root vegetables, such as carrots, parsnips, and potatoes, offer a hearty and slightly sweet complement. For a lighter option, a crisp green salad with a simple vinaigrette or steamed green beans with a hint of butter and lemon provide a refreshing counterpoint.
Creative Serving Ideas
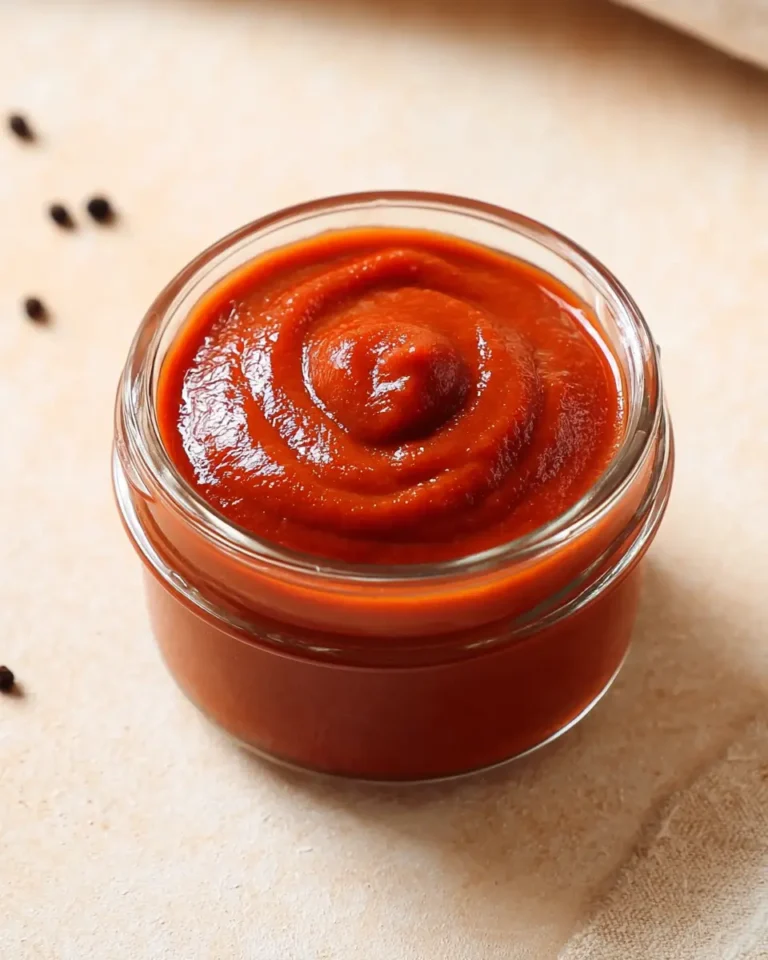
Consider serving your chicken Kiev as part of a sophisticated plated dinner. Place a perfectly cooked fillet slightly off-center on the plate, with a quenelle of mashed potatoes artfully arranged beside it. A drizzle of a light pan sauce, perhaps a lemon-herb reduction, can add an extra layer of elegance. For a more casual gathering, you could serve smaller, appetizer-sized versions of chicken Kiev, perhaps cut in half to reveal the molten butter, alongside a selection of dips or spreads.
Preparation & Storage
Storing Leftovers
Should you be fortunate enough to have any leftover chicken Kiev, proper storage is key to maintaining its quality. Allow the cooked chicken to cool completely at room temperature before refrigerating. Once cooled, place the chicken Kiev in an airtight container or wrap it tightly in plastic wrap and then aluminum foil. Stored correctly in the refrigerator, leftovers will typically remain good for up to 2 to 3 days. The breading may lose some of its initial crispness over time, but the chicken itself will remain moist and flavorful.
Freezing
Chicken Kiev can also be frozen, either before or after cooking, for longer-term storage. To freeze unbaked chicken Kiev, follow the preparation steps up to the breading stage. Once breaded, place the individual chicken rolls on a baking sheet lined with parchment paper, ensuring they do not touch. Freeze until solid, then transfer them to a freezer-safe bag or container, separating layers with parchment paper if stacking. Frozen uncooked chicken Kiev can be stored for up to 2 to 3 months. For freezing cooked chicken Kiev, allow it to cool completely, then wrap it tightly in plastic wrap and foil before placing it in a freezer-safe container. Cooked chicken Kiev can be frozen for up to 1 month.
Reheating
Reheating chicken Kiev requires a method that aims to restore some of its crispiness. The best method is to reheat it in the oven. Preheat your oven to 375°F (190°C). Place the refrigerated or thawed chicken Kiev on a wire rack set over a baking sheet to allow air circulation. Bake for approximately 15-20 minutes, or until the chicken is heated through and the breading is re-crisped. If reheating from frozen, the cooking time will be longer, around 25-30 minutes, or until the internal temperature reaches 165°F (74°C). Avoid reheating in the microwave, as this tends to make the breading soggy.
Frequently Asked Questions
-
How can I ensure the butter doesn’t leak out during cooking?
The primary reason butter leaks is insufficient sealing of the chicken. After pounding the chicken breast thin, carefully place the firm butter in the center. Fold the sides inward first to create a pocket, then roll tightly from one end, pressing gently to seal any gaps. Freezing the rolled chicken for at least 30 minutes before breading and cooking is also crucial, as it firms up both the chicken and the butter, making the seal more robust. A well-frozen, tightly rolled Kiev is far less likely to spring a leak.
-
What is the best way to pound the chicken to the correct thickness?
Pounding chicken requires a bit of finesse to achieve an even thickness without tearing. Place the chicken breast between two sheets of plastic wrap or inside a large resealable plastic bag. This prevents sticking and keeps your workspace clean. Use the flat side of a meat mallet or a rolling pin. Start by gently tapping the thickest part of the breast and work your way outwards. Apply even pressure, moving from the center to the edges, until the chicken is uniformly about 1/4 inch thick. Avoid using the spiked side of the mallet, as this can shred the meat.
-
Can I make the compound butter ahead of time, and how long does it last?
Absolutely, making the compound butter ahead of time is highly recommended and simplifies the assembly process. Once prepared, shape it into a log, wrap it tightly in plastic wrap or parchment paper, and store it in the refrigerator for up to 3-4 days. For longer storage, you can freeze the butter log. When you’re ready to use it, simply slice off the required portion. Frozen compound butter will last for up to 2-3 months. Ensure it is well-wrapped to prevent freezer burn.