Coconut Flour Keto Mug Cake
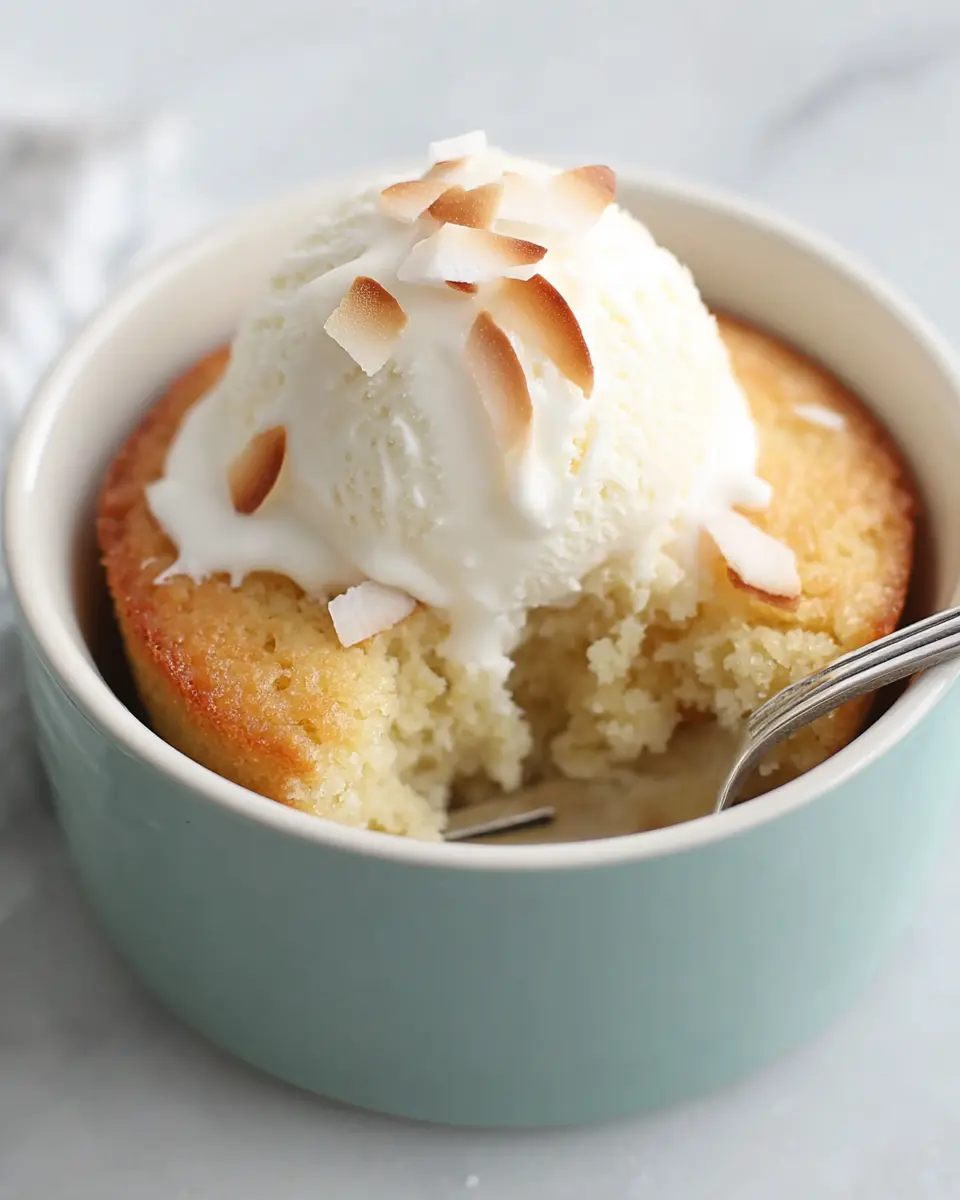
This Keto Coconut Flour Mug Cake is a lifesaver when a sweet craving strikes but time is short. It offers a warm, comforting dessert experience in mere minutes, proving that delicious, low-carb treats don’t need to be complicated or time-consuming.
Imagine a tender, fluffy cake, bursting with vanilla flavor, emerging perfectly cooked from your microwave – all without the guilt of sugar or carbs. This recipe delivers exactly that, making it an indispensable addition to your quick dessert repertoire.
Why You Will Love This Recipe
- Speedy Preparation: From mixing to microwaving, this mug cake is ready to enjoy in under 5 minutes, perfect for instant gratification.
- Low-Carb Indulgence: Crafted with coconut flour and keto-friendly sweeteners, it satisfies your sweet tooth without derailing your ketogenic lifestyle.
- Perfect Portion Control: Designed for a single serving, it eliminates the temptation of overeating and ensures no leftovers are left behind.
- Simple Ingredient List: Utilizes common pantry staples, making it accessible even for impromptu baking sessions.
- Deliciously Tender Texture: Despite its quick preparation, the combination of ingredients yields a surprisingly moist and cake-like crumb.
Ingredients You Need
The beauty of this keto mug cake lies in its simplicity and the careful selection of ingredients that work in harmony to create a satisfying texture and flavor. Each component plays a vital role in transforming basic elements into a delightful dessert. Ensuring you use quality ingredients will elevate the final taste and consistency of your mug cake.
Keto Coconut Flour Mug Cake

A quick, low-carb single-serving cake prepared in the microwave with coconut flour, egg, butter, and sour cream for a soft, tender crumb and rich flavor.
- 1 large egg
- 2 tablespoons coconut flour
- 1 tablespoon full-fat sour cream
- 1 tablespoon butter, softened to room temperature
- 1 1/2 tablespoons sweetener (such as monk fruit or erythritol)
- 1 teaspoon vanilla essence
- 1/4 teaspoon baking powder
- 1Add the egg, coconut flour, sour cream, softened butter, sweetener, vanilla essence, and baking powder to a microwave-safe mug.
- 2Mix thoroughly until the batter is smooth and evenly blended, making sure all ingredients are fully incorporated and the mixture is uniform throughout.
- 3Place the mug in the microwave and cook for approximately 1 1/2 minutes.
- 4Check that the cake is cooked through with a fluffy, moist texture. It should not remain overly wet, but it should also not be microwaved too long, as overcooking may cause it to become dry.
Keywords: Keto, Coconut Flour, Mug Cake, Low-Carb, Microwave Dessert, Quick Dessert
- large egg: The binder that provides structure and helps the mug cake rise beautifully in the microwave.
- coconut flour: The star low-carb flour that absorbs moisture to create a tender crumb.
- full-fat sour cream: Adds crucial moisture and fat for a soft, never-dry texture, complementing the coconut flour.
- butter, softened: Contributes richness, flavor, and helps achieve a tender, melt-in-your-mouth consistency.
- keto-friendly sweetener: Provides sweetness without the carbohydrates of sugar, essential for a guilt-free treat.
- vanilla essence: Enhances the classic cake flavor, adding warmth and depth to the overall taste profile.
- baking powder: A leavening agent that ensures the mug cake is light and fluffy, rather than dense.
Exact quantities for each ingredient can be found within the accompanying recipe card.
Variations
While this base recipe is wonderfully satisfying, a few simple additions can transform your keto coconut flour mug cake into a completely new experience. Experimenting with flavors can keep your go-to quick dessert feeling fresh and exciting.
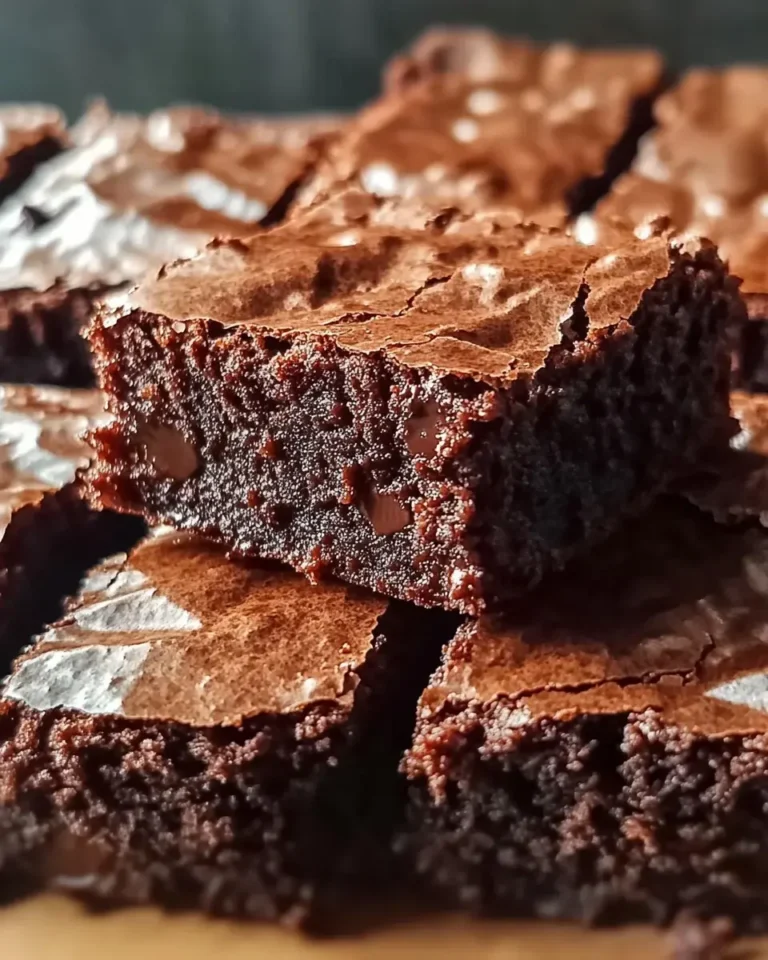
For a delightful chocolate twist, stir in a tablespoon of unsweetened cocoa powder along with the dry ingredients. You might find you need a tiny bit more sweetener or a splash of almond milk if the batter appears too thick. A few sugar-free chocolate chips melted into the warm cake are also an exquisite addition.
Consider a subtle hint of spice for a cozy variation. A pinch of cinnamon or a tiny amount of ground nutmeg, whisked into the batter, can evoke the comforting flavors of fall. This is particularly lovely when paired with a dollop of unsweetened whipped cream or a sprinkle of toasted chopped nuts on top.
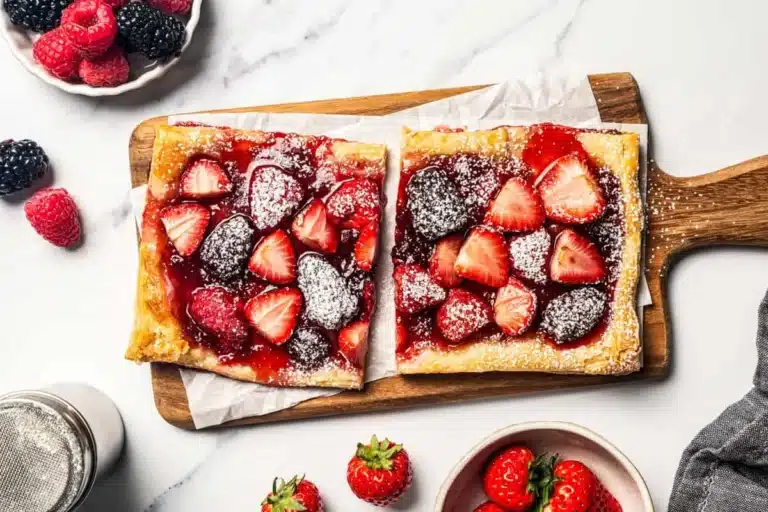
To create a berry-infused delight, gently fold in a tablespoon of fresh or frozen (and thawed) low-carb berries like raspberries or blueberries just before microwaving. These little bursts of fruit add a touch of tartness and visual appeal, elevating the simple mug cake into something a bit more gourmet.
How to Prepare Keto Coconut Flour Mug Cake
Step 1: Gather and Combine Wet Ingredients
Begin by selecting a microwave-safe mug that is adequately sized. It’s crucial to choose a mug that allows some room for the cake to rise during cooking, preventing overflow. Using a standard coffee mug or a slightly larger ceramic vessel is usually ideal for this purpose.
Into this chosen mug, add the single large egg. Next, incorporate the softened butter, ensuring it’s at room temperature for seamless blending. Finally, add the full-fat sour cream to the mug. These wet ingredients form the foundational base of your batter.
Using a small whisk or a fork, vigorously stir these ingredients together until they are thoroughly combined. The mixture should appear smooth and homogenous, with no distinct streaks of egg yolk or butter. This initial blending step is key to a well-emulsified batter and a consistent final texture.
Step 2: Incorporate Dry Ingredients and Mix Thoroughly
Now, it’s time to introduce the dry components that will give your mug cake its structure and flavor. Carefully measure and add the coconut flour to the mug containing the wet ingredients. Coconut flour is highly absorbent, so precise measurement is important for achieving the right consistency.
Next, add the keto-friendly sweetener to the mug. The amount can be adjusted slightly to your personal preference, but start with the recommended quantity for balanced sweetness. Follow this with the vanilla essence, which provides that classic, comforting cake aroma and taste.
Finally, measure and add the baking powder. This leavening agent is essential for creating a light and airy texture. Once all dry ingredients are in the mug, use your fork or whisk to stir everything together. Make sure to scrape the bottom and sides of the mug diligently to ensure no dry pockets of coconut flour or sweetener remain hidden, as this will prevent clumps and ensure an even bake.
Step 3: Allow the Batter to Rest Briefly
Once you have thoroughly mixed the batter, resist the urge to immediately place it in the microwave. Coconut flour has a unique property of absorbing liquid very quickly. This brief resting period allows the coconut flour to fully hydrate and the batter to begin to thicken and settle into a more stable consistency.
Let the mug sit undisturbed for about 30 to 60 seconds. During this short time, you’ll notice the batter transforming slightly, becoming less liquidy and more akin to a traditional cake batter. This step is a small but significant contributor to the final tender crumb of your mug cake.
If, after resting, the batter seems exceptionally thick and unmanageable, you can add a tiny splash (literally, a teaspoon or less) of unsweetened almond milk or water. Stir it in gently until the batter reaches a smooth, pourable but not watery consistency. This adjustment ensures the cake cooks evenly and maintains its delicate texture.
Step 4: Microwave to Cook
Prepare your microwave for cooking. Ensure the mug is positioned in the center of the turntable for even heating. Most microwaves operate at varying wattages, so it’s helpful to know your appliance’s power level, though a standard setting usually works well.
Microwave the mug cake for approximately 1 minute and 30 seconds. This is a starting point; the exact time can vary based on your microwave’s strength and the depth of your mug. Keep a close watch as the cooking time nears its end, as overcooking can quickly turn this delicate cake dry and rubbery.
The top of the cake should appear set and have a slightly springy texture when gently touched, rather than looking wet or glossy. If it still seems a bit underdone in the center, it’s better to add more time in very short increments rather than a prolonged burst.
Step 5: Check for Doneness and Adjust if Necessary
After the initial microwaving period, it’s crucial to assess the cake’s doneness. Carefully remove the hot mug from the microwave using oven mitts or a kitchen towel. Gently poke the center of the cake with a toothpick or a clean fingertip.
If the toothpick comes out clean or the center springs back with only a slight resistance, the cake is likely done. However, if it appears wet or glossy, it needs a little more cooking time. Do not despair if it needs a bit more heat; this is a common adjustment with mug cakes.
If the cake requires additional cooking, return the mug to the microwave and cook in very short intervals, starting with just 10 to 15 seconds at a time. After each short burst, re-check for doneness. This cautious approach is far more effective than adding a full minute, which can easily lead to overcooking and a tough texture.
Step 6: Cool Slightly and Enjoy
Once you are confident the mug cake is perfectly cooked, remove the mug from the microwave. Allow the cake to rest in the mug for one to two minutes before attempting to eat it. This cooling period is important for several reasons, contributing significantly to the final texture and enjoyment.
During this brief rest, the internal structure of the cake continues to set and firm up. The heat from microwaving is intense, and allowing it to dissipate slightly ensures that the delicate crumb achieves its optimal tenderness. It also prevents the risk of burning your mouth on a piping hot dessert.
After the short cooling period, your keto coconut flour mug cake is ready to be savored. You can enjoy it directly from the mug, perhaps with a small spoon, appreciating its warm, comforting texture and rich vanilla flavor. It’s a perfect single-serving dessert that delivers satisfaction without the fuss.
Pro Tips for Keto Coconut Flour Mug Cake
Accurate Measuring is Key: Coconut flour is a unique ingredient that absorbs moisture differently than traditional flours. Even a slight over-measurement can result in a dry, crumbly cake, while under-measuring can lead to a gummy texture. Always use standard measuring cups and level off the flour to ensure consistency in your results. This precision is the most critical factor in achieving the perfect soft crumb.
Embrace the Softened Butter: Using butter that is softened to room temperature rather than melted or cold makes a significant difference. Softened butter blends seamlessly into the other ingredients, creating a smooth batter free from oily streaks or hard lumps. This ensures even cooking and a uniformly tender texture throughout the mug cake. It contributes to the overall richness and moistness.
Don’t Overcook at All Costs: Microwaves are powerful and can transform a perfectly cooked mug cake into a rubbery disc in a matter of seconds. It is far better to err on the side of undercooking slightly and then adding more time in short, 10-second increments if necessary. Watch the cake closely during the final stages of microwaving; the edges should look set while the center might still appear very slightly moist.
Consider the Mug’s Material and Shape: The type of mug you use can subtly affect cooking time. Thinner ceramic mugs might cook faster than thicker ones. Also, the shape of the mug can influence how the cake rises. A wider, shallower mug might cook more evenly than a very tall, narrow one, ensuring a consistent texture from top to bottom. Always use a microwave-safe mug, of course.
Experiment with Flavor Boosters: While the vanilla base is classic, don’t hesitate to add a tiny pinch of cinnamon or nutmeg to the dry ingredients for a warming spice note. A few drops of almond extract can offer a different aromatic profile. For a decadent touch, stir in a teaspoon of unsweetened cocoa powder for a quick chocolate version, adjusting sweetener as needed. These small additions can significantly enhance the sensory experience without compromising the keto principles.
Serving Suggestions for Keto Coconut Flour Mug Cake
Decoration
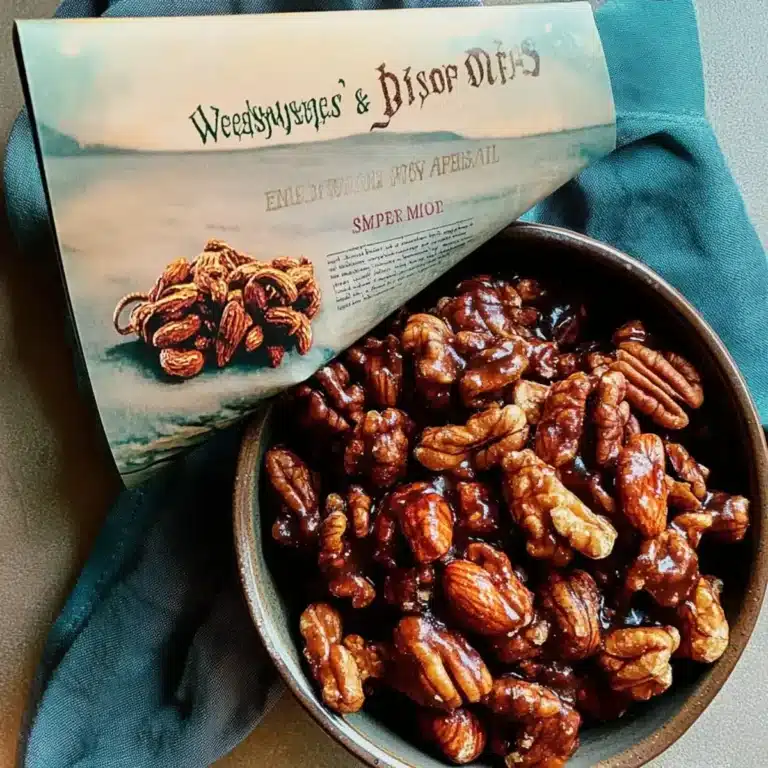
Elevate your simple mug cake with a touch of elegance through thoughtful decoration. A swirl of unsweetened whipped cream, perhaps infused with a tiny bit of vanilla extract, adds a cloud-like softness and creamy richness that perfectly complements the warm cake. For a bit of crunch and visual appeal, a sprinkle of toasted chopped nuts, such as almonds or pecans, works wonderfully. Sugar-free chocolate shavings or a dusting of cinnamon can also provide a lovely finishing touch.
Side Dishes
While this mug cake is a complete dessert on its own, pairing it with certain elements can create a more complete and satisfying experience. A small bowl of fresh berries, like raspberries, blueberries, or sliced strawberries, offers a refreshing contrast to the cake’s warmth and richness. If you enjoy a nutty flavor, a small dollop of natural almond butter or peanut butter served alongside can add another layer of creamy indulgence and healthy fats. Consider a small scoop of keto-friendly ice cream for an extra special treat.
Creative Serving Ideas
Present your mug cake directly in the mug for a cozy, rustic feel, perhaps with a decorative spoon. For a more refined presentation, you can carefully invert the cake onto a small dessert plate once it has cooled slightly; this works best if the mug is lightly greased. A drizzle of sugar-free caramel sauce or a sprinkle of edible glitter can add a playful and celebratory element for special occasions. Imagine serving this as an individual dessert during a quiet evening at home, making an ordinary moment feel extraordinary.
Preparation & Storage
Storing Leftovers
While this mug cake is designed to be enjoyed immediately for the best texture, leftovers can certainly be saved. If you find yourself with a portion you can’t finish, cover the mug tightly with plastic wrap or a small lid to prevent the cake from drying out. Alternatively, you can gently scoop the cake out of the mug and place it into a small airtight container.
Store the covered mug or container in the refrigerator for up to 2 days. The texture may become slightly firmer and less moist when refrigerated, which is a natural consequence of cooling and storage. However, it will remain perfectly edible and enjoyable, especially when reheated.
It’s important to note that coconut flour-based baked goods can change texture quite noticeably when stored. Refrigeration is the best method for maintaining its integrity for a short period, but it’s always ideal to consume it fresh for the optimal cake-like experience. Plan to make it fresh whenever a craving arises for the very best results.
Freezing
Freezing this keto coconut flour mug cake is a convenient option for longer-term storage, allowing you to have a quick dessert ready whenever the mood strikes. Ensure the cake has cooled completely to room temperature before attempting to freeze it. Freezing a warm cake can create condensation, leading to ice crystals and affecting the texture upon thawing.
Once cooled, you can either leave the cake in its mug and wrap the entire mug tightly in plastic wrap, followed by a layer of aluminum foil for maximum protection against freezer burn. Alternatively, you can gently remove the cake from the mug and wrap it securely in plastic wrap, then place it in a freezer-safe airtight container or a heavy-duty freezer bag.
When properly wrapped, the mug cake can be stored in the freezer for up to one month. This is an excellent strategy for portion control and ensuring you always have a low-carb sweet treat on hand without needing to bake from scratch each time. The key to successful freezing is minimizing exposure to air.
Reheating
To reheat your keto coconut flour mug cake, whether it has been refrigerated or thawed from frozen, the microwave is your best friend. Place the mug cake (if not already in a microwave-safe mug) onto a microwave-safe plate or dish. Avoid reheating directly from the freezer if it was wrapped in foil, as foil is not microwave-safe.
Microwave the cake in very short intervals, starting with 10 to 15 seconds at a time. Coconut flour cakes can dry out quickly when reheated, so it’s crucial to monitor it closely. You are aiming for a warm, comforting dessert, not a baked-over, dry confection.
Continue microwaving in additional 10-second bursts until the cake is just warmed through. The cake should feel soft and slightly yielding. Overheating will likely result in a tough, chewy texture, so vigilance during the reheating process is paramount. Once warm, enjoy immediately.
Frequently Asked Questions
-
Can I use a different type of flour for this keto mug cake?
While this recipe is specifically designed for coconut flour due to its low-carb nature and unique absorbent properties, substituting other flours will significantly alter the outcome. Almond flour, for instance, can be used, but it typically requires a different ratio of wet to dry ingredients, and the texture will be denser. Regular all-purpose flour is not suitable for a keto diet and will change the cake’s nutritional profile entirely. For the best results and the intended keto-friendly texture and flavor, stick to coconut flour as specified in the recipe.
-
Why does my mug cake turn out dry or rubbery?
The most common culprits for a dry or rubbery keto coconut flour mug cake are overcooking and inaccurate measurement of the coconut flour. Coconut flour absorbs a great deal of moisture, so if too much is used, or if the cake is microwaved for too long, it will result in a dry or tough texture. It’s essential to measure the coconut flour precisely and to monitor the microwave time very closely, erring on the side of undercooking and adding short bursts of time as needed. The other ingredients like butter and sour cream are crucial for moisture, so ensure those are also correctly added.
-
Can I make this mug cake ahead of time and store it for later?
While this mug cake is undeniably best enjoyed fresh and warm straight from the microwave, it can be made ahead to some extent. If you have leftovers, store them in an airtight container in the refrigerator for up to 2 days. The texture will firm up, but it can be gently reheated in the microwave in short intervals. For longer storage, you can freeze the cooled mug cake, well-wrapped, for up to a month and then reheat as needed. However, be aware that repeated reheating or extended storage will likely impact the delicate, moist crumb that is characteristic of a freshly made mug cake.