Sour Cream Coconut Cake
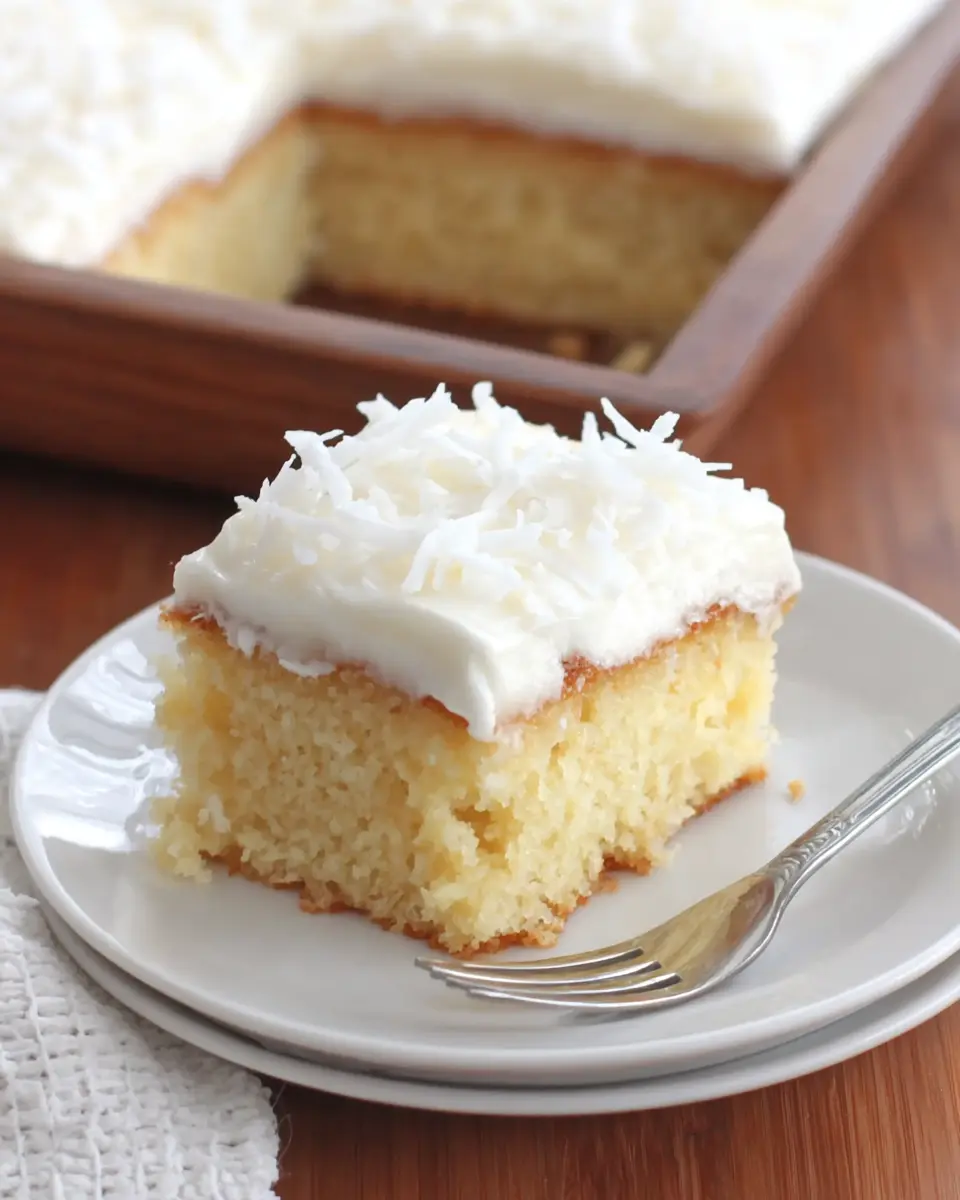
Creamy and make-ahead, Sour Cream Coconut Cake offers a wonderfully soft butter cake base complemented by a rich, luscious coconut layer and finished with a light, airy whipped topping. It’s a dessert designed for simplicity in preparation, making it an absolute star for any gathering, and its flavors deepen and meld beautifully after a good rest in the refrigerator.
This is precisely the type of cake that shines when you’re craving something sweet and satisfying without the fuss of constructing an elaborate, multi-tiered masterpiece. The process involves baking a straightforward cake base, generously spreading a delightful coconut mixture over it, and then crowning the creation with a fluffy topping that keeps the entire dessert feeling light and inviting, encouraging a second slice.
Why You Will Love This Recipe
- Effortless Preparation: Utilizing a butter cake mix significantly cuts down on the time and complexity, allowing you to focus on the delicious toppings.
- Creamy Coconut Layer: The combination of full-fat sour cream, shredded coconut, and sugar creates a lusciously smooth and flavorful middle section that is simply irresistible.
- Light & Airy Finish: The whipped topping adds a delicate contrast to the richer layers below, ensuring the cake remains delightfully balanced and not overly heavy.
- Make-Ahead Convenience: This cake is a baker’s best friend, as it benefits from chilling, making it perfect for preparing in advance for parties or busy weeknights.
- Crowd-Pleasing Flavor: The classic pairing of coconut and creamy sweetness appeals to a wide range of palates, ensuring smiles all around.
Ingredients You Need
The beauty of this Sour Cream Coconut Cake lies in its accessibility, relying on pantry staples and readily available ingredients to create something truly special. Opting for quality ingredients, such as fresh sour cream and good quality shredded coconut, will elevate the final taste and texture. Always ensure your butter is properly softened for the cake base to achieve the best crumb. The sweet shredded coconut is central to the cake’s signature flavor profile, while the full-fat sour cream lends a crucial tanginess and creamy body, preventing the coconut layer from becoming one-dimensionally sweet. The whipped topping provides a light, cloud-like finish that beautifully complements the denser layers beneath.
Sour Cream Coconut Cake
A chilled dessert cake featuring a soft butter cake base, a rich coconut-and-sour-cream layer, and a light whipped topping finish. Its creamy texture and sweet coconut flavor make it especially suitable for preparing ahead of time.
- 1 package butter cake mix
- 3 large eggs
- 7 tablespoons unsalted butter, softened to room temperature
- 3/4 cup water
- 12 ounces sweetened shredded coconut, thawed
- 8 ounces full-fat sour cream
- 2 cups granulated sugar
- 8 ounces whipped topping, thawed
- 1Prepare the butter cake mix by following the package instructions, using the softened butter, eggs, and water. Pour the batter into a 9 x 13-inch baking pan.
- 2Bake as directed on the cake mix box. When the cake is done, remove it from the oven and let it cool completely in the pan.
- 3In a mixing bowl, combine the granulated sugar, sour cream, and thawed shredded coconut. Stir thoroughly until the mixture is evenly blended. Transfer the bowl to the refrigerator and chill the mixture well.
- 4Once the coconut mixture is fully chilled, set aside 1 cup for the topping. Spread the remaining coconut mixture evenly over the surface of the cooled cake.
- 5In a separate bowl, combine the reserved 1 cup of coconut mixture with the thawed whipped topping. Mix until smooth and fully incorporated.
- 6Spread the whipped topping mixture over the coconut layer, creating an even final layer across the cake.
- 7Refrigerate the finished cake for at least 4 hours before serving. For improved flavor and texture, it may be chilled for up to 24 hours. Slice and serve cold.
The specific quantities for each ingredient are detailed within the recipe card, ensuring you have all the precise measurements needed for success. These core components combine to create a dessert that is both comforting and elegantly simple.
Variations
To elevate this already delightful Sour Cream Coconut Cake, consider a few creative twists that can tailor it to specific dietary needs or flavor preferences. For a delightful vegan rendition, you can substitute the butter cake mix with a vegan cake mix and ensure all other components are dairy-free. This would involve using a plant-based sour cream alternative and a vegan whipped topping, readily available in most supermarkets, to maintain that signature creamy texture. The shredded coconut and sugar can remain as they are, as they are inherently vegan.
For those following a low-carb lifestyle, adapting this cake requires a bit more thought but is certainly achievable. You would need to find a suitable low-carb butter cake mix or create a base from scratch using almond flour or coconut flour, a sugar substitute like erythritol or stevia, and a binder. The coconut layer could be reimagined with a sugar-free sweetener, and the whipped topping could be replaced with a homemade whipped coconut cream, sweetened to taste with a low-carb sweetener. This version would offer a guilt-free indulgence for those managing their carbohydrate intake.
Another interesting variation could involve infusing the coconut layer with additional flavors. Imagine adding a teaspoon of almond extract to the sour cream and coconut mixture for a subtle nutty undertone that pairs beautifully with coconut. Alternatively, a touch of lime zest could introduce a bright, tropical note, transforming the cake into a more summery delight. These small additions can significantly alter the flavor profile, offering a fresh take on the classic combination and making the cake suitable for a wider array of occasions.
How to Prepare Sour Cream Coconut Cake
Step 1: Baking the Cake Base
Begin by preheating your oven to the temperature specified on your chosen butter cake mix box. This initial step is crucial for ensuring the cake bakes evenly and reaches the perfect golden-brown hue. Prepare a 9×13-inch baking pan by greasing it thoroughly with butter or non-stick cooking spray, and perhaps dusting it lightly with flour if recommended by the cake mix instructions. This prevents the cake from sticking and ensures easy removal after baking.
In a large mixing bowl, combine the butter cake mix with the specified amount of large eggs, softened unsalted butter, and water as directed by the cake mix packaging. It is important to ensure the butter is truly softened to room temperature, as this helps it incorporate smoothly into the dry ingredients, contributing to a tender crumb. Mix the ingredients until just combined; overmixing can lead to a tough cake. Pour the batter evenly into the prepared baking pan, spreading it with a spatula to ensure an even surface for consistent baking.
Bake the cake according to the time indicated on the box, or until a wooden skewer or toothpick inserted into the center comes out clean. The top should be lightly golden and spring back gently when touched. Once baked, remove the cake from the oven and place the pan on a wire rack. Resist the urge to remove the cake from the pan immediately. Allowing it to cool completely within the pan is a vital step for the subsequent layers, preventing them from becoming a messy, unset goo.
Step 2: Cooling the Cake Base
This cooling period is absolutely critical for the success of your Sour Cream Coconut Cake, so do not rush it. The residual heat from the cake can cause the delicate coconut mixture to melt and spread unevenly, leading to a less appealing presentation and a slightly different texture. Allowing the cake to cool completely in the 9×13-inch pan on a wire rack ensures that it solidifies properly and creates a stable foundation for the creamy topping that will be added later. This patience will be rewarded with cleaner layers and a more professional-looking dessert.
A completely cool cake also helps to prevent the whipped topping from becoming too thin or runny when it is applied. If the cake is still warm, the topping will likely melt into it, creating a homogenous layer rather than distinct, enjoyable strata. The objective is to have a firm, cool base that can support the weight and moisture of the subsequent layers without any issues. This thorough cooling process is a hallmark of many successful make-ahead desserts, contributing to their superior texture and stability when served.
Once the cake has reached room temperature, and preferably has been chilled slightly in the refrigerator for an additional thirty minutes, it is ready for the next stage. This ensures it is firm and ready to receive the coconut mixture without any compromise to its structure. The time taken for cooling will vary depending on your kitchen’s temperature, but generally, allowing it to sit for at least an hour, or until it is no longer warm to the touch, is recommended. The goal is a completely cooled surface, ensuring the integrity of each layer.
Step 3: Crafting the Coconut Layer
While your cake base is diligently cooling, it’s time to prepare the star of the show: the rich and creamy coconut layer. In a medium-sized mixing bowl, combine the thawed sweetened shredded coconut with the full-fat sour cream and granulated sugar. It is important to use full-fat sour cream here, as it provides the necessary richness and tang that balances the sweetness and ensures a luxurious texture for this layer. The sugar not only sweetens the mixture but also helps to create that classic, comforting old-fashioned dessert taste that many people adore.
Stir these ingredients together thoroughly until the mixture appears uniformly combined and the coconut is evenly distributed throughout the creamy sour cream and sugar base. Ensure there are no pockets of dry sugar or clumpy coconut. Once everything is well mixed, cover the bowl tightly with plastic wrap or a lid. Place this mixture in the refrigerator to chill for at least 30 minutes to an hour. This chilling step is crucial because it firms up the mixture slightly, making it easier to spread evenly over the cooled cake without it running everywhere.
The goal here is a thick, spreadable consistency. If the mixture seems too loose after chilling, you can return it to the refrigerator for a bit longer. Alternatively, if it seems too stiff, a very brief stirring of the reserved portion might loosen it slightly before it’s added to the whipped topping. This careful preparation of the coconut layer sets the stage for a dessert that is not only delicious but also beautifully presented, with distinct, well-defined layers that are a joy to behold and to eat. The subtle tang from the sour cream cuts through the sweetness, making this layer utterly addictive.
Step 4: Assembling the Coconut Layer
Once the coconut mixture has been thoroughly chilled and has achieved a firmer, more manageable consistency, it’s time to assemble the second layer of your cake. Carefully scoop out approximately 1 cup of this chilled coconut mixture and set it aside in a separate bowl. This reserved portion is destined for the final topping, ensuring a cohesive coconut flavor throughout the entire dessert. This intentional separation is key to achieving both a distinct middle layer and a beautifully blended topping.
With the remaining, larger portion of the coconut mixture, carefully spread it evenly over the surface of the completely cooled cake base. Use a spatula or the back of a spoon to gently distribute the mixture, ensuring it reaches all the corners of the 9×13-inch pan. The aim is to create a uniform layer that covers the entire cake, guaranteeing that every single slice will feature that delightful, creamy coconut center. Take your time with this step to achieve a smooth and even surface, which will make the final topping application much simpler and more aesthetically pleasing.
The even distribution of this layer is paramount to the overall experience of the cake. It ensures that the ratio of cake to coconut to topping is balanced in every bite. If any spots are left uncovered, those sections of cake will lack the creamy indulgence that defines this particular dessert. So, press gently but firmly, working outwards from the center, to achieve that perfect, even blanket of coconut deliciousness. This is where the magic of the sour cream coconut cake truly begins to take shape, promising a delightful textural and flavor contrast.
Step 5: Creating the Whipped Topping
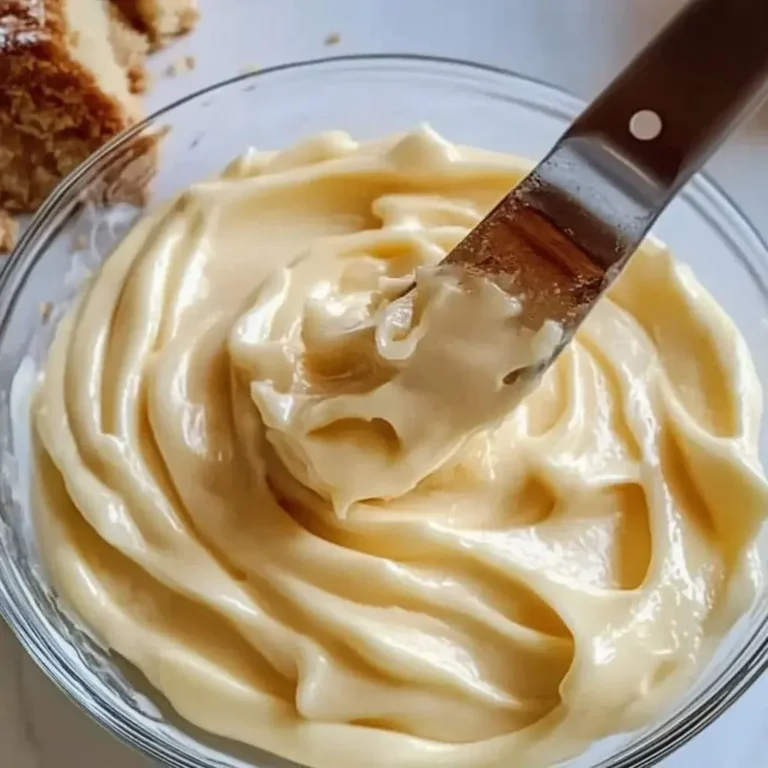
Now, it’s time to create the ethereal final layer of your Sour Cream Coconut Cake, the light and fluffy whipped topping that provides a perfect counterpoint to the denser layers beneath. Take the 1 cup of the chilled coconut mixture that you reserved earlier and gently fold it into the thawed whipped topping. It’s important that both components are cold to ensure the whipped topping maintains its airy structure and doesn’t deflate. The goal is to incorporate the coconut mixture without overmixing, which can cause the whipped topping to break down and lose its volume.
Using a spatula, gently fold the reserved coconut mixture into the whipped topping until it is just smooth and evenly incorporated. You want to maintain as much airiness as possible, so avoid vigorous stirring or beating. The resulting mixture should be light, fluffy, and subtly speckled with coconut, indicating that the flavor has been distributed throughout. This blend creates a topping that is not only visually appealing but also adds a delightful texture and a hint of coconut flavor to the very top of the cake.
Once the topping is prepared, carefully spread it evenly over the coconut layer that you previously applied to the cooled cake. Use your spatula to create a smooth, consistent surface. Ensure the topping reaches all the edges of the pan, just like the coconut layer, to create a neat and professional finish. This final layer adds visual appeal and a delightful textural contrast, making the cake a perfect chilled dessert that is both impressive and incredibly easy to make. The combination of textures and the balance of sweetness and tang are what make this dessert so special and so satisfying.
Step 6: Chilling for Perfect Flavor and Texture
This final step is arguably the most important for achieving the signature texture and melded flavors of a Sour Cream Coconut Cake. Once the cake is fully assembled, cover the pan tightly with plastic wrap or aluminum foil. It is crucial to prevent any air from getting in, which could dry out the cake or absorb odors from the refrigerator. Place the covered cake in the refrigerator to chill for a minimum of 4 hours. This period allows the distinct layers to settle and meld together, creating a cohesive dessert.
However, for the absolute best results, an overnight chill is highly recommended. This extended chilling time allows the cake to soften slightly as it absorbs some of the moisture from the creamy layers, resulting in an incredibly tender and moist texture. Furthermore, the flavors have ample time to develop and harmonize, leading to a richer, more complex taste profile. The coconut layer will firm up beautifully, and the whipped topping will remain perfectly light and refreshing. The effort of waiting will be amply rewarded with a dessert that tastes even better than when it was first assembled.
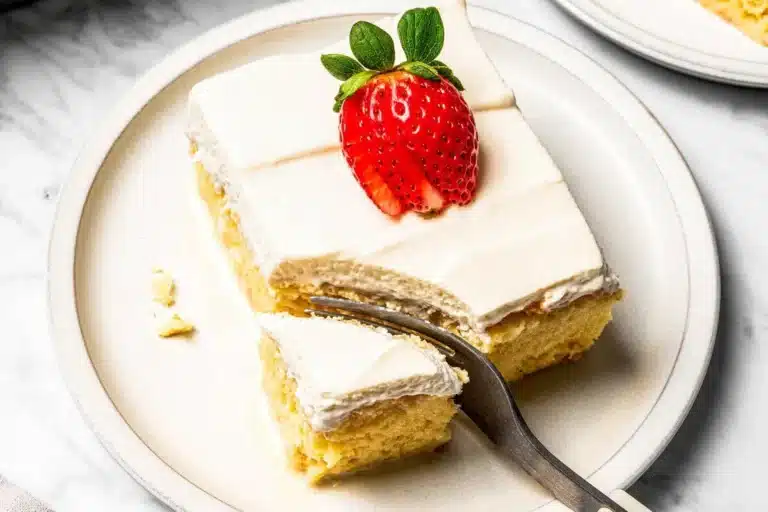
When you are ready to serve, remove the cake from the refrigerator. For the neatest slices, it is recommended to use a sharp knife that has been dipped in hot water and wiped dry between each cut. This technique helps to slice through the chilled layers cleanly, preserving the integrity of the topping and the coconut layer. Serving the cake cold is essential to its intended character, as it allows the creamy elements to remain firm and refreshing. Enjoy the delightful contrast of textures and the sweet, tangy coconut flavor.
Pro Tips for Sour Cream Coconut Cake
Chill Everything: For the smoothest application of the coconut layer, ensure both the coconut mixture and the cake base are thoroughly chilled. This prevents the coconut mixture from becoming too runny and sliding off the cake, leading to a cleaner, more defined layer. The cold cake base also helps to set the coconut mixture more quickly.
Don’t Overmix the Topping: When combining the reserved coconut mixture with the whipped topping, fold it in gently. Overmixing can deflate the whipped topping, resulting in a denser, less airy final layer. The goal is to incorporate the flavors while maintaining the topping’s lightness and volume for the best texture.
Use a Sharp, Clean Knife for Slicing: To achieve those beautiful, clean slices that showcase the distinct layers, use a long, sharp knife. Dip the knife in hot water and wipe it dry between each cut. This simple trick prevents the knife from dragging and smearing the creamy layers, ensuring a professional presentation every time.
Make it Ahead for Best Flavor: This cake truly shines when it has had time to chill and the flavors have had a chance to meld. Preparing it the day before serving allows the coconut layer to set firmly and the cake base to become wonderfully moist. This make-ahead quality makes it an ideal dessert for entertaining, reducing day-of stress.
Full-Fat is Key: For both the sour cream and the whipped topping, using full-fat versions is crucial for achieving the right consistency and flavor. Lower-fat options may result in a thinner filling and a topping that doesn’t hold its shape as well, compromising the dessert’s creamy richness and stability. Trust the full-fat ingredients for the best outcome.
Serving Suggestions for Sour Cream Coconut Cake
Decoration
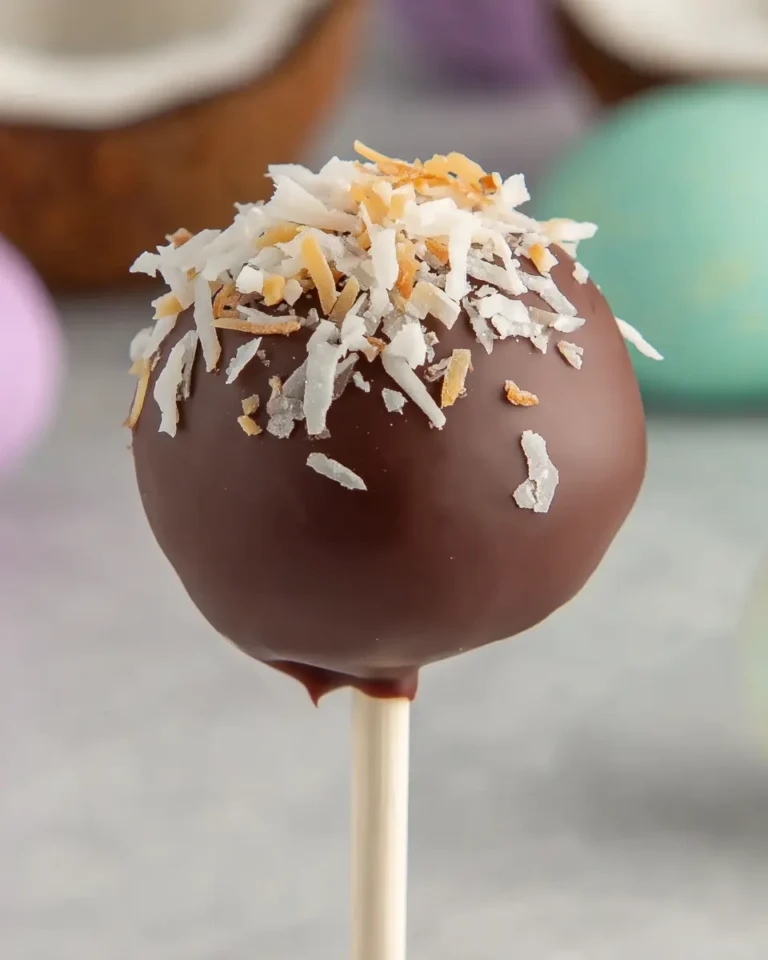
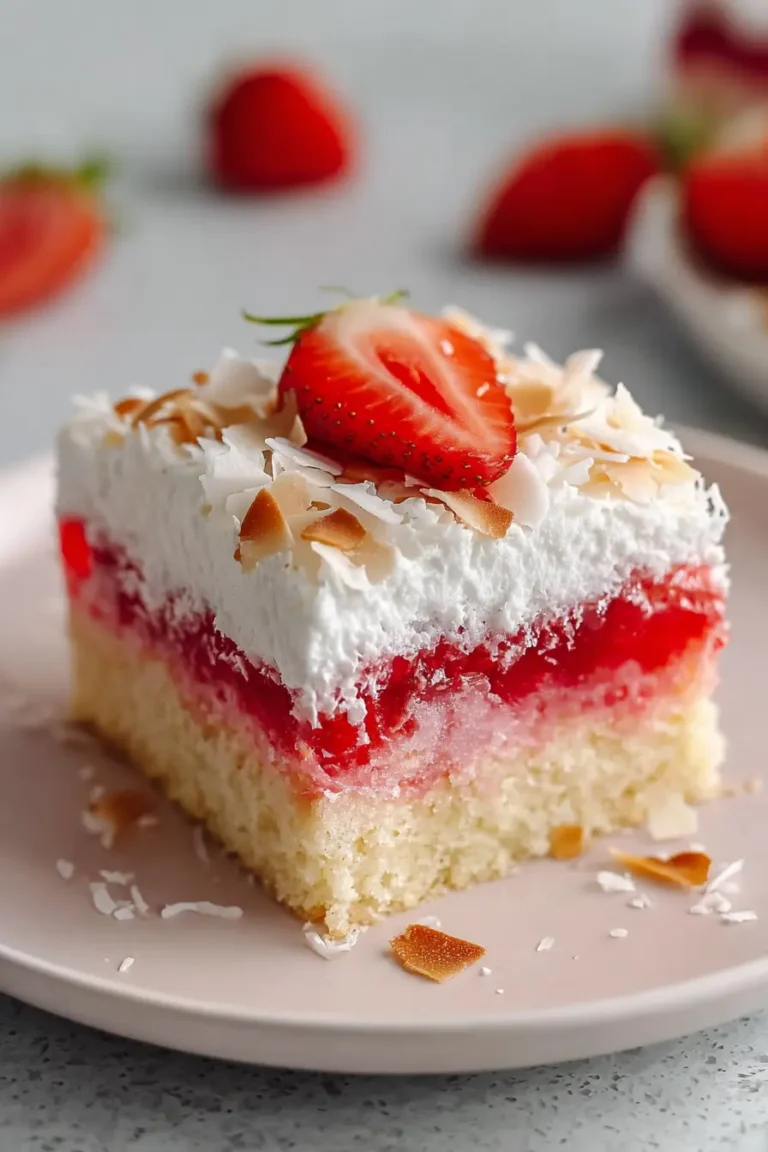
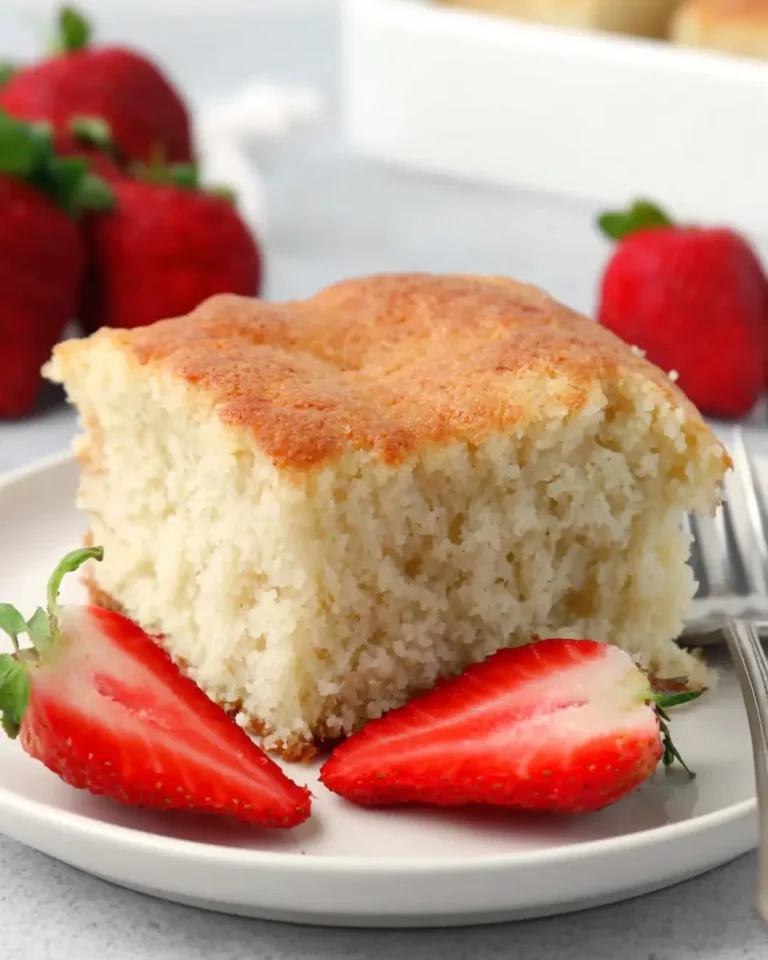
While this cake is beautifully understated, a few simple decorative touches can enhance its visual appeal. A light dusting of extra shredded coconut over the whipped topping adds a textural element and reinforces the coconut flavor. Alternatively, a few toasted coconut flakes can provide a lovely crunch and a golden-brown contrast to the white topping. For a touch of elegance, consider arranging fresh berries like raspberries or sliced strawberries around the edges of the cake just before serving. A few mint leaves can also add a pop of vibrant green and a refreshing aroma.
Side Dishes
This dessert pairs wonderfully with simple accompaniments that complement its sweetness without overpowering it. Fresh fruit is an excellent choice; a medley of seasonal berries, such as blueberries, raspberries, and sliced strawberries, provides a bright, juicy contrast to the creamy cake. A simple side of sliced kiwi or mandarin orange segments can also offer a refreshing tropical note. For those who enjoy a warm beverage with their dessert, a hot cup of coffee or a soothing herbal tea makes for a delightful pairing, balancing the sweetness with a hint of bitterness or aromatic flavor.
Creative Serving Ideas
Beyond simply slicing and serving, consider presenting this cake in individual portions for an elegant touch. You can cut the cake into smaller squares and serve them in small dessert cups or ramekins, perhaps with a dollop of extra whipped cream or a few fresh berries on top. For a more playful presentation, especially for children’s parties, you could use cookie cutters to create fun shapes from the cake slices before adding a small amount of topping and a sprinkle of decorative coconut. Another idea is to serve a small slice alongside a scoop of vanilla bean or coconut ice cream, creating a decadent layered dessert experience.
Preparation & Storage
Storing Leftovers
This Sour Cream Coconut Cake must be stored in the refrigerator due to its creamy filling and whipped topping. Cover the pan tightly with plastic wrap or aluminum foil to prevent the cake from drying out and to avoid it absorbing any odors from other foods. Alternatively, transfer any leftover slices to an airtight container. Properly stored in the refrigerator, the cake should remain fresh and delicious for up to 4 days. This makes it an excellent option for a make-ahead dessert that can be enjoyed over several days.
Freezing
Freezing this cake is a viable option, especially if you want to prepare it further in advance or have more leftovers than you can consume within a few days. It is best to freeze individual slices for ease of serving and to maintain the best texture. Place the slices on a baking sheet lined with parchment paper and freeze them until they are firm to the touch, which typically takes about 1 to 2 hours. Once firm, wrap each slice tightly in plastic wrap, followed by a layer of aluminum foil, or place them in a freezer-safe container or bag. Frozen cake is best consumed within 1 month to maintain optimal quality.
Reheating
As this Sour Cream Coconut Cake is designed to be served chilled, there is no need to reheat it. In fact, reheating would compromise the texture of the whipped topping and the creamy coconut layer, making them melt and become undesirable. When you are ready to serve leftover cake that has been refrigerated or thawed from frozen, simply take a slice out of the refrigerator. If you prefer a slightly softer texture than that of a fully chilled slice, you can allow it to sit at room temperature for about 10-15 minutes before serving. Thawing frozen slices should always be done overnight in the refrigerator to allow the topping to stabilize and retain its texture.
Frequently Asked Questions
-
Can I make this cake a day in advance?
Absolutely, and it’s highly recommended! Making this Sour Cream Coconut Cake the day before serving significantly enhances its flavor and texture. The extended chilling time allows the coconut layer to fully set and the moisture from the sour cream and topping to slightly soften the cake base, resulting in a wonderfully moist and cohesive dessert. The flavors meld beautifully, creating a more complex and satisfying taste experience that is well worth the wait. It truly benefits from at least an overnight rest in the refrigerator.
-
Does this cake have to be refrigerated?
Yes, this cake absolutely must be refrigerated at all times until it is ready to be served. The presence of full-fat sour cream in the middle layer and the whipped topping on top means it requires constant chilling to maintain its structure and prevent spoilage. While it can sit out briefly while you are serving dessert, it should be returned to the refrigerator immediately afterward. Leaving it at room temperature for extended periods can cause the layers to become soft and potentially unsafe to consume.
-
Can I use unsweetened coconut instead of sweetened?
You can certainly use unsweetened shredded coconut if that’s what you have on hand, but be prepared for a slight adjustment in the overall flavor profile and sweetness level of the cake. Unsweetened coconut will result in a less sweet filling, and you may find that the cake tastes a bit more traditional or less dessert-like. If you opt for unsweetened coconut, it is a good idea to taste the coconut mixture before adding it to the cake and consider adjusting the amount of granulated sugar slightly to ensure the balance of sweetness still feels right for your palate. You might need to add a little more sugar to compensate for the lack of sweetness in the coconut itself.